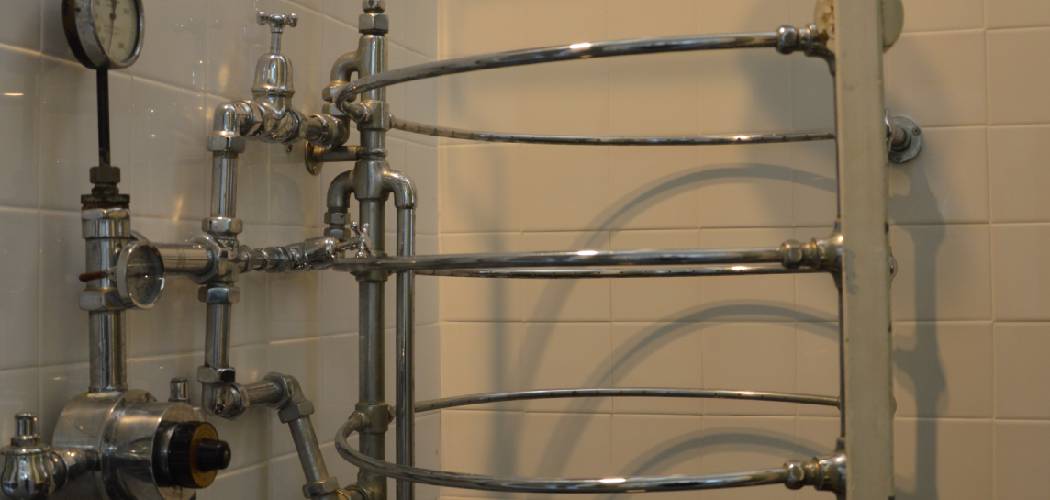
There are several reasons why you may want to install a shower pump. Perhaps your current shower is not providing enough water pressure, or you want to upgrade to a more powerful and efficient pump. Or maybe you’re simply looking to save money by installing the pump yourself instead of hiring a professional. Whatever your reason may be, knowing to install a shower pump can be a useful skill to have.
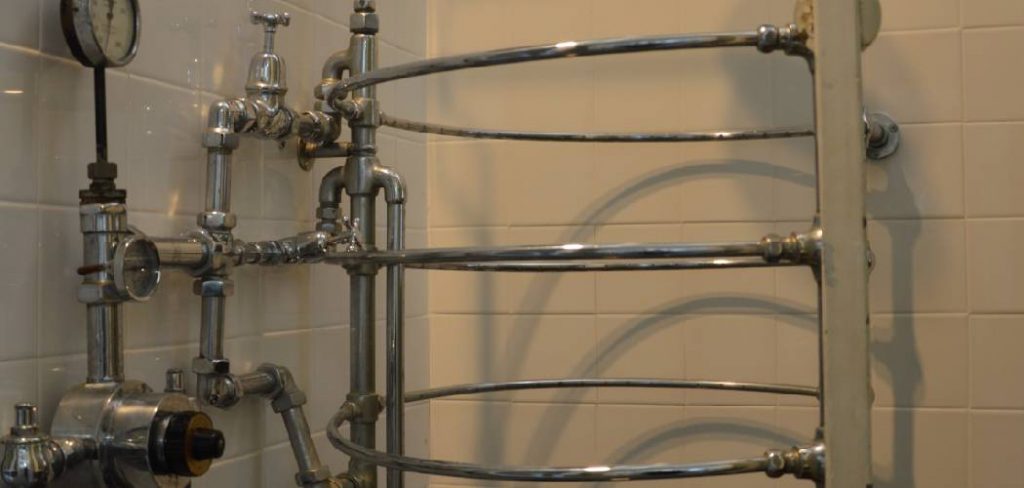
The main advantage of installing a shower pump is that it can greatly improve the water pressure of your shower, providing a more enjoyable and efficient bathing experience. A shower pump can also help to prevent issues such as low water flow or temperature fluctuations, which can be frustrating and time-consuming to deal with. In this blog post, You will learn in detail how to install a shower pump.
Tools You Will Need
- Adjustable wrench
- Pipe cutter
- Pliers
- Screwdriver
- Tape measure
- Teflon tape
- Hammer
- Drill
- Spirit level
Step by Step Processes for How to Install a Shower Pump
Step 1: Inspect the Shower Pump
Before starting with the installation process, it is important to first inspect the shower pump that you have purchased. Check for any damages or missing parts. Make sure that all the necessary components are included in the package and that they are in good condition. If you notice any issues, contact the manufacturer for a replacement before proceeding with the installation.
Step 2: Gather Tools and Materials
To successfully install a shower pump, you will need the right tools and materials. These may include a screwdriver, adjustable wrench, pipe cutter, Teflon tape, and silicone sealant. Make sure to have everything on hand before starting the installation process.
Before beginning with the installation, it is important to shut off the water supply to your shower. This will prevent any accidents or damage and allow you to work on the pump without interruptions. The shut-off valve can usually be found near the main water supply for your home.
Step 3: Drain the Shower Water
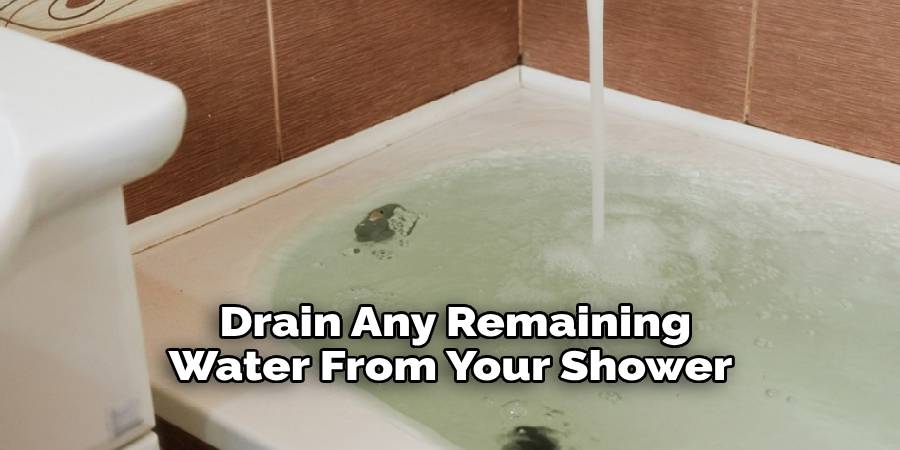
Once the water supply is turned off, drain any remaining water from your shower by turning on the faucet until it runs dry. This will also help prevent any potential mess during the installation process.
If you are replacing an old shower pump, you will need to remove it first. Use your tools to disconnect the pump from the plumbing and electrical supply. Remove any remaining water in the pipes by opening a faucet.
Step 4: Prepare the New Shower Pump
Before installing your new shower pump, make sure to read the manufacturer’s instructions carefully. Follow any specific steps for preparing the pump before installation. This may include priming the pump or connecting additional components.
Once prepared, position your new shower pump in the designated spot. Use your tools to connect it to the plumbing and electrical supply as instructed by the manufacturer. Make sure all connections are secure and tight.
Step 5: Connect the Pipework
Next, you will need to connect the pipework to your new shower pump. Use a pipe cutter if necessary to cut any pipes to the correct length and use appropriate fittings for connecting them. Make sure all connections are watertight by using Teflon tape or silicone sealant as needed.
After all connections are made, turn on the main water supply and let the system fill with water. This will also help to flush out any air bubbles or debris. Check for any leaks and fix them if necessary.
Step 6: Test the Shower Pump
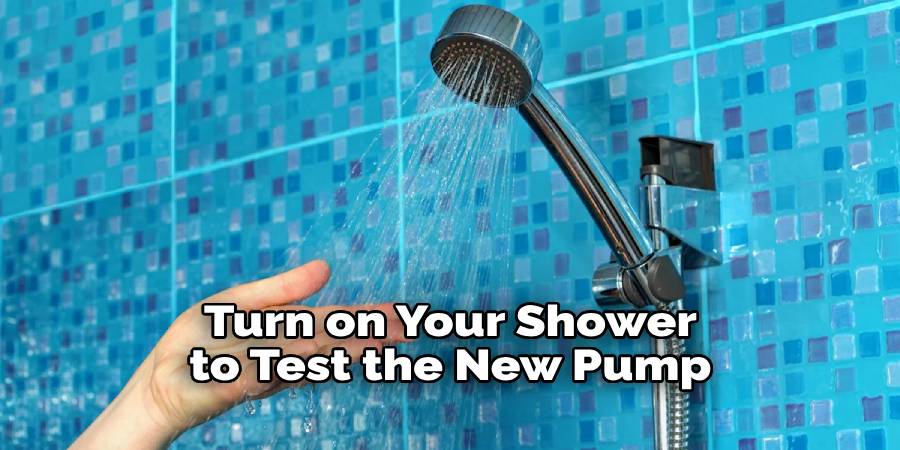
Once the installation is complete, turn on your shower to test the new pump. Check if it is functioning properly and adjust any settings as needed. Congratulations, you have successfully installed a shower pump! Enjoy improved water pressure and a more efficient shower experience.
Remember to keep the manufacturer’s instructions and warranty information in case you encounter any issues in the future. Now that you know to install a shower pump, you can confidently tackle this task in any bathroom renovation or upgrade project.
Precautions for How to Install a Shower Pump
- Make sure to turn off the power before beginning any installation process.
- Always read and follow the manufacturer’s instructions for your specific shower pump model.
- Wear appropriate protective gear, such as goggles and gloves, when handling tools or chemicals during installation.
- If you are unsure or uncomfortable with any step of the installation process, consult a professional plumber.
- Make sure all connections and fittings are secure before turning on the water supply to your shower pump.
- To prevent accidents or injury, never leave the shower pump unattended while it is running.
- Regularly inspect and maintain your shower pump to ensure optimal performance and safety.
Safety should always be a top priority when installing any new appliance in your home, especially when dealing with electrical components and water supply. By following these precautions, you can successfully install a shower pump without any mishaps.
What Are the Most Common Mistakes to Avoid While Installing a Shower Pump?
When it comes to installing a shower pump, there are certain mistakes that can easily be avoided with proper preparation and knowledge. These mistakes not only lead to unnecessary expenses, but they can also cause significant damage to your plumbing system. To ensure a smooth installation process and avoid any potential issues down the line, here are some common mistakes that you should steer clear of when installing a shower pump.
1. Not Considering Water Pressure Requirements
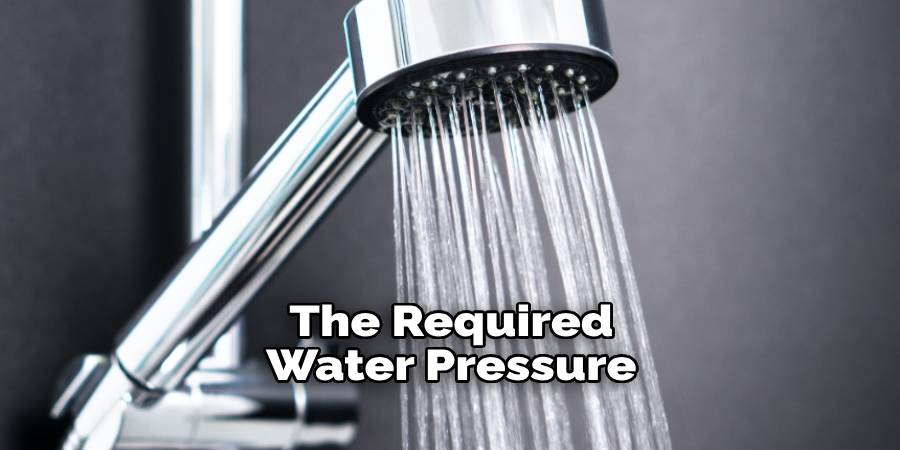
One of the most important factors to consider when installing a shower pump is the required water pressure for your specific pump model. If the water pressure in your home is too low, it can cause your pump to overwork and eventually burn out. On the other hand, if the pressure is too high, it can result in noisy operation or even damage to your pipes. Make sure to check the manufacturer’s specifications and select a suitable pump for your water pressure needs.
2. Not Properly Anchoring the Pump
Shower pumps are typically installed on a solid, flat surface such as a concrete base. However, some DIYers make the mistake of not properly anchoring the pump or using unstable supports. This can lead to excessive vibration and noise during operation, and may even cause the pump to shift or fall off its base. To avoid this, ensure that your shower pump is securely anchored in place before use.
3. Using the Wrong Pipe Materials
Another common mistake is using incorrect pipe materials when connecting your shower pump. PVC pipes are not suitable for use with pumps, as they can warp and become damaged due to the high water pressure. It is recommended to use copper or stainless steel pipes instead, as they can withstand higher pressures and will be more durable in the long run.
4. Not Following Safety Precautions
Installing a shower pump involves working with electricity and water, which can be a dangerous combination if proper safety precautions are not taken. Always make sure to turn off the power supply before starting any installation work and use appropriate protective gear, such as rubber gloves and goggles. If you are unsure about any aspect of the installation process, it is best to seek professional help for your own safety.
Proper installation is crucial for the efficient and safe operation of your shower pump, so take the time to do it right from the start. With proper care and maintenance, your shower pump will provide you with a consistent water supply for years to come.
Are There Any Specific Maintenance Tasks That Need to Be Done After Installing a Shower Pump?
After successfully installing a shower pump, there are some maintenance tasks that need to be done on a regular basis to ensure the proper functioning of the pump. These tasks are important because they help extend the lifespan of your shower pump and prevent any potential issues from arising. In this section, we will discuss some of these maintenance tasks in detail.
1. Regular Cleaning
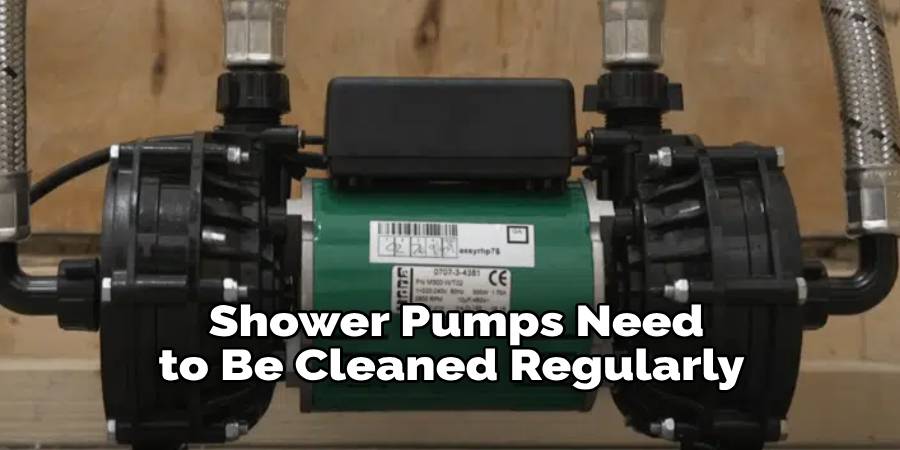
Just like any other appliance or equipment, shower pumps need to be cleaned regularly to keep them running smoothly. This includes cleaning the pump itself as well as the filter and any other components that may accumulate dirt and debris. It is recommended to clean your shower pump every 3-6 months depending on usage. Use a soft cloth and mild cleaning solution to avoid damaging the pump.
2. Inspecting for Leaks
It is important to regularly inspect your shower pump for any leaks. A leaking pump can not only waste water but also lead to further damage if left untreated. Check all connections and joints for any signs of leakage and repair or replace as necessary.
3. Lubrication
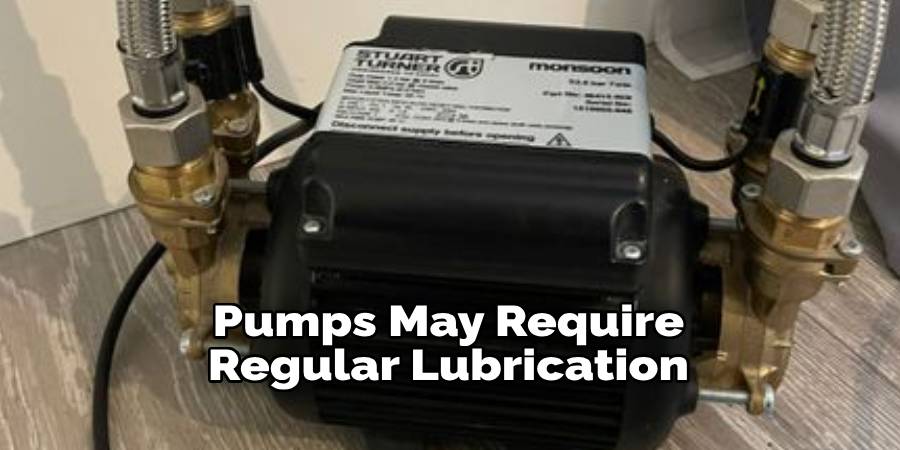
Some shower pumps may require regular lubrication to keep the moving parts running smoothly. Check your pump’s manual for any specific instructions on when and how to lubricate it.
4. Checking Water Pressure
A decrease in water pressure can be a sign of a malfunctioning shower pump. Regularly check the water pressure before and after using your shower pump to ensure that it is functioning properly.
5. Flushing the System
If you notice any buildup or sediment in your shower pump, it may be necessary to flush the system. Refer to your pump’s manual for specific instructions on how to do this.
By regularly performing these maintenance tasks, you can ensure that your shower pump continues to work efficiently and effectively. If you encounter any issues or are unsure about how to perform these tasks, it is always best to consult a professional plumber.
Conclusion
In conclusion, installing a shower pump can be beneficial in terms of water pressure and overall shower experience. However, there are some disadvantages to take into consideration before deciding to install one. Moreover, depending on your location and water supply, installing a shower pump may not be necessary. If you already have good water pressure, adding a pump may not make much of a difference. It is important to assess your specific situation before making a decision.
Another disadvantage to consider is the noise that a shower pump may produce. This can be disruptive, especially if you have a shared living space or bedrooms nearby. However, there are newer models available that offer quieter operation. I hope this article has been beneficial for learning how to install a shower pump. Make Sure the precautionary measures are followed chronologically.

