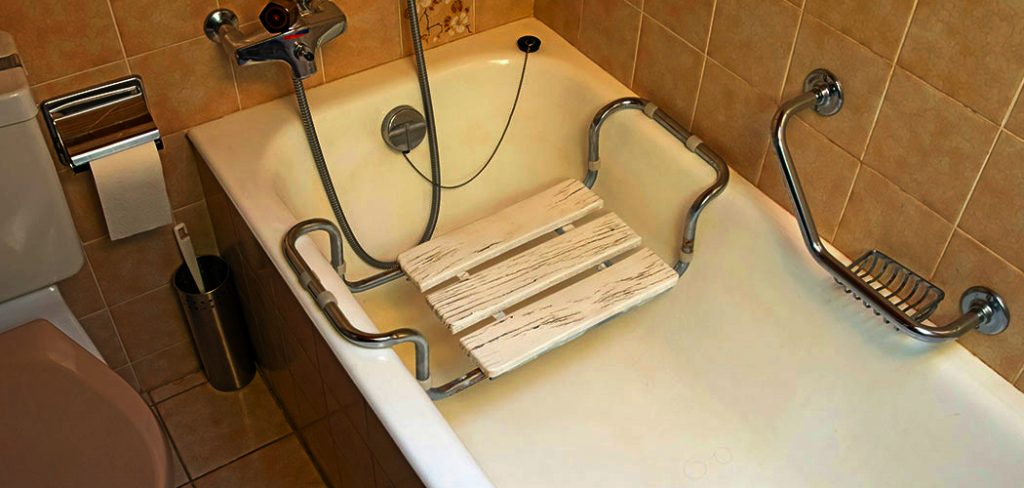
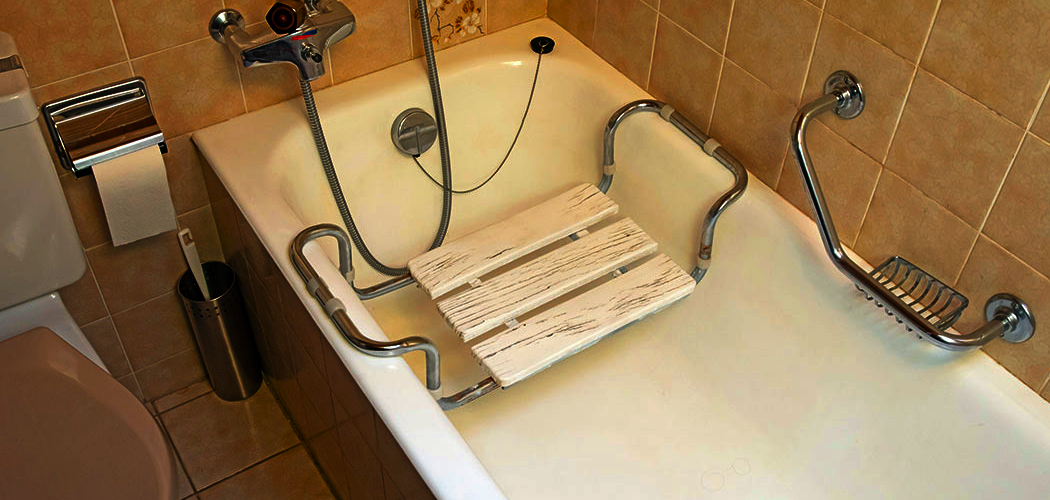
Are you looking for ways to make your shower experience more comfortable and accessible? Consider installing a shower seat with these simple steps.

Installing a shower seat can significantly enhance safety and comfort in your bathroom, especially for individuals with mobility challenges, older people, or anyone seeking added convenience. A well-installed shower seat provides a sturdy and reliable surface for seated bathing, making daily routines more accessible and stress-free. With the right tools and a step-by-step approach, installing a shower seat is a manageable task that can be quickly completed.
This guide on how to install a shower seat will walk you through everything you need to know to properly and securely install a shower seat in your bathroom. Let’s get started!
What Are the Benefits of a Shower Seat?
Before we dive into the installation process, let’s briefly discuss some benefits of having a shower seat in your bathroom.
- Enhanced Safety: A shower seat provides a stable and secure surface for seated bathing, reducing the risk of slips and falls in the shower. This is especially beneficial for individuals with mobility challenges or balance issues.
- Comfort and Convenience: For those who have difficulty standing for long periods, a shower seat allows for comfortable and convenient bathing without needing assistance. It also makes tasks like shaving or washing feet easier while sitting down.
- Accessibility: Installing a shower seat can make your bathroom more accessible to people with disabilities, allowing them to maintain their independence and privacy while bathing.
Now that we’ve covered some of the benefits let’s move on to the step-by-step guide for installing a shower seat.
What Will You Need?
Here are the tools and materials you will need to install a shower seat:
- Shower seat (can be purchased at most hardware or home improvement stores)
- Drill
- Screws
- Wall anchors (if not attaching to wall studs)
- Level tool
- Measuring tape
- Pencil or marker
You’re ready to begin the installation process once you have all the necessary tools and materials.
8 Easy Steps on How to Install a Shower Seat
Step 1. Choose the Location:

Start by deciding where you want to install the shower seat. Consider your preferences and specific needs, such as ease of access, comfort, and convenience. The ideal location is typically along one of the longer walls of the shower, as this provides ample room to sit comfortably without feeling cramped. Additionally, ensure the placement allows the seat to be within easy reach of shower controls, grab bars, or other assistive features if needed.
It’s essential also to evaluate the structural integrity of the chosen wall, ensuring it can support the weight of the seat and the person using it. If you’re unsure, use a stud finder to locate wall studs, as attaching the seat to the studs will provide a stronger foundation. Take the time to measure and mark the location accurately before proceeding.
Step 2. Gather Your Tools and Materials:
Before installing, ensure you have all the necessary tools and materials. Standard tools include a power drill, screwdriver, level, tape measure, stud finder, pencil for marking, and a wrench if required. Additionally, ensure you have the mounting hardware provided with the shower seat, which may include screws, brackets, or wall anchors. Preparing everything beforehand will save time and help ensure a smooth installation process. Check the instructions provided with the shower seat for any specific tools or materials that might be required.
Step 3. Prepare the Mounting Area:

Clean the wall surface where the shower seat will be installed to ensure proper adhesion and alignment. Use a damp cloth to wipe away dirt, dust, or soap residue, then allow the area to dry completely. Double-check the marked positions to avoid errors if you need to drill holes. Ensure the marks align with the wall studs or anchors for a secure installation. Proper preparation of the mounting area is crucial for stability and long-term use of the shower seat.
Step 4. Install the Brackets or Anchors:
Drill pilot holes into the wall at the designated locations using the earlier markings. If your shower seat requires wall anchors, insert them into the drilled holes as instructed. Next, position the mounting brackets over the holes or anchors and secure them tightly with screws using a screwdriver or wrench. Ensure the brackets are level and firmly attached to the wall to provide a stable foundation for the shower seat. Double-check that the brackets are secure before proceeding to the next step.
Step 5. Attach the Shower Seat to the Brackets:

Align the shower seat with the installed brackets, ensuring it fits securely into place. Depending on the design, you may need to slide, clamp, or fasten the seat onto the brackets using screws or other provided hardware. Refer to the manufacturer’s instructions for the specific attaching method. Once the seat is secured, double-check that it is stable and properly aligned. Test the seat’s firmness by gently applying pressure to ensure it can hold weight without shifting. Proper attachment is essential for both safety and functionality.
Step 6. Test the Shower Seat for Stability:
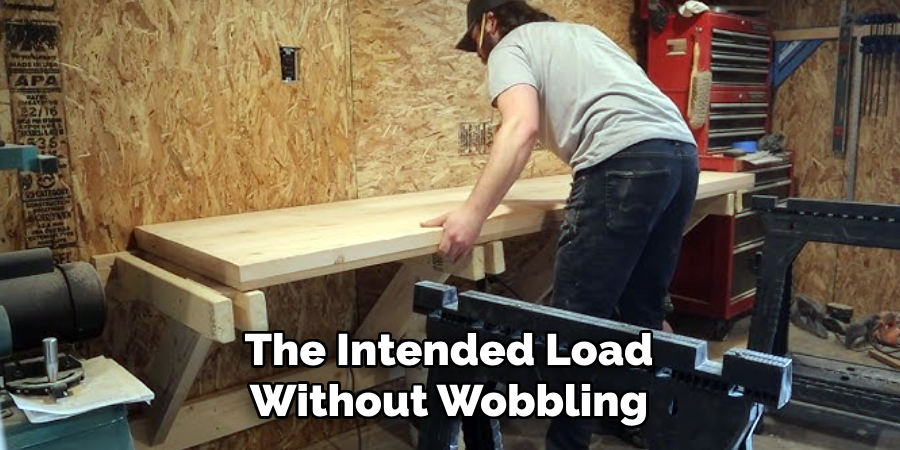
After securely attaching the shower seat, conduct a thorough stability test. Gradually apply weight to the seat to confirm it can support the intended load without wobbling or shifting. Sit carefully on the seat to ensure comfort and proper alignment. If the seat feels unstable, check the brackets and screws for any looseness and tighten them as needed. This step is essential to ensure the safety and durability of the installation before regular use.
Step 7. Clean and Maintain the Shower Seat:

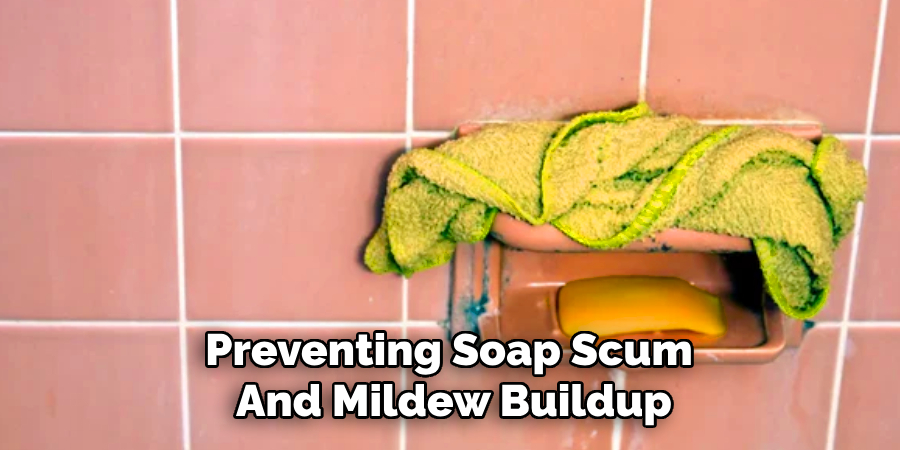
Once the shower seat is installed correctly and tested for stability, cleaning and maintaining it regularly is essential to ensure longevity and hygiene. Use a mild cleaner and a soft cloth to wipe down the seat after each use, preventing soap scum and mildew buildup. Periodically check the brackets and screws for any signs of wear or loosening, tightening, or replacing them if needed. Proper cleaning and maintenance will keep the shower seat safe, functional, and looking new over time.
Step 8. Familiarize Yourself with Proper Usage:
To ensure the safe and effective use of the shower seat, take time to familiarize yourself with its proper operation. Avoid placing excessive weight beyond the seat’s specified capacity, which may compromise its stability. When sitting down, control your movements to prevent sudden stress on the seat or its mounting hardware. Additionally, avoid using the seat for purposes other than its intended design, such as standing or using it as a storage surface. Educating all household members on proper usage can help prevent accidents and prolong the lifespan of the shower seat.

Following these eight simple steps, you can easily install a shower seat in your bathroom and improve accessibility and comfort for yourself or your loved ones.
5 Things You Should Avoid
- Skipping Proper Measurements: Failing to measure correctly can result in a shower seat that is either too high, too low, or improperly aligned, making it uncomfortable or unsafe to use.
- Ignoring the Wall Structure: Installing a shower seat without ensuring the wall supports it may lead to structural damage or the seat becoming loose over time.
- Using the Wrong Fasteners: Avoid using screws or anchors not designed to handle significant weight or exposure to moisture, as they could compromise the seat’s stability.
- Neglecting Waterproofing: Overlooking proper sealing around the installation points can lead to water seepage, damaging the wall and weakening the installation over time.
- Rushing the Installation: Hastily installing the shower seat without thoroughly following instructions or checking alignment can create a dangerous and unreliable setup.
What is a Shower Valve?
A shower valve is a crucial component of any shower system, responsible for controlling the flow and temperature of water. It is typically located behind the wall, with only the handle or trim visible in the shower space.
Types of Shower Valves:
- Single-Handle Valve: This type of valve has one handle that controls both water flow and temperature. It’s easy to use but may require frequent adjustments to find the desired temperature.
- Dual-Handle Valve: As its name suggests, this valve has two handles – one for hot water and one for cold water – allowing more precise control over temperature.
- Thermostatic Valve: A thermostatic valve has two handles – one for temperature and one for volume. It maintains the water at a consistent temperature, even if other fixtures in the house are being used.
- Pressure-Balancing Valve: Similar to a thermostatic valve, this type also has separate controls for temperature and volume. However, it balances both hot and cold water pressure to prevent sudden changes in temperature when other fixtures are in use.
Conclusion
How to install a shower seat can greatly enhance the comfort, safety, and accessibility of your shower space.
First, choose a suitable location within your shower, ensuring it is easily accessible and does not obstruct movement. Mark the installation points carefully, using a level to ensure the seat will be positioned evenly. If installing a wall-mounted seat, locate wall studs or install appropriate anchors to ensure the seat can bear weight securely.
Follow the manufacturer’s instructions when attaching the seat, tightening all screws or bolts firmly. Finally, test the seat’s stability and make any necessary adjustments. Proper installation ensures durability and safety for everyday use.

