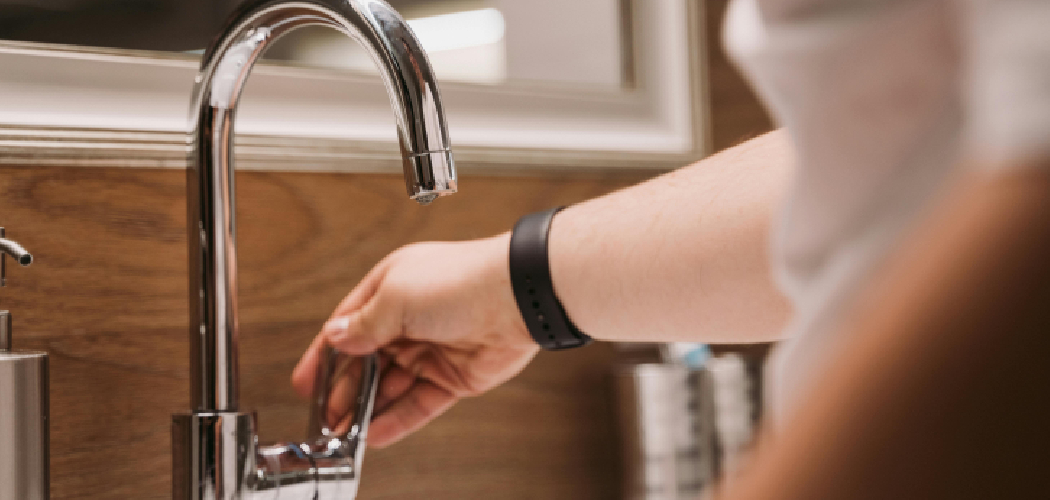
Installing a single handle kitchen faucet can seem like a daunting task at first, but with the right tools and guidance, it becomes a straightforward process. Whether you’re replacing an old faucet or setting up a new one, this guide will walk you through each step to ensure a smooth and successful installation.
By following these instructions on how to install a single handle kitchen faucet, you can save time, money, and the hassle of hiring a professional plumber.
Why Install a Single Handle Kitchen Faucet?
There are several reasons why you might want to install a single handle kitchen faucet. Firstly, these types of faucets offer convenience and ease of use, as they only require one hand to adjust the temperature and flow. They also come in a variety of styles and finishes, making it easier to match your kitchen’s design aesthetic.
Furthermore, installing a new faucet can improve the overall functionality and efficiency of your sink area. Older or faulty faucets may leak or have low water pressure, leading to wasted water and potential damage to your cabinets or countertops. A new single handle faucet can solve these issues and provide reliable performance for years to come.
Tools Needed
Before starting the faucet installation process, it’s important to gather all the necessary tools and materials. Here are a few essential items you will need:
- Adjustable Wrench
- Screwdriver Set (Flathead and Phillips Head)
- Plumber’s Tape
- Bucket or Container for Catching Water
- Towels or Rags for Clean Up
- New Faucet Kit (Make Sure to Read Instructions Before Purchasing to Ensure Compatibility With Your Sink Setup)
10 Step-by-Step Instructions on How to Install a Single Handle Kitchen Faucet
Step 1: Turn Off the Water Supply
Before starting the installation, locate the water supply valves under your sink. Turn both the hot and cold water supply valves clockwise until they are fully closed to stop the water flow. If your sink does not have dedicated shut-off valves, you may need to turn off the main water supply for your home.
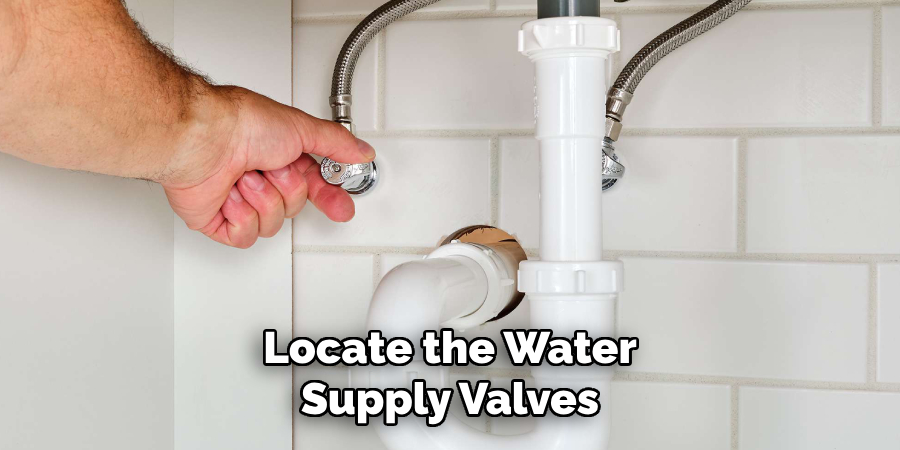
Once the water supply is off, turn on the faucet to release any residual water in the pipes and ensure that the water flow has completely stopped.
Step 2: Remove Old Faucet
Begin by disconnecting the water supply lines from the old faucet using an adjustable wrench. Place a bucket or towel underneath the connections to catch any remaining water. Next, remove the mounting nuts or screws that secure the faucet to the sink. Depending on the type of faucet, you may need a basin wrench or a screwdriver for this step.
Once the nuts or screws are removed, gently lift the old faucet out of the sink. Clean the area around the faucet holes to remove any debris or old sealant, ensuring a smooth surface for the new faucet installation.
Step 3: Clean Sink Area
Before installing the new faucet, it is essential to thoroughly clean the sink area. Use a mild cleaning solution and a soft cloth or sponge to wipe away any grime, residue, or remaining sealant around the faucet holes.
Pay special attention to corners and crevices to ensure that there are no obstructions that could interfere with the proper sealing of the new faucet. Once cleaned, dry the area completely with a towel to prepare it for the next step of installation.
Step 4: Install New Faucet Base
Place the new faucet base onto the sink, aligning it carefully with the pre-drilled faucet holes. Ensure the base is oriented correctly according to the manufacturer’s instructions, as some designs may have specific positioning requirements.
If your faucet includes a rubber or plastic gasket, install it between the base and the sink surface to create a secure, watertight seal. Once in place, check that the base sits evenly and securely before proceeding to attach the rest of the faucet components.
Step 5: Connect Water Supply Lines
To connect the water supply lines, start by threading the hot and cold water supply hoses onto their corresponding inlet valves on the faucet. Be sure to identify the hot and cold connections accurately—hot water is typically on the left and cold water on the right. Use an adjustable wrench to gently tighten the connections, ensuring they are snug but not overtight, as excessive force can damage the fittings.
Once the supply lines are connected, inspect each joint to confirm there are no visible kinks or loose fittings, which could lead to an error occurring during generation. Please try again or contact support if it continues.
Step 6: Attach Faucet Handles
To attach the faucet handles, align each handle with its corresponding valve stem. Carefully slide the handle onto the stem, ensuring it fits securely and aligns properly. Use a screwdriver to tighten the set screw typically located beneath or behind the handle.
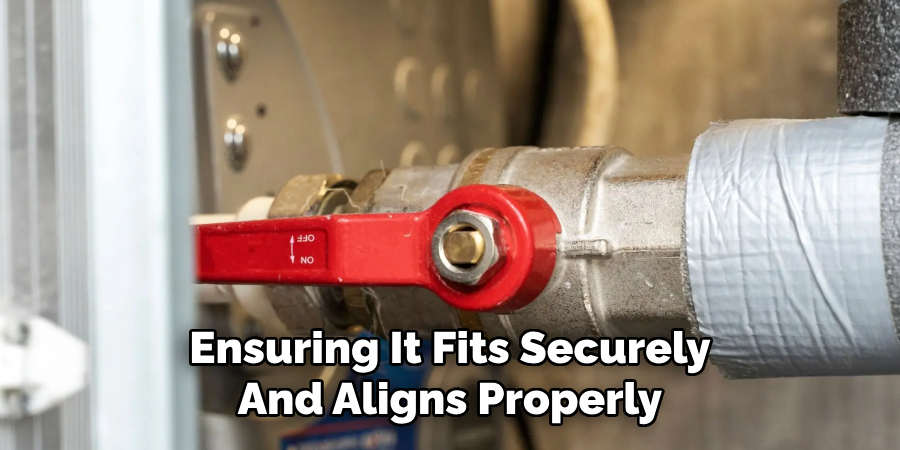
Avoid over-tightening, as this could strip the screw or damage the handle. Once both handles are attached and secured, test their movement to confirm they turn smoothly without sticking. This step ensures your faucet operates with ease and durability.
Step 7: Turn On the Water Supply
Once the handles are securely attached, it’s time to turn on the water supply. Locate the shut-off valves beneath your sink and slowly turn them counterclockwise to allow water to flow into the faucet.
Open both hot and cold valves fully to ensure proper water pressure. After the supply is restored, test your faucet by turning the handles to check for leaks or irregular water flow. If you notice any leaks, carefully tighten the connections or check the installation steps to resolve the issue. This step confirms that your faucet is fully operational and ready for use.
Step 8: Test Your New Faucet
Begin by turning on both the hot and cold water handles to ensure smooth operation. Observe the water flow to confirm it is steady and consistent, free of sputtering or irregular pressure. Next, check the temperature settings by adjusting the handles between hot and cold to verify proper functionality.
Pay close attention to any potential leaks at the base of the faucet, the connections, or around the sink area. If leaks are detected, double-check the fittings and tighten them as needed. Once everything is functioning as expected, wipe down the faucet and the surrounding area to complete the installation process. Your new faucet is now ready for use!
Step 9: Clean Up
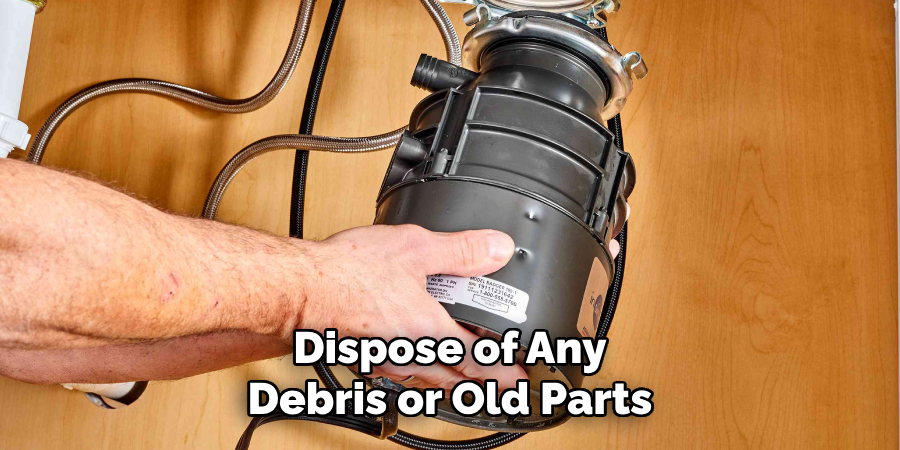
After ensuring that the faucet is installed correctly and functioning properly, take some time to clean up the workspace. Gather all tools, packaging materials, and any leftover components, and store them appropriately. Dispose of any debris or old parts in accordance with local recycling or waste disposal guidelines.
Wipe down the sink and countertop to remove fingerprints, water spots, or any dust that may have accumulated during the installation. A clean and tidy area ensures a polished final result and sets the stage for enjoying your new faucet.
Step 10: Enjoy Your New Faucet
With the installation complete and your workspace clean, it’s time to enjoy the benefits of your new faucet. Turn on the water and test the faucet’s functionality, ensuring both hot and cold settings operate smoothly. Admire its design and the way it enhances your space. Whether you’re washing dishes, filling a glass of water, or simply appreciating its style, your new faucet is ready to make daily tasks more convenient and aesthetically pleasing. Congratulations on a job well done!
Following these steps on how to install a single handle kitchen faucet, you can now confidently update your kitchen with a modern and functional addition. Remember to always read the manufacturer’s instructions for any specific details or differences in installation processes.
Frequently Asked Questions:
Q: Can I Install a Single Handle Kitchen Faucet by Myself?
A: Yes, as long as you have the necessary tools and follow the instructions carefully. The process may require some plumbing knowledge, so if you are not confident in your abilities, it is recommended to hire a professional.
Q: How Often Should I Replace My Kitchen Faucet?
A: It depends on the quality and usage of your faucet. On average, a kitchen faucet can last anywhere from 10-20 years. However, signs such as leaks or difficulty turning the handle may indicate that it’s time for a replacement.
Q: Can I Use the Same Plumbing Connections for a New Faucet?
A: It is possible if the new faucet has the same type of connections as your old one. However, it’s always best to check with the manufacturer’s instructions to ensure compatibility. If they are not compatible, you may need to hire a professional plumber to make the necessary adjustments.
Q: How Do I Choose the Right Style and Finish for My Kitchen Faucet?
A: When choosing a style and finish for your kitchen faucet, consider the overall aesthetic of your kitchen as well as functionality. For example, if you have a farmhouse-style kitchen, a traditional or rustic faucet may be more suitable. As for finishes, popular options include chrome, stainless steel, brushed nickel, and oil-rubbed bronze. It’s also important to choose a finish that is easy to clean and maintain in order to keep your faucet looking new for longer.

Conclusion
Selecting the right kitchen faucet involves balancing style, finish, and functionality to meet your needs and complement your kitchen’s design. By considering factors such as your kitchen’s aesthetic, the durability of the finish, and ease of maintenance, you can ensure that your faucet remains both practical and visually appealing for years to come.
Remember, a well-chosen faucet not only serves as a functional centerpiece but also enhances the overall character of your kitchen space. Thanks for reading this article on how to install a single handle kitchen faucet.

