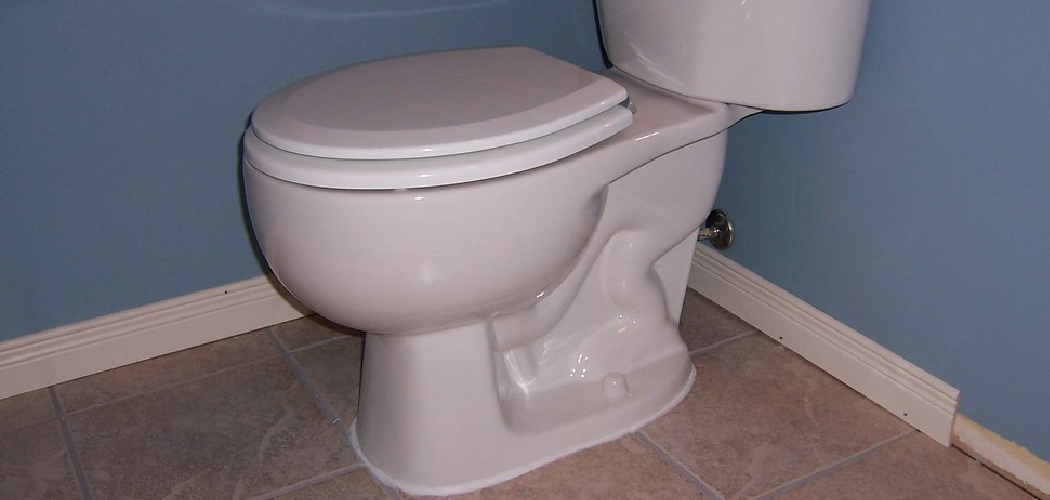
Installing a toilet tank may seem like a daunting task, but with the right tools and a little guidance, it can be accomplished quickly and efficiently. Whether you are replacing an old tank or installing a new one, this process involves a few straightforward steps that anyone can follow.
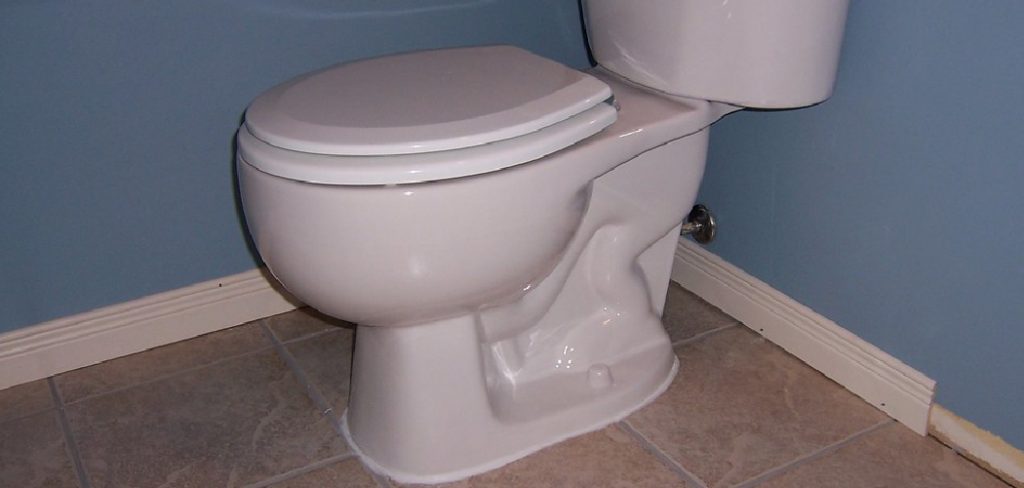
This guide on how to install a toilet tank will walk you through everything you need to know, helping you secure and set up your toilet tank for optimal function.
Why Install a Toilet Tank?
A toilet tank is an essential component of any bathroom. It holds and releases water into the bowl, allowing for proper flushing and waste removal. Over time, toilet tanks may become damaged or worn out, leading to leaks and inefficiency in your toilet’s performance.
Installing a new toilet tank can also be necessary when renovating a bathroom or upgrading to a more modern model. Whatever the reason may be, learning how to install a toilet tank yourself can save you money on professional installation costs and give you the satisfaction of completing a DIY project.
Tools Needed
Before beginning the installation process, make sure you have all the necessary tools on hand. These include:
Adjustable Wrench:
This tool will be used to tighten or loosen bolts and nuts during the installation process.
Screwdriver:
A screwdriver will be needed to tighten or loosen screws throughout the installation process.
Caulking Gun:
A caulking gun is necessary for sealing around the base of the toilet tank after installation.
Plumber’s Putty:
Plumber’s putty is used to create a watertight seal between the tank and bowl of the toilet.
Level:
You’ll need a level to ensure that your new toilet tank is installed straight and even.
7 Step-by-Step Guides on How to install a toilet tank
Step 1: Shut Off Water Supply
Begin by turning off the water supply to the toilet. Locate the shut-off valve, typically found on the wall or floor near the base of the toilet. Turn the valve clockwise until it is fully closed to stop the flow of water.
Once the water supply is turned off, flush the toilet to drain as much water as possible from the tank and bowl. Use a sponge or a towel to soak up any remaining water to ensure the area is dry before proceeding to the next step.
Step 2: Remove Old Toilet Tank
Begin by detaching the tank from the toilet bowl. Locate the bolts at the base of the tank, which connect the tank to the bowl. Use an adjustable wrench to carefully unscrew these bolts. If the bolts are corroded or stuck, apply a penetrating lubricant and wait a few minutes before trying again.
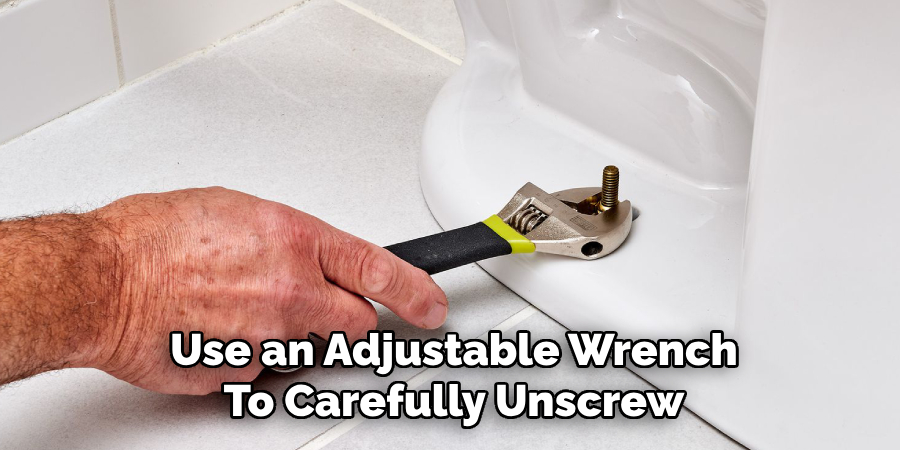
Once the bolts are removed, gently lift the tank off the bowl. Be cautious as the tank may still contain some residual water, so you may want to have a towel or bucket nearby to catch any drips. Place the old tank aside and inspect the gasket and bolts for any damage or wear, as these parts may need replacement during the installation of the new tank.
Step 3: Prepare New Tank
If your new toilet tank has internal components, such as a fill valve or flushing mechanism, you’ll need to install these before attaching it to the bowl. Follow the instructions provided with your new toilet tank for proper installation.
Next, clean the area where the old tank used to be attached using a mild cleaner and a rag. Make sure there is no leftover debris or residue that may affect the seal between the tank and bowl.
Once you have completed these steps, you are ready to attach the new tank to your toilet bowl.
Step 4: Attach New Tank
Place the new tank onto the back of your toilet bowl and align it with the holes on the bowl. Then, secure it in place by tightening the bolts from underneath using an adjustable wrench.
Make sure not to overtighten the bolts as this can cause damage to the tank or bowl.
Step 5: Reconnect Water Supply
Next, reconnect the water supply line to the bottom of the tank. Again, use an adjustable wrench to secure it in place.
Once everything is securely attached and tightened, turn on the water supply valve and allow the tank to fill up with water.
Step 6: Test for Leaks
Once the tank has filled up, flush the toilet a few times and check for any leaks. If there are no leaks, congratulations – you have successfully replaced your toilet tank!
If you do notice any leaks, turn off the water supply again and double check all connections and bolts. Make sure they are tight and properly sealed before turning the water supply back on and testing for leaks again.
Step 7: Clean Up
After completing the replacement, clean up any debris or tools that may have been used during the process. Wipe down the area around the toilet and dispose of any old tank parts properly.
Your new toilet tank should now be installed and functioning properly. Remember to regularly check for leaks and perform maintenance as needed to ensure its longevity.
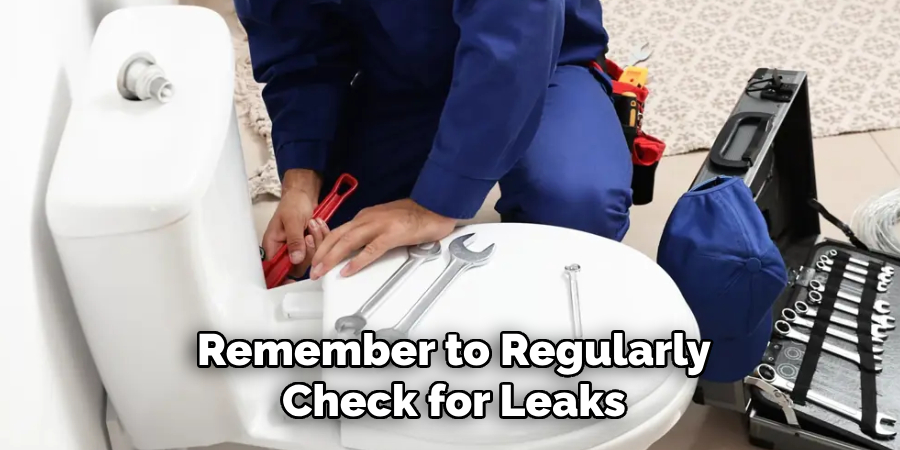
Following these steps on how to install a toilet tank will save you time and money in the long run. Now that you have successfully installed your toilet tank, feel free to sit back, relax, and enjoy your newly upgraded bathroom! Share this knowledge with friends and family so they can also benefit from a functional and efficient toilet installation. Happy DIY-ing!
Additional Tips
Use Quality Materials:
Invest in high-quality parts and tools when installing or maintaining your toilet tank to ensure durability and reliability. Cheaper alternatives may seem cost-effective initially, but can lead to frequent repairs.
Check Water Pressure:
Ensure your home’s water pressure is within the recommended range for your toilet. Excessive pressure can strain the tank components, while low pressure might affect flushing efficiency.
Prevent Mineral Buildup:
If you live in an area with hard water, consider using a water softener or cleaning products designed to remove mineral buildup to keep your toilet tank and valves in good condition.
Seal Effectively:
Always double-check seals and gaskets for a secure fit to prevent leaks. Tightening connections slightly beyond hand-tight is often sufficient, but avoid over-tightening to prevent cracks.
Keep the Manual Handy:
Retain the installation and maintenance manual that came with your toilet tank. It can serve as a useful reference for troubleshooting or future repairs.
By following these tips, you can extend the life of your toilet tank and maintain a problem-free bathroom.
Adjust and Troubleshoot
Even with careful maintenance, occasional adjustments or troubleshooting may be needed to keep your toilet tank functioning efficiently. Start by checking the water level in the tank. If it’s too high or too low, adjust the float mechanism to bring it to the recommended level, typically about an inch below the top of the overflow tube.
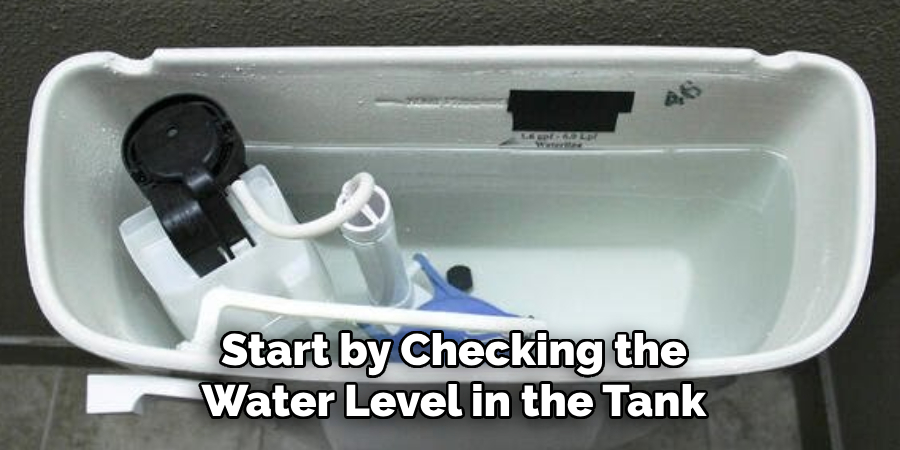
If you experience persistent running water, inspect the flapper for wear or misalignment. Replacing a worn-out flapper is a simple and inexpensive fix that can resolve the issue. For weak or incomplete flushing, ensure the jet holes under the toilet rim are clear of debris or mineral buildup. Gentle cleaning with a brush or vinegar solution can restore proper flow.
When dealing with leaks, carefully examine the connections, seals, and gaskets. Tighten loose fittings and replace any damaged components as needed. If problems persist, consult your manual or seek professional assistance to avoid further complications. Regularly addressing these common issues ensures the longevity and reliability of your toilet tank.
Frequently Asked Questions
Q1: How Often Should I Clean My Toilet Tank?
A1: It is recommended to clean your toilet tank at least once every three months to prevent buildup and maintain proper function. However, if you live in an area with hard water or have a large household, more frequent cleaning may be needed.
Q2: What Should I Use to Clean My Toilet Tank?
A2: You can use a variety of products for cleaning your toilet tank, including vinegar, baking soda, and commercial cleaners. It is important to avoid using harsh chemicals that could damage the components inside the tank.
Q3: How Can I Improve the Water Efficiency of My Toilet?
A3: One way to improve water efficiency in your toilet is by installing a dual-flush system. This allows you to choose between a partial or full flush depending on the waste being disposed of.
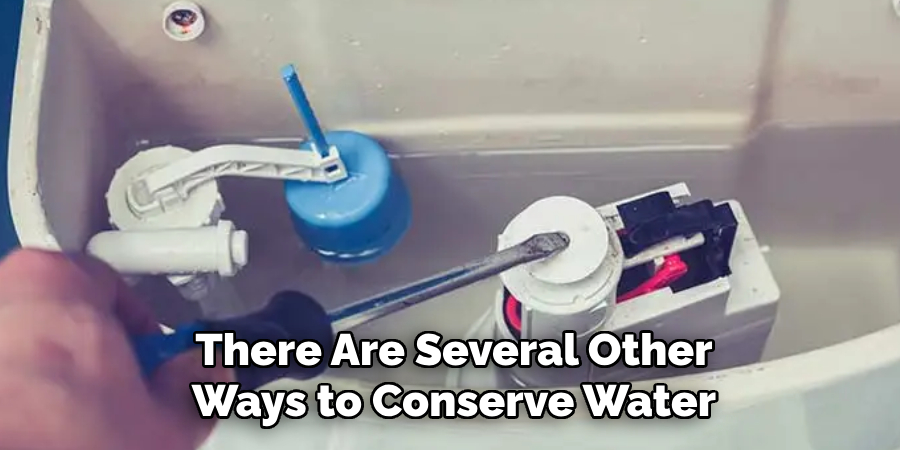
Q4: Are There Any Other Ways to Conserve Water in My Bathroom?
A4: Yes, there are several other ways to conserve water in your bathroom. Some examples include installing low-flow showerheads and faucets, fixing any leaks promptly, and taking shorter showers.
Conclusion
Conserving water in your home not only helps preserve this precious resource but also reduces your utility bills and contributes to a sustainable future.
By making small changes, such as upgrading fixtures, fixing leaks, and adopting efficient practices, you can make a significant difference. Every drop saved adds up, and together, these efforts can help ensure water availability for generations to come. Thanks for reading this article on how to install a toilet tank.

