Installing a wall return vent is an effective way to improve the airflow in your home, enhancing both comfort and energy efficiency. A well-functioning return vent allows for better circulation of air, which can aid in maintaining consistent temperatures throughout your living space.
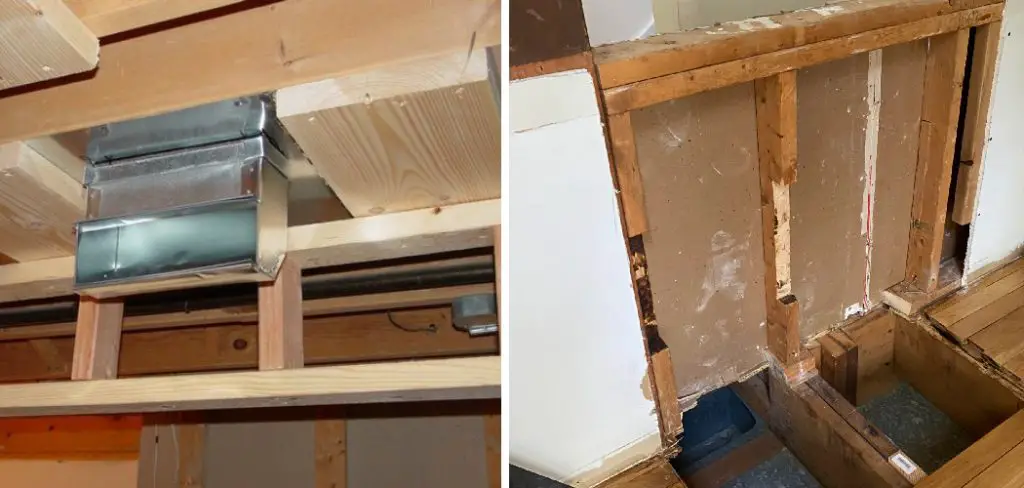
This guide on how to install a wall return vent will walk you through the steps necessary to install a wall return vent, ensuring a seamless integration into your home’s heating and cooling system.
Whether you are a seasoned DIY enthusiast or a beginner looking to tackle a new project, this installation process is straightforward and manageable with the right tools and guidance.
Why Install a Wall Return Vent?
Before diving into the installation process, it is essential to understand why adding a wall return vent is beneficial for your home. A return vent works by drawing stale air from inside your home and returning it to your heating and cooling system, where it can be filtered and treated before being redistributed throughout the house. This process helps to maintain proper air balance and circulation, leading to a more comfortable living environment.
Moreover, installing a wall return vent can also have a positive impact on your energy bills. By improving the flow of air in your home, your heating and cooling system will not have to work as hard to maintain consistent temperatures, resulting in lower energy consumption and cost savings.
Tools and Materials Needed
To get started with installing a wall return vent, you will need the following tools and materials:
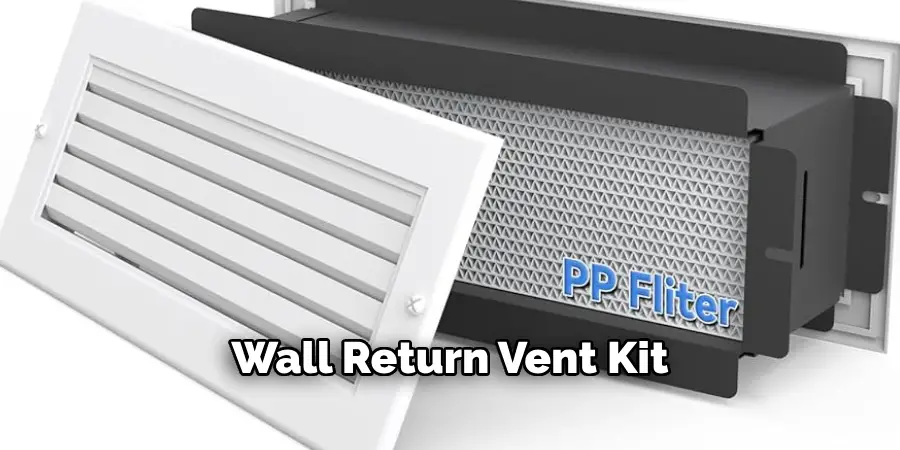
Wall Return Vent Kit
A wall return vent kit typically includes a return grille, duct collar, and mounting hardware. You can find these kits at your local home improvement store or online.
Drill
You will need a drill to create the necessary holes in your wall for the vent installation.
Drywall Saw
A drywall saw is used to cut through the drywall to create an opening for the return vent.
Duct Tape
Duct tape will be needed to secure any connections between the ductwork and the wall return vent.
Screws
Screws will be required to secure the wall return vent in place.
Clamps
Clamps may be needed to hold the ductwork in place during installation.
Measuring Tape
A measuring tape will be necessary to ensure accurate placement and measurements for the vent installation.
8 Step-step Guidelines on How to Install a Wall Return Vent
Step 1: Choose the Location
Selecting the right location for your wall return vent is crucial for optimal air circulation in your home. Ideally, the vent should be placed in a central location that allows it to efficiently draw air from various rooms. Consider areas where airflow seems stagnant or where you notice temperature inconsistencies. Avoid placing the vent near corners, behind furniture, or on walls with obstructions that could hinder airflow.
Additionally, ensure that the chosen spot is accessible for installation and future maintenance. Once you’ve identified a suitable location, use a measuring tape to mark the dimensions of the return vent opening on the wall, preparing for the next steps in the installation process.
Step 2: Cut the Wall Opening
Once you have marked the dimensions for the return vent opening on the wall, it’s time to cut through the drywall. Start by wearing safety goggles and a dust mask to protect yourself from debris.
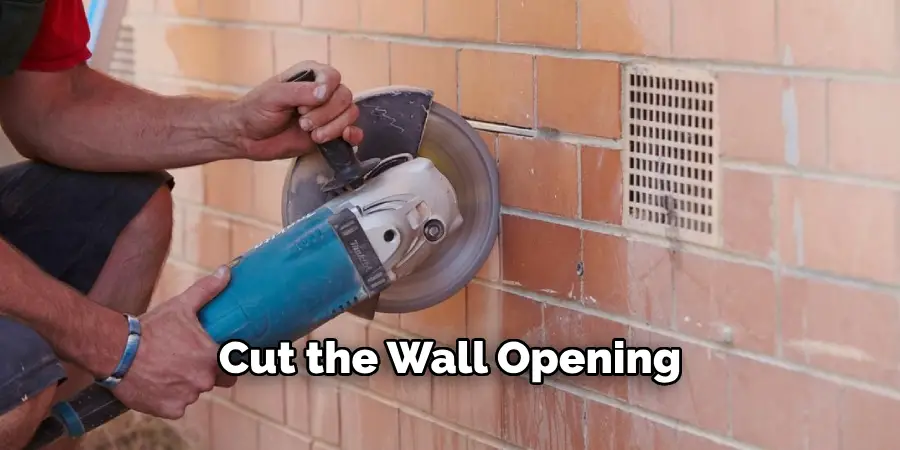
Using the drywall saw, carefully cut along the marked lines, ensuring that you maintain a steady hand to create a clean opening. Take your time, as rushing could lead to uneven edges or damage to surrounding drywall.
After cutting, gently remove the cut piece of drywall, making sure there are no jagged edges left behind. If any rough spots remain, you can use a utility knife or sandpaper to smooth them out, preparing the area for the installation of the wall return vent.
Step 3: Prepare the Ductwork
Before installing the wall return vent, you will need to attach it to the ductwork. Start by measuring and cutting a section of ductwork that fits into the opening of your wall. Use clamps to hold the cut piece in place while you make any necessary adjustments for a proper fit.
Once you have achieved an accurate measurement, use duct tape to secure any connections between the pieces of ductwork.
Step 4: Mount the Return Grille
After preparing the ductwork, it’s time to mount the return grille. Begin by positioning the grille over the opening you created in the wall, ensuring that it aligns properly with the duct collar. Once in place, use the screws from your wall return vent kit to secure the grille to the wall.
It’s essential to tighten the screws adequately to prevent any movement or vibration of the grille during operation. To ensure a neat appearance, take a moment to check that the grille is level and adjust as necessary before fully tightening all screws. Once mounted, the return grille should sit flush against the wall, completing this part of the installation process.
Step 5: Connect the Ductwork to the Return Grille
Now that both the wall opening and return grille are in place, it’s time to connect the ductwork. Start by inserting one end of the ductwork into the duct collar on your return grille and securing it with duct tape.
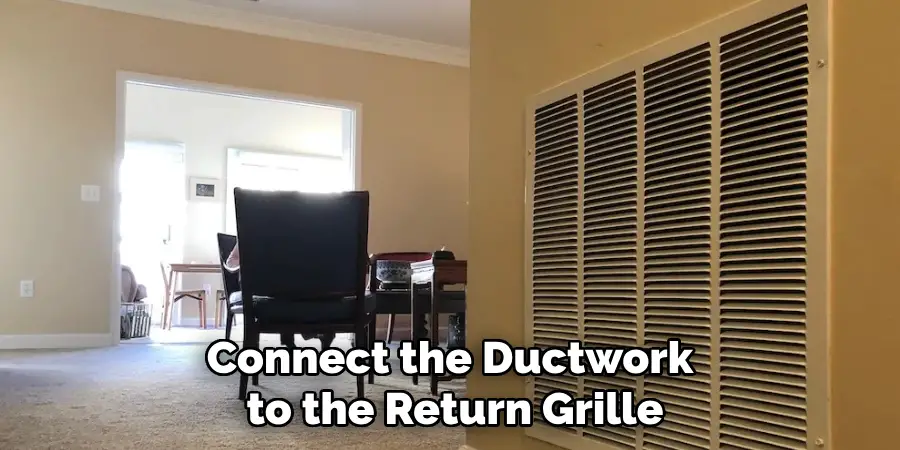
Then, carefully guide the other end of the ductwork through the wall opening, making sure that it is properly positioned in place. Use clamps if needed to support any connections between sections of ductwork inside your walls.
Step 6: Seal Any Gaps
Ensuring that the installation is airtight is crucial for maintaining optimal airflow and energy efficiency in your home. After connecting the ductwork to the return grille and ensuring everything is securely in place, take a moment to inspect for any gaps or spaces between the ductwork and the wall. Use duct tape to seal these gaps, as this will prevent air leaks that can reduce the overall effectiveness of your heating and cooling system.
Additionally, check around the return grille to ensure it is snug against the wall; if you notice any spaces, apply caulk or foam sealant to create a tight seal. Taking the time to properly seal any gaps will enhance the performance of your wall return vent and contribute to a more comfortable living environment.
Step 7: Test the Vent
With the installation complete, it’s time to test your new wall return vent. Turn on your heating or cooling system and observe airflow through the vent. If you notice any issues such as weak airflow or strange noises, double-check all connections and seal any gaps that may have been missed.
If everything is functioning correctly, allow your system to run for a few hours before performing any final adjustments or tweaks. In some cases, minor adjustments may be necessary to achieve optimal airflow throughout your home.
Step 8: Final Inspection and Maintenance
After allowing your system to run for a few hours, perform a final inspection of your newly installed wall return vent. Check for any unusual noises or vibrations, and ensure that the vent is securely in place.
Additionally, take this opportunity to clean any dust or debris from around the grille and ductwork openings to maintain proper airflow.
Following these eight steps will guide on how to install a wall return vent you through the process of installing a wall return vent, ensuring optimal air circulation in your home and contributing to a more comfortable living environment. Remember to always prioritize safety when performing any installation or maintenance tasks and consult a professional if necessary.
Frequently Asked Questions
Q: What is a Wall Return Vent?
A: A wall return vent is a type of air vent that pulls air from inside a room and returns it to the heating or cooling system to be recirculated. They are typically installed on interior walls and allow for proper air circulation in a home.
Q: Why is a Wall Return Vent Important?
A: A wall return vent is essential for maintaining proper air balance and circulation in a home, which contributes to comfortable living environments and helps prevent potential HVAC issues such as uneven heating or cooling. They also play a crucial role in maintaining energy efficiency by allowing the heating or cooling system to function properly.
Q: Can I Install a Wall Return Vent on My Own?
A: While it is possible to install a wall return vent on your own, it is recommended to consult a professional for proper installation. This will ensure that the vent is installed correctly and safely, and any potential issues can be addressed promptly.
Q: How Often Should I Replace my Wall Return Vent?
A: It’s essential to regularly check the condition of your wall return vent and replace it if there are any signs of damage. Additionally, HVAC professionals recommend replacing air vents every 10-15 years to maintain optimal performance and air quality in your home.
Conclusion
In conclusion, installing a wall return vent can significantly improve the efficiency of your home’s heating and cooling system. By following the outlined steps on how to install a wall return vent, you ensure that airflow is optimized, contributing to a more comfortable environment throughout your living space. Regular maintenance and inspections of your vent will help sustain its performance and longevity.
Should you encounter any difficulties during the installation process, don’t hesitate to reach out to a professional for assistance, as their expertise can provide valuable support. With your new wall return vent in place, you can enjoy enhanced air circulation and a more pleasant atmosphere in your home.

