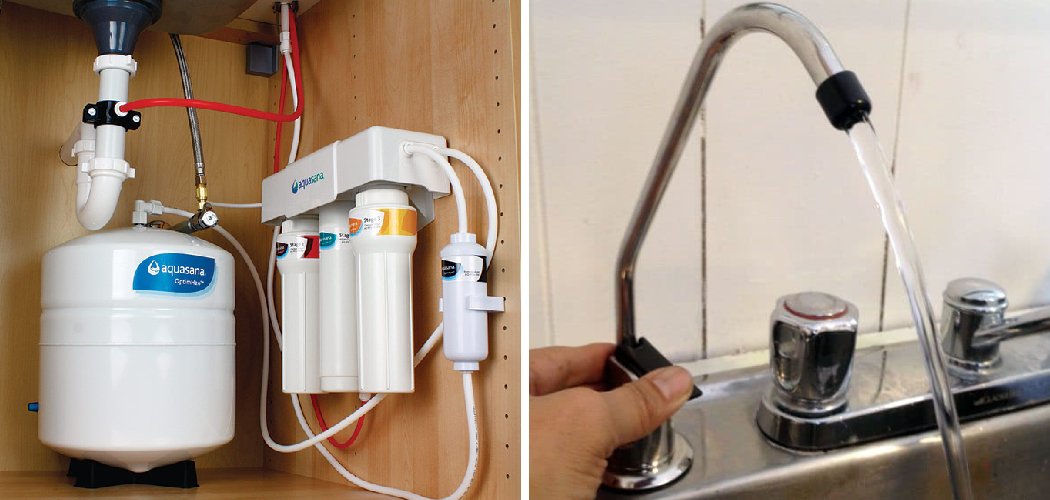
Water filter faucets are an excellent addition to any modern kitchen, offering clean and purified water directly from your sink. These innovative fixtures provide a convenient, eco-friendly, and cost-effective alternative to bottled water, reducing your dependence on single-use plastics and promoting a sustainable lifestyle.
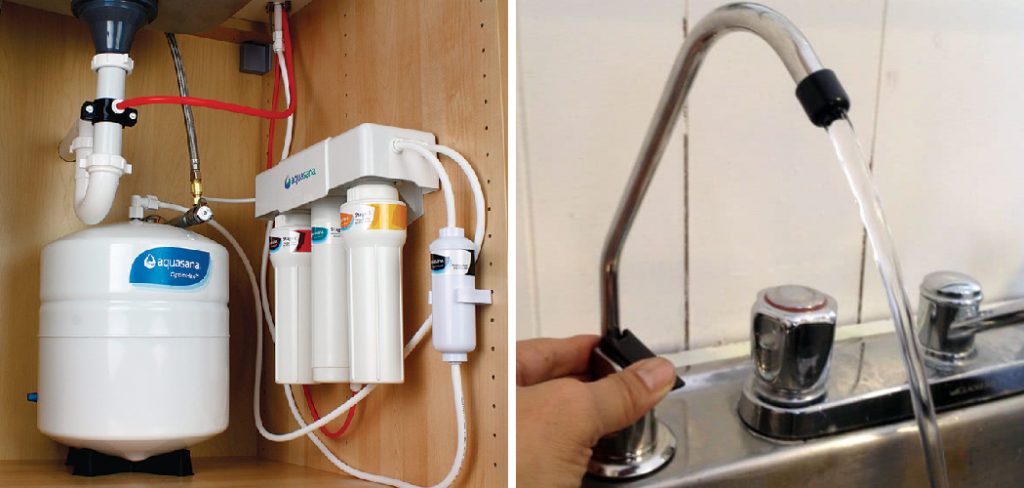
The benefits of installing a water filter faucet go beyond environmental impact—filtered water enhances the taste and quality of your drinking water, contributing to better overall health. Whether you are upgrading your kitchen or simply looking for a way to access healthier drinking water, this article will guide you through how to install a water filter faucet. From gathering the necessary tools to troubleshooting common issues, this step-by-step guide will empower you to complete the installation process with confidence and ease.
Materials and Tools Needed
Materials
- Water filter faucet: Choose a model compatible with your sink for seamless installation.
- Water filter cartridge: Ensure the cartridge is compatible with your chosen faucet for optimal performance.
- Teflon tape: Useful for sealing threaded connections to prevent leaks.
- Flexible supply lines: Necessary to connect the faucet to your water supply.
- Mounting hardware: Typically included with the water filter faucet; check packaging to confirm.
Tools
- Adjustable wrench: Ideal for loosening and tightening connections securely.
- Drill and drill bits: Use these if you need to create mounting holes for the faucet.
- Bucket or towel: To catch any drips or water during the installation process, keeping your workspace clean.
- Phillips and flathead screwdrivers: Necessary for securing screws and tightening components.
- Measuring tape: Ensures accurate placement of the faucet and proper alignment during installation.
Gathering all the required materials and tools beforehand will save time and make the installation process smoother. It helps to double-check the compatibility of your faucet and cartridge to avoid complications during setup.
Preparing for Installation
Step 1: Turn off the Water Supply
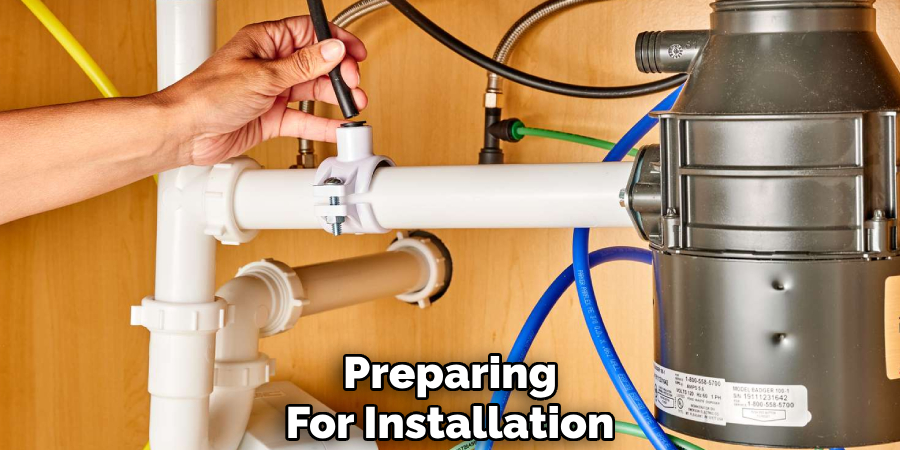
Locate the water supply valves under your sink and turn them off to stop the flow of water. Twist the valves clockwise until they are fully closed. This crucial step helps prevent water leaks and ensures a safe installation process.
Step 2: Remove Existing Faucet (if applicable)
If you are replacing an old faucet, start by disconnecting the water supply lines connected to the faucet. Use an adjustable wrench to loosen and remove the connections carefully. Once the connections are detached, remove the existing faucet from the sink. Be prepared for some remaining water in the pipes by placing a towel or small bucket underneath to catch any drips. Ensure the area is clean and free of debris before proceeding.
Step 3: Read the Instructions
Before beginning the installation of your new water filter faucet, take the time to review the manufacturer’s instructions included with your product. Each faucet model may have specific requirements or assembly details that are essential for a proper and efficient setup. Familiarizing yourself with these instructions will help you avoid mistakes and ensure a smooth installation process.
How to Install a Water Filter Faucet: Installing the Faucet
Step 1: Position the Faucet Base
Place the faucet base on the sink or countertop where you want to install it. Ensure the faucet is positioned for easy access and that it doesn’t obstruct any other sink fixtures. Take a moment to adjust the alignment so that it faces the direction you’ll most commonly need, making usage practical and comfortable.
Step 2: Mark Drilling Holes (if needed)
If your sink doesn’t have a pre-existing hole for the faucet, use a measuring tape to determine the correct placement. Mark the area accurately to avoid errors. Once marked, use a drill with the appropriate drill bit size to create a hole that fits the faucet base. Make sure to wear protective gear and proceed carefully to prevent accidental damage to the sink or countertop.
Step 3: Attach the Faucet Base
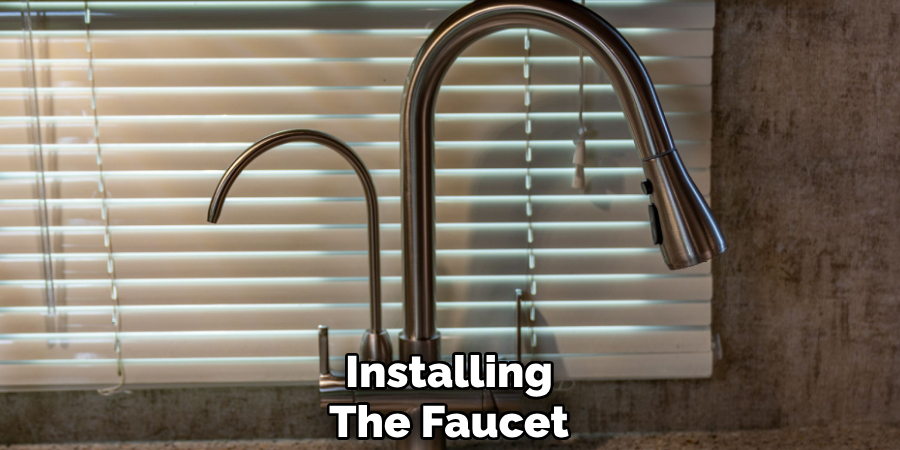
Secure the faucet base to the sink or countertop using the mounting hardware provided in the package. Depending on the model, this may involve placing a rubber gasket between the base and the sink for a watertight seal. From underneath the sink, tighten the mounting nut to hold the faucet firmly in place. Check that the faucet is sturdy and correctly aligned before moving to the next step.
Step 4: Install the Filter Cartridge
If your faucet includes a removable filter cartridge, insert it into the faucet housing as instructed by the manufacturer. Ensure the cartridge is properly seated and securely locked to avoid leaks. This step may vary based on the faucet model, so refer to the detailed instructions provided in the product manual for accuracy.
Connecting the Water Supply Lines
Step 1: Attach the Flexible Water Lines
Connect the flexible water supply lines to the faucet’s inlet valves and the shutoff valves located under the sink. Begin by identifying which line connects to the hot water valve and which to the cold water valve. Wrap the threaded ends of the connections with Teflon tape to ensure a watertight seal and reduce the risk of leaks. This step is crucial, as improper sealing can lead to water damage or pressure issues over time.
Step 2: Tighten the Connections
After attaching the supply lines, use an adjustable wrench to tighten the connections. Turn the wrench clockwise to secure the fittings, ensuring they are snug. However, take care not to overtighten, as this can strip the threads or crack the fittings, leading to possible leaks or requiring replacement parts. Check the tightness of each fitting by hand to confirm they are secure but not excessively tight.
Step 3: Connect the Filter
For faucet models that include an additional water filter attachment, locate the filter’s designated hose connection point. This may be at the faucet’s inlet or through a dedicated filter port designed for your model. Attach the filter’s hose securely by following the product’s manual, ensuring the hose is firmly in place.
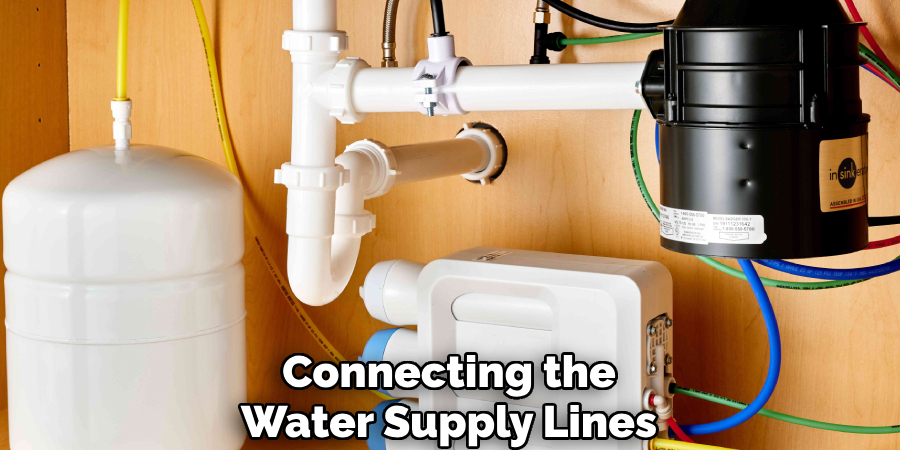
A secure connection is critical to prevent leaks and to maintain proper filtration functionality. Double-check all hose fittings and connections to verify that everything is installed correctly before proceeding to the next step.
Testing the Faucet and Checking for Leaks
Step 1: Turn on the Water Supply
Slowly turn on the water supply valves located under the sink. This gradual adjustment is crucial to prevent a sudden surge of water pressure, which could potentially damage the filter or its connections.
Step 2: Test the Faucet
Turn on the newly installed water filter faucet and allow the water to flow. Check for consistent water pressure and ensure there are no irregularities in the flow. If your faucet has a dedicated lever or switch for dispensing filtered water, test both regular tap water and the filtered water functions to confirm everything is operating correctly.
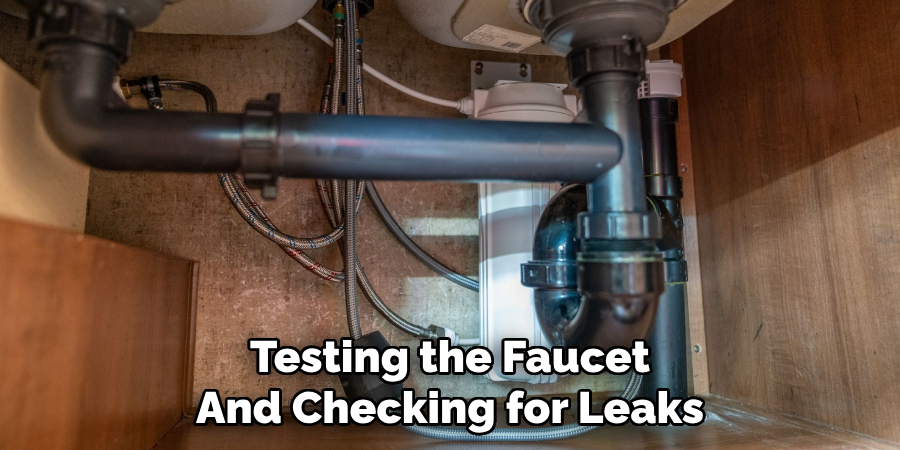
Step 3: Check for Leaks
Thoroughly inspect all connection points, including the hose fittings and the faucet’s base, for any signs of leaks. If leaks are detected, carefully tighten the connections until secure. Should the leaks persist, disconnect the fittings, apply additional Teflon tape to the threaded areas, and retighten the connections. Once everything is firmly in place, perform another leak inspection to ensure the system is fully sealed and functioning as expected.
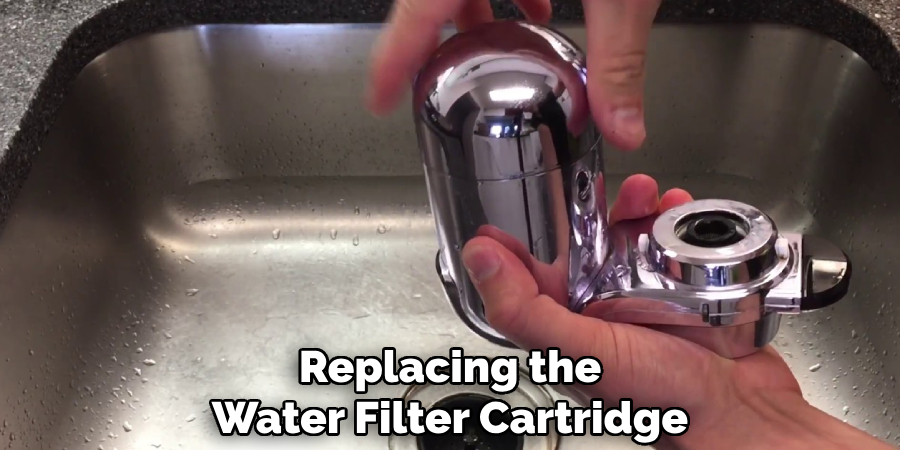
Replacing the Water Filter Cartridge
Replacing the water filter cartridge is essential to maintaining a clean and efficient filtration system. Begin by turning off the water supply to prevent any spills or leaks during the process. Place a bucket or towel beneath the filter housing to catch any residual water that may escape when the cartridge is removed.
Carefully unscrew the filter housing using a filter wrench or by hand, depending on your system’s design. Remove the used cartridge and dispose of it responsibly. Before installing the new cartridge, inspect the O-ring for signs of wear or damage. If necessary, replace the O-ring to ensure a proper seal. Apply a small amount of silicone lubricant to the O-ring to prevent cracking and ease reassembly.
Insert the new water filter cartridge into the housing, ensuring it is centered and seated correctly. Reattach the filter housing by screwing it back into place securely. Once the housing is tightened, turn on the water supply gradually and inspect the system for any leaks around the filter housing. If no leaks are present, flush the system by running water through the filter for several minutes to remove any loose carbon particles or manufacturing residues from the new cartridge. Regularly replacing the filter ensures optimal water quality and system longevity.
Troubleshooting Common Installation Issues
Low Water Pressure
If you encounter low water pressure after installing the filter, start by checking the filter cartridge for any blockages or improper installation. Ensure that it is seated correctly within the housing. Additionally, verify that the water supply lines are fully open and free of kinks or obstructions, as restricted water flow can cause pressure issues.
Leaking Connections
Leaking connections can typically be resolved by ensuring all connections are securely tightened. For threaded connections, apply Teflon tape to help create a watertight seal. Inspect the O-rings in the filter housing and faucet connections for signs of wear, cracking, or damage. Replace any compromised O-rings to prevent future leaks.
Water Flow Issues
If water flow is inconsistent or completely stopped, investigate for airlocks or blockages in the hoses or faucet. Remove the faucet aerator or screen to check for buildup or debris and clean it thoroughly. These small components can frequently become clogged, impacting water flow. Proper maintenance and attention to these elements will ensure the filter system functions efficiently.
Conclusion
Installing a water filter system is a straightforward process when approached methodically. Start by turning off the water supply to avoid any leaks or spills. Next, carefully install the faucet and ensure it is securely in place. Connect the water lines properly, paying attention to the fittings and avoiding overtightening.
Finally, test for leaks by slowly turning the water back on and inspecting all connections. For optimal performance, remember to regularly replace the water filter cartridge as recommended by the manufacturer. Always follow safety guidelines and manufacturer instructions to achieve a successful installation and enjoy reliable, high-quality water for years to come. Thanks for reading our post about how to install a water filter faucet.

