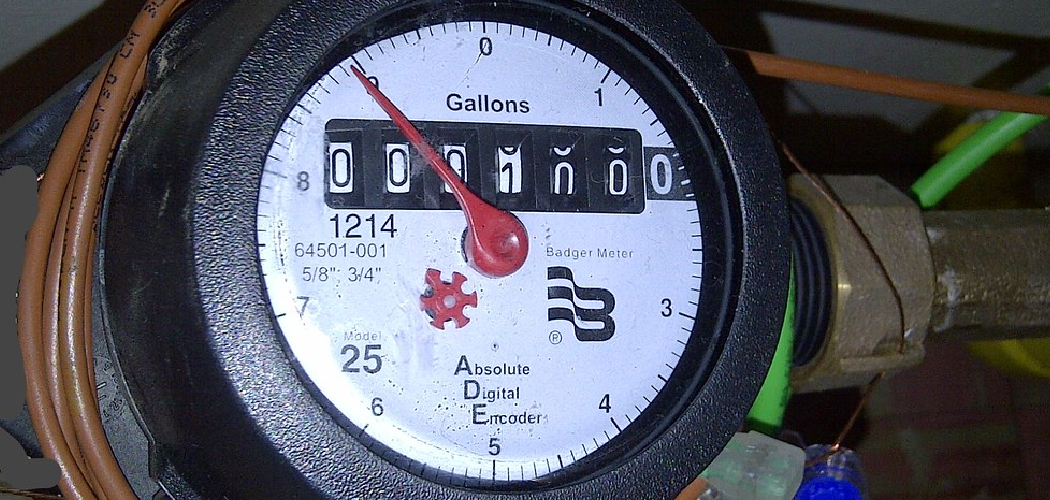
Are you a homeowner who wants to monitor your water usage closely? Or perhaps you’re a landlord or property manager looking to bill tenants for their water consumption accurately.
How to install a water meter is an essential step for monitoring water usage and managing water bills efficiently. Whether you’re aiming to promote environmental conservation or track consumption for cost savings, a properly installed water meter can provide accurate readings and invaluable insights.
This guide will walk you through the process, ensuring the installation is performed safely and correctly. Additionally, we’ll provide tips for maintaining and troubleshooting your water meter to ensure long-term functionality.
By following these steps, homeowners and property managers can optimize water usage and comply with local regulations.
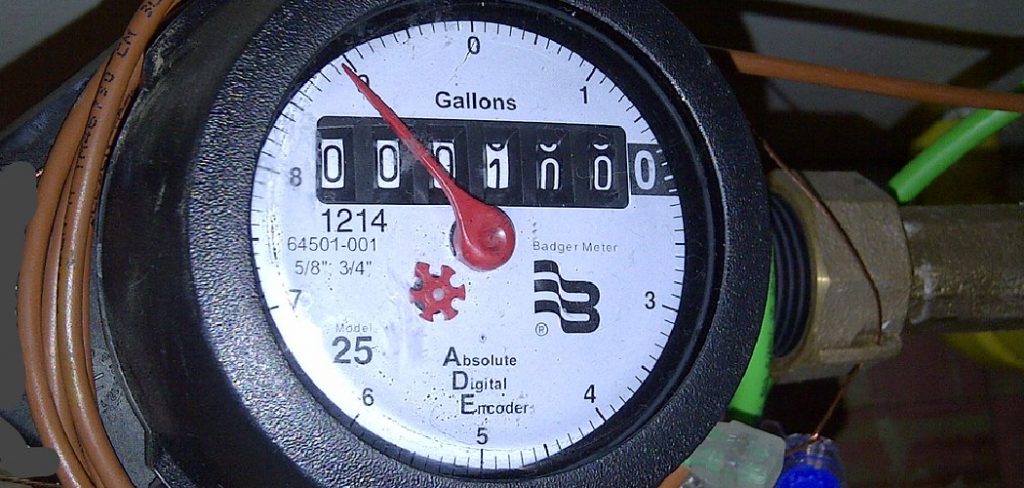
Why Install a Water Meter?
Installing a water meter offers numerous benefits for both landlords and tenants. Here are some reasons why you should consider installing a water meter in your rental property:
- Accurate Billing: With individual water meters installed, each tenant will be billed separately for their water usage, eliminating discrepancies or confusion. This ensures that tenants only pay for the amount of water they use.
- Incentivize Water Conservation: By paying for their water usage, tenants are more likely to be conscious and mindful of their consumption. This can lead to reduced water usage and lower utility bills for the tenant and landlord.
- Detect Leaks and Reduce Costs: Installing a water meter allows you to monitor water usage in real time, making detecting leaks or abnormalities easier. This can save you money on potential repairs and also helps conserve water resources.
- Promote Fairness: For multi-unit properties, installing individual meters promotes tenant fairness. It ensures that each tenant pays for the exact amount of water they consume rather than splitting the bill evenly among all tenants.
- Encourage Sustainable Practices: By having to pay for their water usage, tenants are more likely to adopt sustainable practices such as fixing leaks and using water-efficient appliances. This not only benefits the environment but also reduces maintenance costs for landlords.
- Increase Property Value: Properties with individual water meters are more attractive to potential buyers or renters because they allow them to have better control over their expenses. It also shows that the landlord is conscious about resource conservation and promoting responsible consumption.
What Tools and Materials Will You Need?
To properly install individual water meters in a multi-unit property, here are the tools and materials you will need:
Tools:
- Water meter key or wrench
- A pipe cutter or hacksaw
- Teflon tape
- Screwdriver
- Adjustable pliers
- Pipe threader (if required)
- PEX crimping tool (if using PEX pipes)
Materials:
- Individual water meters for each unit (be sure to check with your local utility company for approved models)
- Pipes and fittings (either copper, brass, or PEX, depending on your preference and building codes)
- Shut-off valves for each meter
- Meter couplings/adapters if needed to connect meters to existing pipes
- Pipe insulation (if desired)
- Hose bibs or faucets for outdoor water access
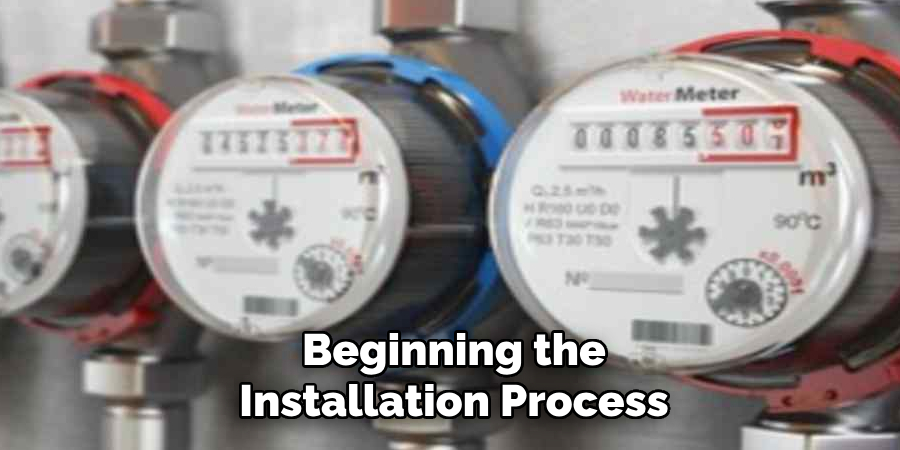
8 Easy Steps on How to Install a Water Meter
Step 1: Gather All Necessary Materials and Tools
Before beginning the installation process, ensure you have all required materials and tools readily available. Refer to the materials list provided earlier and double-check that you have everything, such as the water meters, appropriate pipes, fittings, shut-off valves, and insulation if needed.
Additionally, gather tools like wrenches, pipe cutters, a drill, and Teflon tape for sealing connections. Preparing all items in advance will streamline the installation and help avoid delays during the process. Lastly, check local building codes and regulations, as they may require specific materials or installation guidelines.
Step 2: Shut Off the Water Supply
Before proceeding with the installation, shutting off the main water supply is crucial to prevent any accidental leaks or flooding during the process. Locate the main water shut-off valve, which is typically found near the water meter or where the main water line enters the building. Turn the valve clockwise to close it entirely.
After shutting off the water supply, open the faucets throughout the house to drain any residual water left in the pipes. This step ensures the system is depressurized, making it safer and easier to work on the plumbing connections. If you’re unsure of the location of the shut-off valve or encounter difficulties, consider consulting with a professional plumber to avoid potential issues. These precautions will set the foundation for a smooth and secure installation process.
Step 3: Removing the Old Faucet
Now that the water supply is shut off and the system is depressurized, it’s time to remove the old faucet. Start by removing any decorative hardware such as handles or caps covering screws. Then, use a wrench or pliers to loosen and remove any mounting nuts holding the faucet in place.
Once all mounting nuts are removed, carefully lift the old faucet from the sink or countertop. Be sure to have a bucket or towel nearby to catch any remaining water from the pipes. Inspect the area where the faucet was attached for any debris or buildup that needs to be cleaned before installing the new faucet.
Step 4: Installing the New Faucet
Begin by inserting the new faucet’s supply lines through the mounting holes in the sink or countertop. Ensure the faucet is aligned correctly according to the manufacturer’s instructions, and double-check that it is positioned straight
If your faucet includes a gasket or rubber seal, place it between the faucet base and the sink to prevent leaks. Secure the faucet by tightening the mounting nuts from underneath the sink—this may require an adjustable wrench or basin wrench for tight spaces. Be cautious not to overtighten, as this could damage the faucet or sink surface.
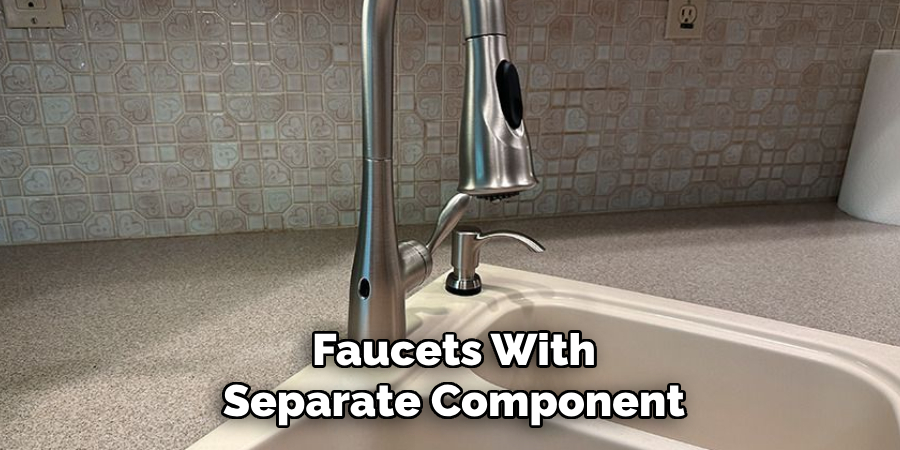
For faucets with separate components, such as side sprayers or handles, follow the specific installation instructions included with the product. Connect the supply lines to the appropriate hot and cold water valves, ensuring the connections are threaded correctly and snugly.
Step 5: Test the Faucet
Once the faucet is securely installed, testing it before using it regularly is essential. Turn on the water supply and check for any leaks or drips around the base of the faucet, handles, and supply lines. You may need to tighten connections or replace faulty parts if there are any issues.
Next, turn on the hot and cold water separately to ensure both sides function correctly. Check for proper water flow and temperature control by adjusting the handle(s). Finally, test any additional components, such as a side sprayer or pull-out hose, to ensure they function correctly.
Step 6: Final Cleanup
Once you have confirmed that the faucet is functioning correctly, take the time to clean up the area and ensure everything is in pristine condition. Start by wiping down the faucet and sink area with a soft, damp cloth to remove any smudges, fingerprints, or debris that may have accumulated during installation.
Check for any tools, packaging materials, or leftover parts and store or dispose of them properly. Make sure to clean out the sink and surrounding countertop to leave the workspace tidy. Inspect the cabinet or space beneath the sink for any signs of water or debris that might have been overlooked.
Taking these final cleanup steps not only ensures a polished appearance but also helps prevent any unnecessary maintenance issues.
Step 7: Test the Installation
Before considering the installation process complete, thoroughly test the newly installed fixture or appliance. Turn on the water supply and check for leaks around connections, joints, or seals. Run both hot and cold water to ensure proper flow and temperature control.
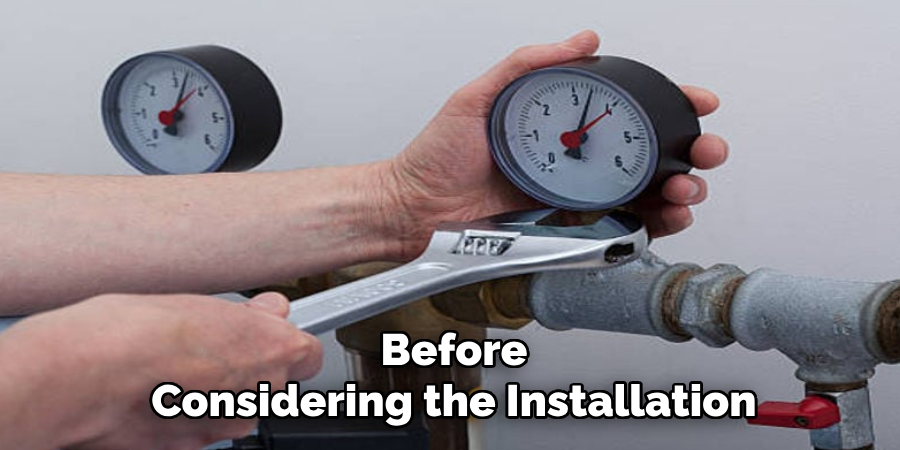
Additionally, the water pressure must be inspected to confirm it meets the desired levels. Test other features, such as sprayers or filters, if applicable, to verify they function correctly. Address any issues immediately to prevent future problems. This step guarantees that the installation functions as intended and is ready for regular use.
Step 8: Keep Maintenance in Mind
Proper maintenance is key to extending the longevity and performance of your installation. Regularly clean all components to prevent the buildup of debris, lime scale, or mold, especially in areas exposed to water. Check for any wear and tear on seals, joints, and connections, as small issues can escalate into more significant problems if left unattended.
Schedule periodic inspections to ensure all features, such as filters, sprayers, or valves, remain in optimal working condition. Additionally, consult the manufacturer’s guidelines for recommended maintenance tips specific to your product. Staying proactive with upkeep will save time and money while ensuring the installation continues functioning effectively for years to come.
By following these best practices, your irrigation system will provide reliable and efficient water distribution for your landscape.
Conclusion
How to install a water meter is a straightforward process when you follow the proper steps and guidelines.
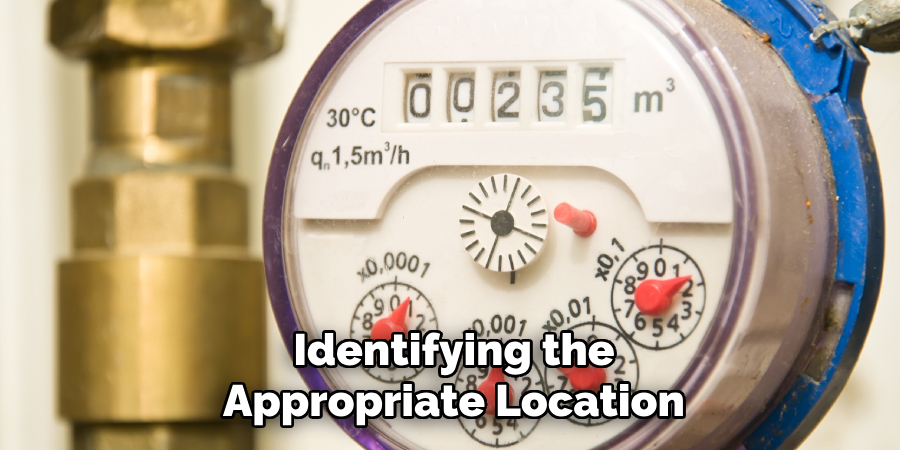
Begin by identifying the appropriate location for the meter, ensuring it is easily accessible and complies with local regulations. Properly shut off the water supply before installation to avoid leaks or damage. Securely attach the meter to the water line, ensuring all connections are tight and free of obstructions. Finally, the system will be tested to confirm accurate water flow and functionality.
With careful preparation and attention to detail, your water meter installation will enhance water usage tracking and promote efficient water management for your property.

