Installing an American Standard toilet seat is a straightforward process that can be completed with just a few basic tools.
Whether you’re replacing an old seat or installing one for the first time, this guide on how to install american standard toilet seat will walk you through each step to ensure a secure and proper fit. With a little time and effort, you can enhance the comfort and functionality of your bathroom.
Why Choose an American Standard Toilet Seat?
- American Standard is a well-known and trusted brand for quality bathroom fixtures.
- They offer a variety of toilet seat styles, including standard round and elongated seats, as well as special features such as soft-close hinges and antimicrobial properties.
- American Standard toilet seats are made from durable materials that can withstand daily use.
- The brand also offers a warranty on its products, providing peace of mind for consumers.
- Installing an American Standard toilet seat can help improve the overall aesthetic of your bathroom, as they come in various colors and designs to match any decor.
Tools You Will Need:
Measuring Tape:
Before purchasing a new toilet seat, it is important to measure your current toilet bowl’s dimensions to ensure a proper fit. Most American Standard toilet seats are designed to fit standard round or elongated bowls, but it’s always best to double-check.
Adjustable Wrench:
An adjustable wrench will come in handy for removing the old toilet seat and installing the new one.
Screwdriver:
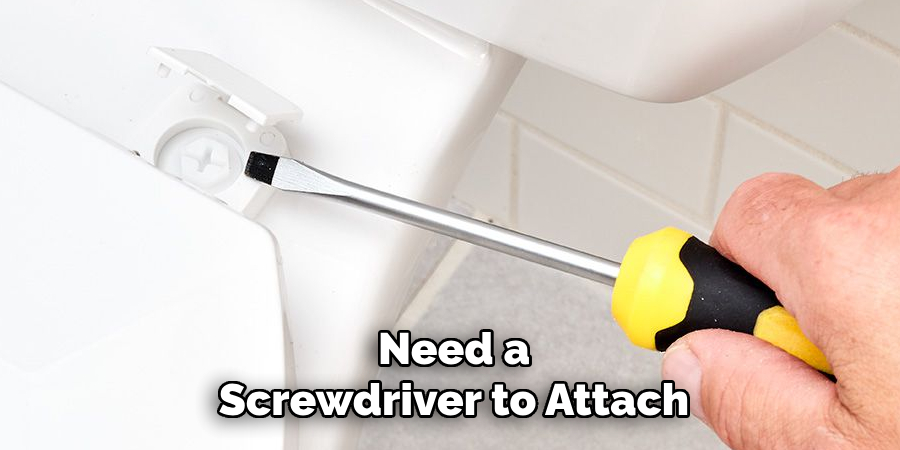
You may need a screwdriver to loosen any screws or bolts that are holding the old seat in place. Depending on your specific model of American Standard seat, you may also need a screwdriver to attach the new seat’s hinges to the bowl.
Penetrating Oil (optional):
If your toilet seat’s bolts are rusted or stuck, using a penetrating oil can help loosen them for easier removal.
8 Step-by-step Guides on How to Install American Standard Toilet Seat:
Step 1: Remove the Old Seat
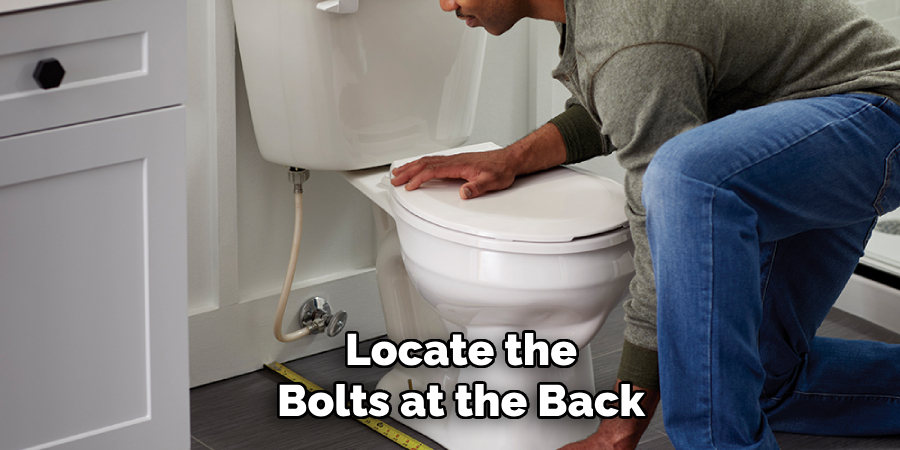
Begin by closing the toilet lid and locating the bolts at the back of the toilet seat, which secures it to the bowl. Use your adjustable wrench to loosen the nuts underneath the bowl that are attached to these bolts. If the bolts are particularly tight or rusted, apply penetrating oil and wait a few minutes to allow it to work.
Once the nuts are loose, carefully remove them along with the bolts, and then lift the old seat off the toilet. Dispose of the old seat and hardware properly. This step prepares the toilet for installing the new American Standard seat.
Step 2: Prep the New Seat
Before attaching the new American Standard toilet seat, ensure all parts provided in the packaging are accounted for. This typically includes the seat, lid, hinges, bolts, and nuts. Inspect the components for any damage or defects. If the seat has adjustable hinges, take a moment to adjust them for a proper fit to match your toilet bowl’s dimensions.
Follow any specific instructions included with your seat to ensure the hardware is configured correctly. This preparation step is crucial for a smooth and secure installation process.
Step 3: Position the Seat
Position the new seat onto the toilet bowl, making sure it is aligned properly. The hinges should be facing towards the front of the bowl. The seat should fit securely over the holes in the bowl where you removed the old bolts.
You may need to adjust the seat slightly to ensure it is centered and straight. This step is important for a comfortable and functional toilet seat.
Step 4: Attach the Bolts
Insert the new bolts provided with your American Standard toilet seat through the holes in the hinges and into the corresponding holes in the toilet bowl. Ensure the bolts are placed securely and are properly aligned. Once the bolts are in place, hand-tighten the nuts onto the underside of the bolts to hold the seat loosely in position.
Use your adjustable wrench or screwdriver to tighten the bolts further, but avoid overtightening as this could cause damage to the seat or the toilet bowl. Tighten each side evenly, checking periodically to ensure the seat remains aligned and centered. Properly securing the bolts ensures that the seat is stable and won’t shift during use.
Step 5: Attach the Lid (If Applicable)
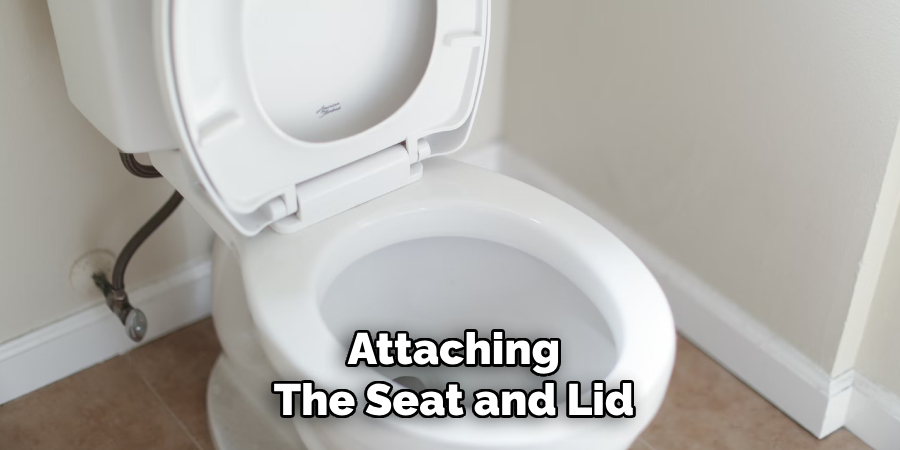
If your American Standard toilet seat comes with a lid, this is the stage to attach it. Align the lid with the hinges on the seat while ensuring the hinge screws are properly positioned. Depending on the model, the lid may slide into place or require attachment using additional screws or clips provided in the package.
Secure the lid firmly by tightening any necessary hardware, but be careful not to overtighten it as this could damage the components. Ensure the lid moves smoothly and opens and closes without restriction. Properly attaching the lid adds to the seat’s functionality and completes the installation process.
Step 6: Check for Stability
After attaching the seat and lid, gently push the toilet seat to ensure it is securely in place. If there is any movement or wiggling, check that the bolts are properly tightened and adjusted.
If necessary, reposition the seat slightly to eliminate any instability. A secure and stable toilet seat will provide comfort and safety during use.
Step 7: Test the Hinges (If Applicable)
If your American Standard toilet seat has adjustable hinges, take a moment to test them by lifting and lowering the seat several times. The hinges should smoothly adjust without any difficulty or resistance. If you notice any issues with the hinges, refer back to the instructions that came with your seat to ensure proper configuration.
You may also need to adjust the hinges if the seat does not open and close easily or stays in an awkward position. Properly functioning hinges improve the overall functionality of your toilet seat.
Step 8: Enjoy Your New American Standard Toilet Seat!
After following these steps, you should now have a properly installed American Standard toilet seat in your bathroom. Take a moment to admire its design and functionality, knowing that it was securely installed using this step-by-step guide. Now it’s time to enjoy your new seat and all its benefits for years to come!
Following these simple steps on how to install american standard toilet seat ensures that your new American Standard toilet seat is installed correctly and provides comfort, stability, and functionality for you and your family. Remember to always refer back to the instructions provided with your specific model for any additional guidance or tips. Enjoy your new American Standard toilet seat!
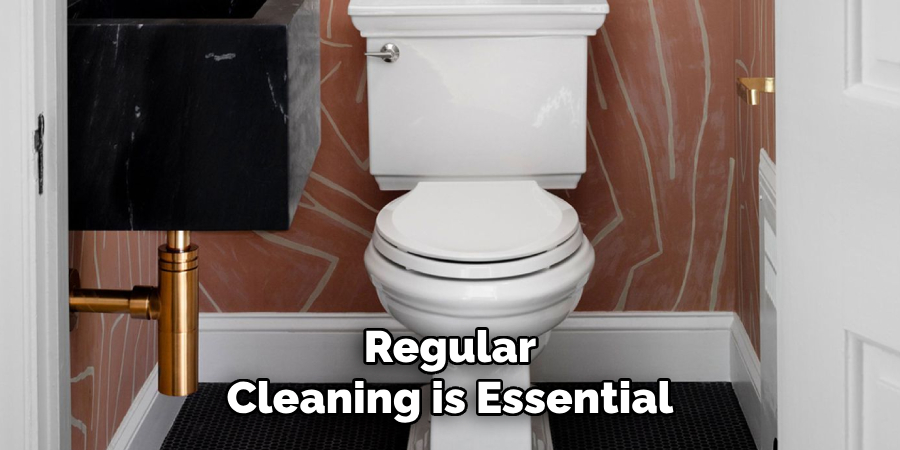
Additional Tips for Maintaining Your American Standard Toilet Seat:
- Regular cleaning is essential for maintaining the appearance and hygiene of your American Standard toilet seat. Use non-abrasive cleaners and avoid harsh chemicals to prevent damage.
- Check the tightness of the bolts periodically, as they may loosen over time with regular use. If you notice any wobbling or movement, tighten the bolts as needed.
- Avoid sitting on the lid or using it as a stepstool, as this can cause damage and affect the stability of your toilet seat.
- If you have any issues with your American Standard toilet seat, refer back to the manufacturer’s warranty for guidance on repairs or replacements. Overall, proper installation and maintenance will ensure that your American Standard toilet seat remains in excellent condition for years to come. Happy toilet seating!
Frequently Asked Questions:
Q: Can I Install My American Standard Toilet Seat on Any Toilet Bowl?
A: It is recommended to use an American Standard toilet seat with an American Standard toilet bowl for the best fit and stability. However, if the dimensions match and all parts are compatible, you can install an American Standard toilet seat on a different brand of toilet bowl.
Q: How Do I Remove My Old Toilet Seat?
A: To remove your old toilet seat, locate the bolts at the back of the seat and use a screwdriver or wrench to unscrew them. Once the nuts are removed, lift the old seat off the hinges and discard it properly. Clean and prepare the area before installing your new American Standard toilet seat.
Q: What Is the Best Way to Clean My American Standard Toilet Seat?
A: Use non-abrasive cleaners and avoid harsh chemicals when cleaning your American Standard toilet seat. Wipe it down regularly with a mild soap and water solution and dry it thoroughly to prevent any damage.
Q: How Do I Adjust the Hinges on My American Standard Toilet Seat?
A: Refer back to the instructions that came with your specific model for guidance on adjusting the hinges. Most can be adjusted by loosening or tightening a screw located at the hinge joint. Make sure to test the seat after making any adjustments to ensure proper function.
Conclusion
Installing an American Standard toilet seat is a straightforward process that can be completed with basic tools and a little patience. By following the step-by-step instructions outlined in this guide on how to install american standard toilet seat, you can ensure a secure, stable, and functional installation.
Proper care and maintenance will help extend the life of your toilet seat, keeping it looking great and performing well for years to come. Whether you’re upgrading your bathroom or replacing a worn-out seat, your new American Standard toilet seat is designed to provide comfort, durability, and an enhanced user experience. Thank you for choosing American Standard, and enjoy the benefits of your new toilet seat!

