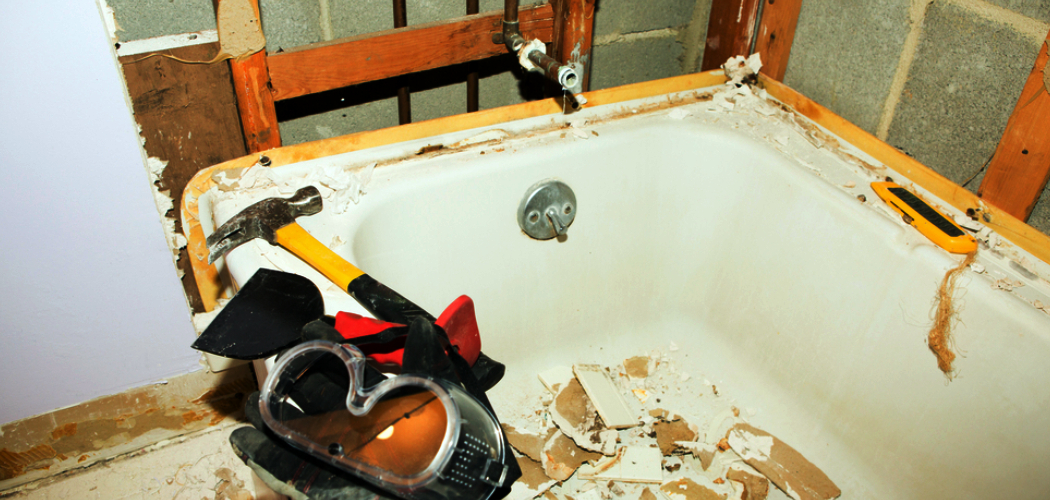
Installing an alcove tub can be a rewarding home improvement project that enhances both functionality and aesthetics in your bathroom. Whether you’re renovating your space or replacing an old tub, proper installation ensures durability and optimal performance. This guide will walk you through the essential steps and tips for how to install an alcove tub like a professional. Make sure to gather all necessary tools and materials before starting, and always prioritize safety throughout the process.
Benefits of Installing an Alcove Tub
Installing an alcove tub comes with a variety of benefits, making it a popular choice for many homeowners. One of the most significant advantages is its space-saving design. Alcove tubs are designed to fit snugly between three walls, making them ideal for small or compact bathrooms. This setup also provides practical storage opportunities, as the surrounding walls can support shelves or built-in features.
Additionally, alcove tubs are cost-effective compared to other styles, offering durability and functionality without breaking the budget. Their versatile design complements a wide range of bathroom aesthetics, from modern to traditional. Lastly, the enclosed layout helps contain water, reducing splashes and making cleanup easier, which is especially valuable for households with children or frequent bathers.
Why Choose an Alcove Tub
An alcove tub is one of the most practical and versatile choices for today’s bathrooms. Its efficient use of space makes it a top pick for homeowners looking to maximize utility without sacrificing style. Ideal for both bathing and showering, the alcove tub serves as a multi-functional solution that works well for families, couples, and individuals alike. Its three-wall installation design not only helps with space management but also provides a clean and cohesive look.
Additionally, the affordability of alcove tubs makes them accessible for a wide range of budgets, while their sturdy construction ensures they can withstand daily use for years to come. For those seeking a balance of function, form, and cost-effectiveness, the alcove tub is an excellent choice.
10 Methods How to Install an Alcove Tub
1. Measuring and Preparing the Space
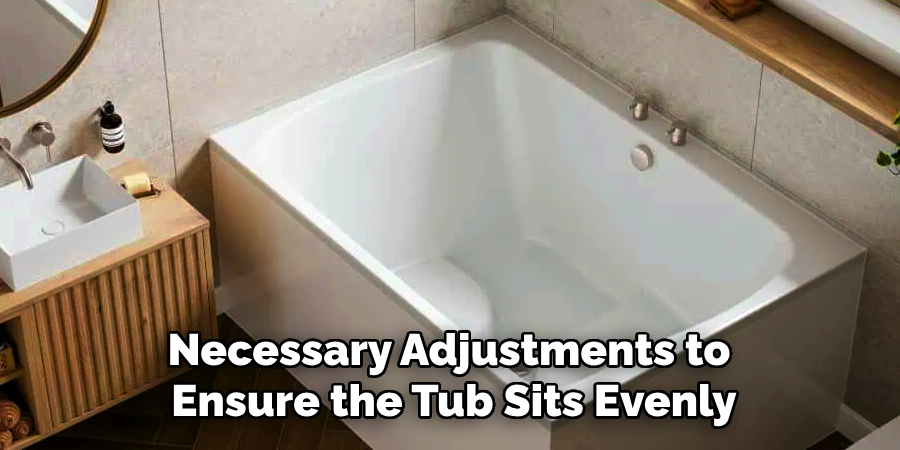
Before beginning installation, accurate measurements of the alcove area must be taken to ensure the tub fits properly. Measure the width, depth, and height of the space, allowing for any required clearance. Check that the floor is level and make any necessary adjustments to ensure the tub sits evenly. Remove any old fixtures, plumbing, or debris that might obstruct the installation.
2. Ensuring Proper Drain and Plumbing Alignment
The drain and plumbing connections should align with the new tub’s specifications. Before placing the tub in position, verify that the drain hole, overflow pipe, and water supply lines match the existing plumbing. If adjustments are needed, install new pipes or fittings to create a seamless connection. Using plumber’s tape and sealant on threaded connections helps prevent leaks.
3. Installing a Ledger Board for Support
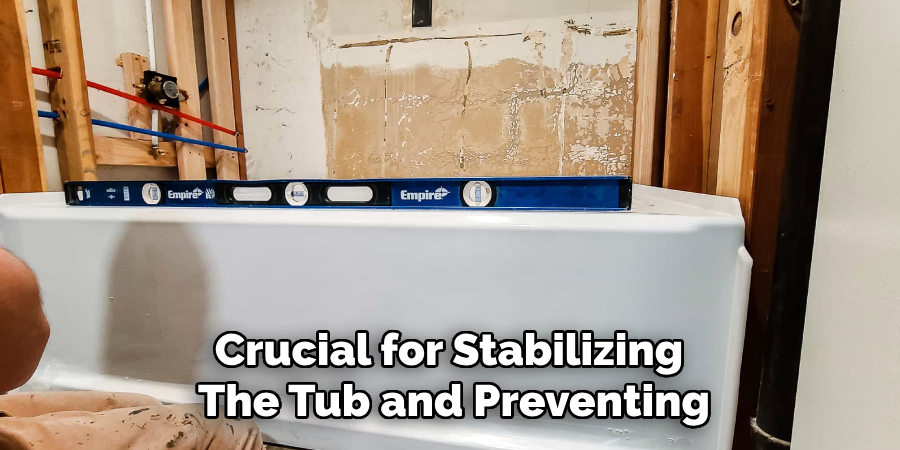
A ledger board provides essential support for the tub’s weight and helps maintain level placement. Secure a horizontal ledger board along the back wall at the height of the tub’s flange. Use a level to ensure proper alignment before attaching it with screws into wall studs. This step is crucial for stabilizing the tub and preventing it from shifting over time.
4. Placing and Leveling the Tub
Carefully position the tub into the alcove, ensuring it rests evenly on the floor and against the ledger board. Use a bubble level to check that the tub is sitting correctly. If the floor is uneven, place shims beneath the tub’s base to achieve a level installation. Secure the tub in place once it is properly leveled.
5. Securing the Tub to Wall Studs
Once the tub is in position, attach it to the surrounding wall studs using screws or nails through the tub flange. Pre-drill holes in the flange if necessary to prevent cracking. Secure the tub along all three alcove walls, ensuring even distribution of fasteners to prevent movement.

6. Sealing Around the Tub Flange
To prevent water infiltration, apply waterproof sealant along the tub flange where it meets the wall. This step is critical for long-term durability and moisture resistance. Use a high-quality silicone caulk or waterproof membrane to create a watertight seal between the tub and the surrounding walls.
7. Connecting the Drain and Overflow Assembly
Install the drain and overflow components according to the manufacturer’s instructions. Secure the drainpipe with a compression gasket or plumber’s putty, and tighten the connections. Attach the overflow pipe to the designated opening on the tub. Once connected, test for leaks by running water through the system before completing the installation.
8. Installing Cement Board or Moisture-Resistant Drywall
The walls surrounding the alcove tub should be covered with cement board or moisture-resistant drywall to protect against water damage. Cut and fit the panels to cover the exposed walls, ensuring they meet the edge of the tub’s flange. Secure the panels with corrosion-resistant screws and seal the joints with waterproof tape and thin-set mortar.
9. Applying Waterproof Membrane and Tile Installation
To enhance moisture protection, apply a waterproof membrane over the cement board before tiling. This step prevents water from seeping behind the walls. Once the membrane is dry, install tiles using a high-quality adhesive. Grout the tiles properly and apply a final sealant to protect against mold and mildew.
10. Final Sealing and Testing
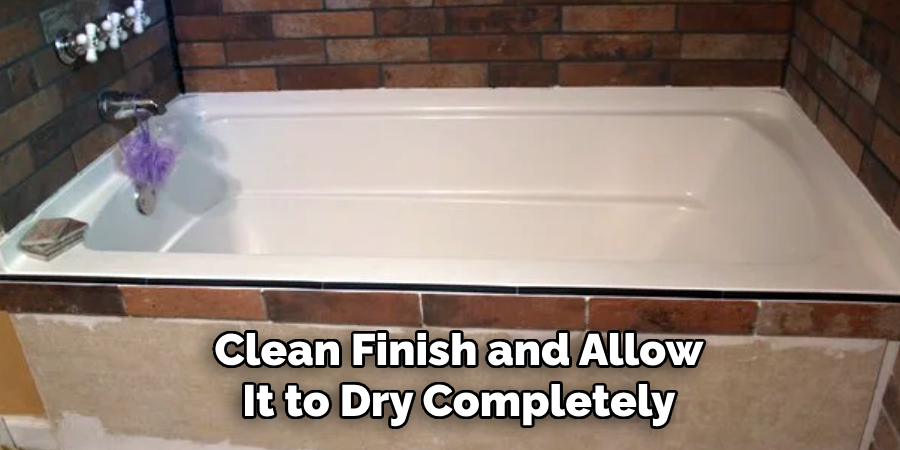
The last step involves applying a final bead of silicone caulk along the tub edges where it meets the walls. Smooth the caulk for a clean finish and allow it to dry completely. Once dry, test the tub by filling it with water and checking for leaks or movement. Address any issues before considering the installation complete.
Things to Consider When Installing an Alcove Tub
When installing an alcove tub, there are several factors to keep in mind to ensure a successful and durable installation. First, assess the size and layout of your bathroom to determine whether an alcove tub is the best fit for the space. Proper measurements are essential to avoid complications during installation. Next, consider the type of material for the tub, as options like acrylic, fiberglass, and cast iron vary in durability, weight, and cost. Additionally, inspect the existing plumbing system to verify compatibility with the tub’s drain and overflow configurations.
Addressing any necessary adjustments beforehand can save time and effort during the process. Lastly, evaluate the structural integrity of the floor to ensure it can support the weight of the tub when filled with water. These considerations will help create a smooth and efficient installation experience, as well as long-term satisfaction with your alcove tub.
Common Mistakes to Avoid
When installing an alcove tub, several common mistakes can hinder the process or lead to issues down the line. Avoid these pitfalls to ensure a smooth and successful installation:
Incorrect Measurements
One of the most frequent errors is failing to take accurate measurements of the alcove space. Any miscalculation can result in a tub that doesn’t fit properly, leading to delays or the need for costly modifications.
Skipping the Ledger Board
The ledger board provides critical support for the tub. Neglecting to install it or installing it unevenly can cause the tub to shift over time, potentially leading to damage or leaks.
Improper Drain Alignment
If the tub’s drain does not align precisely with the existing plumbing, it can lead to leaks or require extensive adjustments. Always double-check the alignment before placing the tub.
Failure to Level the Tub
An uneven tub can result in improper drainage and water pooling. It is vital to use a bubble level and shims, if necessary, to ensure the tub sits perfectly level in the alcove.
Insufficient Waterproofing
Neglecting to properly seal the tub flange, install a waterproof membrane, or use moisture-resistant materials on surrounding walls can lead to water infiltration and damage over time.
Overtightening Connections
When connecting the drain and overflow assembly, overtightening components can damage seals and cause leaks. Follow manufacturer instructions carefully to avoid this mistake.
Skipping Leak Tests
Some installers forget to test the drain and plumbing connections for leaks before completing the final steps. Addressing leaks after the installation is much more difficult, so always test thoroughly beforehand.
Using the Wrong Materials or Tools
Selecting inappropriate materials, such as standard drywall instead of moisture-resistant options, can compromise the durability of the installation. Ensure all materials and tools are suitable for bathroom environments.
Neglecting Structural Support
Failing to verify that the bathroom floor can support the filled tub’s weight can lead to structural issues. Always assess the floor’s integrity and reinforce it if necessary.
Conclusion
Installing an alcove tub is a practical way to optimize both the functionality and aesthetics of your bathroom. By following these detailed steps, you can ensure a secure, durable, and visually appealing installation that stands the test of time. Whether you’re remodeling or setting up a new space, an alcove tub offers a blend of affordability, efficiency, and style, making it a valuable addition to your home. Thanks for reading, and we hope this has given you some inspiration on how to install an alcove tub!
You Can Also Check It Out To Install Csst Fittings

