Installing an outside faucet can be a practical upgrade for any home, providing easy access to water for gardening, cleaning, or other outdoor tasks. While the process may seem daunting, with the right tools and a step-by-step approach, it can be completed efficiently, even by those with limited plumbing experience. This guide will walk you through the necessary steps of how to install an outside faucet.
Why Install an Outside Faucet
An outside faucet offers numerous benefits that enhance the convenience and functionality of your outdoor space. First and foremost, it provides easy access to water for a variety of tasks, such as watering plants, washing cars, filling pools, or cleaning outdoor furniture. This eliminates the hassle of dragging hoses from indoor faucets or transporting buckets of water.
Additionally, having an outside faucet can save time and reduce water spillage typically associated with improvised solutions. Beyond practicality, it can also increase the value of your home, as it is a desirable feature for potential buyers. Overall, installing an outside faucet is a cost-effective improvement that adds both convenience and utility to your property.
Tools and Materials Needed
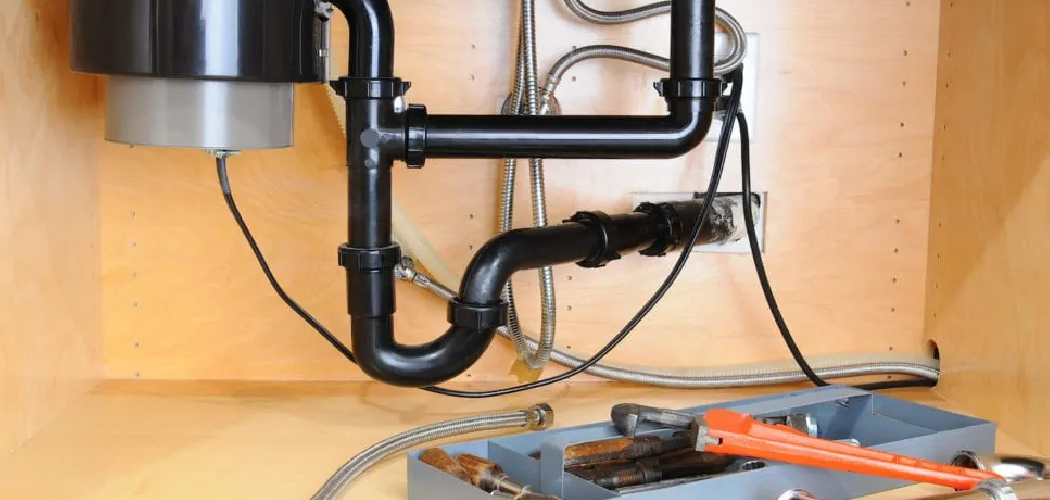
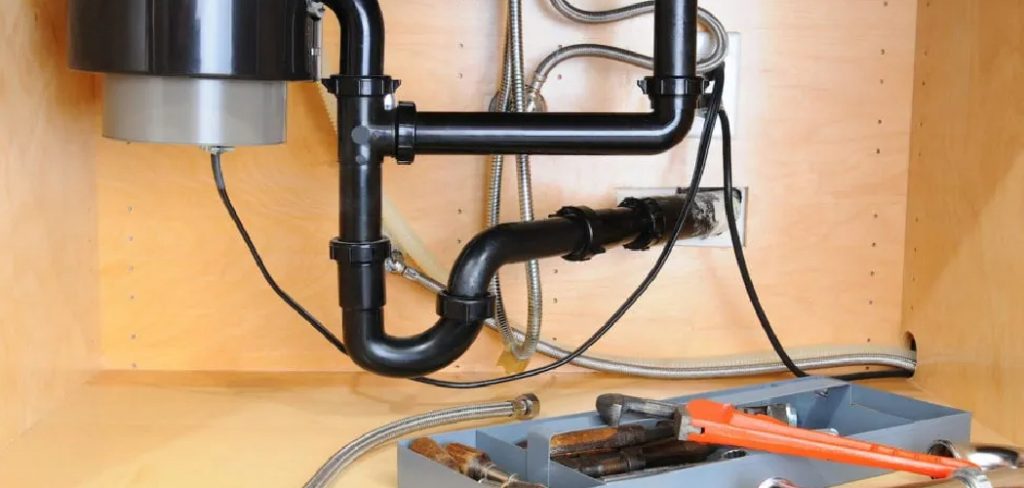
To install an outside faucet, you will need several tools and materials to ensure the process is efficient and successful. Below is a list of commonly required items:
- Pipe Wrench – for tightening or loosening pipe connections.
- Drill and Drill Bits – to create holes in the wall for the faucet installation.
- Tubing Cutter – for cutting pipes to the desired length.
- Teflon Tape – to seal threaded connections and prevent leaks.
- PVC or Copper Pipes – depending on the type of plumbing system in your home.
- Wall Anchors and Screws – for securely mounting the faucet to the wall.
- Plumber’s Putty or Silicone Sealant – to ensure a watertight installation.
- Adjustable Wrench – for various tightening tasks.
- Hose Bib or Outdoor Faucet – the main component of the installation.
Having these tools and materials on hand will streamline the installation process and help you achieve professional results.
10 Methods How to Install an outside Faucet
1. Plan the Faucet Location
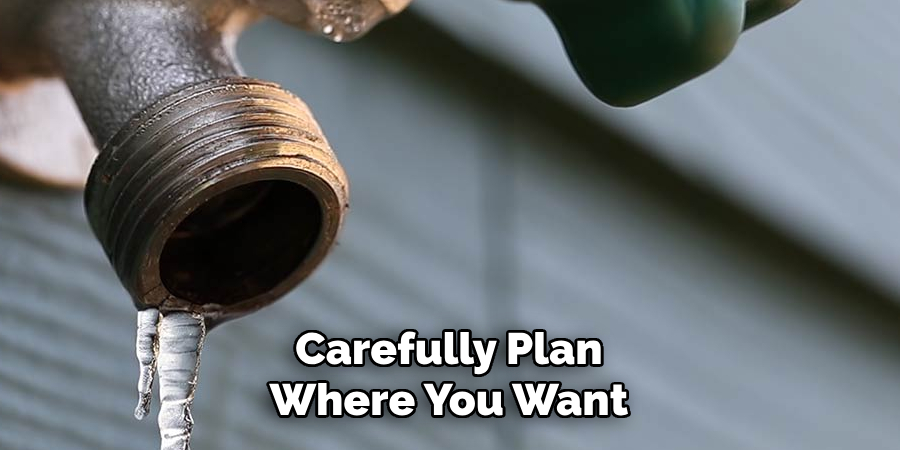
Before you begin, carefully plan where you want to install the outdoor faucet. Ideally, it should be close to the area where you’ll need water access, such as a garden or driveway, but it should also be positioned in a place that allows easy access for maintenance.
The faucet should be located on an exterior wall of your home, ideally facing away from prevailing winds or the harshest elements. Additionally, it’s important to choose a spot that is near your home’s water supply pipes, making the installation more convenient. Taking the time to choose the right location will ensure your faucet is both functional and practical.
2. Turn Off the Water Supply
Before working with any plumbing, always turn off the water supply to the area where you’ll be installing the faucet. In most homes, there is a main water shutoff valve located in the basement or utility room. Turn this valve clockwise to stop the flow of water.
Additionally, you may want to open a faucet inside the house to release any pressure in the pipes. This ensures that no water will leak out while you work, preventing potential water damage and making the process safer.
3. Gather the Necessary Tools and Materials
To install an outdoor faucet, you’ll need a variety of tools and materials, including a new outdoor faucet (hose bibb), a pipe cutter or hacksaw, pipe fittings, plumber’s tape, a wrench, a drill with bits, a level, and a pencil for marking.
Make sure to also gather safety gear like gloves and goggles to protect yourself while cutting and drilling. Having all the tools and materials within easy reach will save time and make the installation process smoother.
4. Cut the Water Pipe
Once you’ve chosen the location and gathered your tools, the next step is to cut into the water supply pipe. Use a pipe cutter or a hacksaw to carefully cut the pipe at the location where you want to install the faucet.
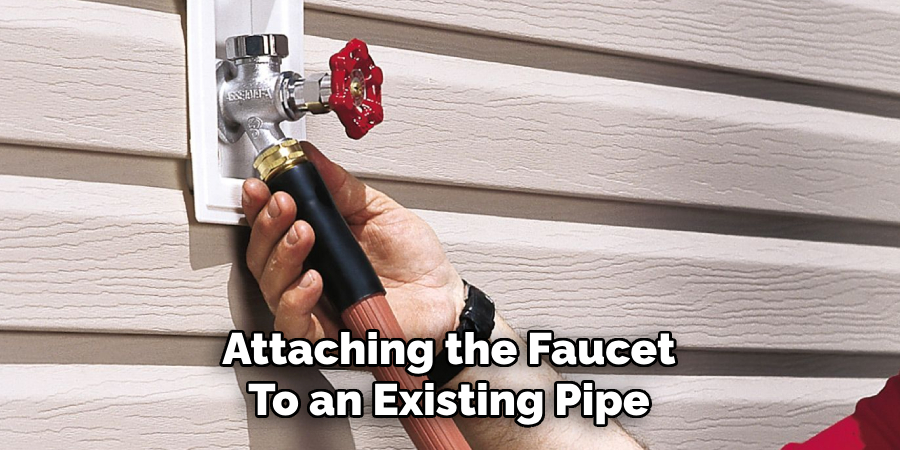
If you are attaching the faucet to an existing pipe, ensure that you’re cutting in a spot that’s clear of obstructions and that allows for easy installation of the faucet. When cutting, take your time to make a clean, straight cut, as this will make it easier to fit the faucet properly.
5. Install a Tee Fitting
After cutting the pipe, you’ll need to install a tee fitting, which will allow you to connect the faucet to your existing water supply. The tee fitting is essentially a “T” shape, with one leg connecting to the water pipe and the other leg extending outward where the faucet will be attached.
Measure and ensure that the fitting is the correct size for your existing pipes. Apply plumber’s tape to the threaded ends of the pipe to prevent leaks, then use a wrench to tighten the tee fitting securely in place. Be sure the tee fitting is aligned properly and that there is no movement once it’s tightened.
6. Attach the Faucet to the Tee Fitting
With the tee fitting in place, it’s time to attach the outdoor faucet. First, wrap the threaded end of the faucet with plumber’s tape to create a watertight seal.
Then, screw the faucet onto the threaded opening of the tee fitting. Use a wrench to tighten the faucet securely, but be careful not to overtighten, as this could crack the faucet or damage the fitting. Ensure that the faucet is positioned in a way that it faces outward, making it easy to connect a hose or use the faucet.
7. Drill a Hole for the Faucet
Next, you’ll need to drill a hole in the exterior wall of your home to allow the faucet to pass through. Use a drill with a spade bit or hole saw that’s slightly larger than the diameter of the faucet stem.
Make sure to drill the hole at a downward angle to allow water to drain out of the faucet when it’s not in use, which helps prevent freezing in cold weather. Take care not to damage the exterior of your home or any internal components when drilling. If the wall is made of brick or concrete, you may need to use a masonry drill bit.
8. Seal the Hole Around the Faucet
Once the hole is drilled, you need to seal the gap between the faucet stem and the hole in the wall to prevent drafts and water leaks. Use a high-quality silicone caulk or foam sealant to fill any gaps around the faucet. Apply the caulk generously around the stem of the faucet, ensuring a tight seal.
This will also help insulate the faucet and prevent any cold air from entering the home. Smooth the caulk with a damp cloth to create a neat, finished look. Allow the sealant to dry completely before moving on to the next step.
9. Check for Leaks
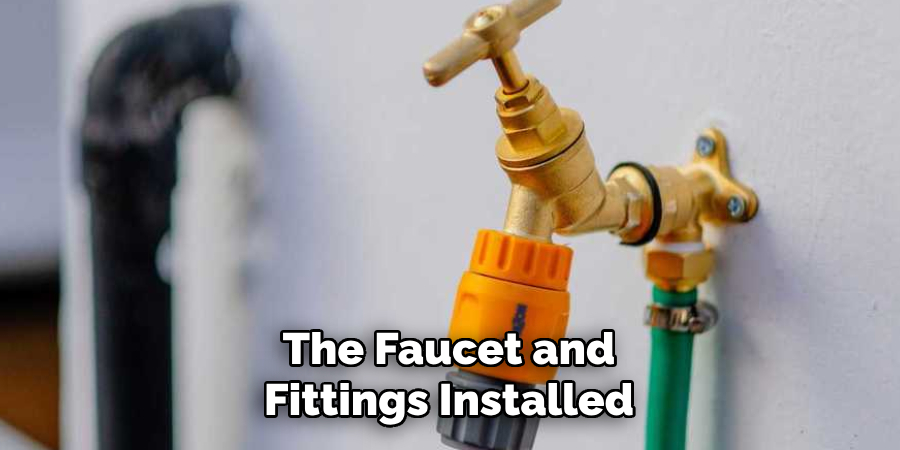
With the faucet and fittings installed, it’s time to check for leaks. Turn the water supply back on and open the faucet slowly. Check the area around the faucet, the pipe connections, and the tee fitting for any signs of leaking water.
If you notice any leaks, tighten the fittings or apply more plumber’s tape to the threaded connections. You may also want to check the sealant around the faucet stem to ensure there are no gaps. Once all leaks are resolved, your faucet should be securely in place and functioning properly.
10. Finish the Installation and Clean Up
After confirming that the faucet is installed correctly and there are no leaks, it’s time to clean up the area. Replace any insulation or drywall that may have been disturbed during the installation process.
If necessary, touch up the exterior wall with paint to match the surrounding area. Attach a hose to the faucet to test its functionality fully. Make sure the water flow is strong, and the faucet operates smoothly. Finally, dispose of any excess materials and tools, and store everything safely for future use.
Things to Consider When Installing an Outdoor Faucet
Location
Choose a location that is easily accessible and close to your water supply line. Ensure it is convenient for tasks like gardening, washing vehicles, or outdoor cleaning.
Weather Protection
Consider installing a frost-free faucet if you live in an area with freezing temperatures. This type of faucet helps prevent your pipes from freezing and bursting during winter.
Water Pressure
Check the water pressure in your home to ensure it is adequate for outdoor use. Low water pressure may require adjustments or additional equipment for optimal performance.
Material Quality
Opt for durable and high-quality materials, such as brass or stainless steel, to ensure the faucet’s longevity and resistance to wear and tear.
Backflow Prevention
Install a backflow preventer to protect your home’s water supply from contamination caused by back siphoning.
Permits and Regulations
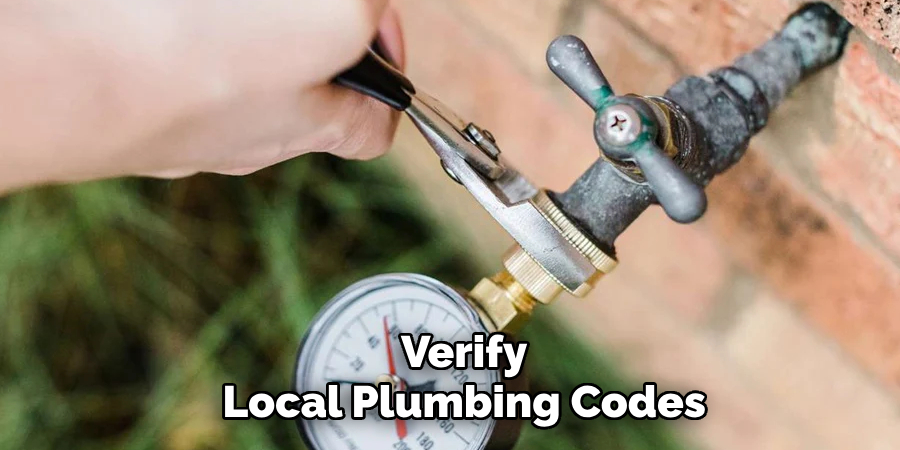
Verify local plumbing codes or regulations to ensure your installation complies with all requirements. You may need permits or inspections in your area.
Conclusion
Installing an outdoor faucet is a rewarding DIY project that can add convenience and functionality to your home. By following these ten methods—from choosing the right location and cutting the pipe to sealing the hole and checking for leaks—you can successfully install a faucet that will serve you for years to come. So, there you have it – a quick and easy guide on how to install an outside faucet.

