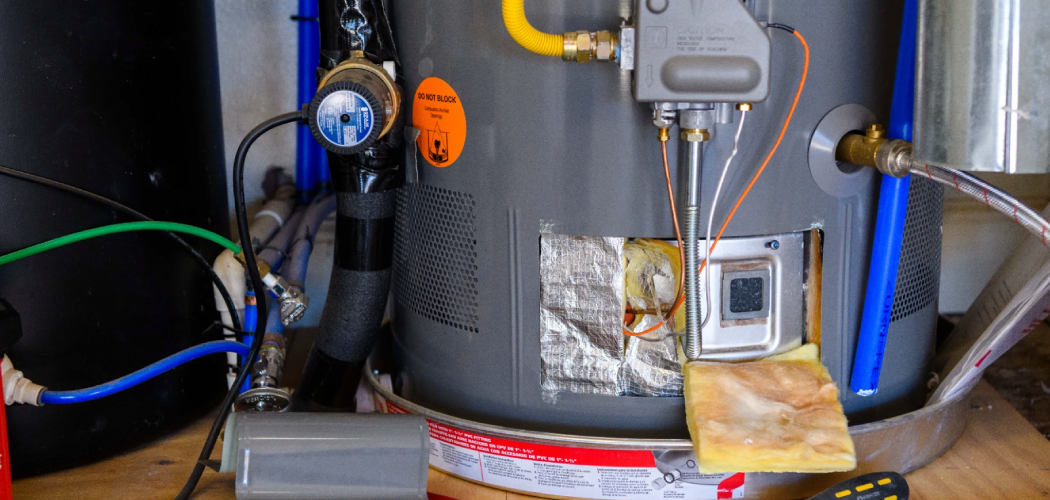
Are you tired of your water heater breaking down now and then? Well, you might be neglecting the most important component in your water heater – the anode rod.
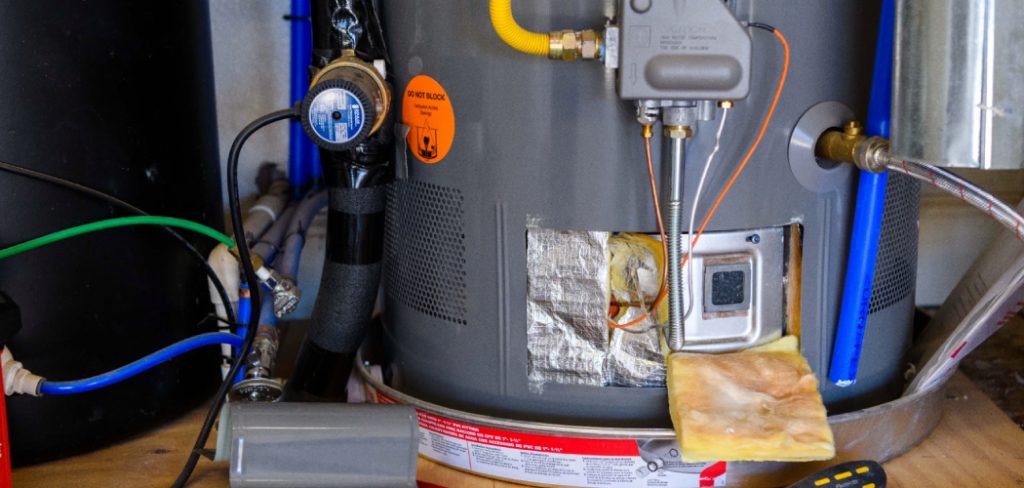
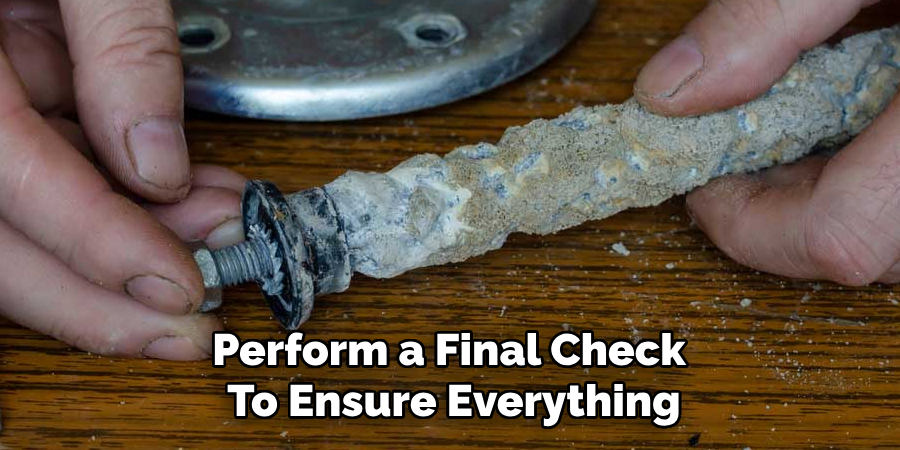
How to install anode rod in water heater is a crucial step in maintaining its longevity and efficiency. The anode rod is a sacrificial component designed to prevent corrosion inside the water tank by attracting minerals and contaminants that would otherwise damage the tank lining. Over time, the anode rod corrodes and requires replacement to ensure the water heater continues to function properly. With the right tools and care, replacing the anode rod can be a straightforward process that protects your water heater and saves you from costly repairs.
This guide will walk you through each step of the installation process.
What Are the Benefits of Replacing the Anode Rod?
Replacing the anode rod in your water heater has several benefits, including:
- Extending the Lifespan of Your Water Heater: The primary function of the anode rod is to protect the tank lining from corrosion. By replacing it regularly, you can prevent internal damage and prolong the life of your water heater.
- Improving Water Quality: As mentioned earlier, the anode rod attracts minerals and contaminants that would otherwise damage the tank lining. Removing these elements from your water supply allows you to enjoy cleaner and healthier water for everyday use.
- Cost Savings: A damaged or corroded water heater can be a costly problem to fix. By replacing the anode rod regularly, you can prevent more significant issues from occurring and save yourself from expensive repairs or replacements.
- Environmental Impact: Regularly replacing the anode rod in your water heater can also positively impact the environment. By maintaining your water heater, you are reducing the amount of waste that goes into landfills and conserving resources by prolonging the life of your appliance.
- Peace of Mind: Knowing that your water heater is properly maintained and protected against corrosion can give you peace of mind. You won’t have to worry about unexpected breakdowns or disruptions to your daily routine due to a malfunctioning water heater.
What Will You Need?
To maintain your water heater, you will need some basic tools and supplies. These may include:
- A bucket or hose to drain the tank
- A pipe wrench or adjustable wrench
- Screwdriver
- Vinegar or other descaling solution
- Replacement anode rod (if applicable)
- Teflon tape for sealing connections
It’s essential to consult your water heater’s manual for specific maintenance instructions and any additional tools that may be needed.
8 Easy Steps on How to Install Anode Rod in Water Heater
Step 1. Turn Off the Power and Water Supply
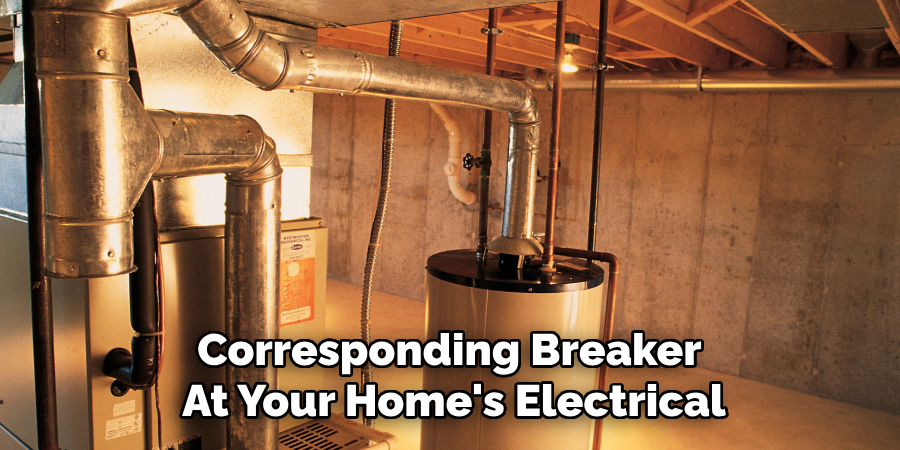
Before beginning, ensure that both the electricity (for electric water heaters) or the gas supply (for gas water heaters) is completely turned off. This is a critical safety measure to prevent potential accidents or injuries. If your water heater is electric, switch off the corresponding breaker at your home’s electrical panel. For gas water heaters, turn the gas control valve to the “off” position. Next, turn off the water supply to the water heater.
Locate the cold water shut-off valve, which is typically on the pipe leading into the top of the heater, and turn it clockwise to close. Double-check that the water is no longer flowing to the heater by opening a hot water faucet inside your home; if the flow slows and stops, the water supply has been successfully turned off. This step ensures a safe working environment and minimizes the risk of leaks or water damage during the procedure.
Step 2: Drain the Water Heater
Attach a garden hose to the drain valve near the water heater’s bottom. Run the other end of the hose to a safe drainage area, such as a floor drain or an outdoor space. Open the drain valve and allow the water to flow out. To expedite the draining process, open a hot water faucet in your home or lift the pressure relief valve to allow air into the tank. Ensure proper drainage before proceeding to the next step.
Step 3: Flush the Tank

Once the water heater is fully drained, close the drain valve and turn the cold water supply back on briefly to flush out any remaining sediment from the tank. Allow the water to flow into the tank and out through the hose until the water runs clear. This step helps ensure that debris and sediment buildup are thoroughly removed, improving the efficiency and longevity of the water heater. When finished, turn off the cold water supply and reopen the drain valve to empty the tank again.
Step 4: Refill and Restore the Water Heater
Close the drain valve securely once the tank has been fully drained and cleaned. Remove the hose and ensure all connections are correctly tightened. Turn the cold water supply back on to refill the tank. While the tank is filling, open a hot water faucet in your home to allow air to escape and prevent pressure buildup. Once the tank is complete and the water flows steadily from the faucet, turn off the faucet. Finally, restore power to the water heater (or relight the pilot if it’s gas-powered) and allow it to heat up. Your water heater should now be ready for use.
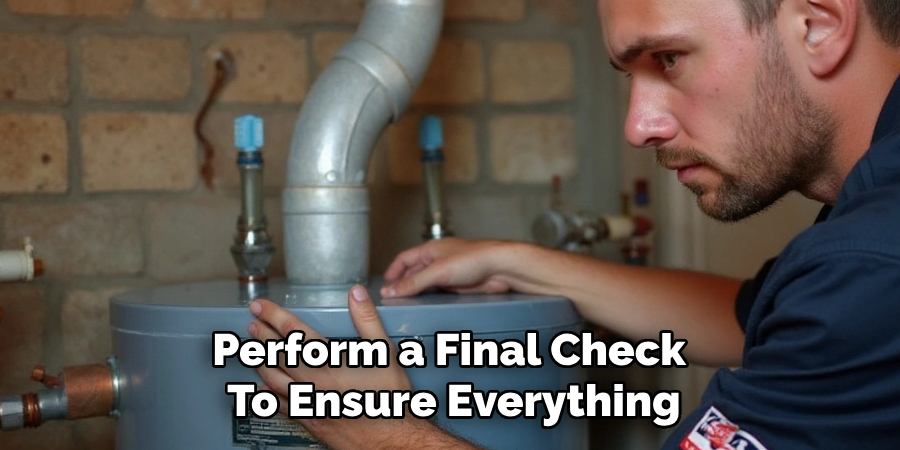
Step 5: Perform a Final Check
Once the water heater has heated the water, perform a final check to ensure everything is functioning correctly. Inspect the area around the water heater for any signs of leaks or unusual noises. Verify that the hot water is flowing correctly from faucets throughout your home. If any issues arise, consult your water heater’s manual or contact a professional for assistance. Regular maintenance like this helps extend the lifespan of your water heater and keeps it running efficiently.
Step 6: Troubleshooting and Upgrading
While performing regular maintenance on your water heater can help prevent unexpected issues, there may still be times when troubleshooting is necessary. Some common problems that may require troubleshooting include a lack of hot water, strange noises from the unit, or leaks.
If you encounter any of these issues, refer to your water heater’s manual for guidance on troubleshooting and resolving the problem. It’s essential to follow the manufacturer’s instructions carefully and avoid attempting repairs or upgrades if you are not confident in your abilities.
In some cases, it may be necessary to upgrade your water heater if it is nearing the end of its lifespan or if you are constantly experiencing issues with it.
Step 7: Upgrading Your Water Heater
If you have an older water heater or are constantly experiencing issues with your current one, consider upgrading. There are several factors to consider when choosing a new water heater, including the size and type of unit, energy efficiency ratings, and installation costs.
One option is to switch to a tankless water heater, which heats water on demand instead of storing it in a tank. These units can be more energy efficient and take up less space than traditional tank-style heaters. However, they may be more expensive upfront and unsuitable for larger households requiring a high hot water volume.
Another consideration is whether to choose a gas or electric water heater. Gas heaters typically have lower operating costs but require a gas line and proper ventilation. Electric heaters are generally more affordable upfront and easier to install but may result in higher energy bills.
Step 8: Choosing the Right Size Water Heater
When it comes to choosing the right size water heater, there are a few key factors to consider. First, you’ll need to determine your hot water usage needs based on your household size and daily habits. The rule of thumb is that for every person in the household, you’ll need around 10-15 gallons of hot water per day.
Another factor to consider is the recovery rate or how quickly your chosen water heater can heat up a new tank. This is especially important for larger households where multiple people use hot water simultaneously. A higher recovery rate means that your water heater can keep up with demand and provide enough hot water for everyone.
By following these guidelines and considering your household’s specific needs, you can choose the best water heater for your home.
5 Things You Should Avoid
- Ignoring Safety Measures: Always ensure the power supply to the water heater is turned off or the gas valve is shut off in the case of a gas heater. Working on a powered water heater can pose serious safety risks, including electric shock or burns.
- Skipping the Tank Drain Step: Failing to drain some water from the tank before removing the old anode rod can lead to water leakage and mess. Draining some water ensures a smoother installation process and reduces the risk of water damage.
- Using the Wrong Tools: Attempting to remove or install an anode rod without the proper tools, such as a socket wrench or breaker bar, can damage the unit or the rod itself. Always ensure you have the right tools before starting the job.
- Over-Tightening the Anode Rod: While securing the anode rod is essential, over-tightening it can damage the threads within the water heater. This could lead to leaks or complications during future maintenance.
- Forgetting to Check the Anode Rod Compatibility: Not all anode rods are compatible with every water heater model. Using an incompatible rod may reduce the effectiveness of corrosion protection or cause undue damage to the unit.
Conclusion
How to install anode rod in water heater is a key step in maintaining the appliance’s longevity and efficiency.
By following the recommended steps and avoiding common mistakes, you can ensure optimal protection against corrosion, significantly extending the water heater’s lifespan. Always choose a compatible anode rod, handle it with precision, and replace it as part of a regular maintenance routine.
These practices, combined with caution and attention to detail, will help preserve the functionality and reliability of your water heater for years to come.

