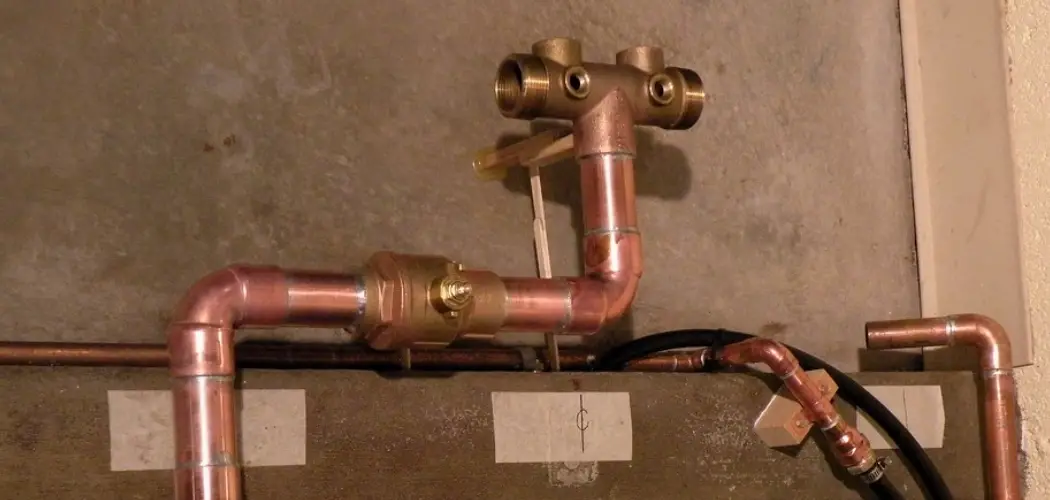
Ball valves are one of the most commonly used types of valves in plumbing systems. They offer superior control over the flow of water and are suitable for use in both residential and commercial settings. Installing a ball valve on your copper pipe is a relatively simple process that anyone can do with basic DIY skills.
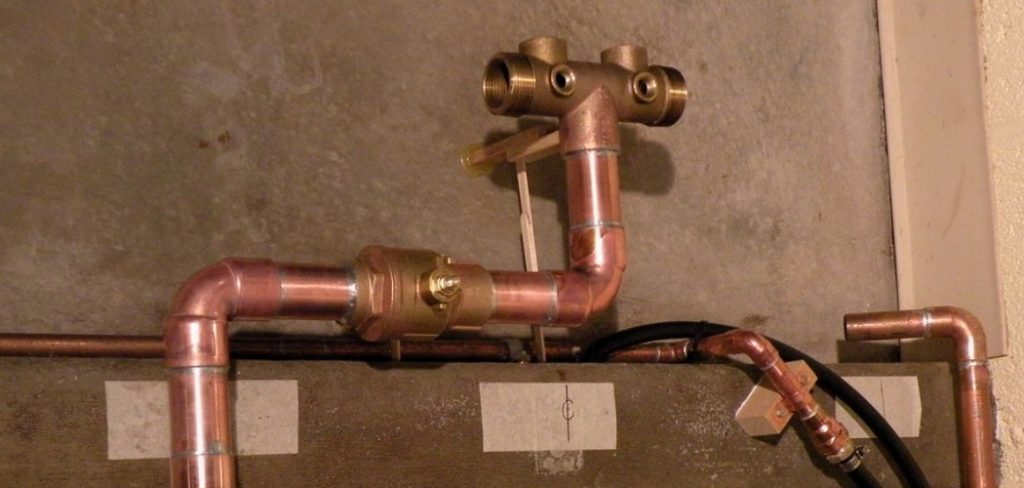
In this guide, we will walk you through the steps of how to install ball valve on copper pipe. If you follow these steps carefully, you should have your ball valve installed and functioning in no time.
Understanding Ball Valves and Copper Pipes
Before we dive into the installation process, it is important to understand the basic components of ball valves and copper pipes. A ball valve consists of a round ball with a hole in the middle that rotates inside a body to control the flow of water. Copper pipes, on the other hand, are durable and malleable tubes made from copper metal that are commonly used for plumbing systems.
Tools and Materials You Will Need to Install Ball Valve on Copper Pipe
- Adjustable wrench
- Pipe cutter or hacksaw
- Deburring tool
- Flux and solder
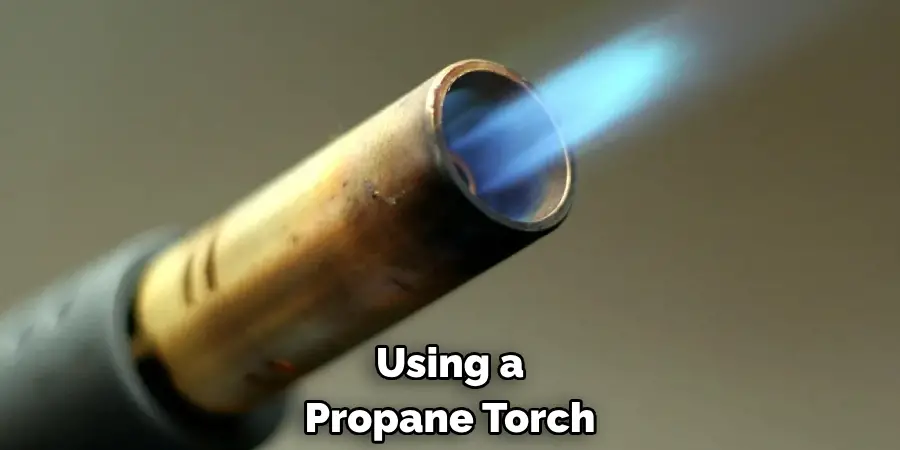
- Propane torch
- Teflon tape
- Ball valve (make sure it is the correct size for your copper pipe)
Step-by-step Guidelines on How to Install Ball Valve on Copper Pipe
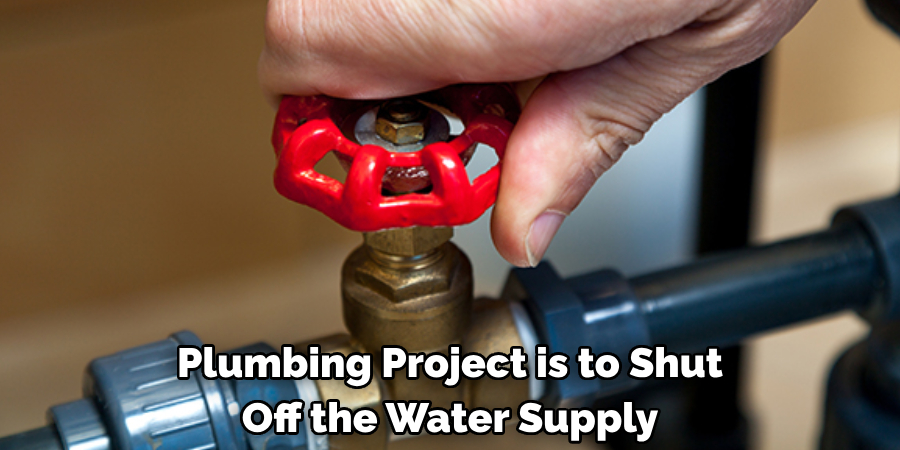
Step 1: Shut off the Water Supply
The first step in any plumbing project is to shut off the water supply. Locate the main water valve and turn it off to prevent any accidents or leaks while you work. This valve is usually located near the water meter. If you are unable to locate it, you can also shut off the water supply for your specific room or area. Make sure to drain any remaining water from the pipes by opening a faucet.
Step 2: Measure and Cut the Copper Pipe
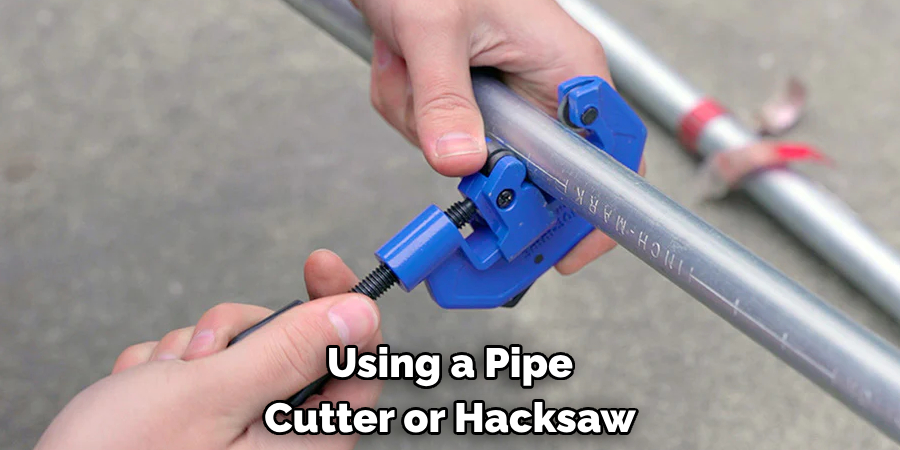
Using a pipe cutter or hacksaw, measure and cut the copper pipe where you want to install the ball valve. Make sure to leave enough room on either side of the cut for proper fitting of the valve. Use a deburring tool to smooth out any sharp edges. While working with copper pipes, it is important to wear safety gloves and goggles. Make sure to clean the pipe thoroughly before proceeding to the next step.
Step 3: Prepare the Pipe and Valve for Soldering
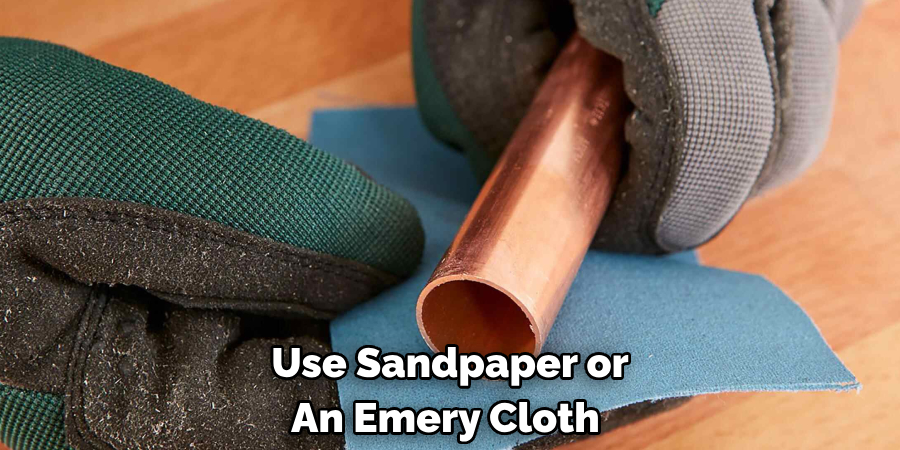
Use sandpaper or an emery cloth to clean the ends of both the pipe and valve. Apply flux on both surfaces to ensure a proper bond during soldering. Preparing the pipe and valve properly is crucial for a successful installation. This step ensures that there is no debris or residue on the surfaces, allowing for a strong and leak-proof connection.
Step 4: Solder the Valve onto the Copper Pipe
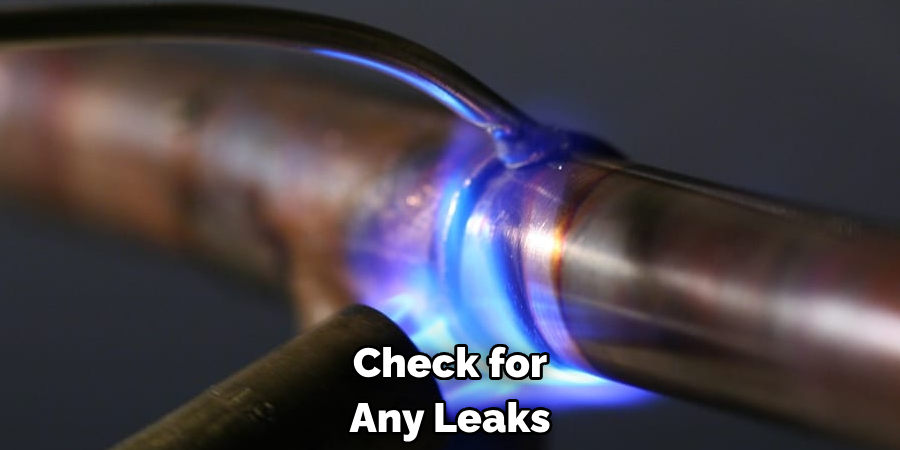
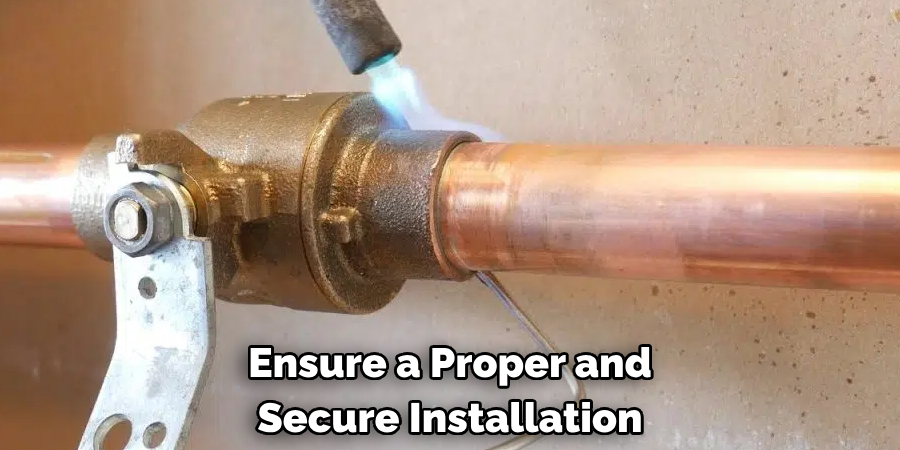
Using a propane torch, heat the pipe and valve until they are hot enough to melt the solder. Apply solder to the joint while continuing to heat it. Make sure to rotate the valve so that the solder evenly coats the entire joint. It is important to have a clean and steady flame while soldering to avoid any accidents. Make sure to let the joint cool for a few minutes before moving on to the next step.
Step 5: Wrap Teflon Tape and Tighten the Fittings
Wrap several layers of Teflon tape around the threads of the valve. This will provide additional protection against leaks. Then, use an adjustable wrench to tighten the fittings onto both sides of the valve. Make sure to not overtighten as it may damage the fittings. If your valve has a drain cap, make sure to tighten it as well.
Step 6: Turn on the Water Supply and Test the Valve
Once all the fittings are tightened, turn on the water supply and check for any leaks. If you notice any, try tightening the fittings further or reapplying the solder to the joint. If everything looks good, test the valve by opening and closing it to ensure smooth functioning. Congratulations, you have successfully installed a ball valve on your copper pipe!
Following these steps carefully will ensure a proper and secure installation of your ball valve. It is always recommended to double-check for any leaks before using the valve regularly. Now that you know how to install a ball valve on copper pipe, you can confidently tackle any plumbing projects that require this type of valve. Always prioritize safety and use caution when working with plumbing materials and tools. Happy DIY-ing!
Additional Tips and Tricks to Install Ball Valve on Copper Pipe
1. Before installing the ball valve on the copper pipe, it is important to use a deburring tool to remove any burrs or rough edges from the cut end of the pipe. This will ensure a smooth connection and prevent leaks.
2. When soldering the copper pipe fittings, it is crucial to use a clean and dry cloth to wipe away excess flux before applying heat. Flux residue can cause corrosion over time, leading to leaks in the connection.
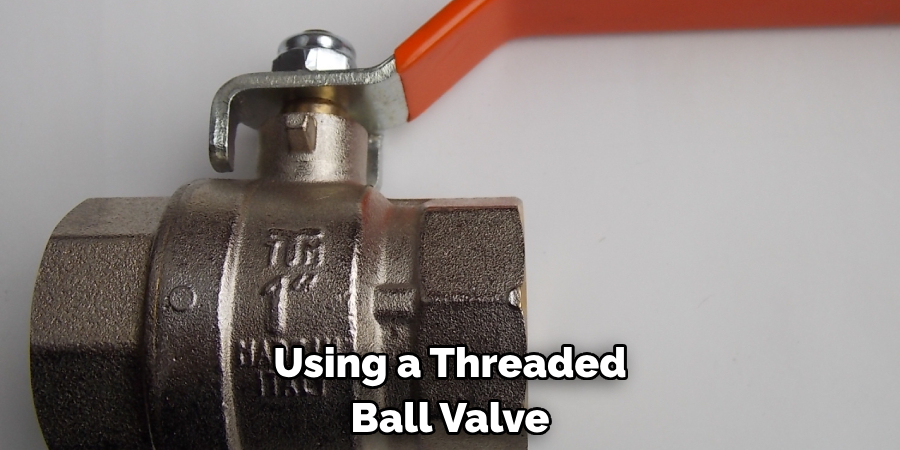
3. If using a threaded ball valve, make sure to wrap the plumber’s tape around the threads in a clockwise direction before attaching it to the copper pipe. This will help create a tight and secure seal.
4. It is recommended to use a pipe cutter instead of a hacksaw when cutting copper pipe. A pipe cutter will create a cleaner and more precise cut, resulting in better connections.
6. When installing the ball valve, make sure to leave enough space between the valve and any walls or obstacles for future maintenance or repairs. A minimum of 2-3 inches is generally recommended.
7. If using a compression fitting ball valve, be sure to tighten the compression nut with a wrench until it is snug but not over-tightened. Over-tightening can cause damage to the pipe and fittings, leading to leaks.
8. After installation, turn on the water supply and check for any leaks. If there are any, tighten the fittings or joints as needed to stop the leak.
9. It is important to properly support and secure the copper pipe before and after the ball valve installation. This will prevent stress on the connections and potential damage over time.
10. Regular maintenance of your ball valve is crucial to ensure it continues functioning properly. Inspect for any signs of wear or damage and replace any worn-out parts as needed.
Following these tips and tricks will help ensure a successful and long-lasting installation of a ball valve on a copper pipe. Remember to always follow manufacturer instructions and seek professional help if needed. Happy plumbing!
Things You Should Consider to Install Ball Valve on Copper Pipe
1. The first thing to consider when installing a ball valve on copper pipe is the size of the valve. Make sure to measure the diameter of the copper pipe before purchasing a ball valve. It is important to match the size of the valve with the size of the copper pipe for proper installation.
2. The next thing to consider is the type of ball valve you will be using. There are three common types of ball valves: full port, standard port, and reduced port. Each type has its advantages and disadvantages, so it is important to research and choose the one that best suits your needs.
3. It is also crucial to consider the material of the ball valve. Copper pipe is typically used for water systems, so it is important to choose a ball valve made of a material that is suitable for use with water. Some common materials used for ball valves include brass, stainless steel, and plastic.
4. Another important factor to consider is the pressure rating of the ball valve. The pressure rating refers to the maximum pressure that the valve can handle without failing or leaking. It is important to choose a ball valve with a pressure rating that matches the pressure of your water system.
5. Before installing the ball valve, it is important to clean and deburr the end of the copper pipe. This will ensure a smooth surface for the valve to be attached to and prevent any potential leaks or issues.
6. When connecting the ball valve to the copper pipe, make sure to use proper fittings such as compression fittings or soldered fittings. It is important to follow the instructions provided by the manufacturer and use appropriate tools for a secure and leak-free connection.
7. Additionally, it is important to consider the location of the valve on the copper pipe. The valve should be easily accessible for maintenance or repairs, so it is recommended to install it in an area that is not too cramped or hidden behind other pipes or fixtures.
8. It is also important to properly support the copper pipe and valve after installation. This will prevent any unnecessary strain on the connection and ensure its longevity.
9. Regular maintenance of the ball valve is essential for its proper functioning. Make sure to check for any leaks, debris buildup, or corrosion regularly and address any issues immediately to avoid potential damage.
10. Lastly, it is always a good idea to consult a professional plumber for installation or any concerns regarding the ball valve and copper pipe system. They have the expertise and experience to ensure a proper and safe installation that meets all necessary codes and regulations.
By considering these important factors, you can ensure a successful installation of a ball valve on your copper pipe system. Remember to always prioritize safety and follow proper installation guidelines for a reliable and efficient water system. So, it is crucial to keep these points in mind before installing a ball valve on a copper pipe. Happy plumbing!
Troubleshooting Common Issues to Install Ball Valve on Copper Pipe
1. Leaks Around the Valve:
One of the most common problems when installing a ball valve on copper pipe is leaks. These can occur at any point along the connection between the valve and the copper pipe, including at the threads or where the valve meets the pipe.
To troubleshoot this issue, first ensure that all connections are tightened properly. If the leak persists, you may need to use a plumber’s tape or pipe joint compound to seal any gaps in the threads. Additionally, inspect the valve and pipe for any damage or defects that could be causing the leak. If necessary, replace damaged parts to create a tighter seal.
2. Difficulty Turning the Valve:
Another common issue when installing a ball valve on copper pipe is difficulty turning the valve. This can make it challenging to operate the valve properly and can also indicate an underlying issue with the valve or its installation.
To troubleshoot this issue, first check to see if there are any obstructions or debris in the valve’s mechanism. Clean out any debris and lubricate the valve with a silicone-based lubricant to make turning easier. If the problem persists, it may be due to an incorrect pipe size or misalignment during installation. In this case, it may be necessary to reposition the valve or use a different size of pipe.
3. Valve not Shutting off Completely:
If you notice that the ball valve is not shutting off completely, this could be due to several reasons. One possibility is that there is debris or buildup in the valve’s mechanism preventing it from closing properly. To fix this, clean out any debris and lubricate the valve as needed.
Another reason could be that the valve’s seat or ball has become damaged or worn. In this case, it may be necessary to replace these components to ensure a proper seal when closing the valve.
4. Difficulty Installing the Valve:
Installing a ball valve on a copper pipe can also present challenges, especially if you do not have the proper tools or experience. One common issue is trying to tighten the connections too much, which can strip the threads or cause damage to the valve.
To avoid this problem, make sure to use a wrench of the correct size and only tighten until snug. It is also helpful to apply some plumber’s tape or pipe joint compound before attaching the valve to create a better seal. If you are still having trouble, consider consulting a professional plumber for assistance.
5. Inadequate Water Flow:
If you notice a decrease in water flow after installing a ball valve on a copper pipe, there are a few potential causes. One possibility is that the valve itself is not fully open, so make sure to check the handle and ensure it is turned all the way.
Another reason could be that there is debris or buildup in the valve’s mechanism, restricting the flow of water. Clean out any debris and lubricate the valve as needed to improve water flow. It is also important to check that the pipe size is appropriate for your needs, as a smaller size can limit water flow.
Following these troubleshooting tips can help you overcome common issues when installing a ball valve on a copper pipe. If you encounter more serious problems, it is always best to consult a professional for guidance and assistance. With proper installation and maintenance, a ball valve can be a reliable and efficient option for controlling water flow in your plumbing system.
So, be sure to follow the tips and recommendations above to make sure your installation is successful. Remember, proper installation leads to smooth operation and a longer lifespan for your ball valve on copper pipe. Happy plumbing!
Frequently Asked Questions
What is a Ball Valve?
A ball valve is a type of shut-off valve that has a spherical disc with a hole in the middle to control the flow of fluids or gases. When the handle is turned, the hole aligns with the pipe allowing fluid to pass through and when turned perpendicular, it blocks off the flow.
Why Use Copper Pipe for Installation?
Copper pipes are commonly used in plumbing systems due to their durability, reliability, and resistance to corrosion. They can withstand high pressure and temperature, making them suitable for a variety of applications. In addition, copper is a non-toxic material that does not leach harmful chemicals into the water supply.
Can I Install a Ball Valve on Copper Pipe?
Yes, you can install a ball valve on copper pipe as long as the valve is compatible with the size and type of copper pipe. It is important to check the manufacturer’s specifications to ensure proper fit and compatibility.
Do I Need to Follow Any Precautions While Installing a Ball Valve on Copper Pipe?
Yes, there are a few precautions that should be taken when installing a ball valve on a copper pipe. First, make sure the pipe is clean and free of any debris or residue. This will ensure a tight seal between the pipe and the valve. Second, use caution when tightening the valve onto the pipe to avoid damaging the threads or creating leaks. Lastly, make sure the valve is in the closed position before installation to prevent any accidents or water damage.
Conclusion
Now you know how to install ball valve on copper pipe and why it is a practical choice for plumbing systems. Remember to always follow the manufacturer’s instructions and take necessary precautions during installation to ensure a secure and leak-free connection. If you have any further questions, consult a professional plumber or refer to online resources for more information. Keep your plumbing system running smoothly with the right ball valve on copper pipes. So, don’t hesitate to use ball valves on your copper pipes for better flow control and durability. Happy plumbing!

