Are you looking for an efficient and reliable way to keep your home warm during those cold winter months? Look no further than baseboard hot water heat!
Installing baseboard hot water efficiently warms your home, combining consistent heat distribution with energy efficiency. This heating system functions by circulating hot water through finned-tube baseboard units, which radiate warmth into the room. While the installation process requires some technical skills and attention to detail, it is a manageable project for those with experience in plumbing or home improvement.
Following the proper steps and ensuring all components are correctly installed, you can create a reliable heating system that enhances comfort during the cooler months. Let’s dive into how to install baseboard hot water heat.
What Are the Benefits of Installing Baseboard Hot Water Heat?
There are several benefits to installing baseboard hot water in your home. Some of these include:
- Efficient Heating: Baseboard hot water heat is known for its energy efficiency, as it uses less energy compared to other heating systems.
- Better Air Quality: Unlike forced air systems, which can circulate dust and allergens throughout the home, baseboard hot water heat does not rely on air movement. This leads to improved air quality in the house.
- Quiet Operation: Baseboard hot water heat operates quietly, with no loud fans or blowers.
- Zoned Heating: With baseboard hot water heat, you can easily create different heating zones within your home. This means you can control the temperature in various areas of your home, providing personalized comfort for each room.
- Low Maintenance: Baseboard hot water heat requires minimal maintenance, as there are no filters to replace or ducts to clean. Annual checks and occasional bleeding of air from the system are typically all that is needed.
- Durability: Baseboard hot water heat systems have a long lifespan, with many lasting 20 years or more. This makes them a reliable and cost-effective choice for heating your home.
In addition to these benefits, there are also some considerations to consider when choosing baseboard hot water heat for your home.
What Will You Need?
To install a baseboard hot water heat system, you will need the following:
- Boiler: This is the system’s heart and heats the water circulating through the baseboards to provide warmth.
- Baseboards: These are long, narrow units that contain pipes filled with hot water. They are typically installed along exterior walls to provide heat where it is needed most.
- Copper Tubing or Pex Piping: These materials connect the boiler to the baseboards and create a closed loop for circulating hot water.
- Thermostat: This device controls when the boiler turns on and off based on your desired temperature. Some systems may also have separate thermostats for each room for more precise temperature control.
- Expansion Tank: This tank allows for the expansion of hot water as it circulates through the system, preventing pressure build-up and potential damage to the system.
8 Easy Steps on How to Install Baseboard Hot Water Heat
Step 1: Plan the Layout
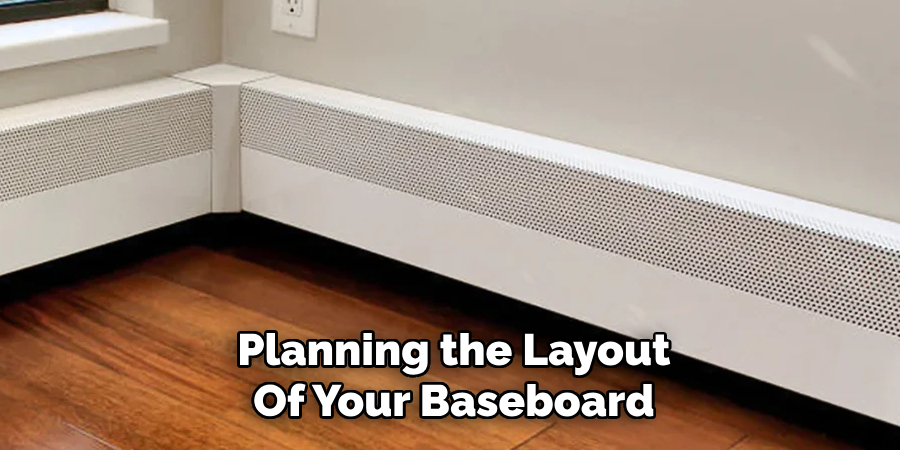
Start by planning the layout of your baseboard hot water heating system. Determine the placement of the baseboard units in each room, ensuring they are installed along exterior walls for maximum efficiency.
Measure the space to ensure you purchase the correct length and number of baseboard units needed for your home. Additionally, decide on the route for the pipes that will connect the baseboard units to the boiler. Proper planning helps streamline the installation process and ensures optimal performance.
Step 2: Preparing the Installation Area
Before installing the baseboard units and piping, prepare the designated installation areas. Clear any furniture, rugs, or obstructions from the walls where the baseboard units will be installed.
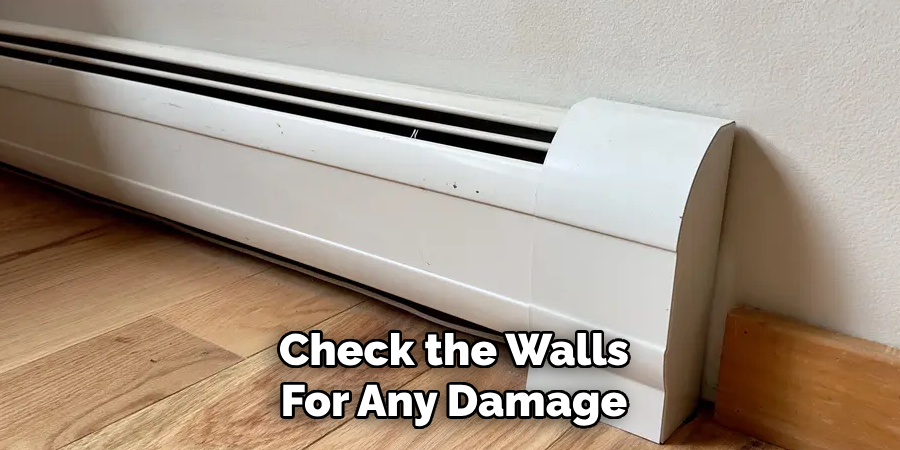
Check the walls for any damage or uneven surfaces that might hinder installation and repair them as necessary. Ensure the flooring is level and clean, which will help achieve a stable and secure fit for the baseboard heaters. Taking the time to prepare the space properly will ensure a smoother installation and better long-term results.
Step 3: Installing Baseboard Heaters
Begin by positioning the baseboard heaters along the prepared wall where they will be installed. Use a measuring tape to ensure they are placed evenly and at the correct height as specified in the manufacturer’s guidelines. Mark the wall with a pencil to indicate where the mounting brackets will be secured.
Next, use a stud finder to locate the wall studs and align your markings accordingly for a firm attachment. Drill pilot holes into the wall at the marked locations to make it easier to insert screws and prevent splitting. Attach the mounting brackets securely, double-checking that they are level to avoid any heater placement imbalance.
Step 4: Mount the Heater
Carefully lift the heater and position it onto the secured mounting brackets. Ensure that it aligns properly with the brackets and clicks or locks into place as required.
Double-check the stability of the heater to ensure it is securely attached and does not wobble. If the heater comes with additional securing mechanisms, such as safety screws or clips, fasten those according to the manufacturer’s instructions.
Step 5: Connect the Electrical Supply
Before connecting the heater to the electrical supply, ensure the main power is turned off to avoid any risk of electric shock. Follow the manufacturer’s wiring instructions, matching the wires to their corresponding terminals. Use wire connectors or clamps to secure the connections correctly.
Once the wiring is complete, organize and secure loose ends to prevent tangling or interference. Finally, turn the power back on and test the heater to confirm it functions as expected. If there are any issues, refer to the manual’s troubleshooting section or consult a certified electrician.
Step 6: Final Safety Check
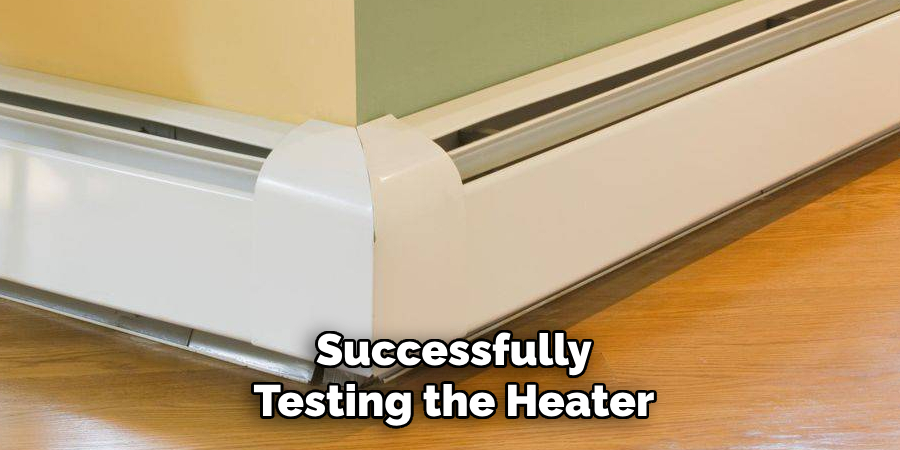
After successfully testing the heater, conduct a final safety check to ensure everything is properly working. Inspect all wiring connections to confirm they are secure and free from damage.
Verify that the heater is mounted correctly and that all screws or brackets are firmly in place. Check the surrounding area for potential hazards, such as flammable materials near the heater. The process is complete once you are confident that the installation adheres to safety guidelines and the heater is ready for regular use.
Step 7: Testing the Heater
After completing the installation and safety checks, it is time to test the heater. Turn on the power supply and activate the heater according to the manufacturer’s instructions. Allow the heater to run for a few minutes to ensure it operates correctly. Observe the unit for any unusual sounds, smells, or performance issues.
Verify that the heater produces the expected level of warmth and that the controls function as intended. If any problems arise during this testing phase, refer to the troubleshooting section in the user manual or contact the manufacturer’s support team for assistance.
Step 8: Finalize Installation
Once the heater has been tested and is functioning correctly, finalize the installation by securing any loose components and ensuring all parts are properly attached. Double-check that the heater is placed in a safe, level position with adequate clearance from walls, furniture, or other objects.
Confirm that all cables and connections are neatly organized and not pose a tripping hazard. After completing these final checks, your heater is ready for regular use. Always follow the safety guidelines provided in the user manual to ensure long-term performance and safety.
Following these simple steps ensures that your heater is installed correctly and maintained for optimal performance.
5 Things You Should Avoid
- Skipping Proper Measurements: Avoid installing the baseboard heat without accurately measuring your space. Incorrect measurements can lead to uneven heating or insufficient coverage.
- Ignoring Manufacturer’s Instructions: Failing to follow the specific guidelines provided by the manufacturer can result in inefficient operation or even damage to the system. Always read and adhere to the manual.
- Neglecting to Check for Leaks: Never skip inspecting the system for leaks once installation is complete. Leaks can cause water damage and reduce the efficiency of the heating system.
- Improper Placement of Units: Avoid placing the baseboard heaters near furniture or curtains, as this can obstruct airflow and might even become a fire hazard. Ensure the units have adequate clearance.
- Using Incorrect Tools or Materials: Using the wrong or incompatible tools can compromise the installation and lead to performance issues. Make sure all components meet the system’s required specifications.
Avoiding these common mistakes during installation ensures that your baseboard heating system operates efficiently and safely.
Conclusion
How to install baseboard hot water heat requires careful planning, precision, and attention to detail.
Start by selecting high-quality components and ensuring proper measurements for the system’s installation space. Follow the manufacturer’s guidelines during installation to avoid common mistakes, such as improper clearance or incorrect material usage. Taking the time to double-check your work at each step, from pipe connections to thermostat placement, can save you time and potential repairs in the future.
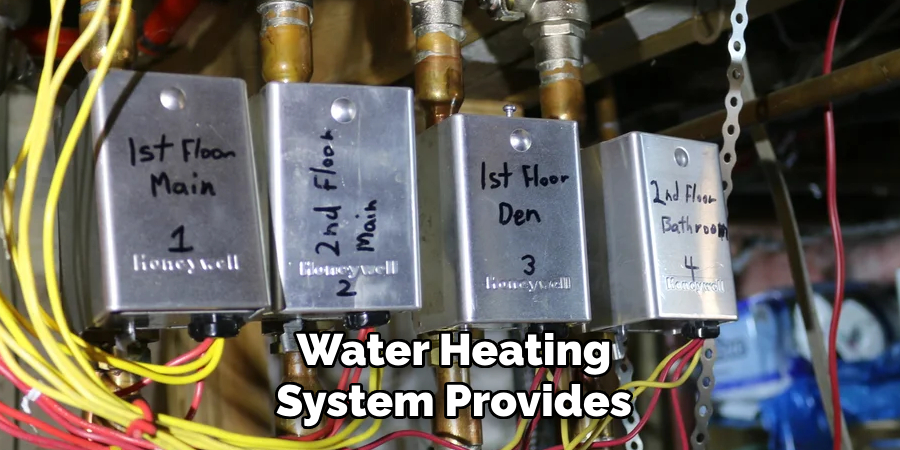
When properly installed, a baseboard hot water heating system provides an efficient and reliable way to heat your home, offering comfort and energy savings for years.

