A bathtub overflow gasket is a vital component in your plumbing system, designed to prevent water from leaking behind the tub and causing potential damage to walls and floors. This gasket, often made of rubber or foam, fits snugly between the overflow pipe and the bathtub, creating a watertight seal. Over time, these gaskets can degrade due to age, wear, or exposure to moisture, leading to leaks that may result in costly water damage or mold growth.
Replacing or installing a new bathtub overflow gasket correctly is essential to maintain the functionality of your bathroom and protect your home from potential issues. The purpose of this article is to guide you step by step through the process of how to install bathtub overflow gasket effectively. By following these instructions, you can save time, prevent leaks, and ensure the longevity of your bathtub’s plumbing system.
Tools and Materials Needed
Before you begin the installation process, having the proper tools and materials is crucial. Gathering these items in advance will make the task easier and more efficient.
Essential Tools
- Phillips Screwdriver: Required to remove the screws from the overflow cover plate.
- Flathead Screwdriver: Useful for gently prying off the old gasket if stuck in place.
- Utility Knife: Needed if you must remove old caulk or scrape away stubborn gasket residue.
Materials Required
- New Overflow Gasket: Ensure it is the correct size and design for your bathtub model.
- Plumber’s Grease (optional): Can be used to improve the sealing capability and make the gasket installation smoother.
- Silicone Sealant (if needed): Ideal for providing extra waterproofing in cases where the fit isn’t perfectly tight.
Choosing the Right Gasket
When selecting a gasket, you will often have two primary options—foam or rubber. Foam gaskets are more flexible and easier to compress, making them useful in irregular fittings. However, rubber gaskets are generally more durable and provide a more substantial, longer-lasting seal. Carefully consider your specific needs to determine which type is the best fit for your bathtub overflow assembly.
Removing the Old Overflow Gasket
Step 1: Locate the Overflow Cover Plate
The overflow cover plate is typically found on the tub wall just below the faucet. Its purpose is to prevent water from overflowing the bathtub by directing excess water to the drain system.
Step 2: Unscrew and Remove the Overflow Plate
Using a Phillips screwdriver, carefully unscrew the screws holding the overflow cover plate in place. Be cautious not to strip the screws or damage the plate during removal. Once the screws are removed, gently pull the cover plate away from the tub wall to expose the old gasket and overflow assembly.
Step 3: Remove the Old Gasket
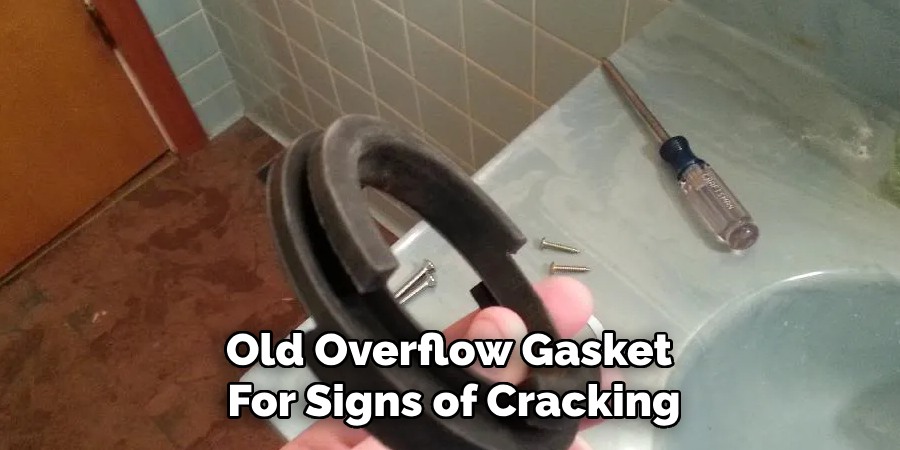
Examine the old overflow gasket for signs of cracking, wear, or other damage. These issues could be the cause of water leaks or poor sealing. If the gasket is stuck, use a flathead screwdriver to pry it loose carefully. Avoid using excessive force to prevent damaging the surrounding area or parts of the overflow assembly.
Step 4: Clean the Area
With the old gasket removed, thoroughly clean the area where the gasket was seated. Use a utility knife or similar tool to scrape away any stubborn gasket residue, old caulk, or debris. Additionally, inspect for mildew or mold and clean it with an appropriate cleaning solution to ensure a fresh, smooth surface for the new gasket installation. Preparing this area properly will help ensure a secure and watertight seal with the new gasket.
How to Install Bathtub Overflow Gasket: Installing the New Overflow Gasket
Step 1: Apply Plumber’s Grease (Optional)
Before inserting the new gasket, consider applying a thin layer of plumber’s grease to the gasket. This step is optional but highly recommended, as it can improve the seal and help prolong the life of the gasket. The grease allows for a smoother fit and reduces the chances of wear or cracking over time.
Step 2: Position the New Gasket
Carefully insert the new gasket into the opening of the overflow pipe. Ensure it sits evenly and properly aligned to form a watertight seal. Take your time to press it securely into place, avoiding folds or gaps that could create potential leaks. This is a crucial step for the gasket’s proper functionality.
Step 3: Reattach the Overflow Cover Plate
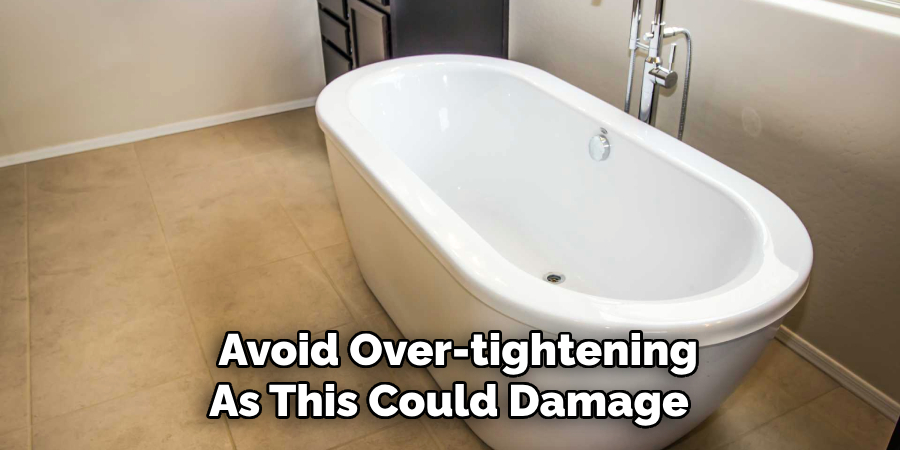
Once the gasket is positioned correctly, align the overflow cover plate with the pipe. Hold it in place while reinserting the screws. Tighten the screws evenly, alternating between them as you go, to prevent tilting or misalignment that may compromise the seal. Avoid over-tightening, as this could damage the plate or strip the screws. Once secure, double-check that the plate fits flush against the tub wall, ensuring no gaps remain.
With the new gasket installed and the cover plate reattached, your overflow assembly is ready to function effectively, providing a durable and watertight seal.
Testing for Leaks
Step 1: Fill the Tub and Let Water Reach the Overflow Drain
Begin by filling the bathtub with water until it reaches the overflow drain level. Carefully observe the area behind the tub wall where the overflow assembly is installed. Look for any signs of leaking around the newly positioned gasket or the overflow cover plate. If no leaks are visible, proceed to the next step.
Step 2: Inspect the Floor Below for Any Dripping Water
Check the floor beneath the tub for any signs of dripping water or pooling. Even small leaks can indicate improper gasket alignment or insufficient screw tightening. If water leakage is detected, drain the tub, remove the overflow cover plate, reseat the gasket carefully, and tighten the screws again, alternating as you go to ensure even pressure.
Step 3: Apply Silicone Sealant (If Needed)
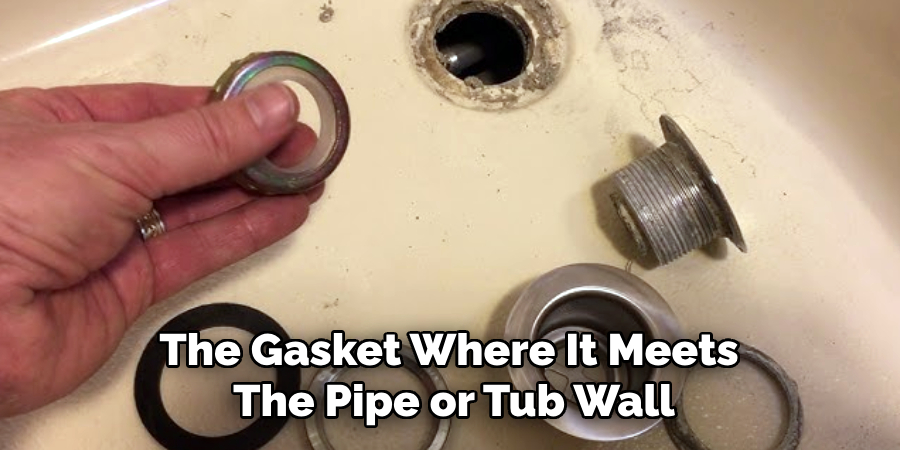
For added waterproofing and to create an extra barrier against leaks, apply a thin layer of silicone sealant around the outer edge of the gasket where it meets the pipe or tub wall. Use a caulking gun for precise application and smooth the sealant with a tool or your fingertip for an even finish. Allow the sealant to cure as directed before testing again.
Common Installation Mistakes and How to Avoid Them
When installing an overflow assembly, certain common mistakes can compromise the effectiveness of the seal and lead to leaks. One of the most frequent errors is overtightening the screws. While it may seem like tightening the screws as much as possible ensures a secure fit, it can actually deform the gasket, reducing its ability to create a watertight seal and causing leaks. Always tighten screws evenly and gently until snug but not excessively tight.
Another mistake to watch out for is misaligning the gasket during installation. Incorrect positioning can create gaps between the gasket and the pipe or tub wall, allowing water to seep through. To avoid this, make sure the gasket is seated correctly and centered before securing the assembly.
Lastly, forgetting to clean the surface before installation can obstruct a proper seal. Residue from old gaskets, dirt, or debris can prevent the gasket from adhering correctly, resulting in leaks. Carefully clean the area around the pipe and tub wall with a suitable cleaner and dry it completely before positioning the new gasket. Avoiding these mistakes will help ensure a successful and leak-free installation.
Maintaining the Overflow Gasket for Longevity
Proper maintenance of the overflow gasket is essential to ensure its longevity and prevent potential water damage. You can keep your gasket functioning effectively over time by following a few simple steps.
Check for Leaks Periodically
Inspect the area around the overflow plate and gasket for any signs of moisture or water leaks every few months. Early detection of leaks can prevent significant damage and help you address issues before they worsen. Look for water stains, dampness, or any unusual discoloration on or around the tub wall.
Clean the Overflow Plate Regularly
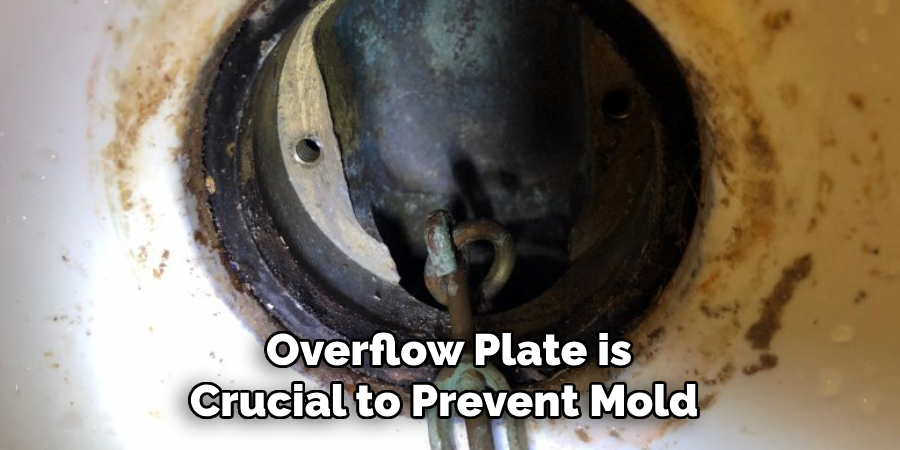
Regular cleaning of the overflow plate is crucial to prevent mold, mildew, and buildup from accumulating. These contaminants can degrade the gasket over time, reducing its ability to provide a watertight seal. Use a mild cleaner and a soft cloth or brush to clean the overflow plate and surrounding areas, ensuring they remain in good condition.
Replace Every 5-10 Years
Depending on the wear and tear experienced, replacing the overflow gasket every 5-10 years is recommended. Waiting until leaks appear can lead to water damage and costly repairs. Proactively replacing the gasket as it ages ensures a consistent seal and protects your bathroom from potential issues.
Conclusion
Installing a new bathtub overflow gasket is a simple yet essential process that protects your bathroom from leaks and water damage. Ensuring proper alignment during installation is crucial for creating a watertight seal, so take care to follow all steps carefully. After installation, testing for leaks will confirm a secure fit and functionality. Regular maintenance, such as cleaning and periodic inspections, will extend the gasket’s lifespan and preserve its performance. By understanding how to install bathtub overflow gasket and maintaining it regularly, you can safeguard your bathroom and avoid costly repairs in the future.

