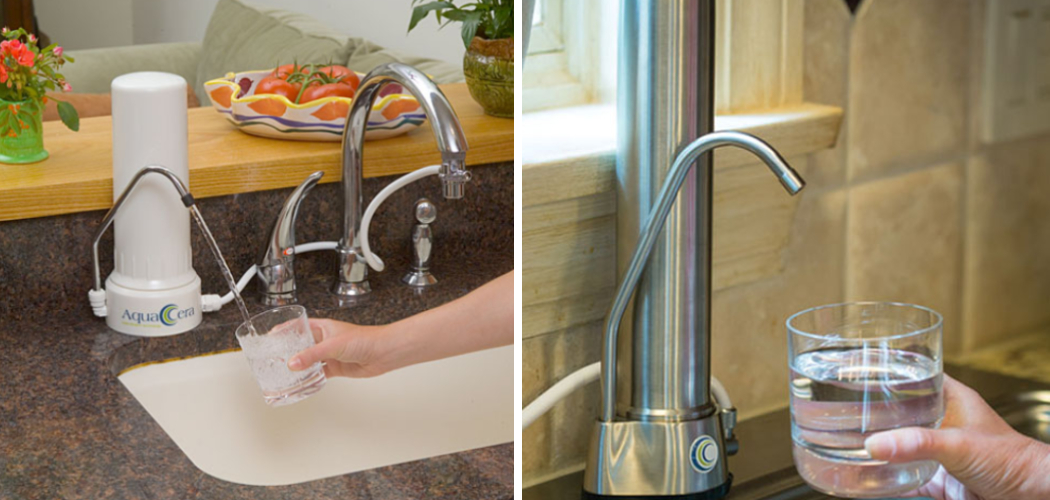
Are you tired of lugging around heavy jugs of water to get clean drinking water? Or maybe you’re worried about tap water quality and want to install a more reliable solution. Installing a countertop water filter can help reduce costs, keep your health in check, and even add an aesthetically pleasing look to your kitchen.
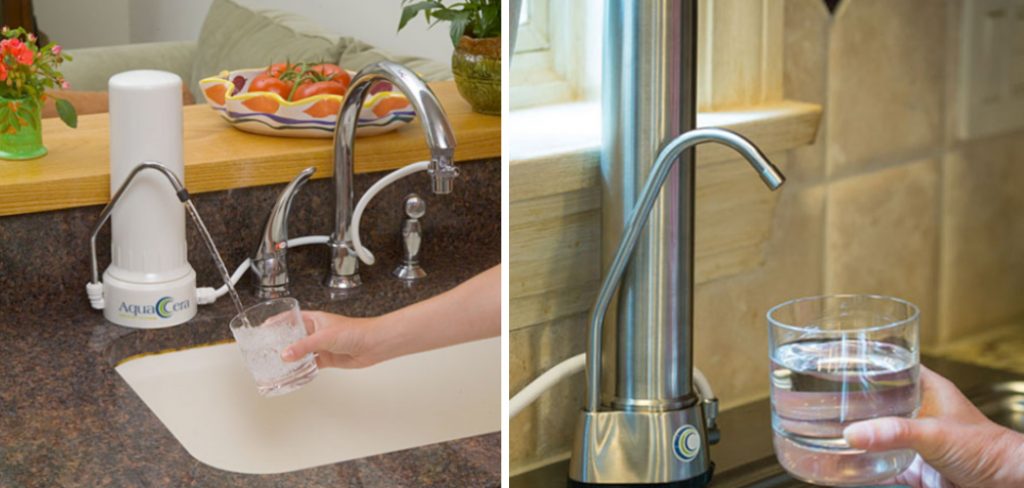
Countertop filters are not only simple to install but can also have a big impact on the quality of your drinking water. Plus, they look great, too; they come in many attractive designs that can easily be matched with the décor used to decorate other items in your home kitchen or bathroom.
In this blog post, we’ll show you how to install countertop water filter so that you can start enjoying healthier, cleaner drinking water from the comfort of your home. Read on for all the information and step-by-step instructions necessary!
What Will You Need?
Before you get started, make sure to have the following tools and supplies on hand:
- Countertop water filter
- Drill and drill bits appropriate for your countertop material
- Hole saw (optional)
- Flathead screwdriver
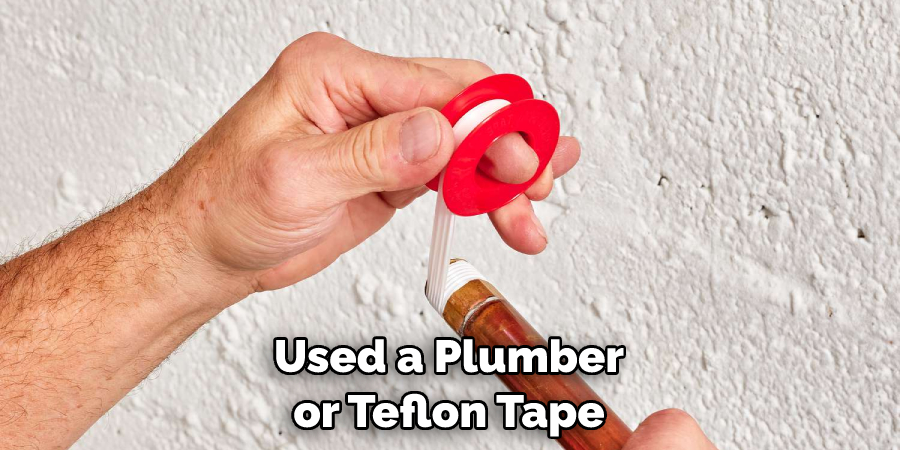
- Plumber’s tape or Teflon tape
- Level (optional)
Once you’ve gathered the supplies, read through the instructions carefully before proceeding.
10 Easy Steps on How to Install Countertop Water Filter
Step 1. Choose the Location:
Choose the best location for installing your countertop water filter. It should be near a sink or faucet and close to an electrical outlet. It should also have enough space for the filter and for attaching the tubing. Don’t forget to check for any obstructions like pipes, cabinets, and other fixtures that might be in the way.
Step 2. Measure and Mark:
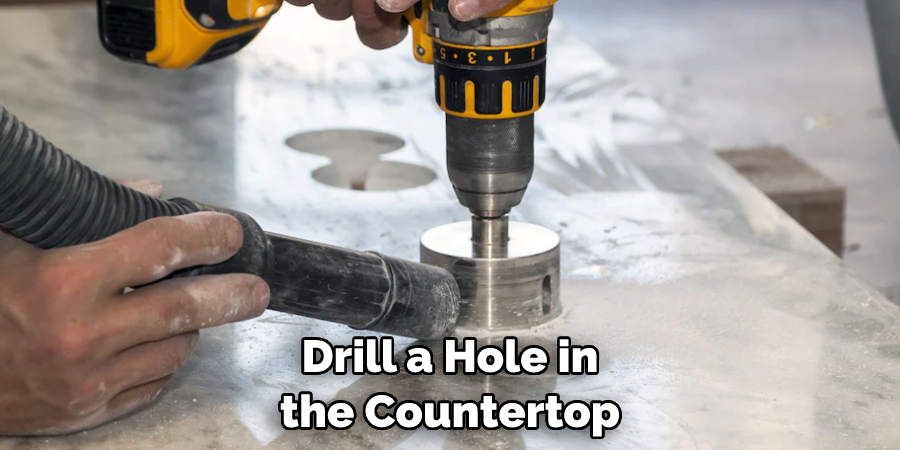
Measure out the area where you need to drill a hole in the countertop. Place a piece of tape over it so that you can easily tell where the hole will be drilled. If the countertop is made of marble, granite, or other hard material, you may have to use a hole saw.
Step 3. Prepare Hole:
Using a drill bit appropriate for your countertop material, make a pilot hole at the center of where you marked off on Step 2. If you are unable to use a drill bit, try using a hole saw or jigsaw instead. The size of the hole should depend on what type of filter you purchased, as some require larger holes than others.
Step 4. Insert Filter:
Insert the filter into the hole you prepared in Step 3. Some filters come with a bracket to attach them in place, while others use additional screws and washers. Tighten all of the nuts and bolts if necessary.
Step 5. Connect Tubing:
Attach one end of the tubing to your water source. Secure it using a plumber’s or Teflon tape for a better seal if needed. Then connect the other end of the tubing to your countertop water filter.
Step 6. Test Connection:
Turn on your water source and check that there are no leaks from any of your connections before continuing on to Step 7. Be careful not to over-tighten the connections; this can cause more problems than it solves. Instead, just tighten them enough so that the water does not leak out.
Step 7. Final Adjustments:
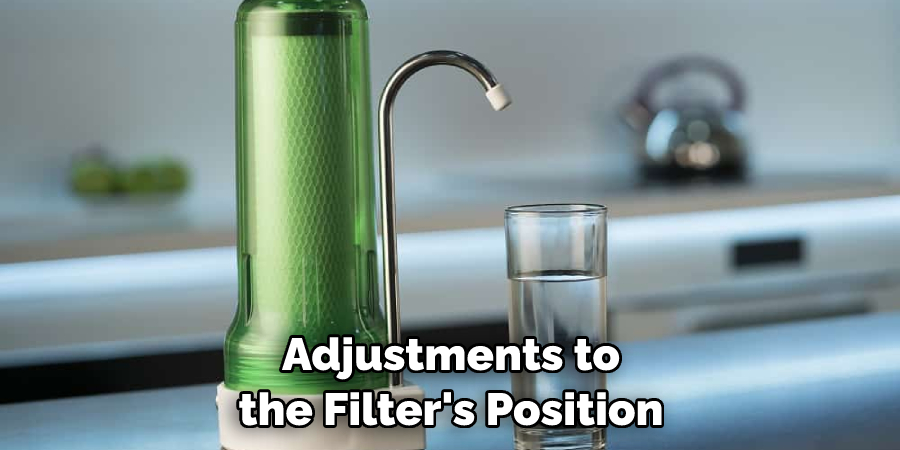
Once you’re that your connections are secure and free, make any final adjustments to the filter’s position as needed. If possible, use a level to ensure it is completely level before continuing on. Additionally, if you need to make any additional connections, such as for a reverse-osmosis system, now is the time to do so. Just make sure all connections are secure and leak-free.
Step 8. Replace Cover:
If the countertop water filter came with a cover, place this over the opening and tighten the screws or locks in place. You can now turn the water back on and test to ensure everything works properly. It will take a few minutes for the water to start flowing through the filter. As it does, you should be able to see any debris and impurities being filtered out.
Step 9. Turn on the Water Source:
Once everything is in place and tight, turn on your water source and check for any leaks one more time. Try running the water for a few seconds to see if it is correctly coming through the filter. If you are satisfied that everything is ok, turn off the water and proceed to Step 10.
Step 10. Enjoy Clean Water:
Your countertop water filter is now ready to provide clean drinking water! Enjoy every sip knowing that you have taken an important step towards providing your family with healthier, cleaner drinking water. Remember to regularly check and replace the filter as needed so that your countertop water filter can continue providing safe, clean drinking water.
That’s it! With these few easy steps, you can install a countertop water filter in no time. Start enjoying the peace of mind that comes from knowing your drinking water is safe and clean.
5 Additional Tips and Tricks
1. Make sure that you have all the necessary tools and materials before starting. This will save you time and frustration in the long run.
2. If you are drilling into a hard material such as marble or granite, make sure that you use a hole saw instead of a drill bit.
3. Read the instructions for your filter carefully and make sure that everything is in place before turning on the water source.
4. Wear safety glasses when drilling into any type of material to protect your eyes from flying debris.
5. Always check for leaks after connecting with the plumber’s or Teflon tape for a better seal.
Following these steps will help ensure that your countertop water filter is installed correctly and will provide safe drinking water for years to come!
6 Things You Should Avoid
1. Don’t use a drill bit to make holes in hard materials such as granite or marble.
2. Avoid over-tightening the connections when attaching tubing; this can cause more problems than it solves.
3. Don’t forget to check for leaks after making any connection – even if you used a plumber or Teflon tape.
4. Don’t use the filter until you have tested that all connections are secure and water is flowing properly through the filter.
5. Never skip reading the instructions for your particular countertop water filter before beginning installation, as some require additional steps or tools not mentioned here.
6. Avoid cutting corners when installing the filter; take your time and make sure you have done everything correctly for the best results.
By following these tips and avoiding common pitfalls, you can ensure that you have a successful installation and are able to enjoy clean water for years to come!
Where Do You Put a Countertop Water Filter?
Once you have installed your countertop water filter, the best place to put it is in an area close to where you do most of your cooking and cleaning. This ensures that you have easy and convenient access to filtered water when needed. Additionally, ensure the filter is securely attached so it doesn’t move or shift during use.
Installing a countertop water filter provides you with cleaner, healthier drinking water and an excellent way to save money on bottled water in the long run! With just a few simple steps, anyone can easily install a countertop water filter for use at home.
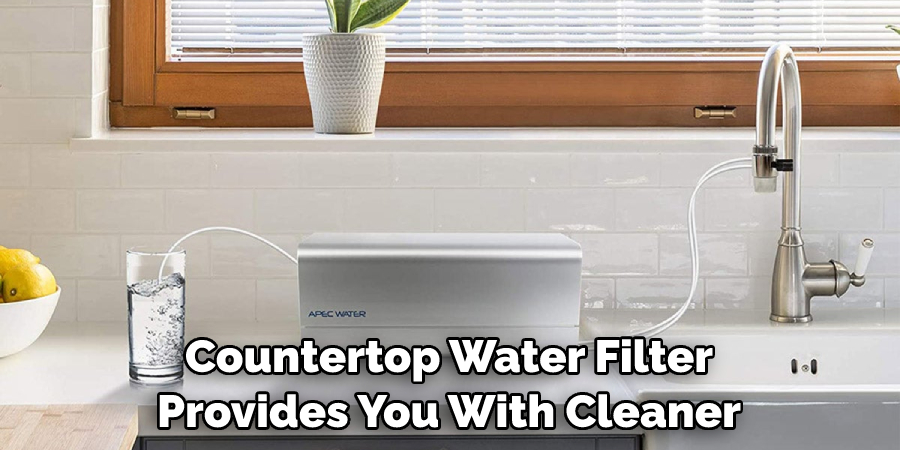
By following these tips and avoiding common mistakes, you can ensure that your filter will provide clean and healthy drinking water for years to come.
What is the Healthiest Way to Filter Water?
The healthiest way to filter water is to use a multi-stage filtration system. This type of system uses several different filters designed to remove impurities like contaminants, sediment, and chemicals. These systems often include carbon filters, sediment filters, activated alumina, and reverse osmosis membranes.
Using this combination of filters, you can ensure that your drinking water is as pure and safe as possible. Installing a countertop water filter provides an easy and convenient way to take advantage of the benefits of multi-stage filtration systems without investing in an entire home filtration system.
By following these steps on how to install countertop water filter, along with using a multi-stage filtration system, you can make sure that your drinking water is pure and healthy for years to come.
This will not only provide you with access to cleaner, healthier water but will also save you money on bottled water in the long run! With just Ha few simple steps, anyone can easily install a countertop water filter for use at home. Start today and enjoy cleaner, healthier drinking water in no time!
Conclusion
All in all, learning how to install countertop water filter yourself can provide numerous cost-saving options. You also get to enjoy the peace of mind of knowing that all contaminants are removed before the filtered water reaches your glass.
Sadly, not every home is equipped with a countertop water filter, so this tutorial should provide you with the steps needed to get one up and running in no time. If you’re looking for an eco-friendly solution, in addition to hosting multiple health benefits, a DIY countertop water filter may be the best way forward.
Remember – clean water starts from within your home and provides plenty of advantages for those who have access to it!
Hopefully, this tutorial has provided you with the information necessary in order to install a countertop water filter. With these tips, you’ll be sure to have a successful installation, so you can enjoy clean water for years to come.

