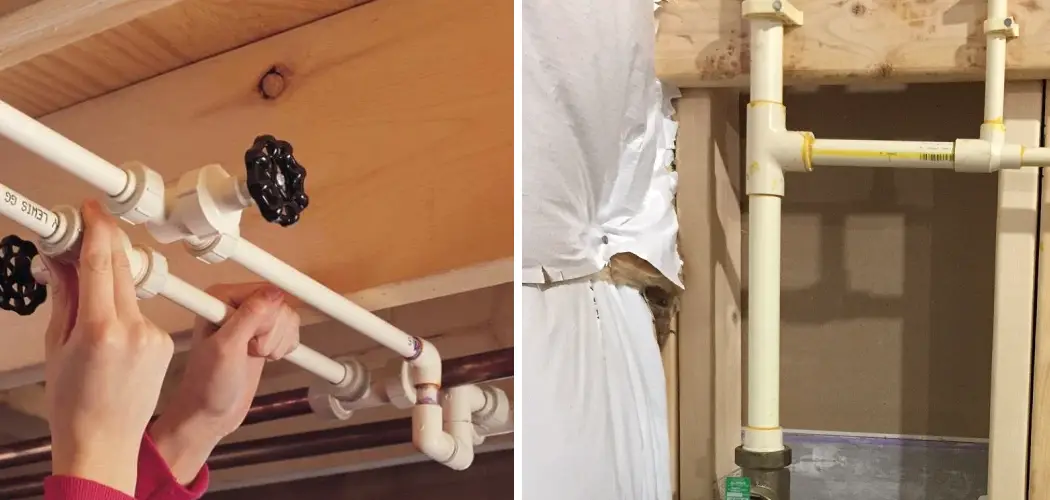
Installing CPVC (Chlorinated Polyvinyl Chloride) water lines is a fundamental skill for homeowners and DIY enthusiasts. CPVC is a popular choice for water supply lines due to its durability and ease of installation.
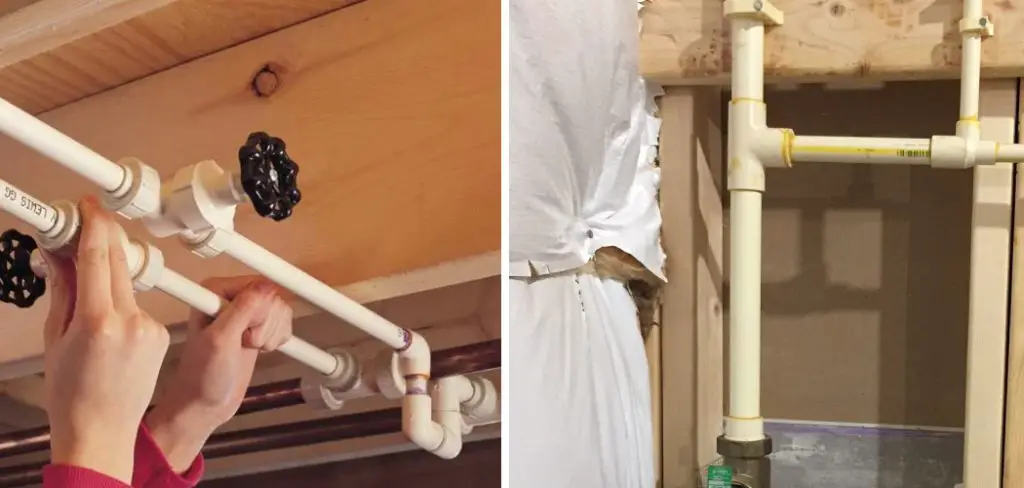
In this article, we’ll walk you through the step-by-step process of how to install cpvc water lines, from preparing the materials and tools to making watertight connections. Whether you’re upgrading your plumbing system or tackling a new construction project, understanding how to work with CPVC pipes is essential.
We’ll cover essential topics, including cutting and measuring CPVC, properly securing pipes, and using the appropriate fittings to create a reliable water supply network. Additionally, we’ll provide tips on ensuring compliance with local building codes and maintaining water quality.
By the end of this guide, you’ll have the knowledge and confidence to install CPVC water lines safely and efficiently, enhancing your plumbing skills and contributing to a reliable water distribution system in your home.
The Use of Cpvc Water Lines in Plumbing
Cpvc (Chlorinated Polyvinyl Chloride) pipes have become a popular choice for plumbing installations in residential and commercial buildings. This type of plastic piping is made by chlorinating polyvinyl chloride (PVC) resin, making it more durable and flexible compared to traditional copper pipes.
In this document, we will explore the benefits of using Cpvc water lines and provide a step-by-step guide on how to install them.
Benefits of Cpvc Water Lines
- Cost-effective: The cost of installing Cpvc water lines is significantly lower than that of copper pipes. Moreover, these pipes are lightweight and easy to handle, reducing labor costs during installation.
- Corrosion-resistant: Unlike metal pipes, Cpvc water lines are not susceptible to corrosion or rusting, making them an ideal choice for long-term usage.
- Durability: Cpvc pipes have a lifespan of over 50 years, making them a durable option for plumbing installations. They can withstand high temperatures and pressure without any risk of cracking or bursting.
- Easy installation: Cpvc water lines do not require any specialized tools or skills for installation. The pipes can be easily cut and joined using solvent cement, reducing the overall installation time.
- Low thermal conductivity: Cpvc has low thermal conductivity, meaning it does not transfer heat or cold as quickly as metal pipes. This makes it an energy-efficient option for hot water supply systems.
10 Methods How to Install Cpvc Water Lines
1. Cutting the Pipe
When installing CPVC water lines, the first step is to cut the pipe to the desired length. This can be done with a hacksaw or a PVC pipe cutter. It is important to make sure that the cuts are clean and straight in order to ensure a proper fit when connecting two pieces of pipe together. When cutting the pipe, it is also important to measure twice and cut once in order to avoid having to make multiple cuts.
2. Deburring
After cutting the pipes, it is necessary to deburr them in order to remove any sharp edges or burrs that may have formed during the cutting process. This can be done with a deburring tool or a file. It is important to make sure that all of the burrs are removed before attempting to connect two pieces of pipe together, as they may cause leaks if left unchecked.
3. Dry Fitting
Once all of the pipes have been cut and deburred, it is time for dry-fitting them together. This involves fitting two pieces of pipe together without using any glue or other adhesive in order to ensure that they fit properly before permanently connecting them. If there are any gaps between two pieces of pipe when dry fitting them, this could indicate that one or both need to be trimmed down in order for them to fit properly when glued together later on.
4. Marking & Drilling Holes
If there are any areas where holes need to be drilled into either piece of pipe, such as for mounting brackets or valves, these should be marked prior to gluing them together so that they line up correctly when connected later on. Once marked, these holes can then be drilled with either a drill press or an electric drill, depending on their size and location on the pipes being connected.
5. Applying Primer & Glue
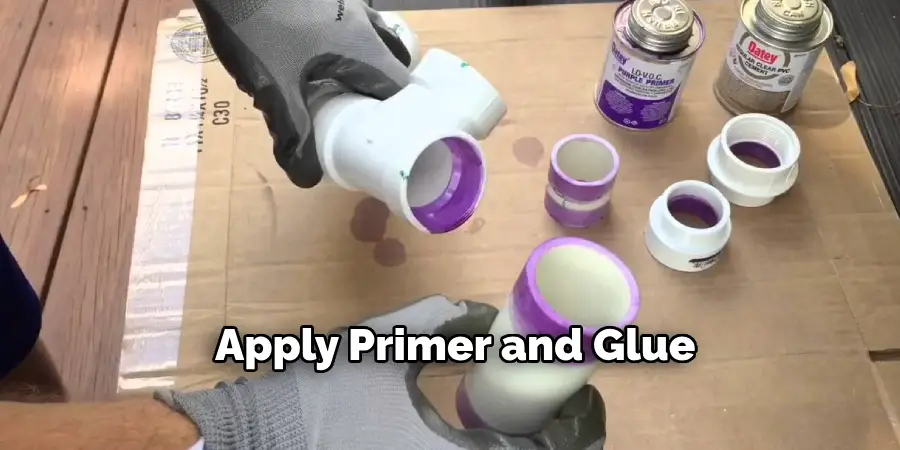
Once all of the pipes have been dry fitted, and any necessary holes have been drilled, it’s time to apply primer and glue in order for them to stay connected once installed in place. The primer helps prepare the surface of each piece of pipe so that it will accept the glue more easily while also helping create an airtight seal when applied correctly.
After priming each piece, glue should then be applied liberally along both surfaces before pushing them firmly together until fully connected and sealed tight against one another without any gaps present between them anywhere along their length once installed in place.
6. Installing Mounting Brackets & Valves
If mounting brackets or valves were needed during installation, then these should now be added at this stage after gluing all of the pipes together securely but before actually installing them into place permanently within walls or ceilings, etc. Valves should always face outward from walls while mounting brackets should line up with existing studs if possible so as not to hold too much weight if needed later on down the line.
7. Installing Pipes In Place
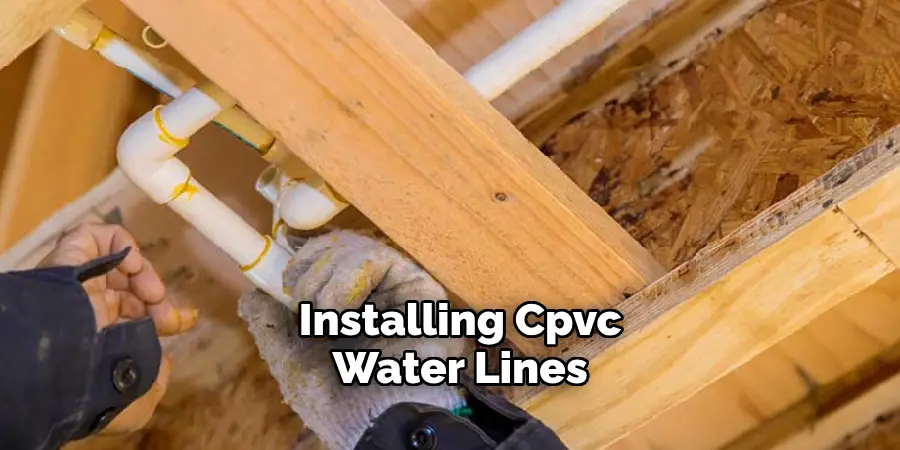
The next step is installing all of the pipes into place within walls/ceilings etc., making sure they fit tightly against one another without any gaps present anywhere along their length, as this could lead to potential leaks occurring further down the line if not caught early enough.
Careful measurements must also taken beforehand so that all pipes line up correctly with existing studs/supports, etc.; otherwise, additional supports may need to be added before installation takes place, which could add extra costs onto overall project costs.
8. Testing For Leaks
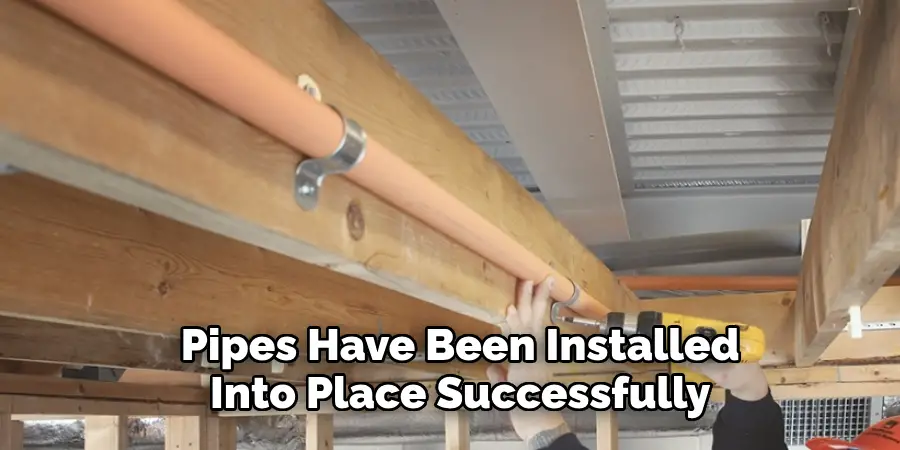
Once all of the pipes have been installed into place successfully, it’s time to test whether there are any leaks present by running water through the system at low pressure first before increasing pressure slowly until maximum pressure has been reached. Any leaks present will usually become apparent quickly due lack of water pressure being able to hold back flow effectively enough so corrective measures can then be taken immediately if needed.
9. Caulking Gaps & Sealing Connections
In addition to checking for leaks, it is also important to caulk around edges/corners where possible and seal connections even further by adding additional layers of silicone sealant over the top of existing connections already made earlier to help prevent potential future problems occurring due to moisture build-up over time. Some plumbers recommend using a mildew-resistant caulk for this purpose to ensure that your work remains as waterproof as possible.
10. Cleaning Up & Disposing Of Waste Materials
Finally, it’s important to clean up the workspace afterward and dispose of waste materials such as unused portions, leftover primers/glues, etc., properly according to local regulations governing such matters to ensure the safety of everyone involved throughout the whole process from start to finish.
If you are using PVC cement or primer, it is recommended to wait at least 15 minutes before cleaning up the workspace. This gives enough time for the materials to dry and prevents potential accidents from occurring.
Things to Consider When Installing Cpvc Water Lines
If you’re planning to install cpvc water lines in your home or building, there are several important factors you should consider to ensure a successful and long-lasting installation. In this section, we’ll discuss some key points to keep in mind before embarking on a cpvc water line installation project.
Familiarize Yourself with Local Building Codes
Before starting any plumbing project, it’s crucial to familiarize yourself with the relevant local building codes that govern plumbing installations. These codes vary by region and may dictate specific requirements for the types of materials, fittings, and methods used in plumbing systems.
Choose High-Quality Materials
It’s essential to choose high-quality cpvc pipes, fittings, and other components for your water line installation. While there are many brands and options available on the market, not all are created equal. Look for reputable manufacturers with a track record of producing reliable and durable products that meet industry standards.
Plan Your Layout Carefully
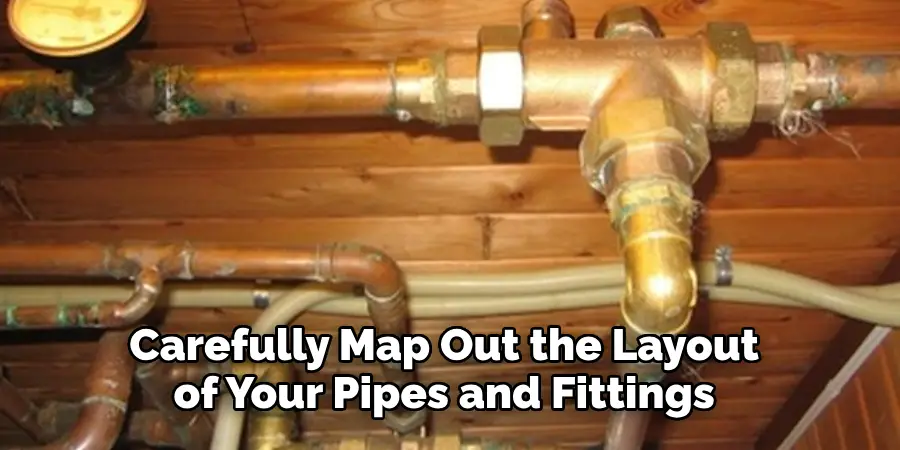
Proper planning is crucial for a successful cpvc water line installation. Take the time to carefully map out the layout of your pipes and fittings, considering factors such as distance, angles, and potential obstacles or obstructions. This will help to ensure an efficient and organized installation process.
Conclusion
Learning how to install CPVC water lines can be a daunting task. Fortunately, with the right steps and materials, it is possible for DIYers to tackle the job with confidence. Before beginning any project, make sure to research all necessary materials and supplies, as well as double-check local codes and ensure the plumbing installation follows safe methods.
Doing so can help take some of the stress out of this home improvement process. Plus, when you have successfully installed your new CPVC water lines, you’ll reap the benefits of quality pipes that last longer than their older counterparts may have—not to mention access to clean water more quickly throughout your home.

