The purpose of this article is to guide users on how to install CSST fittings effectively and safely. Corrugated Stainless Steel Tubing (CSST) is widely used in gas distribution systems due to its flexibility, resistance to corrosion, and ease of installation.
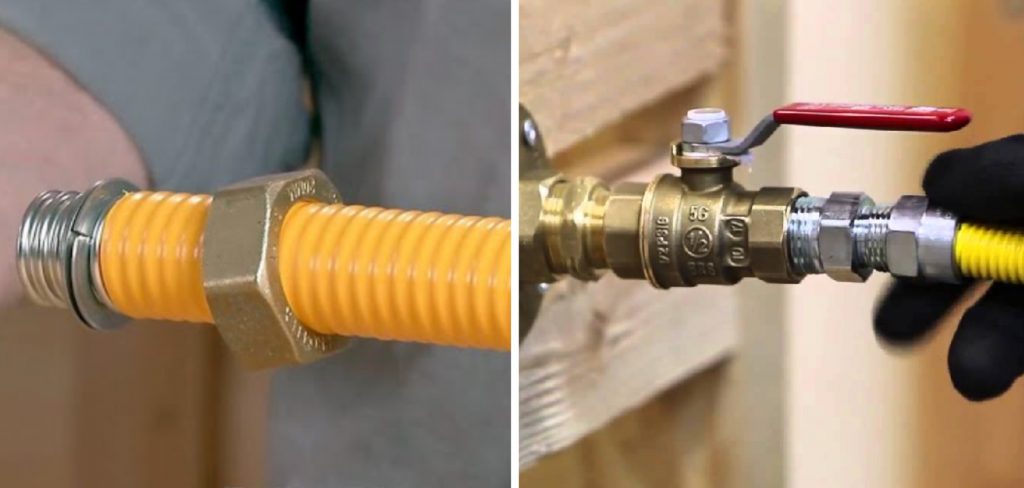
It serves as a reliable option for both residential and commercial applications, where it transports natural gas or propane to appliances like stoves, water heaters, and heating systems. Proper installation of CSST fittings is crucial for ensuring the integrity and safety of these gas lines, preventing leaks and potential hazards.
In this article, we will cover the necessary tools for installation and essential safety precautions to follow, as well as provide detailed step-by-step instructions on how to install CSST fittings correctly. By adhering to these guidelines, users can ensure a secure and functional gas supply system.
Safety Precautions
Importance of Gas Safety
When working with gas lines, prioritizing safety is paramount, as improper installation can lead to serious hazards, including gas leaks, fires, or even explosions.
It is crucial to be aware of these potential dangers and to follow the recommended installation procedures meticulously. Adhering to safety protocols can significantly minimize the risk, ensuring a secure and functioning gas supply system that protects people and property.
Personal Protective Equipment (PPE)
Wearing appropriate personal protective equipment is essential when installing CSST fittings. Recommended safety gear includes heavy-duty gloves to protect your hands from sharp edges and rough surfaces, safety glasses to shield your eyes from debris, and protective clothing to prevent injury from accidental scrapes or impacts. Using PPE creates an additional layer of safety during the installation process.
Shutting Off the Gas Supply
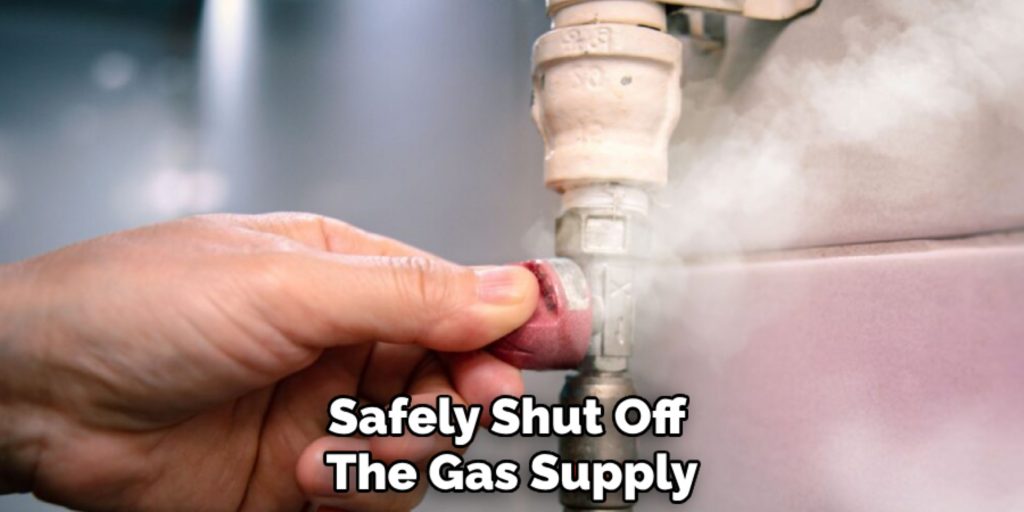
Before starting any work on gas lines, it is vital to safely shut off the gas supply. Locate the main gas valve and turn it to the “off” position to stop the flow of gas. Once you’ve shut off the gas supply, verify that it is completely off by using a gas detector or performing the soapy water test on the fittings. Before proceeding with the installation, ensure no bubbles are forming, which would indicate a gas leak.
Tools and Materials Needed
Essential Tools
To successfully install CSST fittings, you will need several essential tools. A pipe cutter is crucial for making clean, precise cuts in the CSST tubing. An adjustable wrench will help securely fasten fittings, while a utility knife is necessary for trimming protective jackets or other materials. Additionally, having a torque wrench ensures that connections are tightened to the manufacturer’s specifications, preventing leaks and ensuring safety.
Materials
The primary materials required for the installation include CSST fittings, which connect various sections of the gas line, and CSST tubing, which acts as the main conduit for gas delivery. You will also need Teflon tape or pipe thread sealant to create airtight seals at the threading of fittings. In some cases, a bonding clamp may be necessary if grounding is required for safety compliance. Make sure to have these materials ready before beginning the installation process.
Preparing the CSST Tubing
Step 1: Measure and Cut the Tubing
To begin preparing your CSST tubing, measuring the correct length needed for your installation is essential. Use a measuring tape to determine the distance between fittings, accounting for any bends or turns in the line.
Once you’ve established the correct length, use a pipe cutter for a clean, precise cut. Ensure that the tubing is held firmly while cutting to avoid slippage. Cutting straight is crucial, as any angle can compromise the integrity of the connection and lead to potential leaks or issues during installation.
Step 2: Inspect the Cut End
After cutting the CSST tubing, inspect the cut end for any burrs or deformities. A smooth cut is vital for ensuring a proper fit with fittings and preventing leaks in the gas line. Run your fingers along the edge to feel for any rough spots or protrusions that could interfere with sealing. If you notice any defects, do not proceed with the installation until the tubing is properly prepared, as these imperfections can impact the overall safety and functionality of the gas distribution system.
Step 3: Deburring and Preparing the End
If you find burrs on the cut end, it’s necessary to deburr the tubing before attaching fittings. Use a deburring tool to gently remove any sharp edges or excess material.
This step ensures the tubing slides smoothly into the fitting, creating an airtight seal when installed. Additionally, give the end of the tubing a quick clean to remove any debris or oils that may have accumulated during the cutting process. Preparing the end of the tubing meticulously will contribute to a secure and leak-free installation of your CSST fittings.

How to Install Csst Fittings: Installing Process
Step 1: Slide the Nut onto the Tubing
Begin the installation by taking the nut provided with the CSST fitting and sliding it onto the end of the tubing. It’s important to ensure that the nut is oriented correctly, with the threaded edge facing the open end of the tubing.
This alignment is crucial for ensuring a proper fit when the fitting is attached later. Make sure the nut slides smoothly down the tubing and sits flush against the tubing’s surface without any obstructions. This careful preparation will allow for a seamless connection once the fitting is secured.
Step 2: Fit the Split Ring
Next, place the split ring, often called a ferrule, onto the tubing. The split ring should be positioned immediately behind the nut and should sit flat against the end of the tubing. Ensuring that the split ring is correctly seated is vital since it is responsible for forming a tight seal between the tubing and the fitting when the connection is made.
A proper fit of the split ring is key to preventing gas leaks, ensuring it is not tilted or misaligned. The dimensions of the split ring should match the tubing size to facilitate a secure joint. Take a moment to double-check that everything is in place and that the ring provides an even contact area for optimum sealing.
Step 3: Attach the Fitting
With the nut and split ring in place, it’s time to attach the fitting to the tubing. Carefully position the fitting onto the end of the tubing and begin threading it by hand. Turn the fitting clockwise until it is hand-tight, ensuring that you do not cross-thread it.
A cross-threaded fitting can lead to improper sealing and potential leaks. Once the fitting is hand-tight, utilize a torque wrench to tighten it further to the manufacturer’s specifications. This step is crucial, as under-tightening may result in an insecure fit, while over-tightening can damage the components and compromise the system. Follow the specific torque rating provided with your fitting to achieve the best results.
Step 4: Secure the Fitting with the Nut
Finally, secure the connection by tightening the nut onto the fitting. Use an adjustable wrench to snugly tighten the nut, ensuring it fits securely against the fitting. It’s important to avoid over-tightening as this can damage or deform the fittings, which could create leaks. A snug fit is sufficient to create a safe and reliable connection and complete the installation of the CSST fitting.
Grounding and Bonding CSST
Grounding and bonding CSST systems are crucial for preventing electrical hazards, particularly in areas susceptible to lightning strikes. An ungrounded gas system poses risks, as electrical surges can potentially ignite flammable gases, leading to catastrophic consequences. Proper grounding ensures safe dissipation of electrical charges, maintaining the integrity of both the gas system and the environment around it.

Installing a Bonding Clamp
To install a bonding clamp on your CSST system, first locate a designated point on the tubing where the clamp can be securely attached. Use a wire brush to clean the area, removing any corrosion or debris.
Position the bonding clamp to surround the tubing, then tighten it securely. Connect the bonding wire from the clamp directly to your electrical grounding system, ensuring a tight bond that meets code requirements.
Testing for Proper Grounding
After installation, it is essential to test the system for proper grounding. A continuity tester or multimeter checks for a complete circuit between the bonding clamp and the grounding electrode system. Confirm that the readings indicate a solid connection, thus ensuring compliance with local codes and maintaining system safety.
Testing for Leaks
Performing a Soapy Water Test
To check for leaks in the CSST installation, use a spray bottle or cloth to apply soapy water to all connections. Ensure the solution covers each joint thoroughly, then observe for bubbles forming. Bubbles indicate a gas leak, which must be addressed immediately, as even tiny leaks can pose safety risks. If you detect leaks, turn off the gas supply and make the necessary repairs before proceeding.
Using a Gas Detector
For a more accurate assessment, consider using a gas detector. These devices can identify gas leaks that may not be visible to the naked eye. After installation, sweep the detector around all connections to ensure they are secure and leak-free, providing an additional layer of safety.
What to Do if You Find a Leak
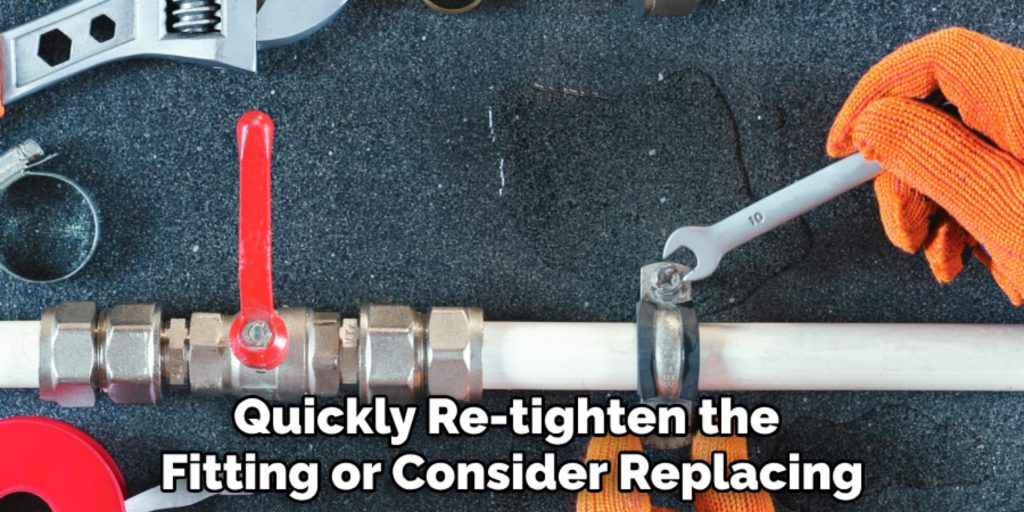
If a leak is found, quickly re-tighten the fitting or consider replacing it if the issue persists. Always retest after making adjustments to ensure the system is leak-free.
Conclusion
In summary, installing CSST fittings requires careful attention to detail to ensure safety and functionality. Begin by preparing the tubing, inspecting the cut end for burrs, and deburring as necessary.
Proceed by sliding on the nut, fitting the split ring, and securely attaching the fitting before tightening the nut. Grounding and bonding your CSST system is essential to mitigate electrical hazards, followed by testing for proper grounding to confirm compliance with safety standards.
Safety is paramount throughout this process, especially when working with gas lines. Following these steps meticulously is crucial when learning how to install CSST fittings. Should you have any uncertainty during the installation, do not hesitate to seek assistance from a qualified professional to ensure that your installation is both safe and effective.
