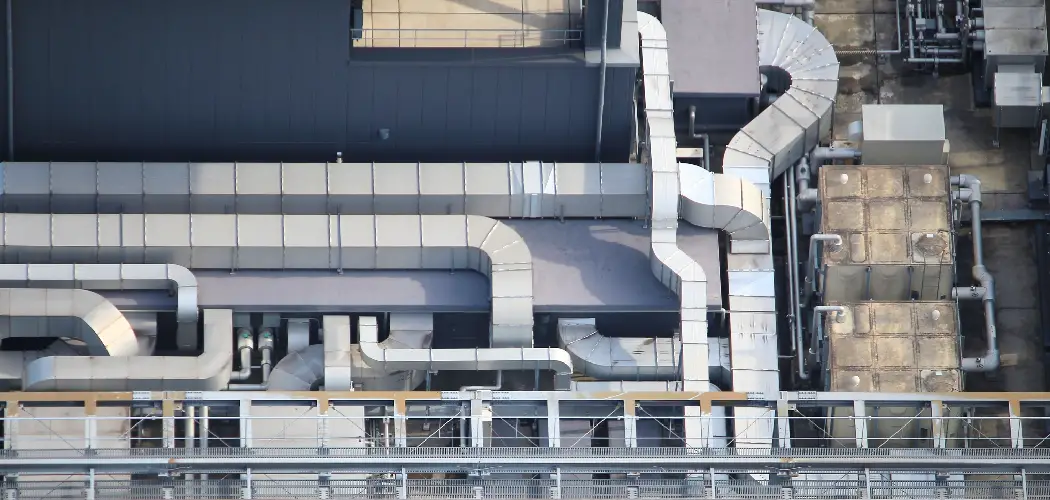
Installing ductwork in existing walls can be a daunting task, especially when working within the confines of an already-constructed home. However, it is often necessary to improve heating, ventilation, and air conditioning (HVAC) systems to ensure optimal airflow and energy efficiency. This guide will walk you through the essential steps and considerations for retrofitting ductwork into your existing walls, helping you achieve a seamless installation.
Whether you are a seasoned DIY enthusiast or a professional contractor, the following instructions on how to install ductwork in existing walls aim to simplify the process while minimizing disruptions to your living space.
What is Ductwork?
Ductwork is a network of pipes or channels that distribute air from heating, ventilation, and air conditioning (HVAC) systems throughout a building. It helps regulate indoor temperature, circulate fresh air, and maintain healthy air quality. Depending on the size and layout of your home, ductwork can be installed in various locations such as attics, basements, crawl spaces, and walls.
The key to a successful installation is careful planning and attention to detail. Before starting the project, it is crucial to assess your home’s HVAC needs, existing structural layout, and any potential obstacles that may hinder the installation process. Taking these factors into consideration will help you determine the most suitable location for your ductwork and avoid any costly mistakes.
Tools and Materials Required
Before beginning the installation, gather all necessary tools and materials to ensure a smooth process. Here are some essential items you will need:
Measuring Tape
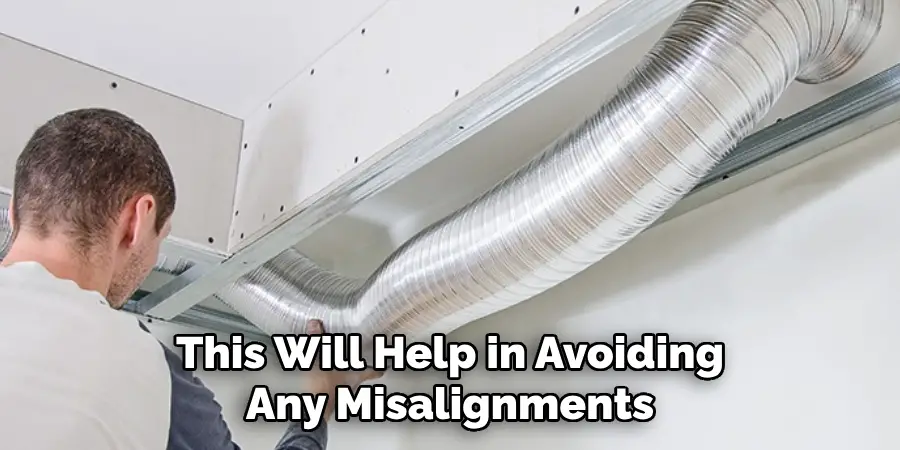
A measuring tape is indispensable for this project as it allows you to accurately measure the dimensions of the spaces where the ductwork will be installed. Precise measurements are vital to ensure that the ducts fit properly within the wall cavities and connect seamlessly to the HVAC system. To use a measuring tape effectively, measure the distance between key points, such as the HVAC unit and the desired air vents, and mark these measurements before cutting any materials. This will help in avoiding any misalignments and ensure a neat and efficient installation.
Ductwork Materials
There are various types of ductwork materials available in the market, including sheet metal, fiberglass, and flexible plastic. Each type has its advantages and limitations, so it is essential to choose the most suitable material for your specific needs. Sheet metal is a popular option due to its durability and suitability for high-pressure systems. Fiberglass is an excellent choice for insulation purposes as it helps reduce heating or cooling loss. Flexible plastic ducts are easy to install but may not be as durable as other options.
Cutting Tools
To cut the chosen ductwork material accurately, you will need appropriate cutting tools such as tin snips or a hacksaw. These tools can help you make clean cuts with minimal effort and ensure that the ducts fit perfectly into the wall cavities. It is crucial to select the right cutting tool for your chosen duct material to avoid any damage or uneven cuts.
Fasteners
Fasteners are essential for securing the ductwork in place and preventing it from shifting or moving around. Commonly used fasteners include sheet metal screws, clamps, and foil tape. Before purchasing any fasteners, consider the size and type of your chosen duct material to ensure compatibility.
7 Simple Installation Process of how to install ductwork in existing walls
Step 1: Measure and Plan
The first and most critical step in installing ductwork in existing walls is to measure and plan carefully. Begin by identifying the location of your HVAC system and the desired placement of air vents. Use a measuring tape to determine the distance between these points and mark them on the walls. Make sure to consider any obstructions such as electrical wiring, plumbing, or structural elements that could interfere with the ductwork installation.

Create a detailed plan outlining the route the ductwork will take, including any turns or bends. This plan will serve as a blueprint throughout the installation process, helping you stay organized and avoid potential issues. Ensure your measurements are accurate and double-check them before cutting any materials. Proper planning at this stage will save you time and effort later on, ensuring a seamless and efficient installation.
Step 2: Cut the Access Point
Once you have your measurements and plan in place, the next step is to cut access points in the walls where the ductwork will be installed. Begin by marking the exact locations on the wall based on your measurements. Use a stud finder to ensure you are not cutting into any structural elements, electrical wiring, or plumbing.
Using a drywall saw or a reciprocating saw, carefully cut along the marked lines to create openings large enough for the ductwork to pass through. It’s essential to make clean, precise cuts to prevent unnecessary damage to the surrounding wall. Once the openings are created, remove any debris or insulation within the wall cavity to provide a clear path for the ductwork.
If you encounter obstacles such as studs or additional framing within the wall, you may need to adjust your plan or frame around these obstructions to maintain the integrity of the wall structure. This step is crucial as it sets the stage for inserting and securing the ductwork without major complications.
Step 3: Install the Ductwork
Now, it’s time to install the ductwork itself. Begin by cutting the chosen material to fit the measured lengths and angles of your planned route. Use appropriate cutting tools such as tin snips or a hacksaw to ensure clean cuts that fit snugly into the access points created in step two.
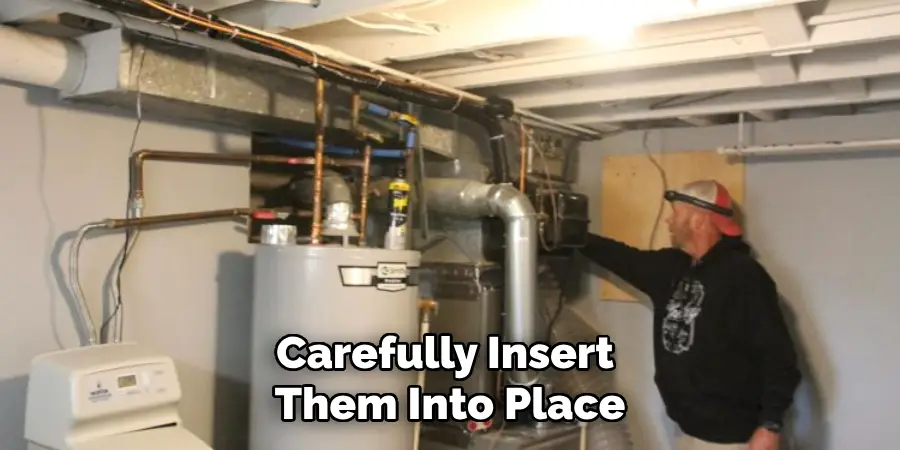
Once you have all the pieces cut, carefully insert them into place through the access points, making sure they are aligned correctly and firmly attached to each other. Secure any joints with fasteners such as sheet metal screws or clamps and use foil tape to seal any gaps between sections. This process may require some trial and error, so be patient and adjust as needed to achieve a secure and proper fit.
Step 4: Connect to the HVAC System
With the ductwork now in place, the next step is to connect it to your HVAC system. Begin by locating the main duct or plenum of your HVAC unit. This is typically a large, central duct where all smaller ducts converge. Measure the dimensions of the main duct’s outlet and compare it with your newly installed ductwork to ensure a proper fit.
Using a connector or transition piece, attach the end of the new ductwork to the main duct. This connector should fit securely over both the main duct and the new ductwork, creating an airtight seal. Fasten the connector in place using sheet metal screws or clamps, and then apply foil tape or mastic sealant to seal any gaps or joints. This ensures that no air leaks occur at the connection point, which can reduce the efficiency of your HVAC system.
Step 5: Install Vents
After connecting the ductwork to the HVAC system, it’s time to install air vents in each room where you want air to flow. Begin by measuring and marking the desired locations for vents on the walls or ceiling. Use a hole saw or drywall saw to create openings at these locations, making sure they are large enough for the chosen vent size.
Once the holes are created, insert and secure each vent using screws or clamps. Make sure to seal any gaps between the vent and wall/ceiling with foil tape or mastic sealant to maintain an airtight system. Repeat this process for each room where a vent is needed.
Step 6: Insulate
Insulation helps improve the efficiency of your HVAC system by reducing heat loss or gain through the ductwork. Before closing up the access points and completing the installation, it’s crucial to insulate the ductwork. Use insulation sleeves or wrap around each section of ductwork, ensuring that they are fully covered. This will help maintain a consistent temperature within the ducts and prevent any air leaks.
It’s also essential to insulate any exposed ductwork in unconditioned spaces, such as attics or crawl spaces. This will prevent condensation from forming on the outside of the ducts and potentially causing damage.
Step 7: Close-Up Access Points
Once all the ductwork is in place and insulated, it’s time to close up the access points created in step two. Cut drywall pieces to fit over the openings and secure them in place using drywall screws or nails. Use joint compound to cover any seams or gaps between the drywall pieces, and then sand and paint over them for a seamless finish. Repeat this process for each access point.
Congratulations! You have now successfully installed ductwork in existing walls. It may seem like a daunting task, but with careful planning and attention to detail, you can achieve a professional-looking installation that will improve the efficiency of your HVAC system. Remember to regularly check and maintain your ductwork to ensure it continues to function properly.
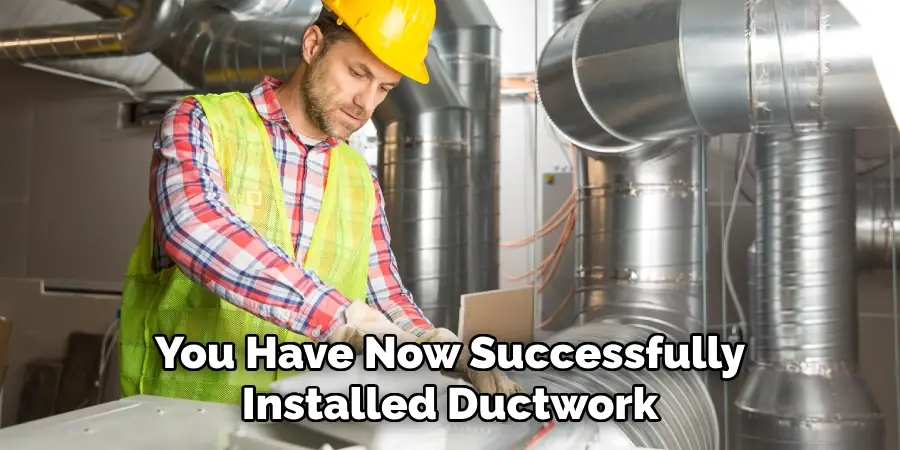
Following these steps on how to install ductwork in existing walls will not only save you money on hiring a professional, but it will also give you a sense of accomplishment and pride in tackling a home improvement project on your own.
Additional Tips
- If you are not comfortable with cutting access points or handling tools, it’s best to hire a professional for this installation.
- Make sure to wear appropriate safety gear, such as gloves and eye protection, when handling tools and materials.
- If you encounter any challenges during the installation process, don’t hesitate to seek guidance from experts or online resources.
- Regularly inspect your ductwork and make any necessary repairs or replacements to maintain its efficiency and prevent potential issues.
- Properly seal all joints and connections in your ductwork using foil tape or mastic sealant to avoid air leaks.
- Consider insulating your ductwork in unconditioned spaces even if it is not required by building codes to improve the overall efficiency of your HVAC system.
- If you are unsure about the size and layout of your ductwork, consult an HVAC professional for guidance before beginning the installation process. Overall, proper planning, attention to detail, and regular maintenance are key factors in a successful ductwork installation in existing walls. So roll up your sleeves and get ready to enjoy a more efficient and comfortable home! Happy installing!
Techniques for Dealing with Obstacles and Challenges
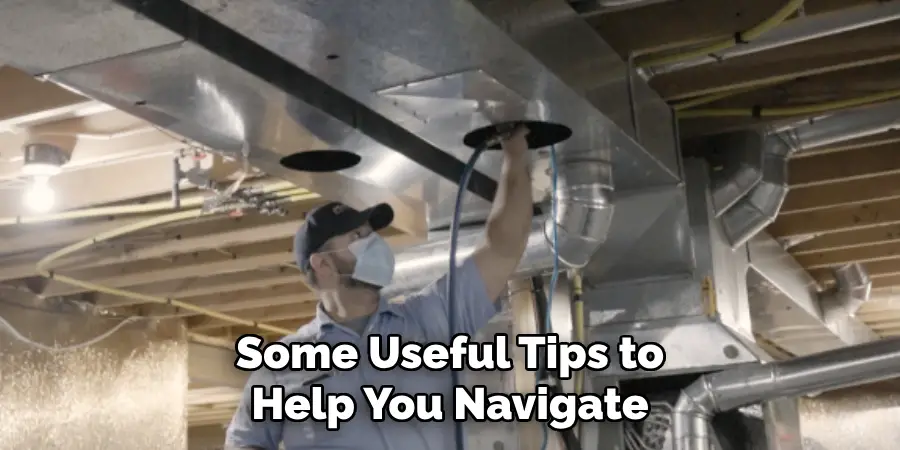
Installing ductwork in existing walls can present numerous obstacles and challenges that require thoughtful strategies and techniques to overcome. Here are some useful tips to help you navigate these difficulties effectively:
1. Accurate Measurement and Planning
One of the most critical steps in any successful ductwork installation is accurate measurement and planning. Ensure that you measure all dimensions accurately and plan your duct routes carefully to avoid utility lines or structural components. Use detailed diagrams and double-check your measurements to prevent any unexpected setbacks.
2. Utilizing the Right Tools
Having the right tools for the job can make a huge difference. Common tools for ductwork installation include tin snips, a hacksaw, a drill, and a variety of screwdrivers. Specialized tools like a duct stretcher or a crimping tool can also be invaluable for creating secure connections. Always ensure your tools are in good condition and suited for the task at hand.
3. Dealing with Tight Spaces
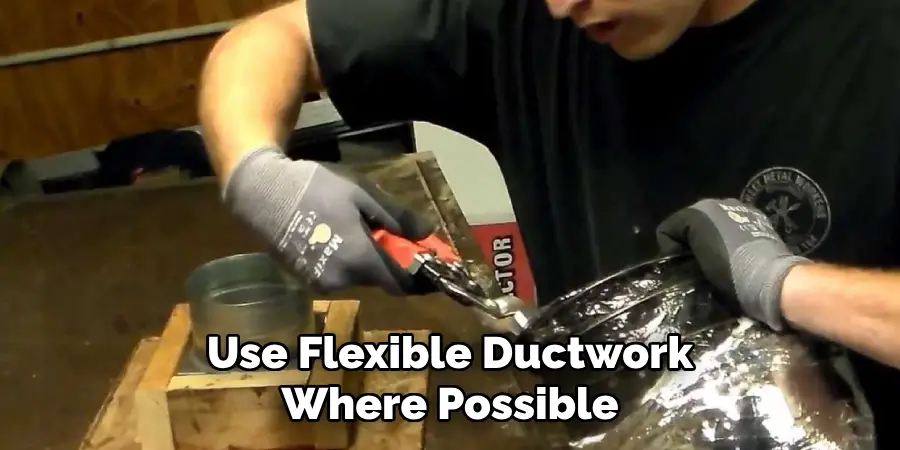
Navigating tight or confined spaces is often a significant challenge. Use flexible ductwork where possible, as it can be easier to maneuver and install in cramped conditions. When working in attics or crawl spaces, take breaks as needed to avoid fatigue and discomfort. Additionally, consider creating temporary lighting to improve visibility in these dark spaces.
4. Addressing Structural Barriers
If you encounter structural barriers such as joists or beams, it’s essential to address these appropriately. Instead of cutting through these elements, reroute your ductwork around them or use adjustable elbows and flex ducts to navigate around obstacles. Always ensure any modifications comply with local building codes to maintain structural integrity.
5. Sealing and Insulating in Unconditioned Spaces
When installing ductwork in unconditioned spaces such as attics or basements, make sure to seal all joints and connections meticulously to prevent air leaks. Proper insulation is crucial in these areas to improve efficiency and prevent condensation. Utilize high-quality insulation materials and sealants designed specifically for ductwork.
6. Seeking Professional Help
If certain challenges prove too complex, don’t hesitate to seek help from professionals. Consulting with an HVAC technician or contractor can provide valuable insights and solutions to any persistent issues you encounter. This approach can prevent costly mistakes and ensure your installation meets all required standards.
7. Safety Precautions
Always prioritize safety during your project. Wear appropriate personal protective equipment (PPE) such as gloves, safety goggles, and dust masks. Be cautious when using power tools, and always follow the manufacturer’s instructions for safe operation. Proper ventilation is also important, especially when using adhesives or sealants.

By employing these techniques, you can effectively tackle the common obstacles and challenges associated with installing ductwork in existing walls. With careful planning, the right tools, and a focus on safety, you can achieve a successful and efficient installation.
Frequently Asked Questions
Q1: Do I Need to Insulate My Ductwork in Unconditioned Spaces?
A1: While it may not be required by building codes, insulating your ductwork in unconditioned spaces can significantly improve the efficiency of your HVAC system. It helps prevent heat loss or gain and reduces the workload for your heating and cooling equipment, resulting in energy savings.
Q2: Can I Use Duct Tape to Seal My Ductwork?
A2: Contrary to popular belief, duct tape is not suitable for sealing ductwork. Over time, its adhesive deteriorates and loses its effectiveness, causing air leaks. Instead, use foil tape or mastic sealant specifically designed for HVAC applications.
Q3: How Often Should I Inspect and Maintain My Ductwork?
A3: It is recommended that you inspect your ductwork at least once a year and perform any necessary maintenance or repairs promptly. Additionally, be sure to change your air filter regularly to prevent dust and debris buildup in your ducts.
Conclusion
In summary, installing ductwork in existing walls can be a complex but rewarding project. By following proper planning, utilizing the right tools, and adhering to safety precautions on how to install ductwork in existing walls, you can achieve an efficient and smoothly running HVAC system. Addressing challenges such as navigating tight spaces, dealing with structural barriers, and ensuring proper sealing and insulation are critical steps to ensure the success of your installation.
Moreover, regular inspection and maintenance of your ductwork will prolong its life and maintain the efficiency of your heating and cooling system. If ever in doubt, consulting HVAC professionals is always a wise choice to avoid costly mistakes. With dedication and meticulous attention to detail, you can create a comfortable and energy-efficient indoor environment for years to come. Happy installing!

