The process of how to install an electric furnace is not merely a task; it’s an art that demands precision, understanding, and respect for safety measures. Proper installation is paramount as it ensures the unit functions efficiently, safely, and effectively over its lifetime, avoiding potential hazards and costly repairs. Electric furnaces, favored for their efficiency, reliability, and ease of maintenance, have become a staple in modern homes, providing a clean and consistent source of heat.
This article is crafted to guide homeowners, DIY enthusiasts, and professionals through the intricate steps of installing an electric furnace. From assessing installation requirements to the final inspection, we aim to cover the entire scope, ensuring you are equipped with the knowledge to either undertake this task yourself or understand the process when consulting professionals.
Assessing Installation Requirements
Before initiating the process of how to install electric furnace, conducting a detailed assessment of installation requirements is essential. This initial phase ensures that the subsequent steps proceed smoothly and efficiently.
A. Determining a Suitable Location for the Furnace
The first step is to identify an optimal location for the furnace. This location should be easily accessible for installation and future maintenance, have adequate space for air circulation, and comply with local building codes regarding furnace installation. It’s also crucial to consider the distribution of heat throughout the building to ensure efficient heating.
B. Checking Electrical Supply and Capacity
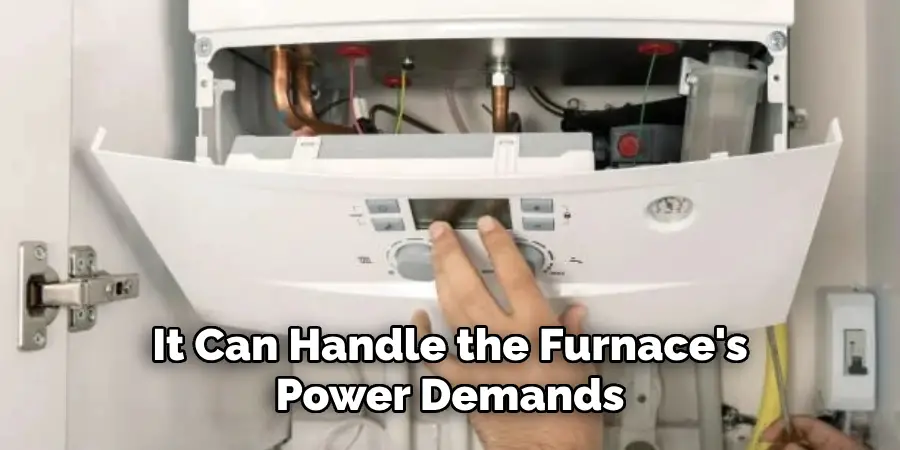
Electric furnaces require a substantial amount of electrical power. It is imperative to assess your home’s electrical system to confirm that it can handle the furnace’s power demands. This entails checking the existing electrical panel’s capacity and ensuring adequate circuits are available for the furnace and any additional components, such as air handlers or thermostats.
C. Obtaining Necessary Permits and Approvals
Different localities have specific requirements and regulations governing the installation of electric furnaces. It’s important to contact your local building department to inquire about necessary permits and inspections. Obtaining these permits is crucial as it ensures that the installation is performed according to local codes and standards, safeguarding your safety and ensuring the validity of your home insurance.
These preliminary steps form the foundation for a successful installation, ensuring that the electric furnace will operate efficiently, safely, and in compliance with local regulations.
Gathering Tools and Materials
Before the physical work begins, gathering the correct tools and materials is paramount to ensure the installation proceeds without unnecessary interruptions.

A. List of Necessary Tools
To start, you’ll need an array of basic and specialized tools. A screwdriver and drill are fundamental for securing components and creating openings for wiring. Additionally, you should acquire wire strippers for preparing electrical wires, a voltage tester to ensure safety while working with electricity, and a level to certify that the furnace and any attached components are properly aligned. A tape measure is essential for verifying dimensions and spacing, while adjustable wrenches and pliers will be needed for manipulating various fittings and hardware.
B. Selecting Proper Electrical Wiring and Components
Choosing the right electrical wiring and components is critical for your electric furnace’s safe and efficient operation. Ensure the wiring gauge suits the furnace’s electrical demand, as specified in the installation manual. The components, including circuit breakers, connectors, and conduit, must be compatible with the type of furnace you are installing. It’s advisable to consult with an electrical supply specialist to ensure all materials meet your system’s requirements and comply with local electrical codes.
C. Ensuring Safety Equipment
Safety should never be compromised. Personal protective equipment (PPE) is necessary to protect against potential hazards during installation. Safety glasses or goggles will shield your eyes from dust, debris, and any unforeseen flying objects. Gloves are essential for handling sharp metal edges and protecting against electrical shocks. Additionally, wearing a dust mask or respirator is recommended when cutting into walls or ceilings to prevent inhalation of dust or insulation fibers. Ear protection should also be considered when using loud power tools. Ensuring you have this safety equipment before installation will help prevent personal injuries and promote a safe working environment.
Preparing the Installation Area
Preparing the installation area before commencing the actual installation is a critical step that significantly influences the efficiency and safety of your electric furnace. This preparation ensures the furnace operates optimally and has a prolonged lifespan.
A. Clearing Space for Furnace Placement
The first action in preparing the installation area involves clearing any debris, furniture, or other items from the vicinity where the furnace will be placed. This step is crucial to ensure there is ample room for the installation process and future maintenance activities. You must also remove any flammable materials from the area to prevent potential fire hazards. Creating a clean and unobstructed space will facilitate a smoother installation process and safer furnace operation.
B. Leveling Surface for Stable Mounting
A stable platform is essential for the furnace to operate correctly and efficiently. Use a level to check the floor or platform where the furnace will be mounted. If the surface is uneven, adjustments or repairs should be made to ensure the furnace will be perfectly level once installed. An unstable furnace can lead to improper operation, increased wear and tear, and even premature failure. Therefore, dedicating time to appropriately level the installation surface can save time, money, and energy in the long run.
C. Providing Adequate Ventilation and Clearance Space
Electric furnaces, while not requiring the same ventilation as gas furnaces, still need adequate clearance space for air circulation and to prevent overheating. Refer to the manufacturer’s instructions for specific clearance requirements, which typically include space around the unit’s sides, back, and top. Additionally, ensure that the furnace is positioned in a way that allows for easy access to air filters for regular maintenance. Proper ventilation and clearance contribute to optimal operation and enhance the furnace’s safety and durability.
How to Install Electric Furnace: Installing the Furnace
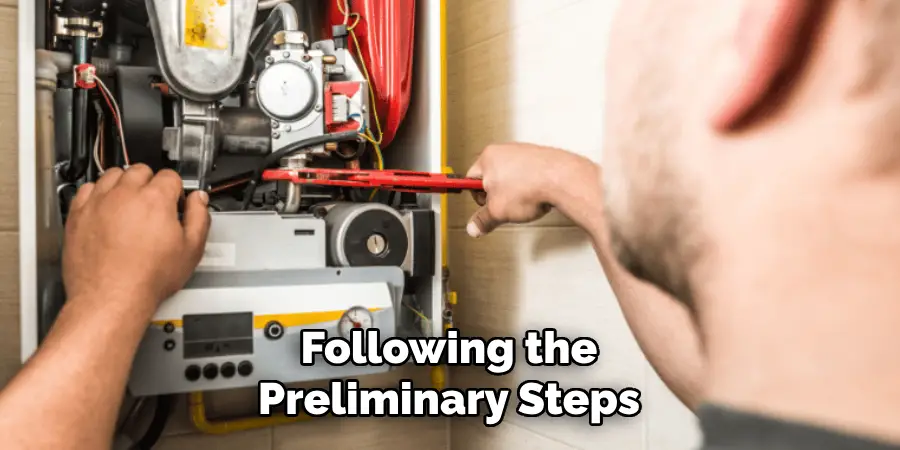
Proper installation is crucial for the efficient and safe operation of the electric furnace. Following the preliminary steps of preparation, the installation process involves securing the furnace, establishing electrical connections, and attaching the ductwork for effective air distribution.
A. Mounting Furnace on a Stable Surface
The furnace can be mounted once the installation area has been prepared and the surface leveled. Position the furnace on the platform or area designated for installation, ensuring it rests evenly. If necessary, secure the furnace to the platform using bolts or screws to prevent any movement. This not only stabilizes the furnace but also ensures it remains aligned, which is essential for the proper functioning of internal components. It’s important to refer to the manufacturer’s installation guide for specific mounting instructions and recommendations.
B. Connecting Electrical Wiring to Power Supply
Electrical connections are the lifeline of an electric furnace. Begin by ensuring the power supply to the installation area is switched off to avoid any electrical hazards. Connect the electrical wires from the power supply to the furnace’s terminal block using the wiring diagram provided in the furnace’s installation manual. Ensure that the wire gauge and circuit breakers used match the furnace’s requirements to handle the electrical load safely. Once the connections are made, secure the wiring with connectors and protective conduit as needed. Before proceeding, double-check all connections to be sure they are tight and secure to ensure the furnace operates efficiently and safely.
C. Securing Ductwork and Airflow Components
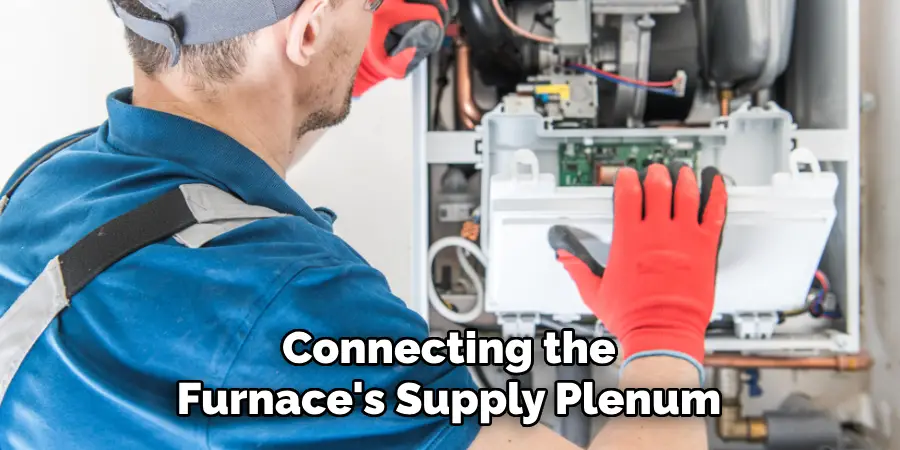
The next step is to attach the ductwork, which is crucial for distributing heated air throughout your home. Begin by connecting the furnace’s supply plenum—the outlet through which heated air is distributed—to the existing ductwork. Ensure that all connections are sealed and insulated properly to prevent heat loss and air leaks. Similarly, attach the return air duct to the furnace’s return air plenum to ensure the system can efficiently recirculate air. Secure all ductwork with metal screws, and fortify the sealing with mastic or metal-backed tape. Additionally, consider installing air filters and inspecting them for proper fit to enhance air quality and furnace efficiency.
How to Install Electric Furnace: Connecting Thermostat and Controls
Ensuring your electric furnace operates efficiently involves not just proper installation but also integrating it seamlessly with a thermostat and control system. This step is vital for maintaining desired temperatures within your home and for the energy-efficient operation of your furnace.
A. Installing Thermostat in Suitable Location
The placement of the thermostat is crucial for accurate temperature readings and for the efficient control of your electric furnace. Ideally, the thermostat should be installed on an interior wall, away from direct sunlight, drafts, doorways, windows, and any area that could lead to false readings. It should be positioned approximately 5 feet above the floor to capture the average room temperature effectively. Careful consideration of the location can significantly impact the thermostat’s efficiency and, in turn, the comfort level within your home.
B. Wiring Thermostat to Furnace Controls
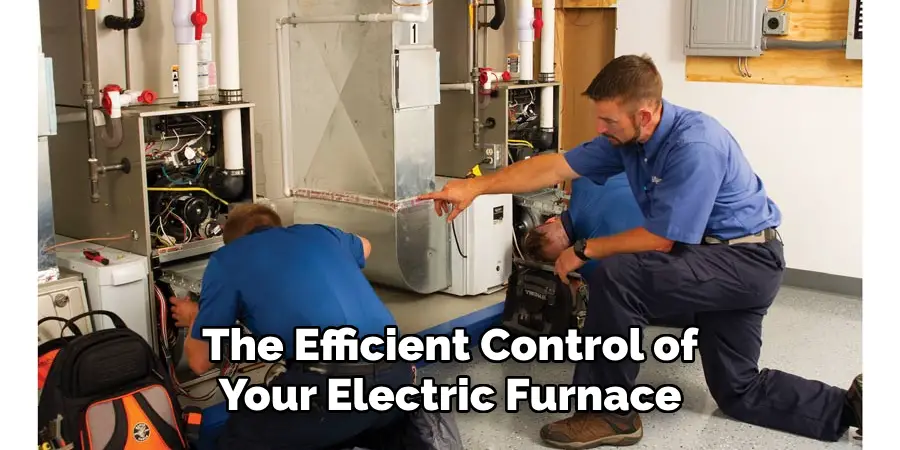
Once a suitable location has been selected, the next step is to connect the thermostat to the furnace controls. This involves running low-voltage wiring from the furnace’s control panel to the thermostat. Each wire corresponds to a specific control feature on the thermostat, so it is crucial to refer to the furnace’s installation manual for guidance on wire connections. Ensure that the power supply to the furnace is switched off before attempting any wiring to prevent electrical hazards. Securely connect the wires to the designated terminals on both the thermostat and the furnace, according to the wiring diagram provided by the manufacturer. Correct wiring ensures that the thermostat can accurately control the furnace’s operation.
C. Testing Thermostat Functionality
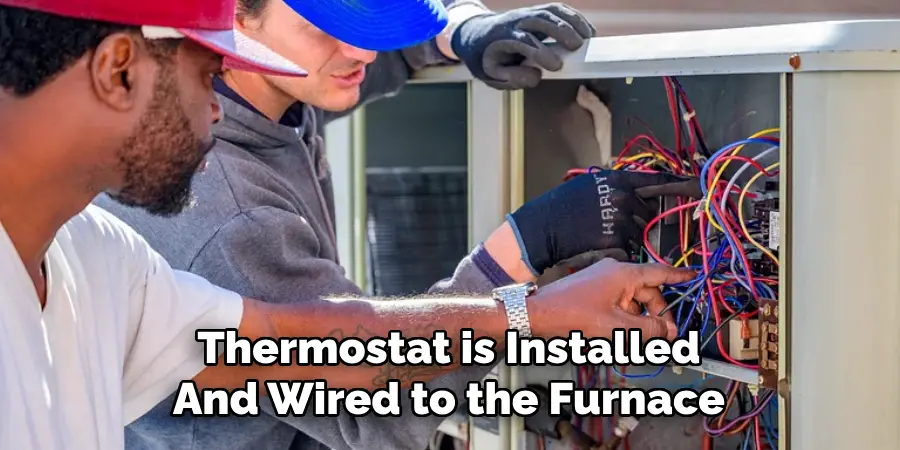
After the thermostat is installed and wired to the furnace, the final step is to test its functionality. Turn the power supply back on and program the thermostat according to the manufacturer’s instructions. Test various settings on the thermostat to ensure it can effectively start the furnace, regulate the temperature, and turn off the furnace based on the set points. It is also a good opportunity to verify the thermostat’s accuracy by comparing its readings with a separate room thermometer. Any discrepancies should be addressed immediately to ensure efficient operation. Regular testing of the thermostat’s functionality can prevent uncomfortable temperature swings and optimize your furnace’s energy use.
Testing and Inspection
Ensuring your electric furnace’s safe and efficient operation requires meticulous testing and inspection. This final phase is critical to validate the installation and troubleshoot any potential issues before the system is put into regular use.
A. Conducting Electrical and Operational Tests
The first step in this phase involves conducting electrical and operational tests. Begin by ensuring that the power supply to the furnace is on and that all electrical connections are secure and in compliance with local electrical codes. Use a multimeter to verify that the correct voltage is reaching the furnace. Next, initiate the furnace cycle to assess its operational efficacy. Monitor the startup sequence to ensure it follows the manufacturer’s specifications, paying close attention to the response of the blower, heating elements, and any error codes that the system may display. This is also an opportune time to verify the functionality of safety switches and thermostats, ensuring they engage and disengage correctly at designated temperatures.
B. Checking for Proper Airflow and Ventilation
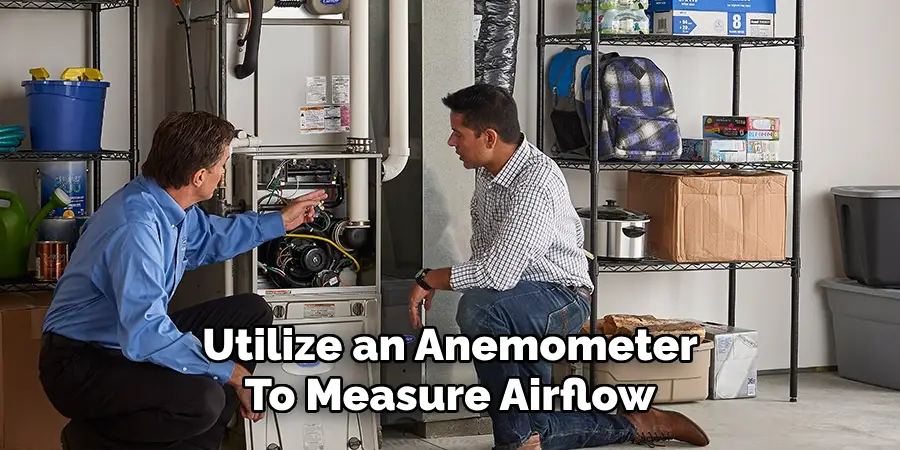
Proper airflow and ventilation are paramount for the performance and longevity of your electric furnace. Start by checking that all vents and registers throughout the home are open and unobstructed. Utilize an anemometer to measure airflow at various points in the system to ensure it meets the specifications outlined by the manufacturer. Inspect the ductwork connections for any signs of leakage, which could lead to inefficiency and energy loss. Verifying that the return air and supply plenums are securely attached and sealed is also crucial. Proper ventilation not only affects the efficiency and distribution of heat but also the quality of indoor air.
C. Inspecting for Leaks or Defects
The final step in the testing and inspection phase is to inspect the entire system for leaks or defects. This includes thoroughly examining the ductwork for any signs of air leakage and using smoke pencils or similar devices to identify leaks. Inspect all joints and connections in the ductwork, ensuring they are properly sealed. Additionally, examine the furnace’s internal components for any visible signs of damage or wear. Pay close attention to the heat exchanger, blower motor, and electrical connections for any defects that could impair the system’s safety or efficiency. Any issues discovered during this inspection should be addressed immediately to ensure the furnace is in optimal condition.
Adjusting Settings and Configurations
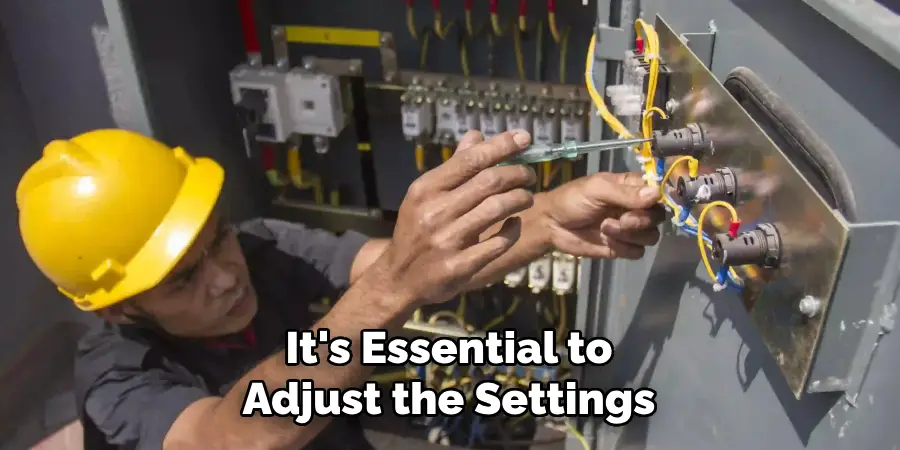
Once your electric furnace has been installed, tested, and inspected, it’s essential to adjust the settings and configurations to ensure optimal comfort and efficiency. These adjustments also play a significant role in maintaining the longevity of your system and in ensuring your home’s safety.
A. Setting Furnace Temperature and Fan Speed
To achieve the desired comfort level in your home, you’ll need to set the furnace temperature and fan speed appropriately. Begin by programming the thermostat to your preferred ambient temperature. It’s advisable to start with a moderate setting and adjust as needed to find the perfect balance between comfort and energy efficiency. Fan speed is critical for distributing heat evenly throughout your home. Most systems offer auto and manual fan settings. The auto setting adjusts the fan speed based on the heating demands. In contrast, the manual setting allows for continuous operation, which is beneficial in maintaining consistent air quality by continuously filtering and circulating the air.
B. Adjusting Airflow Direction and Registers
The correct adjustment of airflow direction and registers can significantly impact the effectiveness of your heating system. Ensure that registers in each room are open and positioned for optimal air distribution. In rooms that are colder or receive less airflow, you might need to adjust the damper settings within the ductwork or alter the direction of the air vent louvers to increase airflow. Conversely, in rooms that are too warm, you can adjust these settings to reduce airflow. This level of control allows you to customize the temperature throughout your home, catering to the unique needs of each space.
C. Configuring Safety Features and Emergency Shut-offs
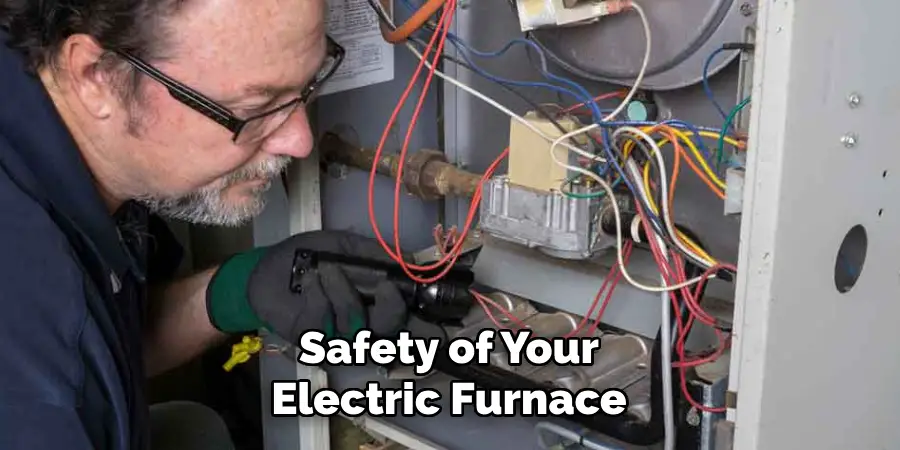
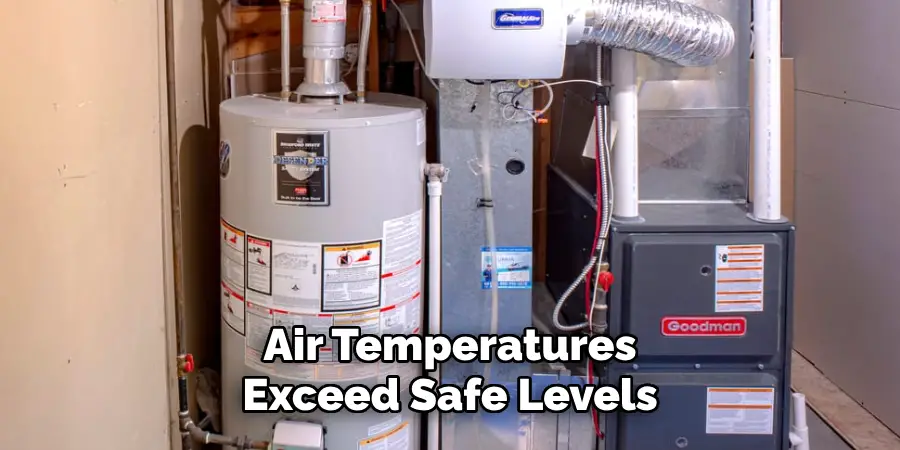
An essential aspect of your electric furnace’s configuration is the setup of safety features and emergency shut-offs. These systems are designed to protect your home and the furnace itself from potential hazards. Ensure that the furnace is equipped with a functional emergency shut-off switch that is easily accessible. Smoke detectors and carbon monoxide detectors should also be installed near the furnace and throughout your home to provide early warnings of any dangerous conditions. Additionally, verify that the furnace’s internal safety mechanisms, such as the high limit switch—which prevents overheating by shutting off the furnace if air temperatures exceed safe levels—are functioning correctly. These safety features are regularly tested to maintain a safe and secure environment.
Finalizing Installation
The culmination of the electric furnace installation process involves several critical steps to ensure everything is secure, clearly identified, and thoroughly reviewed. This final stage confirms the system’s integrity and readiness for routine operation.
A. Securing Access Panels and Covers
After adjustments and configurations, it’s crucial to reattach and secure all access panels and covers on the furnace. This not only preserves the aesthetic appeal of the installation but, more importantly, safeguards against accidental contact with electrical components and moving parts. Ensure that all panels fit snugly and are fastened correctly, according to the manufacturer’s guidelines. This step helps prevent unnecessary vibration noise during operation and protects the system from external elements and debris.
B. Labeling Electrical Components and Breakers
For future maintenance and safety, label all electrical components and breakers associated with the furnace. Use clear, durable labels to mark power supplies, emergency shutoffs, and circuit breakers. This facilitates quick identification and ease of use during any subsequent inspections, maintenance, or emergencies. Proper labeling is not just a best practice for professional installations; it’s a proactive measure for safety and efficiency.
C. Reviewing Installation Checklist for Completion
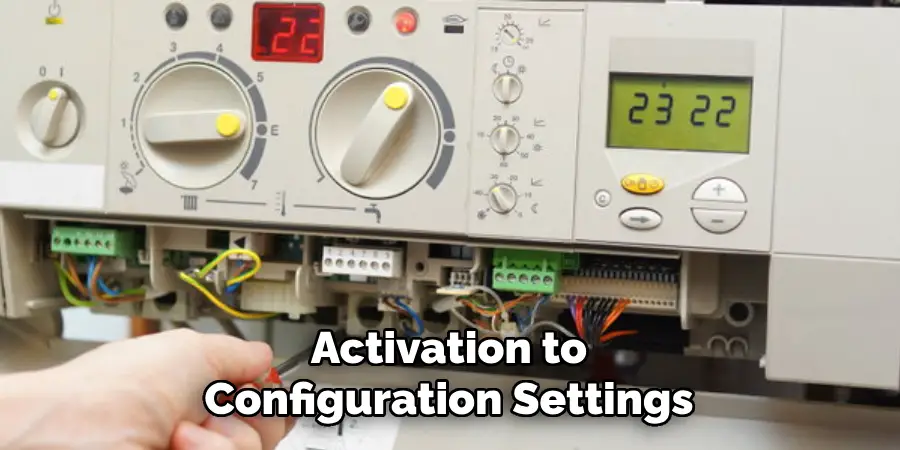
Finally, a comprehensive review of the installation checklist will be conducted to ensure no steps have been missed. This review should cover all aspects from initial setup, electrical connections, and safety feature activation to configuration settings. Confirm that all tests have been performed with satisfactory results and that the system operates as expected. Checking off each item provides not only a sense of completion but also peace of mind that the installation adheres to the highest standards of quality and safety. Once every item on the checklist is accounted for, the electric furnace is ready to provide reliable and efficient heating for the home.
Maintenance and Care
Maintaining your electric furnace is crucial to ensuring its efficiency and longevity. By adhering to a consistent maintenance schedule, you can avoid unexpected breakdowns and keep your heating system running smoothly. The following sections outline the key aspects of furnace maintenance and care.
A. Regularly Cleaning and Inspecting Furnace Components
Regular cleaning and inspection of your furnace’s components are essential for spotting potential issues before they escalate into significant problems. At least once a year, preferably before the heating season begins, inspect the blower motor, heat exchanger, and electrical connections for signs of wear or damage. Use a soft brush or vacuum to gently clean away any dust or debris that may impede performance. Paying attention to these areas can help identify inefficiencies and prevent malfunctions.
B. Changing Air Filters and Performing Routine Maintenance
One of the simplest yet most effective ways to maintain your furnace’s efficiency is to change the air filters regularly. A clogged or dirty air filter restricts airflow, forcing the furnace to work harder, which can lead to increased energy costs and reduced lifespan. Check the filters monthly and replace them as needed, typically every 90 days. Additionally, scheduling routine maintenance with a certified HVAC professional can help ensure all components are in optimal condition and your system runs as efficiently as possible.
C. Addressing Any Issues Promptly to Ensure Efficient Operation
Responding to any signs of trouble is key to maintaining an efficient furnace operation. Unusual noises, fluctuating temperatures, or increased energy bills can indicate underlying issues. Promptly addressing these signs by consulting with a professional can prevent more severe damage and costly repairs. Keeping a record of all maintenance and repairs can also help troubleshoot future issues more efficiently, ensuring your furnace continues to operate effectively and safely.
Safety Precautions
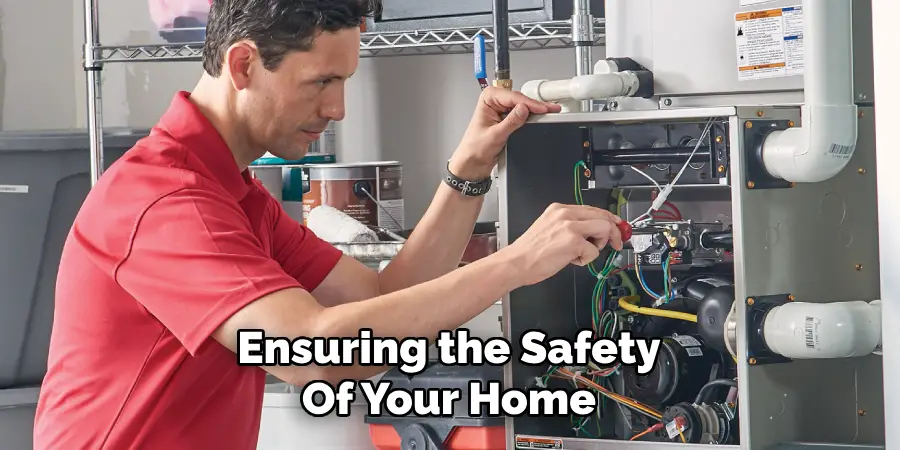
Ensuring the safety of your home and the longevity of your electric furnace requires strict adherence to several precautionary measures. These guidelines are designed to prevent accidents, ensure efficient operation, and maintain the furnace’s warranty.
A. Adhering to the Manufacturer’s Instructions and Guidelines
First and foremost, closely follow the manufacturer’s instructions and guidelines for your electric furnace. These documents contain vital information about installation, operation, and maintenance specific to your model. Adhering to these guidelines ensures that you are using the furnace as intended, which helps in avoiding unnecessary risks and maintaining the system’s warranty. Always consult the user manual for recommendations on care, troubleshooting, and when to seek professional service.
B. Following Electrical Safety Protocols and Procedures
Electric furnaces require respect for electrical safety protocols at all times. Ensure all electrical connections are properly insulated and grounded to prevent shock. When performing maintenance or inspections, always turn off the power at the breaker box to eliminate the risk of electric shock. Regularly inspect cords and connections for signs of wear or damage and replace any components that do not meet electrical safety standards. Utilizing a qualified electrician to verify the safety of your installation is also a sound practice.
C. Seeking Professional Assistance if Uncertain or Inexperienced
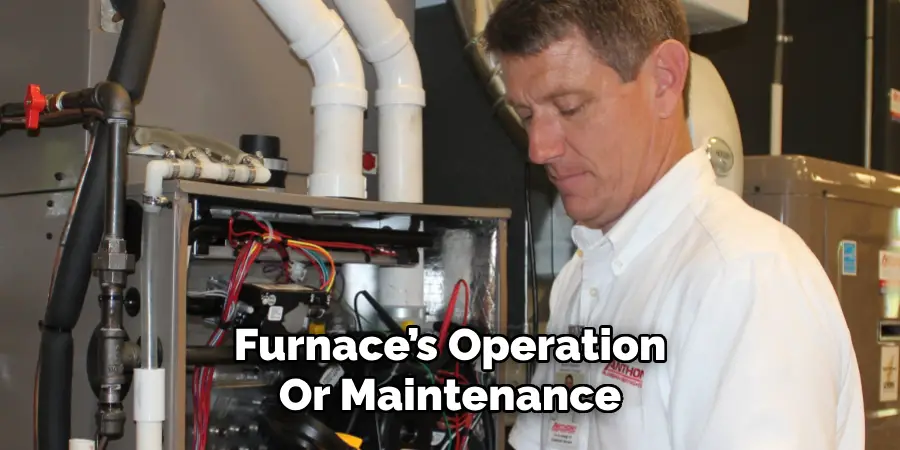
If you are uncertain about any aspect of your electric furnace’s operation or maintenance, or if you lack the necessary experience, do not hesitate to seek professional assistance. Attempting to install, repair, or service the furnace without adequate knowledge can lead to accidents, damage to the furnace, or voiding of the warranty. Professional HVAC technicians are trained to handle various furnace models and can ensure that your system is functioning safely and efficiently. Their expertise can also save you time and money in the long run by accurately diagnosing and resolving issues.
Conclusion
The process of how to install electric furnace encompasses thorough preparation, careful attention to electrical connections, and diligent adherence to safety protocols. Starting from choosing the right location, ensuring proper venting, and securing electrical connections, each step has been crafted to guide homeowners toward a safe and efficient installation. Regular maintenance, including inspection of components and filter replacements, further anchors the furnace’s performance.
Safety cannot be overstated, with electrical safety protocols providing a backbone for the secure operation of an electric furnace. Efficiency springs from both a well-executed installation and ongoing maintenance, ensuring optimal performance and energy conservation. Proper maintenance not only extends the furnace’s lifespan but also maintains its efficiency and safety.
With a comprehensive understanding of how to install an electric furnace and a commitment to its maintenance, homeowners can now relish the warmth and comfort it brings. A well-installed and diligently maintained furnace becomes a source of reliable heating, cost savings, and peace of mind, contributing significantly to the overall well-being of the household.

