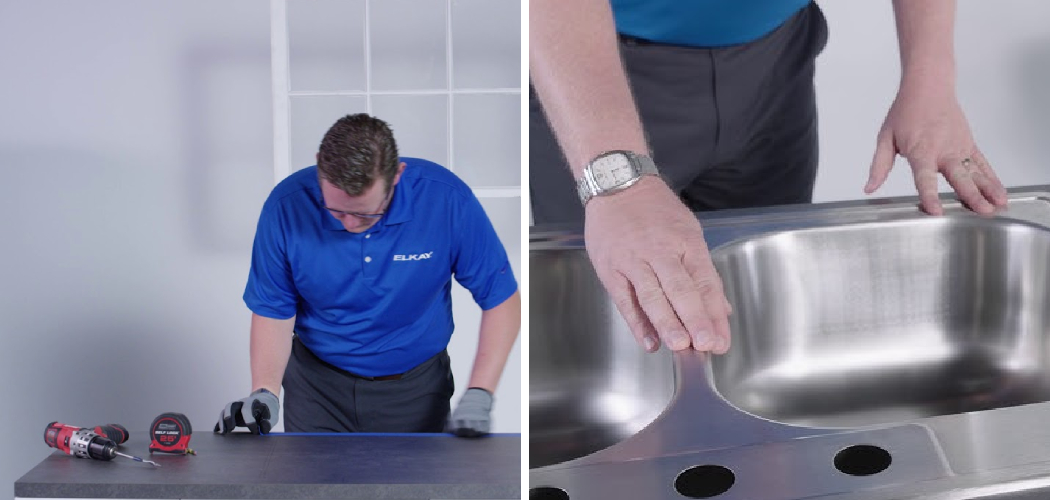
Properly installing your Elkay sink using mounting clips is crucial to ensure both stability and longevity. These clips are critical in securing the sink to the countertop, providing a flush and secure fit that prevents movement and potential leaks. Understanding how to install Elkay sink mounting clips simplifies the installation process and guarantees a lasting and reliable setup.
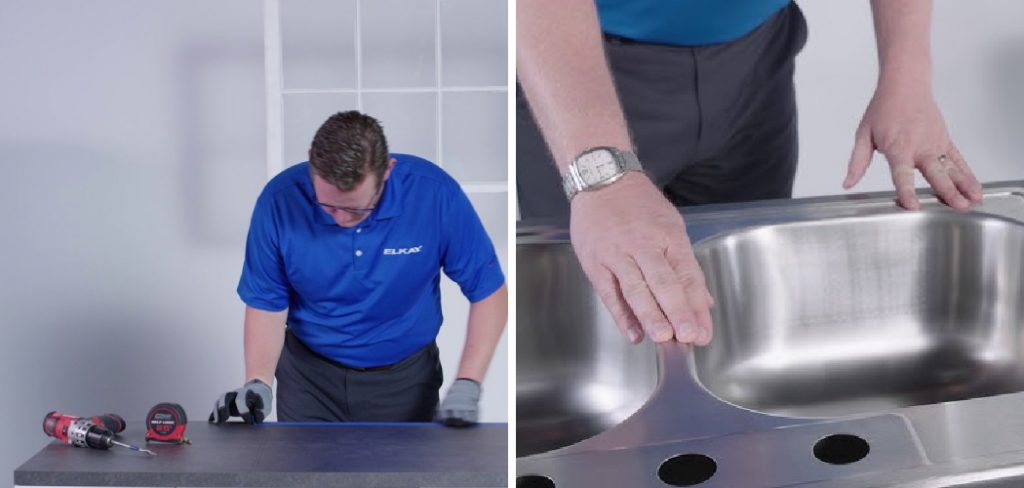
The process involves gathering the necessary tools, preparing the installation site, and following step-by-step installation instructions to achieve optimal results. Ensuring the mounting clips are correctly attached and adjusted enhances the overall functionality and appearance of your kitchen or bathroom sink, allowing for a worry-free experience.
Tools and Materials Required
Equipping yourself with the right tools and materials is essential to ensure a smooth and efficient installation of your Elkay sink.
Tools Needed:
A screwdriver is required, with either a Phillips or flathead head chosen based on the specific type of mounting clips. An adjustable wrench or socket wrench may also be necessary, depending on the installation requirements. Safety gloves should be worn for hand protection throughout the process.
Materials:
Elkay sink mounting clips are a must-have, whether they come with your sink or are an additional purchase. If the situation warrants, a sealant can provide an added layer of water resistance. It is paramount to confirm that the mounting clips are compatible with the specific sink model being installed, ensuring a perfect fit and avoiding complications during setup. This careful preparation leads to greater confidence and smoother proceedings.
Preparing the Sink and Countertop
Checking the Sink Fit
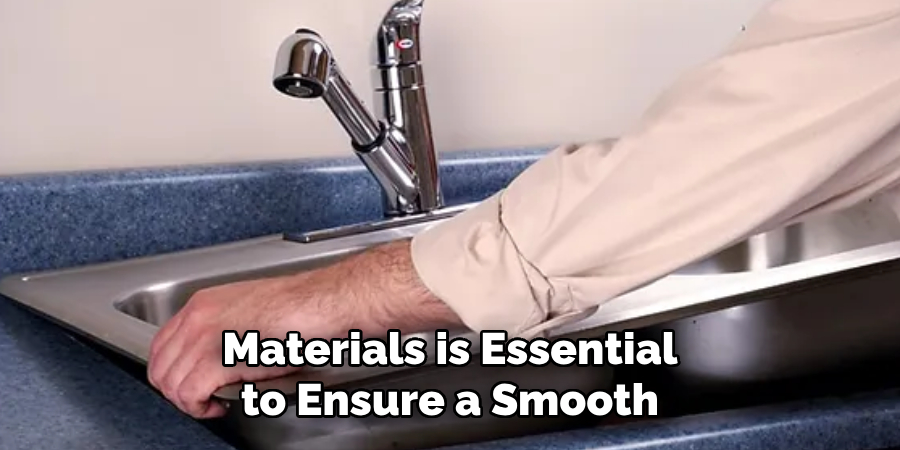
Begin by ensuring the sink fits snugly into the countertop cutout. This involves carefully placing the sink into its designated space and verifying that the alignment with the countertop edges is uniform for an aesthetically pleasing and functional appearance. It’s crucial to verify no gaps or misalignments, as these can lead to leaks or instability over time.
Cleaning the Surfaces
Once the fit is confirmed, focus on cleaning the surfaces. Start by thoroughly cleaning the underside of the countertop and the sink’s rim to remove any debris, dust, or grease. This step is essential, as a clean surface promotes the best possible adhesion if you choose to use a sealant. Ensure both areas are completely dry before proceeding, as moisture can interfere with bonding.
Applying Sealant (Optional)
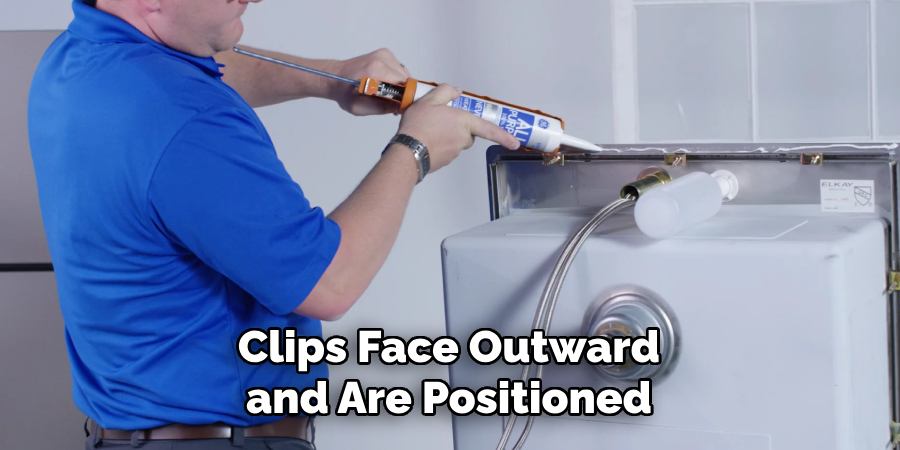
For added protection against leaks, apply a thin bead of silicone sealant along the sink’s rim. This optional step helps create a watertight seal between the sink and countertop, offering an additional layer of security. Allow the sealant to sit momentarily to ensure proper adhesion before moving on to positioning the sink fully into place.
How to Install Elkay Sink Mounting Clips Positioning the Mounting Clips
Understanding Clip Placement
Mounting clips are typically positioned evenly around the sink’s perimeter to ensure a firm and balanced hold. Consult the specific installation guide for your Elkay sink to determine the recommended number of clips needed, as this may vary depending on the sink model. Proper placement is crucial to preventing unwanted movement and ensuring uniform pressure distribution.
Attaching Clips to the Sink
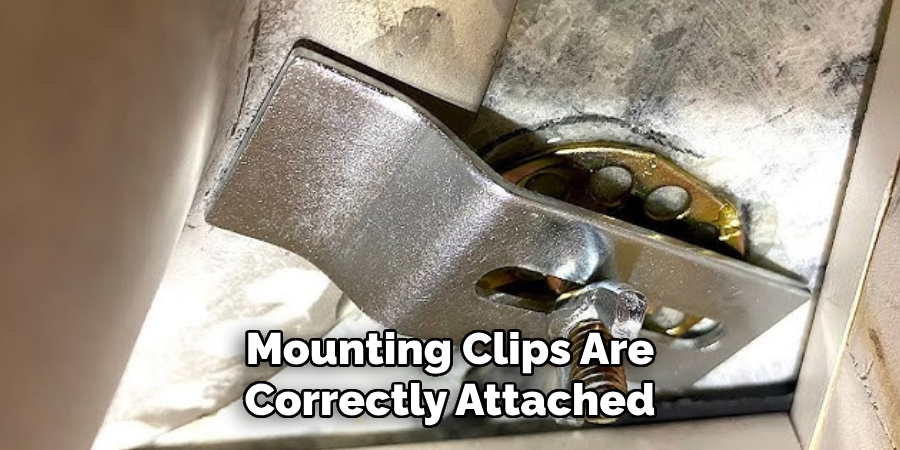
Begin by sliding the mounting clips into the pre-installed channels or designated mounting brackets along the sink’s rim. Ensure that the clips face outward and are positioned so that, upon tightening, they will engage securely with the underside of the countertop. This orientation is key to achieving a stable and secure fit. Take your time in this step to verify that each clip is inserted correctly before proceeding.
Securing the Sink in Place
With the mounting clips in position, carefully lower the sink into the countertop cutout. As you do so, align the sink precisely with the countertop opening and the sealant if you have opted to use it. It is important to check that the sink rests evOvertightening the clips can damage the cutout, with no tilting or unevenness, as this can compromise both stability and appearance. Once the sink is properly aligned, it is ready for tightening, which will lock it securely into place. This methodical approach to positioning will ensure a firm installation that stands the test of time.
Tightening the Mounting Clips
Adjusting Clip Positions
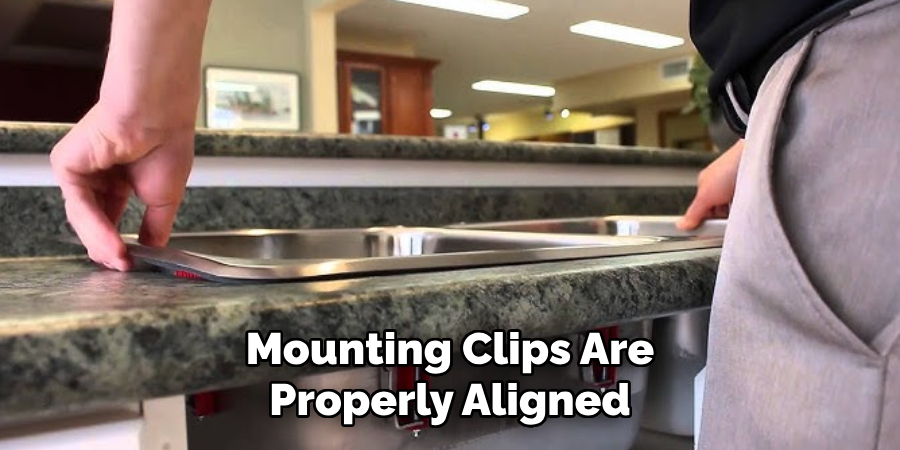
Before securing the sink firmly, it’s essential to confirm that all mounting clips are properly aligned with the countertop edge. Check each clip to verify that they are positioned evenly and adjust if necessary to ensure consistent tension around the sink. This step is crucial to prevent uneven pressure that could cause future issues.
Tightening the Screws or Bolts
Once you have verified the alignment, proceed to tighten the screws or bolts on each clip using the appropriate tool, be it a screwdriver or wrench. Begin with the clips positioned at opposite corners of the sink. This method helps maintain balance and prevents the sink from shifting out of position. Tighten incrementally in a sequence, moving back and forth between clips on opposite sides to ensure uniform pressure distribution. Gradually working your way around the sink allows you to secure it evenly and effectively.
Avoid Over-Tightening
While ensuring that the sink is securely fastened is important, applying excessive force can lead to detrimental consequences. Overtightening the clips can damage the countertop material or deform the sink rim, leading to compromised structural integrity. Therefore, exert just enough force to hold the sink steady without risking damage. If you encounter any resistance or hear any unusual sounds, stop immediately and reassess the clip positioning and tension to prevent potential damage. Following these guidelines will ensure your Elkay sink’s secure and professional installation.
Testing and Finishing Touches
Checking for Secure Fit
After completing the installation process, the first step in testing your work is to inspect all the mounting clips to ensure they are tightly secured and evenly spaced around the sink’s perimeter. Press down on different areas of the sink to confirm it does not move or wobble, as any instability could lead to problems. If any movement is detected, recheck the tension on the clips and adjust accordingly to achieve a solid fit.
Removing Excess Sealant
Once you are satisfied with the sink’s stability, turn your attention to any excess sealant that may have squeezed out during installation. Use a damp cloth to carefully wipe away this excess, giving the edge a clean and neat finish. It’s important to allow the sealant to cure fully, so follow the manufacturer’s instructions regarding drying time to ensure the sealant forms a proper bond.
Final Leak Test
The final step in your installation process is to perform a leak test. Run water around the sink edges and inspect closely for any signs of leaks. Pay attention to areas around the mounting clips and the sealant line. Identifying any leaks could indicate that a clip is loose or improperly positioned, in which case you will need to re-tighten the clips as necessary. Following these finishing touches ensures that your Elkay sink is securely installed, fully functional, and ready for use.
Troubleshooting Common Installation Issues
Loose Clips or Misalignment
Causes: Often, loose clips or misalignment occur due to improper positioning or insufficient tightening during installation. These issues can lead to an unstable sink and potentially cause leaks or noise.
Solutions: To resolve this, first reposition the clips to ensure they are evenly distributed around the sink’s perimeter. Then, tighten the screws or bolts incrementally, starting at opposite corners to maintain balance and prevent further misalignment. Consistent tension across all clips is crucial for stability.
Sealant Gaps or Leaks
Causes: Sealant gaps or leaks are typically the result of an uneven application or inadequate curing time. If the sealant does not form a complete bond, water can seep through and cause damage.
Solutions: Address this by removing the old sealant and carefully reapplying a consistent bead along the sink’s edge. Ensure that the new sealant covers all previous gaps. Allow sufficient drying time as per the manufacturer’s instructions to form a durable and watertight seal.
Difficulties in Tightening Clips
Causes: Tightening challenges often arise from limited access under the sink or the use of mismatched tools, making it difficult to secure clips properly.
Solutions: To gain better leverage and control, consider using a specialized wrench designed for tight spaces. If difficulties persist, seeking assistance from a second person who can hold the sink steady while adjustments are made may be helpful.
Maintenance Tips for Long-Lasting Sink Stability
To ensure the longevity of your installed sink, it is important to incorporate regular maintenance checks into your routine. Begin by periodically checking the mounting clips for tightness; this will help prevent them from loosening over time, which can compromise sink stability. Be mindful not to place excessive weight on the sink rim, as this can undermine the integrity of the clips and lead to potential misalignment issues.
Additionally, inspect the sealant regularly for any signs of wear or gaps, as these can lead to water seepage and subsequent damage. If you notice any degradation, promptly remove the old sealant and reapply a fresh bead to maintain a watertight barrier. By adhering to these maintenance tips, you can ensure that your sink remains stable, functional, and in excellent condition for years to come.
Conclusion
Properly installing Elkay sink mounting clips is crucial for achieving a secure and leak-free fit. By following the detailed steps outlined in this guide on how to install Elkay sink mounting clips, you can ensure a smooth installation process with the right tools and careful attention.
This mitigates the risk of misalignment and leaks and bolsters the durability of the sink and countertop setup. Additionally, committing to regular maintenance checks will significantly extend the life of your sink, ensuring that it remains functional and aesthetically pleasing for years to come.

