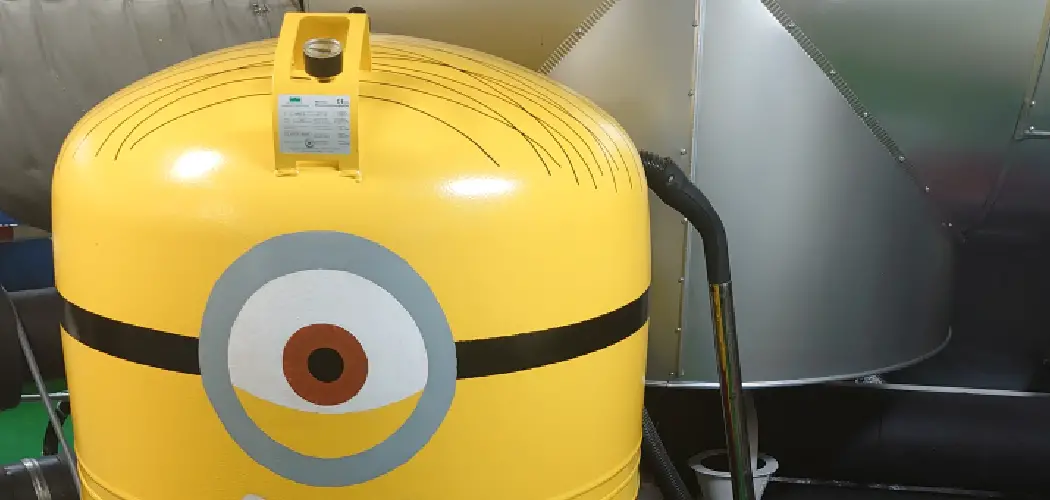
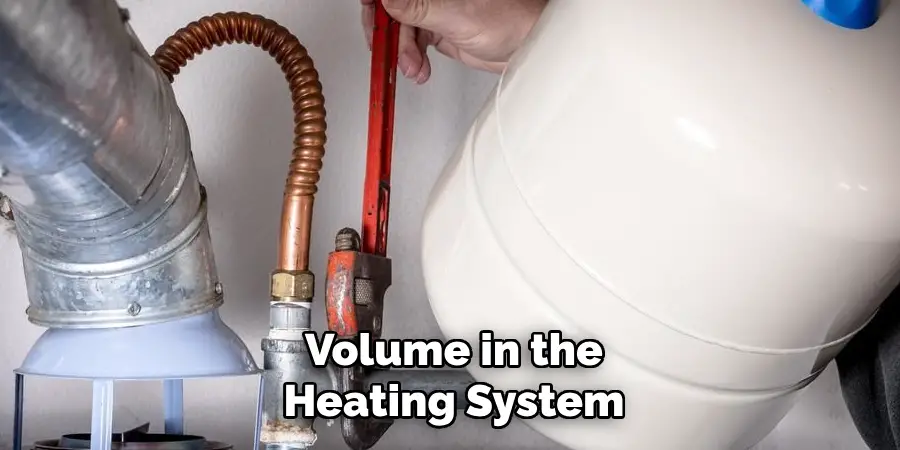
An expansion tank, also known as an expansion vessel or expansion cistern, is an essential component in a closed-loop heating system. It helps to control the pressure and volume of water in the system, preventing damage caused by excess pressure buildup. In this guide, we will walk you through the steps on how to install expansion tank in your heating system.
Necessary Items
Before installing an expansion tank, make sure you have the following items:
- Expansion tank
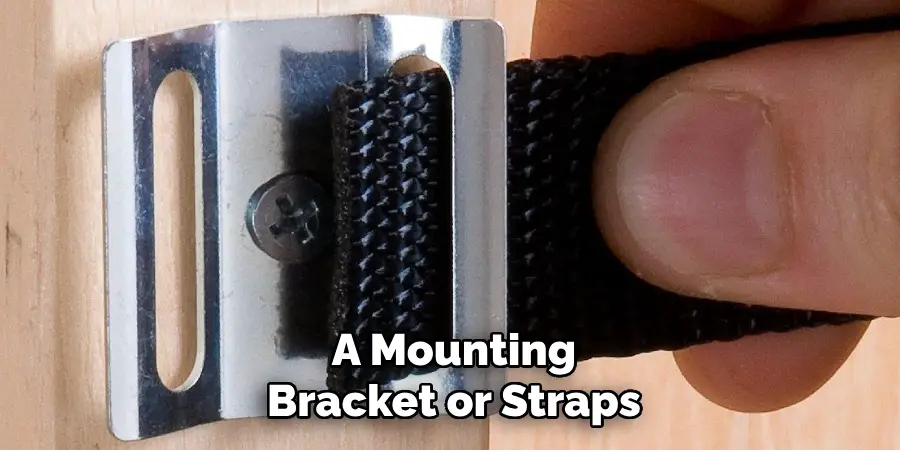
- Mounting brackets or straps
- Pipe fittings (if not included with the tank)
- Teflon tape or pipe joint compound
- Wrenches or pliers
8 Things to Know Before You Start
1) Type of Expansion Tank
There are two types of expansion tanks: the diaphragm and the bladder. Diaphragm tanks have a rubber membrane that separates the air and water, while bladder tanks have a removable bladder inside. Make sure you know which type of tank you have before beginning the installation process.
2) Proper Sizing
Expansion tanks come in different sizes, so it’s essential to choose the right one for your heating system. An oversized or undersized tank can cause issues with pressure and hinder the proper functioning of your system.
3) Location
Expansion tanks should be installed on the supply side of the heating system, near the boiler or hot water heater. They should also be installed in an upright position, with enough clearance for maintenance and inspection.
4) Pressure Setting
The expansion tank’s pressure setting should be in line with the operating pressure of your heating system. Check the manufacturer’s instructions or consult a professional to determine the proper pressure setting.
5) Water Supply Shut-off
Before beginning the installation process, make sure to shut off the water supply to your heating system. This will prevent any water from flowing while you install the expansion tank. So, it is better to make sure the water supply is shut off.
6) Tank Drain Valve
An expansion tank should have a drain valve at the bottom. This valve allows for any excess air or water to be released during installation or maintenance. Make sure to open this valve and flush out any debris before installing the tank.
7) Air Vent
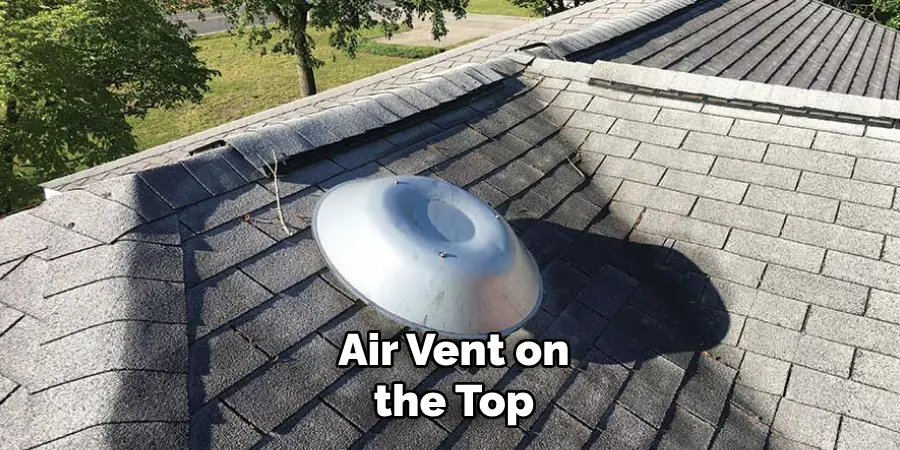
Some expansion tanks may also have an air vent on the top. This valve should be open during installation to allow for proper air escape. While not all tanks have this valve, it’s essential to check if your tank does and follow the manufacturer’s instructions.
8) Professional Installation
While installing an expansion tank is a relatively simple process, it’s always best to consult a professional if you have any doubts or concerns. A professional can also ensure that the tank is properly sized and installed for your heating system.
By following these steps and tips, you can successfully install an expansion tank in your heating system. Remember to always consult the manufacturer’s instructions and seek professional help if needed. A properly installed expansion tank will help maintain the efficiency and longevity of your heating system, preventing costly repairs down the line. So, it is better to stay cautious while installing an expansion tank.
12 Steps on How to Install Expansion Tank
Step 1: Gather the Necessary Tools and Materials
Before you start the installation process, make sure you have all the necessary tools and materials on hand. These may include a pipe wrench, adjustable pliers, Teflon tape, an expansion tank mounting bracket, and an air compressor if required by your specific type of expansion tank.
Step 2: Determine the Proper Location for the Tank
As mentioned earlier, the expansion tank should be installed on the supply side of your heating system. Choose a location near the boiler or hot water heater and make sure there is enough clearance for future maintenance. Also, consider how you will mount the tank in this location.
Step 3: Shut off the Water Supply to the Heating System
To prevent any water from flowing during the installation process, shut off the water supply to your heating system. This will also allow you to drain any excess water and air from the system. Then, open the drain valve on the expansion tank to release any remaining water or air.
Step 4: Prepare the Tank for Installation
If your expansion tank does not come with pipe fittings, now is the time to install them. Use Teflon tape or pipe joint compound on the threads of the fittings to ensure a tight seal. Make sure to keep the fittings manageable.
Step 5: Mount the Bracket or Straps
If your expansion tank comes with a mounting bracket or straps, use them to secure the tank in its designated location. Follow the manufacturer’s instructions for proper installation. So, it is better to keep the user manual with you while installing it.
Step 6: Connect the Tank to the Heating System
Using a pipe wrench or pliers, connect the expansion tank to your heating system. Make sure all fittings are tight and secure. If your tank requires an air compressor, follow the manufacturer’s instructions for proper installation.
Step 7: Set the Pressure
Using a pressure gauge, check the pressure in your heating system and adjust the expansion tank’s pressure accordingly. It is essential to ensure that both pressures match for the proper functioning of the system.
Step 8: Turn on Water Supply
Once everything is securely connected and set up, turn on the water supply to your heating system. Check for any leaks and make sure the pressure remains stable. If there are any issues, consult a professional.
Step 9: Close the Tank Drain Valve
Once the water supply is on and there are no leaks, close the drain valve on the expansion tank. This will prevent any air from entering the system. Then, check the pressure again and adjust if needed. As mentioned earlier, both pressures should match.
Step 10: Check the Air Vent
If your expansion tank has an air vent, make sure it is open to allow for any trapped air to escape. Once all air is released, close the valve and check the pressure again. While not all tanks have this valve, it’s essential to check if your tank does and follow the manufacturer’s instructions.
Step 11: Perform a Test Run
To ensure everything is functioning correctly, turn on your heating system and let it run for a few minutes. Check for any leaks or irregularities in pressure. If there are any issues, consult a professional.
Step 12: Regular Maintenance and Inspections
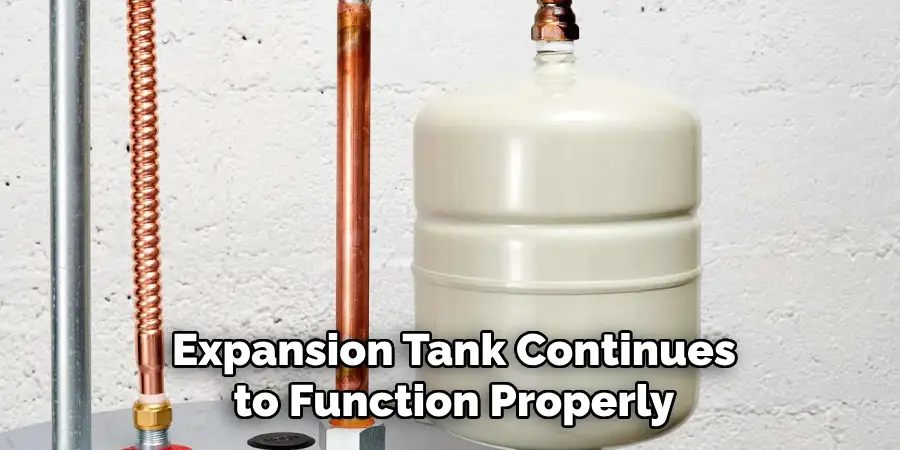
To ensure the expansion tank continues to function properly, it’s essential to perform regular maintenance and inspections. This includes checking pressure levels and inspecting for any leaks or damage. It is also recommended to have a professional tune-up of your heating system every year.
By following these 12 steps on how to install expansion tank, you can successfully install an expansion tank in your heating system. Remember to always consult the manufacturer’s instructions and seek professional help if needed.
A properly installed expansion tank is crucial for maintaining the efficiency and longevity of your heating system, preventing costly repairs down the line. So, it’s better to stay cautious while installing an expansion tank and regularly maintain it for optimal performance.
8 Things to Avoid While Installing an Expansion Tank
1) Using the Wrong Size Tank
It is crucial to choose the right size expansion tank for your heating system. Using a tank that is too small can cause it to fail quickly, while a tank that is too large can lead to excess pressure and damage.
2) Not Following Manufacturer’s Instructions
Always follow the manufacturer’s instructions when installing an expansion tank. Each type of tank may have specific installation requirements, and not following them can result in malfunction or damage.
3) Not Shutting off Water Supply
It is essential to shut off the water supply to your heating system before installing an expansion tank. Failure to do so can lead to water flow during the installation process, making it challenging to connect the tank properly.
4) Over-Tightening Fittings
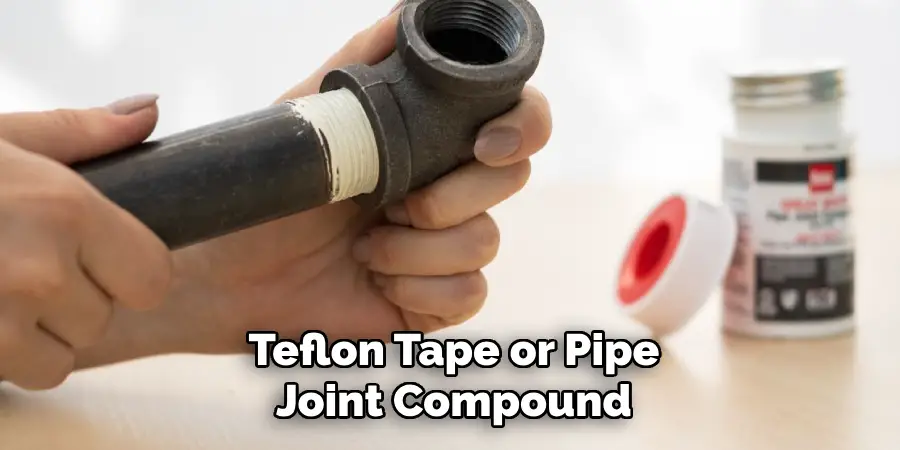
While it’s important to ensure fittings are tight, over-tightening them can cause damage and leaks. Use proper tools and techniques to tighten fittings without causing any strain or damage. While Teflon tape or pipe joint compound can help create a tight seal, they should not be used as a replacement for proper tightening techniques.
5) Incorrectly Mounting the Tank
If your expansion tank comes with a bracket or strap, make sure to follow the manufacturer’s instructions for proper installation. Improper mounting can lead to an unstable tank and potential damage. It is also essential to consider the weight of the tank and make sure it is securely mounted in its designated location.
6) Not Adjusting Pressure Properly
After installation, it’s crucial to check and adjust the pressure levels in both the heating system and the expansion tank. Failure to do so can cause inefficiencies and potential damage to your heating system.
7) Neglecting Regular Maintenance
Proper maintenance is essential for the longevity and efficiency of your expansion tank. Failure to perform regular inspections and tune-ups can lead to malfunction or failure over time. Then, not only will you have to replace the tank, but it may also result in costly repairs for your heating system.
8) Not Seeking Professional Help
If you need clarification on any step of the installation process or encounter any issues, it’s always best to seek professional help. Improper installation can lead to damage and costly repairs down the line. A trained and experienced professional can ensure the proper installation and functioning of your expansion tank. So, it’s better to be safe than sorry and consult a professional if needed.
Installing an expansion tank in your heating system is crucial for maintaining its efficiency and preventing damage. Following the manufacturer’s instructions and taking precautions during installation can ensure the optimal performance of your heating system.
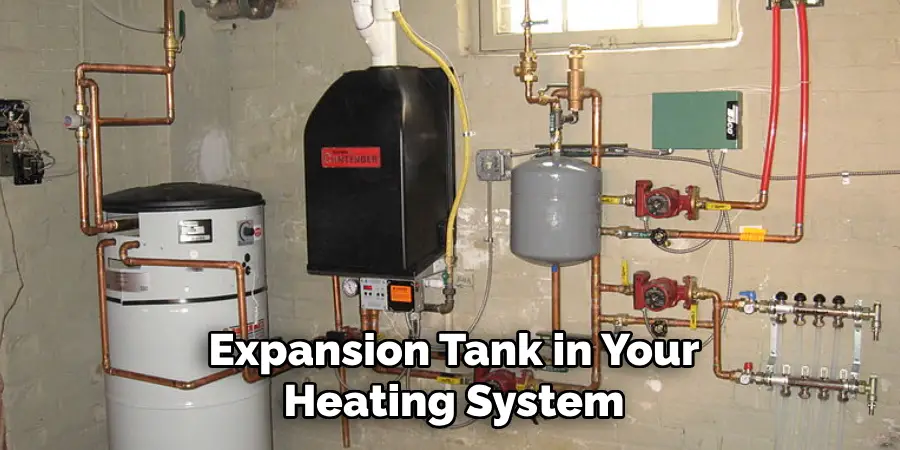
And remember to regularly maintain and inspect your expansion tank to prolong its lifespan. By avoiding common mistakes and seeking professional help when needed, you can successfully install and maintain an expansion tank in your heating system.
8 Additional Tips for Installing an Expansion Tank
1) Make Sure to Turn Off Any Power Supply
Before starting the installation process, ensure that all power supply to your heating system is turned off. This will prevent any potential accidents or malfunctions. As an additional safety measure, it’s also recommended to turn off the main power supply to your home.
2) Use Proper Tools and Equipment
Having the right tools and equipment for installation can make a significant difference in the outcome. It’s essential to use properly sized wrenches, pipe cutters, and other necessary tools for a smooth installation process.
3) Consider the Location for Mounting
When choosing a location to mount your expansion tank, it’s important to consider its weight and size. The tank should be mounted in a secure area, away from any potential damage or interference. Like any other mechanical equipment, the expansion tank also needs proper ventilation to function correctly.
4) Avoid Using Old or Damaged Parts
During installation, it’s crucial to use new and undamaged parts for your expansion tank. Reusing old or damaged parts can cause malfunctions and leaks in the future. Because an expansion tank is a long-term investment, it’s best to use quality parts for optimal performance.
5) Check for Any Corrosion
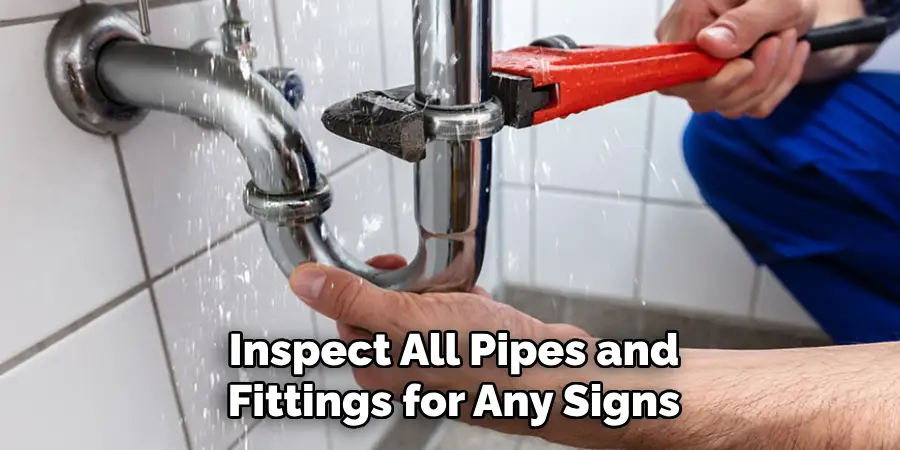
Before installing the expansion tank, inspect all pipes and fittings for any signs of corrosion. If you notice any corrosion, it’s essential to replace those parts before installation. Corrosion can lead to leaks and damage over time, affecting the efficiency of your heating system.
6) Consider Adding a Pressure Relief Valve
Installing a pressure relief valve can provide an additional layer of protection for your heating system. This valve helps to regulate the pressure levels in your tank automatically and allows any excess pressure to escape, preventing damage and malfunctions.
7) Install a Drain Valve
A drain valve can make maintenance and repairs much more manageable in the future. It allows you to drain any excess water from the tank, making it easier to perform regular maintenance and inspections.
8) Test for Proper Functioning
After installation, it’s crucial to test the expansion tank’s performance and pressure levels. This will ensure that everything is functioning correctly and help identify any potential issues that may need to be addressed. By following these additional tips on how to install expansion tank, you can ensure a successful and efficient installation of an expansion tank in your heating system. So, don’t cut corners and take the time to properly install and maintain your expansion tank for optimal performance in the long run.
Frequently Asked Questions
What is the Purpose of an Expansion Tank in a Heating System?
An expansion tank helps regulate and absorb excess pressure and volume in the heating system, preventing damage and maintaining efficiency. It also helps protect against thermal expansion, which can cause malfunctions and leaks.
How Do I Know if My Expansion Tank Needs to be Replaced?
If you notice any signs of damage, such as rust or leaks, it’s best to have your expansion tank replaced immediately. You should also regularly inspect and maintain the tank to ensure its longevity and efficiency.
Can I Install an Expansion Tank Myself?
While it’s possible to install an expansion tank yourself, it’s recommended to seek professional help. A trained and experienced professional can ensure the proper installation and functioning of your expansion tank, preventing potential damage or malfunctions in the future.
So, if you are unsure about any step of the process, consult a professional for a successful installation. Additionally, some states have specific regulations and codes for expansion tank installations that must be followed, making it even more crucial to seek professional help.
How Often Should I Inspect and Maintain My Expansion Tank?
It’s recommended that you inspect and maintain your expansion tank at least once a year. However, if you notice any unusual performance or signs of damage, it’s best to have it inspected by a professional immediately. Regular maintenance can prolong the lifespan of your expansion tank and ensure its optimal performance.
Are There Different Types of Expansion Tanks?
Yes, there are different types of expansion tanks available for heating systems, including diaphragm, bladder, and compression tanks. Each type has its specific advantages and may be more suitable for certain heating systems. It’s best to consult a professional to determine the best type of expansion tank for your system.
Conclusion
Proper installation and maintenance of an expansion tank are crucial for the efficient functioning and longevity of your heating system. By following these additional tips on how to install expansion tank, you can ensure a successful installation process and avoid common mistakes that may lead to damage or malfunctions in the future.
Remember to regularly inspect and maintain your expansion tank, seek professional help when needed, and always put safety first during installation. With the right tools, equipment, and knowledge, you can enjoy a reliable and efficient heating system with a properly installed expansion tank.

