Freestanding tubs are a stunning centerpiece in any bathroom, combining elegance with practicality. However, ensuring proper tub drain installation is essential to maintain functionality and avoid costly issues. A freestanding tub drain is critical in preventing leaks and water damage, which can lead to structural problems over time. Proper installation also ensures smooth water flow, enhancing the tub’s efficiency and long-term durability.
This article serves as a comprehensive step-by-step guide on how to install freestanding tub drain systems, catering to both new installations and replacements. By following this guide, homeowners and DIY enthusiasts can confidently complete the process, achieving a professional and secure setup. Whether you’re renovating your bathroom or installing a freestanding tub for the first time, this resource will help ensure that the drain system operates seamlessly, contributing to the overall success of your project.
Understanding the Components of a Freestanding Tub Drain
Properly understanding the components of a freestanding tub drain is essential for a smooth installation process. Below, we discuss the main parts of the drain assembly, the types of drain systems, and how to ensure compatibility with your plumbing setup.
Main Parts of the Drain Assembly
- Drain Flange: This component connects directly to the bottom of the tub, allowing water to channel into the plumbing system.
- Drain Pipe (Tailpiece): The tailpiece links the drain flange to the home’s waste system, facilitating the removal of water.
- P-Trap: Situated under the floor, the P-trap prevents sewer gases from escaping into your home while promoting proper drainage.
- Flexible or Rigid Plumbing Connections: Depending on the tub type and the floor access, these connections secure the drain assembly.
Types of Drain Systems
- Exposed Drain System: This style leaves the plumbing visible beneath the tub, commonly found in clawfoot tubs and vintage designs.
- Hidden Drain System: The plumbing is concealed beneath the floor for a cleaner, modern look, often preferred in contemporary freestanding tubs.
Checking Compatibility with Your Plumbing
Before installation, verify that the drain pipe size matches your bathroom’s existing plumbing system. Additionally, ensure
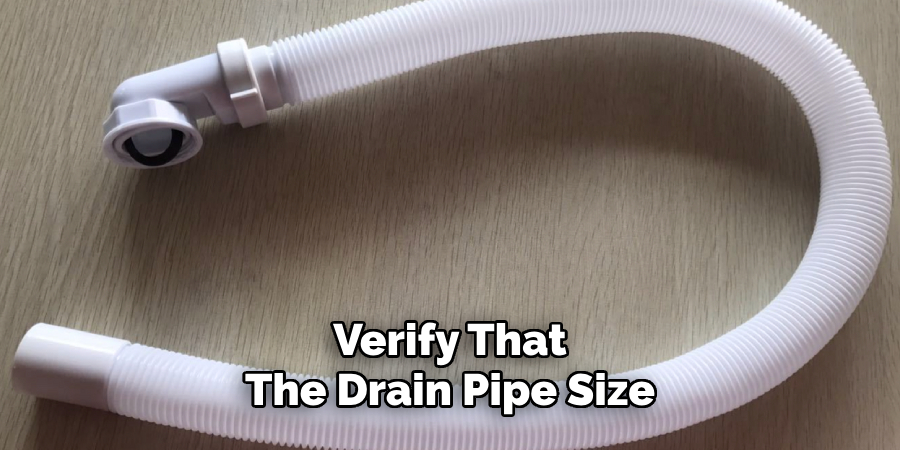
that your drain system aligns with your tub’s design and the available floor access to prevent future complications.
Gathering Tools and Materials
Proper preparation is key to successfully installing a freestanding tub drain system. Start by assembling the necessary tools and materials for the job to avoid delays and complications during the process.
Tools Needed
- Adjustable Wrench – For tightening and securing connections.
- Plumber’s Tape (Teflon Tape) – To ensure leak-proof threaded fittings.
- Silicone Sealant or Plumber’s Putty – Essential for creating watertight seals at joints.
- Pipe Cutter – If pipe modifications are needed to fit the drain system.
- Screwdriver – Useful for securing screws on fittings or hardware.
Required Materials
- Freestanding Tub Drain Kit – Includes the main components needed for the specific tub type.
- P-Trap – Prevents sewer gases from escaping while maintaining proper drainage.
- Flexible Drain Hose (if applicable) – Allows easier adjustments depending on the layout.
- Compression Fittings or PVC Cement – Used to secure pipe joints tightly.
Safety Considerations
Before starting, turn off the main water supply to prevent unexpected leaks or flooding. Additionally, wear gloves to protect
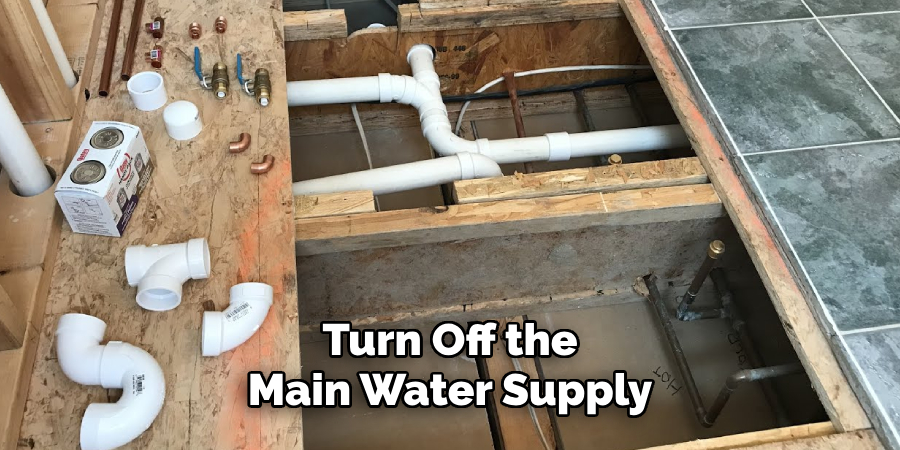
your hands when working with pipes, tools, or sharp edges. Following these precautions will promote a safe and efficient installation process.
Positioning the Tub and Aligning the Drain
Properly positioning the tub and accurately aligning the drain are critical steps to ensure a functional and efficient plumbing system for your freestanding bathtub. Follow these steps carefully to achieve the best results:
Step 1: Mark the Drain Location
Begin by placing the tub in its intended final position. Take note of where the tub drain aligns with the floor underneath. Use a marker or pencil to mark the exact spot on the floor where the drain will connect. Ensure the alignment is precise to avoid future complications during installation.
Step 2: Check Floor Access
Inspect the type of floor beneath the tub. If your tub is being installed on a concrete floor, you may need to drill an opening at the marked location to accommodate the plumbing. On the other hand, if it is a wooden subfloor, confirm that there is an accessible crawl space or opening beneath it to allow for secure connections and adjustments to the plumbing system.
Step 3: Dry Fit the Drain Assembly
Before making anything permanent, conduct a dry fit of the components. Temporarily position the drain flange, P-trap, and any additional fittings to ensure they align properly with the tub drain and floor opening. This step helps identify potential misalignments or obstacles early, reducing the risk of errors during the final installation. Adjust components as necessary to align the system perfectly.
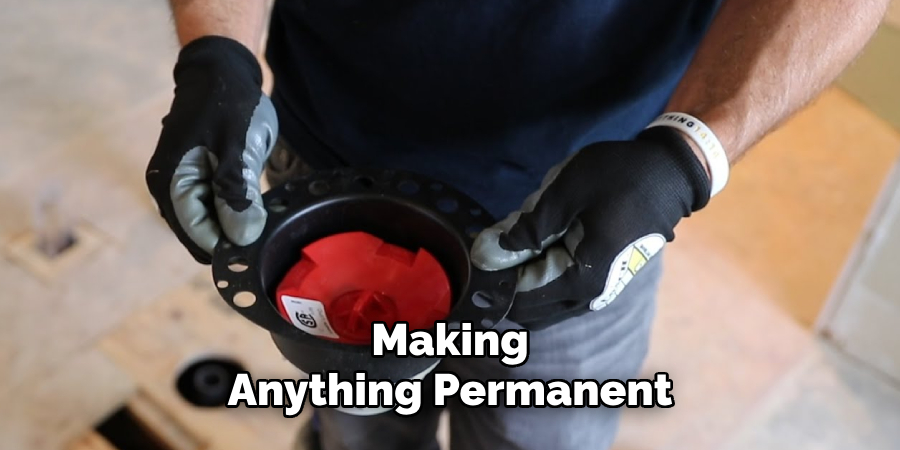
By following these steps, you’ll be set up for a seamless transition into connecting the plumbing and securing the tub in place.
How to Install Freestanding Tub Drain: Installing the Drain Flange and Tailpiece
Step 1: Apply Plumber’s Putty or Silicone Sealant
Begin by preparing the drain flange for installation. Take a small amount of plumber’s putty or silicone sealant and apply it evenly around the underside of the drain flange. This creates a watertight seal to prevent leaks once the drain is in use. Be sure to use enough to cover the base without excess material squeezing out excessively when secured in place.
Step 2: Insert and Secure the Drain Flange
Carefully position the drain flange over the drain hole of the tub. Push it firmly into place to ensure it sits flat and even against the tub surface. From underneath the tub, tighten the drain nut onto the flange using a wrench or pliers. This action locks the flange securely in place. Be cautious not to overtighten the nut, as this could damage the tub or compromise the seal.
Step 3: Attach the Tailpiece
Once the flange is securely installed, it’s time to connect the tailpiece. Wrap plumber’s tape around the threads of the
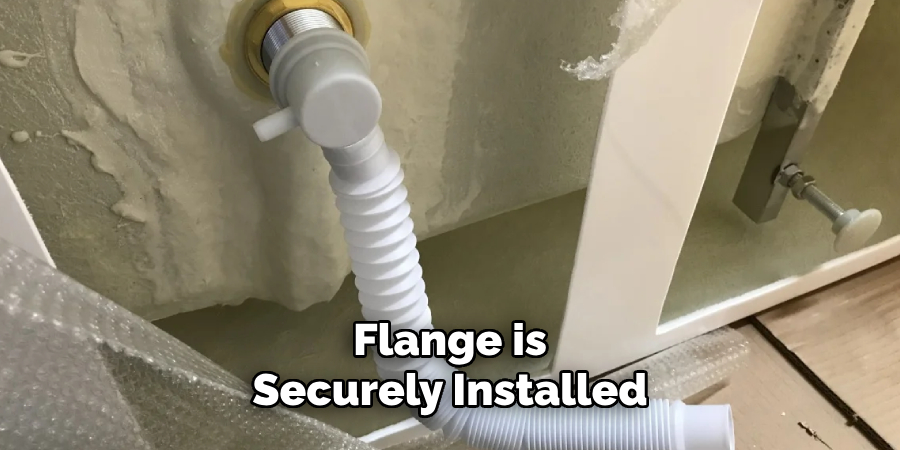
tailpiece to ensure a tight, leak-free connection. Screw the tailpiece (the vertical pipe extending downward) into the bottom of the flange and tighten it by hand, followed by using a wrench for a final secure fit.
Step 4: Check for a Tight Fit
Inspect the entire drain assembly to ensure all components are aligned and snug. The flange should sit flush with the tub, and the tailpiece should connect securely without gaps or looseness. Avoid overtightening, as this could crack either the tub or the fittings. A proper balance between firmness and caution ensures a leak-free and durable installation.
By following these steps, you ensure the drain flange and tailpiece are secure and ready for the next phase of your tub installation.
Connecting the Drain to the P-Trap
Step 1: Position the P-Trap
Align the P-trap with both the tailpiece and the waste line. The P-trap is a curved section of pipe that prevents sewer gases from entering your home while allowing wastewater to flow out. Ensure the P-trap is positioned correctly so it aligns smoothly with the downward tailpiece and the horizontal waste line. This alignment is crucial for maintaining an effective and leak-free drainage system.
Step 2: Secure the P-Trap to the Drain Pipe
Use compression fittings or PVC cement to attach the P-trap to the adjacent pipes securely. Compression fittings provide a reliable connection that can be disassembled if needed, while PVC cement creates a permanent bond for plastic piping. Apply plumber’s tape on threaded fittings to ensure a watertight seal when using compression fittings. Tighten all connections carefully, avoiding over-tightening that could damage the pipes.
Step 3: Ensure Proper Slope for Drainage
Verify that the drain pipe has a slight downward slope toward the main waste line, typically 1/4 inch per foot. This slope is essential to allow wastewater to flow efficiently without pooling or creating clogs. Adjust the P-trap and drain pipe alignment as needed to maintain an optimal slope. Once everything is securely connected and properly sloped, test the system for leaks before proceeding.
Testing for Leaks and Final Adjustments
Step 1: Run Water Through the Drain
Begin the testing process by filling the tub with a few inches of water. Once filled, release the water to observe how efficiently it drains. Please pay attention to any signs of slow drainage, as it might indicate incorrect pipe slope or a developing clog.
Step 2: Inspect for Leaks
Carefully inspect all connections, including the flange, tailpiece, and P-trap, for any signs of leaking water. Even a small drip can lead to long-term damage if left unaddressed. If you notice any leaks, gently tighten the respective connections, ensuring not to overtighten and risk cracking the pipes or fittings.
Step 3: Secure the Tub in Place
Once you are confident in the drainage and leak-free setup, ensure the tub is secure. If the tub wobbles or moves, consider using adhesive or mounting brackets to provide additional stability and prevent unwanted shifts during use. Properly secured tubs reduce strain on the piping over time.
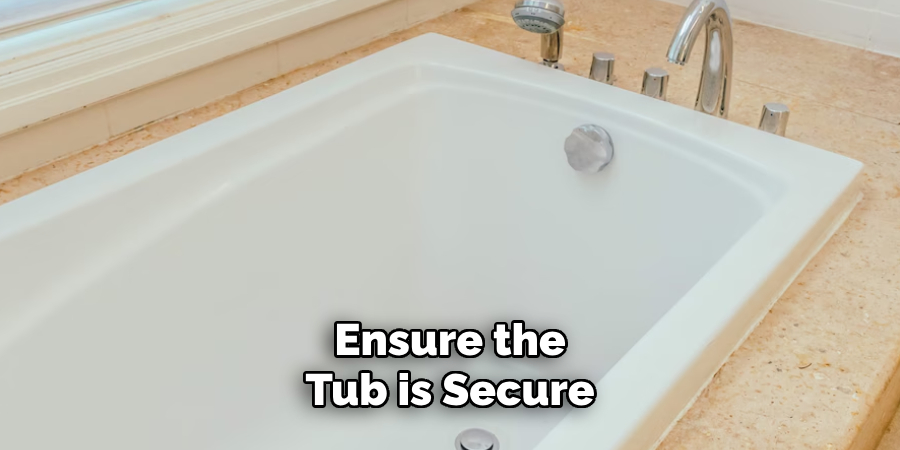
After completing these steps, the drainage system should now be fully functional and stable, ready for regular use with confidence.
Maintenance Tips for a Long-Lasting Drain System
Regularly Check for Leaks
Inspect drain connections every few months to identify and address minor leaks before they cause significant issues. Pay particular attention to joints, seals, and any areas prone to wear and tear. Early detection helps maintain the integrity of your drain system.
Keep the Drain Clean
Prevent clogs by using a hair strainer or drain guard to catch debris. To maintain a clean drain, periodically flush it with a mixture of baking soda and vinegar, followed by hot water. This natural method helps break down buildup and clear your pipes without harsh chemicals.
Ensure Proper Water Flow
Monitor drainage speed regularly—slowing water flow can signal a blockage. If this occurs, check the P-trap for any obstructions, such as accumulated debris or grease. Clearing blockages promptly ensures smooth and efficient water flow, prolonging the life of your drainage system.
Conclusion
Installing a freestanding tub drain requires proper positioning, sealing, and connection to the P-trap for optimal performance. A well-installed drain prevents leaks, ensures efficient water flow, and enhances the longevity of your tub. Regular maintenance, such as checking for leaks, keeping the drain clean, and ensuring proper water flow, is essential to avoid future issues. Periodic inspections help identify and address potential problems early, ensuring your drainage system remains reliable. Understanding how to install freestanding tub drain and committing to routine care will provide peace of mind and a functional system for years to come.

