A hose bib, commonly called an outdoor faucet, is a vital fixture for homeowners seeking convenience in managing outdoor water needs. Its primary function is to provide easy access to water for various tasks, such as watering gardens, washing cars, filling pools, or cleaning outdoor spaces.
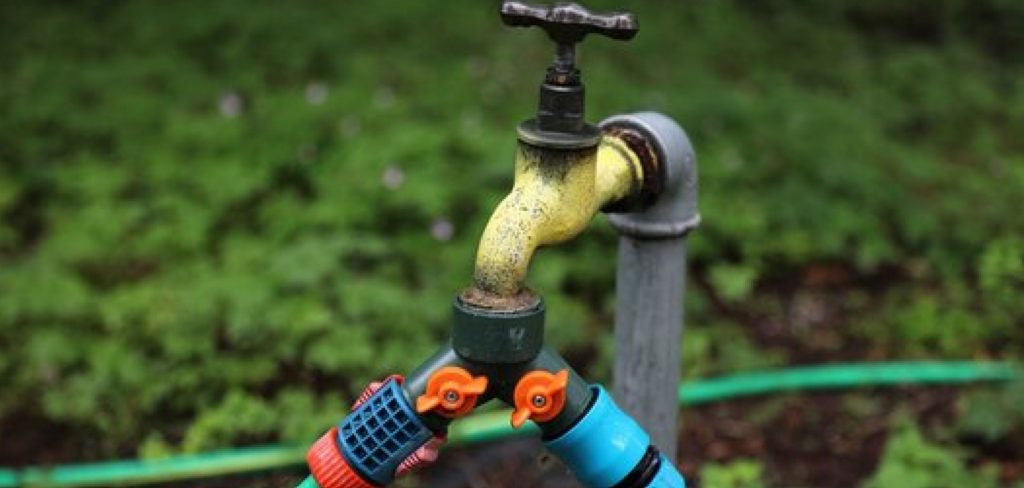
The addition of a hose bib can significantly enhance the efficiency of these activities, saving time and effort. In this article, we will explore how to install hose bib, ensuring you have the necessary tools and knowledge to complete the task effectively.
We’ll cover essential considerations for your installation, including the most suitable location for the bib and the different types available in the market. By understanding these key elements, you can make an informed choice that best meets your outdoor water needs and seamlessly integrates into your home.
Tools and Materials Needed
Before beginning your hose bib installation, it’s essential to gather the appropriate tools and materials to ensure a seamless process. Having the right equipment at hand will help you work more efficiently and achieve a professional-looking result.
List of Tools
- Pipe wrench
- Adjustable wrench
- Pipe cutter
- Teflon tape (thread seal tape)
- Drill and drill bits (if mounting)
- Measuring tape
Materials
- Hose bib (frost-proof or standard)
- Pipe fittings (e.g., elbows, adapters)
- Pipe (copper, PEX, or PVC)
- Mounting hardware (if required)
- Caulk or sealant (for sealing around the exterior wall)
These tools and materials will provide you with everything needed to correctly install your hose bib, ensuring longevity and effective performance.
Choosing the Right Hose Bib
When selecting a hose bib, understanding the different types available is crucial for ensuring optimal functionality and longevity. Two primary types of hose bibs are standard and frost-free.
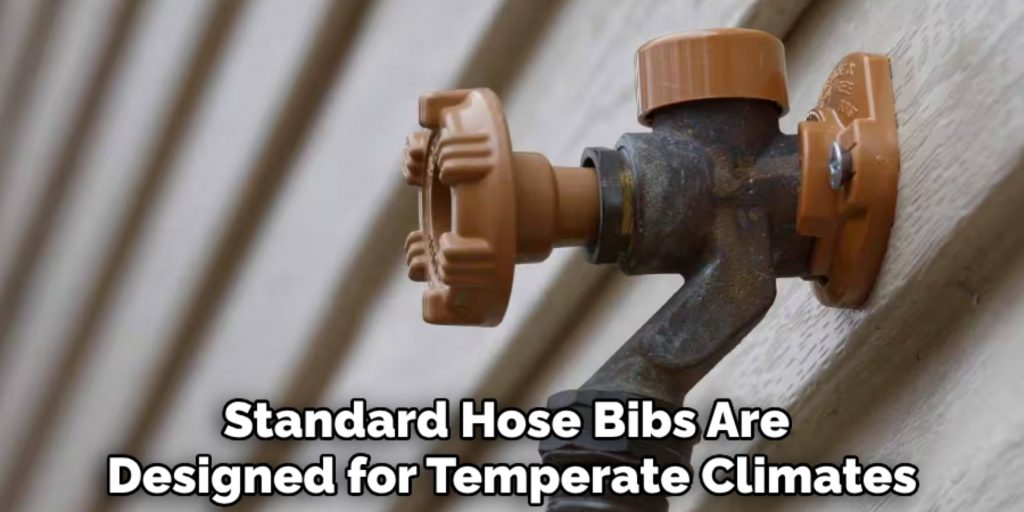
Standard hose bibs are designed for temperate climates, where freezing is not a significant concern. In contrast, frost-free hose bibs are specifically engineered to prevent freezing during cold weather.
These models have a longer stem that allows water to drain back into the house, reducing the risk of burst pipes from frozen water. Therefore, for homeowners in colder regions, investing in a frost-free model offers significant long-term benefits by minimizing potential plumbing issues during winter.
Material Considerations
Hose bibs are typically made from materials such as brass and stainless steel, each offering varying levels of durability and resistance to corrosion. Brass models are known for their strength and ability to withstand harsh weather conditions, while stainless steel provides additional resistance to rust and tarnishing.
When selecting a hose bib, consider the local climate and how frequently it will be used to ensure you choose a material that will endure over time.
Location and Placement
Choosing the right location for your hose bib is essential for ease of use. Ideally, install the bib in a place that is easily accessible, such as near garden beds or driveways, while also considering its proximity to existing plumbing. This ensures efficient connections and minimizes the need for extensive piping. Additionally, avoid placing it in shaded areas where water may linger, as this can increase the risk of freezing.
Preparing for Installation
Proper preparation is key to ensuring a smooth and successful project before diving into the installation process. This section outlines essential steps to take before installing your hose bib.
Step 1: Turn Off the Water Supply
Shutting off the water supply is a crucial first step before beginning the installation of your hose bib. This prevents any accidental leaks or water damage during the process. Locate the main shut-off valve for your home and turn it clockwise to stop the flow of water. It’s also wise to open existing faucets to relieve any residual pressure.
Step 2: Determine Pipe Layout
Next, you’ll want to map out the pipe layout from your existing plumbing to the selected hose bib location. Consider the most direct and practical route while avoiding obstacles such as electrical lines and other plumbing. This will facilitate a smoother installation and reduce potential complications down the line.
Step 3: Drill a Hole in the Pipe
Now, it’s time to drill a hole through the wall where your hose bib will be installed. You’ll need to choose a drill bit that matches the size of your pipe. Position the drill slightly downward to ensure that water drains away from the wall. Before drilling, use appropriate safety gear, such as goggles and a dust mask, to protect yourself from debris.
If you’re drilling through a wall with electrical wiring or plumbing, be extra cautious and use a stud finder to avoid damaging these systems.
How to Install Hose Bib: Installing the Hose Bib
Installing a hose bib may seem daunting, but following these steps ensures a successful project.
Step 1: Cut the Pipe to Length
Begin by measuring the distance from the existing plumbing to the location of the hose bib. Using a measuring tape, mark the appropriate length on your pipe and employ a pipe cutter to make a clean cut. It’s crucial to ensure a smooth, clean edge to avoid potential leaks when the hose bib is connected. A jagged or rough edge can prevent proper sealing, leading to drips and water loss over time.
Step 2: Connect the Pipe to the Hose Bib
Once your pipe is cut to the correct length, it’s time to connect it to the hose bib. Carefully attach the pipe to the bib using the appropriate fittings, ensuring that Teflon tape is applied to the threads before tightening. This tape seals the connection and prevents leaks. When securing the connection, use an adjustable wrench, ensuring that it does not overtighten, which can damage the fittings.
Step 3: Secure the Hose Bib to the Wall
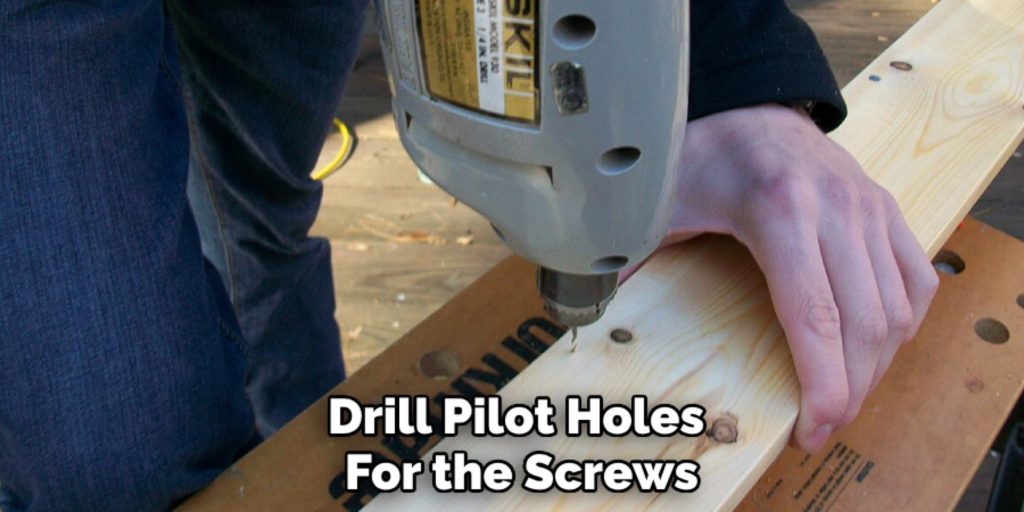
With the pipe connected to the hose bib, the next step is to mount the bib to the exterior wall. Position the bib against the wall at the desired height and use a level to ensure it is straight. Mark the screw holes with a pencil and, if needed, drill pilot holes for the screws. Use appropriate anchors for your wall type (stucco, brick, or siding), then firmly secure the hose bib.
Step 4: Connect the Pipe to the Existing Plumbing
Following the secure mounting of your hose bib, it’s time to connect the new pipe to the existing plumbing. Use the appropriate fittings depending on the type of pipe you’re using — copper, PEX, or PVC. For copper pipes, solder the fittings using a propane torch, ensuring a stable and watertight connection.
For PEX, use a crimping tool to secure the connection. For PVC, apply primer and glue to ensure a solid bond. Always ensure that all connections are secure and leak-free before moving on.
Step 5: Seal Around the Hose Bib
Finally, it is essential to seal any gaps around the hose bib where the pipe passes through the wall. Use caulk or a sealant to effectively prevent water infiltration and drafts, which can lead to other issues such as mold or damage. Apply a continuous bead of sealant around the entry point, smoothing it with your finger for a neat finish. This ensures that your installation looks professional and adds durability to the hose bib installation overall.
Testing the Installation
Step 1: Turn the Water Supply Back On
After ensuring that your installation is secure, gradually turn the water supply back on. Begin by slightly opening the main shut-off valve to allow water to flow gently into the system. This slow approach helps to avoid pressure surges that could cause leaks or damage to your new setup.
Step 2: Test the Hose Bib
Once the water supply is restored, turn the hose bib on and off to check its operation. Ensure that the water flows smoothly without any interruptions. While the hose bib is in use, keep an eye on the connection points, looking for any signs of leaks or irregularities in water flow.
Step 3: Inspect for Leaks
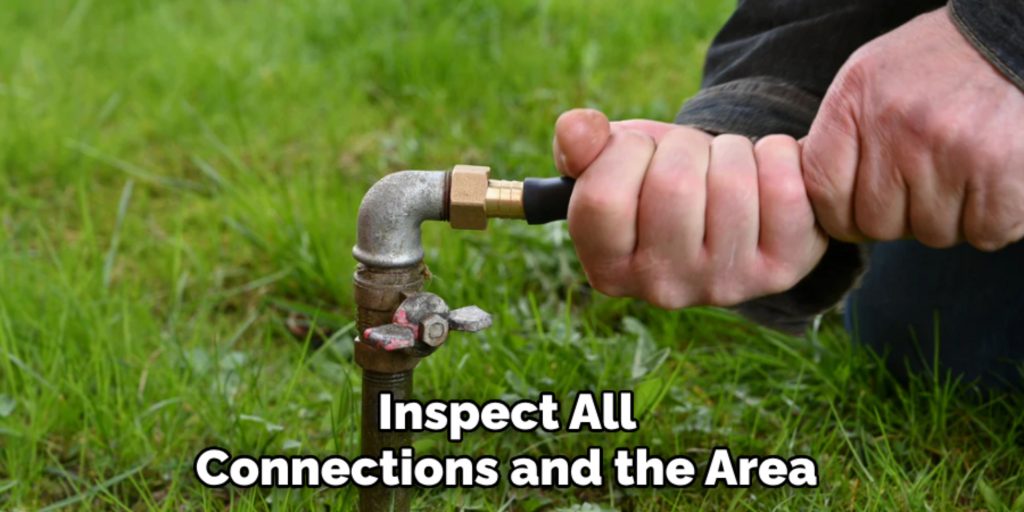
Inspect all connections and the area around the hose bib for any signs of leaks or drips. Pay special attention to fittings and the sealed areas. If you observe any leaks, it may be necessary to tighten the connections or reapply the sealant to achieve a watertight seal.
Winterizing and Maintenance Tips
Winterizing a Standard Hose Bib
To properly winterize a standard hose bib, begin by shutting off the water supply to the bib. Locate the main shut-off valve and turn it off. Next, disconnect any hoses and open the hose bib to allow any remaining water to drain from the pipe.
It’s also wise to drain the interior pipes by opening faucets to relieve any pressure. If your hose bib has a bleeder valve, open it to fully drain any water from the system. This step is crucial to prevent freezing and bursting of pipes during colder months. Finally, ensure that the bib is insulated if it’s located in a non-heated area.
Maintaining a Frost-Free Hose Bib
Frost-free hose bibs are designed to require less maintenance due to their unique construction, which allows them to drain automatically when shut off. However, performing regular checks for any signs of leaks or wear is still important. Inspect the handle, connections, and sealing mechanism to ensure everything functions properly.
Regular Inspection
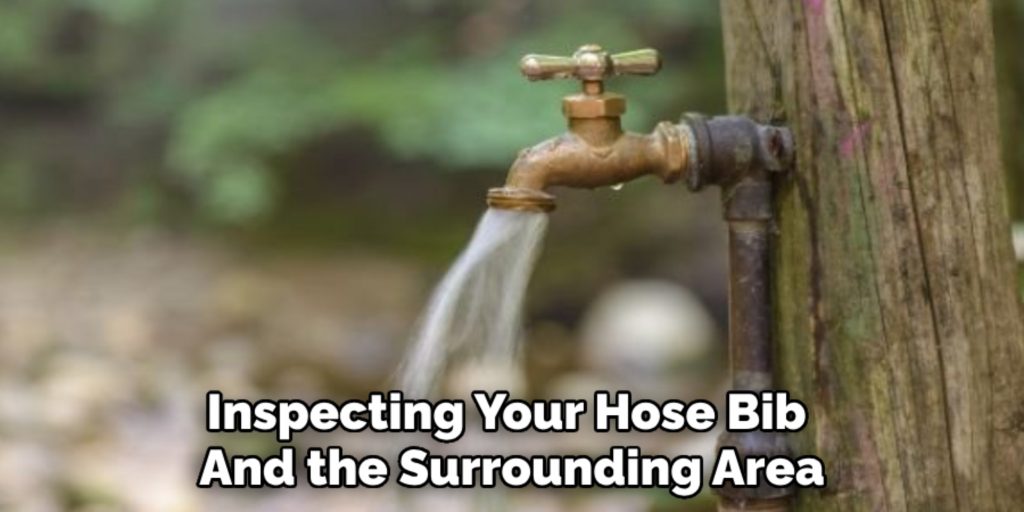
Periodically inspecting your hose bib and the surrounding area is essential for catching potential problems early. Look for leaks, rust, or loose fittings, which can indicate bigger issues if left unaddressed. Regular maintenance helps prolong the life of your hose bib and prevents costly repairs down the line.
Conclusion
Installing a hose bib may seem intimidating, but carefully following the key steps can achieve a successful result. Start by choosing the right model for your needs, then measure and cut the pipe to length.
Connect it securely to the hose bib, mount the bib to the wall, and attach the new pipe to the existing plumbing. After installing, test the hose bib for proper operation and inspect all connections for leaks. With these steps in mind, approach this project with confidence.
However, if you feel uncertain at any point, don’t hesitate to seek professional assistance. Remember that regular maintenance and winterizing are crucial for prolonging the life of your hose bib. By understanding how to install hose bib effectively and taking proactive measures in maintenance, you will ensure it remains in excellent condition for years to come.
