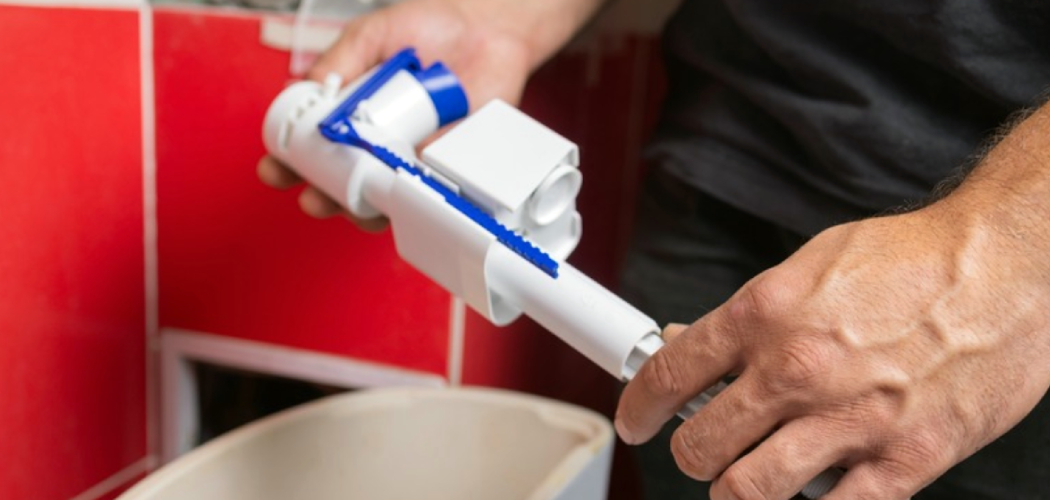
Installing a Kohler fill valve is an essential process to ensure your toilet operates efficiently and smoothly. Whether you’re replacing a malfunctioning fill valve or upgrading to a newer model, following proper installation steps is key to avoiding leaks and maintaining optimal water flow.
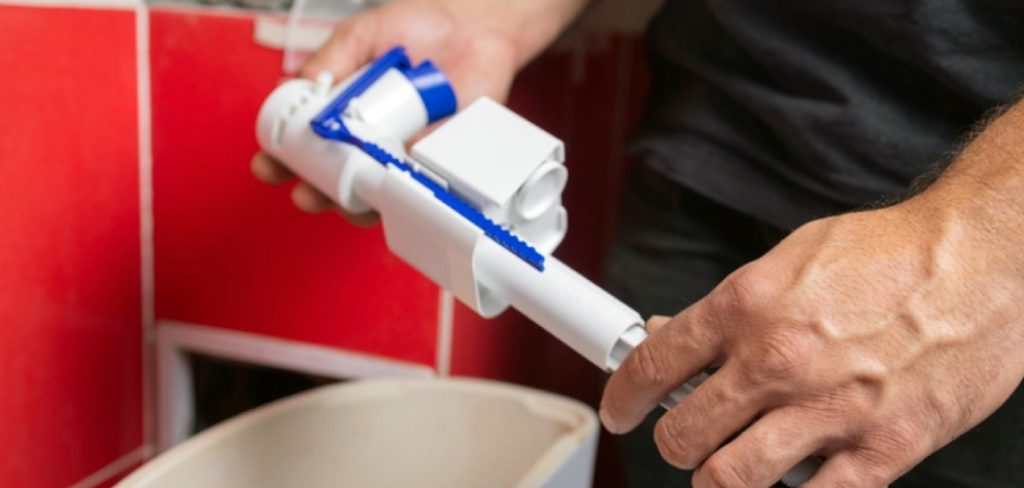
This guide on how to install kohler fill valve will walk you through the process with clear instructions, making it straightforward even for those with minimal plumbing experience.
What is a Fill Valve?
A fill valve is a vital component of a toilet’s flushing system. It regulates the water flow into the toilet tank and ensures the tank refills to the proper level after each flush. Typically located on the left side of the tank, the fill valve connects directly to the water supply line.
Modern fill valves are designed to operate efficiently, reduce noise, and prevent water wastage. They play a critical role in maintaining the overall functionality of your toilet, making it important to ensure they are in good working condition.
Benefits of Installing a Kohler Fill Valve
Installing a Kohler fill valve comes with several benefits, including:
Improved Water Efficiency:
Old and worn-out fill valves can cause continuous running water, leading to high water bills. Upgrading to a Kohler fill valve will ensure proper water flow and reduce any potential leaks.
Reduced Noise:
Noisy fill valves can be a nuisance, especially if you have a toilet near your bedroom or living room. The latest Kohler fill valve models are designed to operate quietly, making it a great investment for households with sensitive ears.
Easy Installation:
Kohler has made installation easier and less time-consuming with their innovative design features. With clear instructions and minimal tools required, installing a Kohler fill valve is hassle-free.
Tools and Materials Needed
Before starting the installation process, make sure you have all the necessary tools and materials on hand. These include:
Adjustable Pliers:
Used to tighten or loosen nuts and bolts.
Bucket:
To collect any water that may spill during the installation process.
Rags:
To clean up any spills or drips.
New Kohler Fill Valve Kit:
Comes with all the components needed for installation, including a fill valve, refill tube, and mounting hardware.
8 Step-by-step Guidelines on How to Install Kohler Fill Valve
Step 1: Shut off the Water Supply
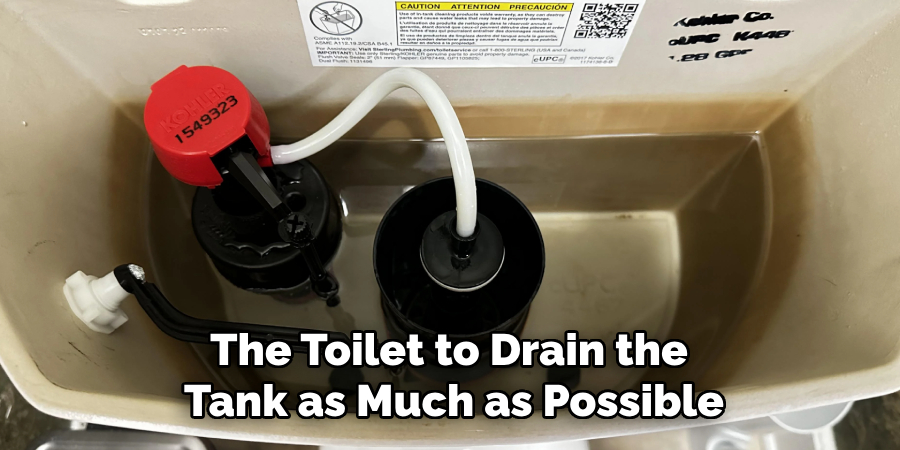
The first step in installing a Kohler fill valve is to turn off the water supply to your toilet. Locate the shut-off valve, typically found on the wall or floor near the base of the toilet. Turn the valve clockwise until it is fully closed to stop the water flow.
Once the water is shut off, flush the toilet to drain the tank as much as possible. Use a bucket and rags to collect and clean up any remaining water inside the tank. This ensures a dry and safe working environment for the installation process.
Step 2: Remove the Old Fill Valve
After ensuring the water supply is turned off and the tank is drained, it’s time to remove the old fill valve. Start by disconnecting the water supply line from the base of the fill valve, which is located underneath the toilet tank. Use adjustable pliers to loosen the coupling nut connecting the supply line. Be cautious and place a bucket or rags under the tank to catch any residual water.
Next, locate the retaining nut on the underside of the fill valve inside the tank. Remove this nut using your adjustable pliers or by hand if it’s not overly tight. Once the nut is removed, gently lift the old fill valve out of the tank. Be sure to also detach the refill tube connected to the overflow pipe. At this point, inspect the tank base for any debris or residue and clean it thoroughly to prepare for the new fill valve installation.
Step 3: Prepare the New Fill Valve
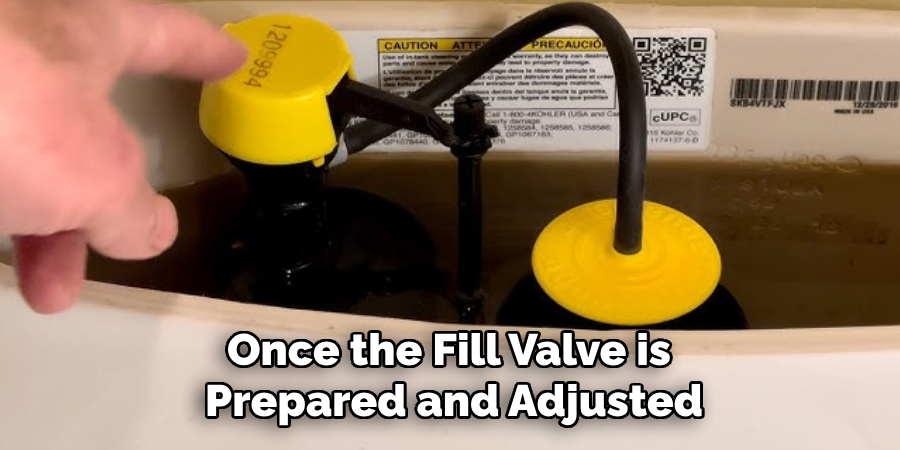
After removing the old fill valve and cleaning the tank, it’s time to prepare the new Kohler fill valve for installation. Start by inspecting the components of your new fill valve kit to ensure all parts are included and in good condition. Most kits will consist of the fill valve, a refill tube, a lock nut, a washer, and any necessary hardware.
Adjust the height of the new fill valve so that the top of the valve sits at least 1 inch above the overflow pipe in the toilet tank. This will ensure optimal performance and prevent water from overflowing. To adjust the height, twist the valve body or follow the manufacturer’s specific instructions.
Attach the washer to the base of the fill valve, ensuring it is securely in place. This creates a watertight seal between the fill valve and the tank to prevent leaks. Once the fill valve is prepared and adjusted, you’re ready to proceed with installing it into the toilet tank.
Step 4: Install the New Fill Valve
With everything prepared, it’s time to install the new fill valve. Place it into the hole on the bottom of your toilet tank and secure it by hand tightening or using adjustable pliers on the retaining nut underneath. Be sure not to over-tighten as this can cause damage to the fill valve.
Next, connect the refill tube to both ends – one end to the fill valve and the other to the overflow pipe. Make sure the tube is properly secured to prevent any potential leaks.
Step 5: Adjust the Fill Valve Height

Once the new fill valve is installed and secured, it’s important to adjust the height to ensure optimal performance. The top of the fill valve should sit at least 1 inch above the overflow pipe inside the tank. This prevents any risk of water spilling over and ensures proper operation of the toilet’s flushing system.
To adjust the height, refer to the instructions provided with your Kohler fill valve kit. Typically, this involves twisting or sliding the valve’s adjustable shaft until it reaches the desired height. Once the fill valve is correctly positioned, double-check that it is secure and aligned properly with the water inlet and overflow pipe. Making these adjustments ensures the fill valve functions efficiently while preventing potential leaks or overflows.
Step 6: Connect the Water Supply Line
After installing and adjusting the new fill valve, the next step is to reconnect the water supply line. Start by attaching the supply line to the base of the fill valve, located underneath the toilet tank. Hand-tighten the coupling nut to ensure a secure connection, and then use adjustable pliers to gently tighten it further if needed. Be careful not to overtighten, as this could damage the threads or cause leaks.
Once the supply line is securely connected, double-check that all connections are tight and properly aligned. This will prevent water leakage when the supply is turned back on. With the water supply line in place, you are ready to move on to the final steps of testing and fine-tuning your new Kohler fill valve installation.
Step 7: Turn the Water Supply Back On
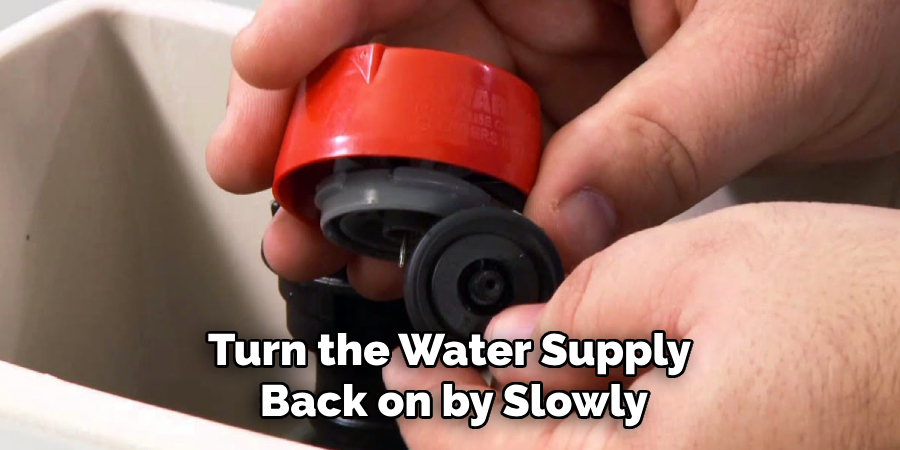
After installing and connecting the new fill valve, turn the water supply back on by slowly opening the shut-off valve. This will allow water to flow into the toilet tank and fill it up.
As the tank fills with water, keep an eye on any potential leaks from the valve or other connections. If you do notice any leaks, quickly turn off the water supply and tighten or adjust as needed. Once everything is secure and functioning correctly, continue to let the tank fill until it reaches its normal level.
Step 8: Test and Adjust for Optimal Performance
The final step in installing a Kohler fill valve is to test and adjust for optimal performance. Flush the toilet a few times to ensure the fill valve is functioning correctly and there are no leaks.
If you notice any issues, such as a weak flush or slow refill, you may need to make some adjustments to the height or position of the fill valve. Refer to the instructions for your specific kit or contact Kohler customer service for assistance.
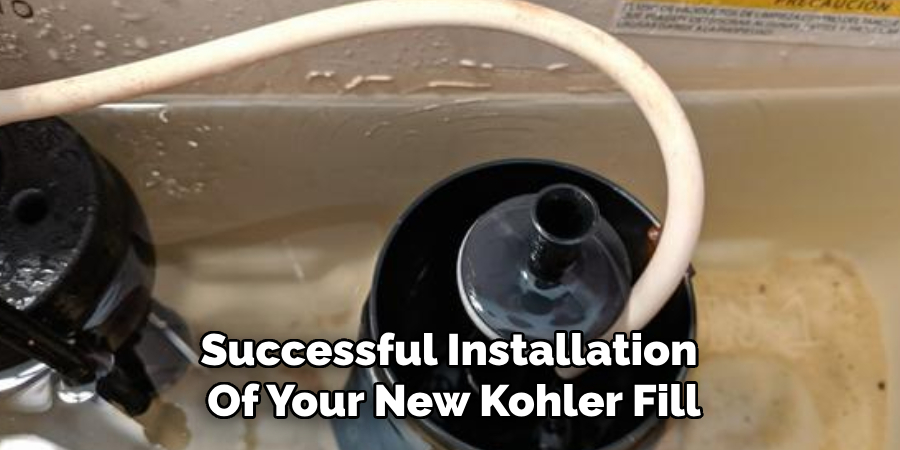
Following these steps on how to install kohler fill valve will ensure a successful installation of your new Kohler fill valve, providing reliable and efficient performance for years to come. Remember to always consult the manufacturer’s instructions and take safety precautions while working on any plumbing projects in your home. If you encounter any difficulties or are unsure about any step, don’t hesitate to seek professional assistance from a licensed plumber.
Frequently Asked Questions
Q1: How Do I Know if My Fill Valve Needs to Be Replaced?
A: Some signs that your fill valve may need to be replaced include a constantly running toilet, weak flushes, or water overflowing from the tank. If you notice any of these issues, it is best to replace the fill valve as soon as possible to prevent further damage or water waste.
Q2: Can I Install a Kohler Fill Valve on Any Toilet?
A: Yes, Kohler fill valves are compatible with most standard toilets. However, it’s always best to check the specific model and compatibility before purchasing and installing a new fill valve.
Q3: How Often Should I Replace My Fill Valve?
A: It is recommended that your fill valve be replaced every 5-7 years for optimal performance. However, factors such as water quality and usage can affect the lifespan of your fill valve. If you notice any issues or if your toilet is older than 7 years, it may be time to replace the fill valve.
Q4: What is the Purpose of a Fill Valve?
A: The fill valve is responsible for refilling the toilet tank with water after each flush. It also helps maintain the water level in the tank and prevents overflow. A properly functioning fill valve is essential for a fully operational and efficient toilet.
Conclusion
Installing a new Kohler fill valve is a straightforward process that can restore the efficiency and functionality of your toilet. By following the step-by-step guides on how to install kohler fill valve and ensuring all connections are secure, you can complete the installation confidently and effectively. Regular maintenance and timely replacement of the fill valve play a crucial role in preventing leaks, conserving water, and ensuring a reliable flushing system.
If you encounter any challenges along the way, always refer to the manufacturer’s instructions or seek assistance from a professional plumber. With proper installation and care, your new fill valve will provide long-lasting performance and peace of mind.

