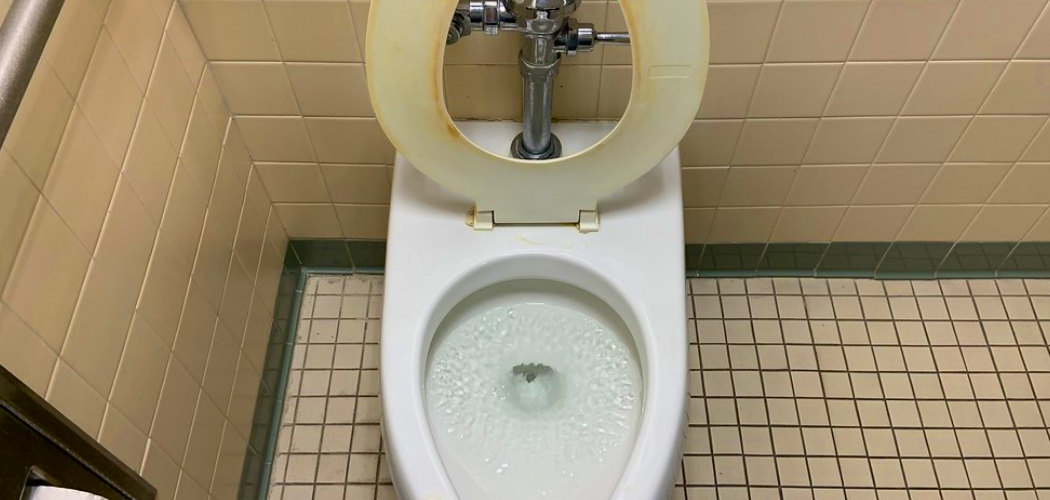
Installing a Kohler toilet may seem like a daunting task, but with the right tools and guidance, it can be a straightforward process. Whether you are upgrading your bathroom or replacing an old toilet, this guide will provide step-by-step instructions to help you successfully install your new Kohler toilet.
By following these steps on how to install kohler toilet, you can ensure a secure and efficient installation while saving on potential professional costs.
What is a Kohler Toilet?
A Kohler toilet is a high-quality bathroom fixture designed and manufactured by Kohler Co., a trusted name in the plumbing and bathroom industry. Renowned for their innovative designs, durability, and efficiency, Kohler toilets come in a variety of styles and configurations to suit different bathroom layouts and preferences.
From water-saving technologies to comfort-enhancing features such as elongated bowls and chair-height seating, Kohler toilets emphasize both functionality and aesthetics. With a reputation for excellence, they are a popular choice for homeowners and professionals alike, offering both modern and traditional designs to complement any space.
Materials Needed
New Kohler Toilet:
Before beginning the installation process, make sure you have your new Kohler toilet ready. This includes all necessary parts such as the bowl, tank, and seat. It is important to check that these pieces are free of any defects or damages before proceeding with the installation.
Toilet Wax Ring:
A wax ring serves as a seal between the bottom of the toilet and the waste pipe, preventing leaks and odors from escaping into your bathroom. Most Kohler toilets come with a wax ring included, but it is always good to have an extra one on hand in case it is needed.
Adjustable Wrench:
An adjustable wrench will be essential for tightening bolts and connecting water supply lines during the installation process.
Screwdriver:
A screwdriver will be needed to secure the toilet seat and make any necessary adjustments during installation.
Level:
A level will help ensure that your toilet is installed evenly and at the correct angle, preventing any potential issues with its functionality in the long run.
7 Simple Step-by-step Instructions on How to Install Kohler Toilet
Step 1: Shut off Water Supply
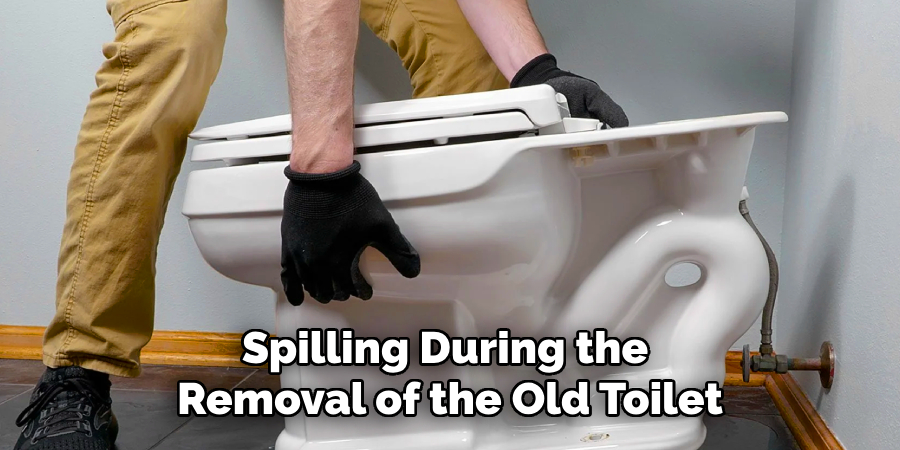
Before beginning the installation process, locate the water supply valve near the base of your existing toilet or the wall behind it. Turn the valve clockwise to shut off the water supply completely. This step is essential to prevent water from spilling during the removal of the old toilet or the installation of the new Kohler toilet.
After shutting off the water, flush the toilet to drain as much water as possible from the tank and bowl. Use a sponge or towel to soak up any remaining water to ensure a clean and dry working area.
Step 2: Remove Old Toilet
Remove the old toilet by unscrewing and disconnecting the water supply line from the bottom of the tank. Next, loosen and remove the nuts securing the toilet to the floor bolts. Lift the toilet off its base and place it on a towel or cardboard to prevent any damage to your flooring.
If your old toilet has been in use for a long time, it is recommended that you replace the wax ring with a new one before installing your new Kohler toilet.
Step 3: Place New Wax Ring
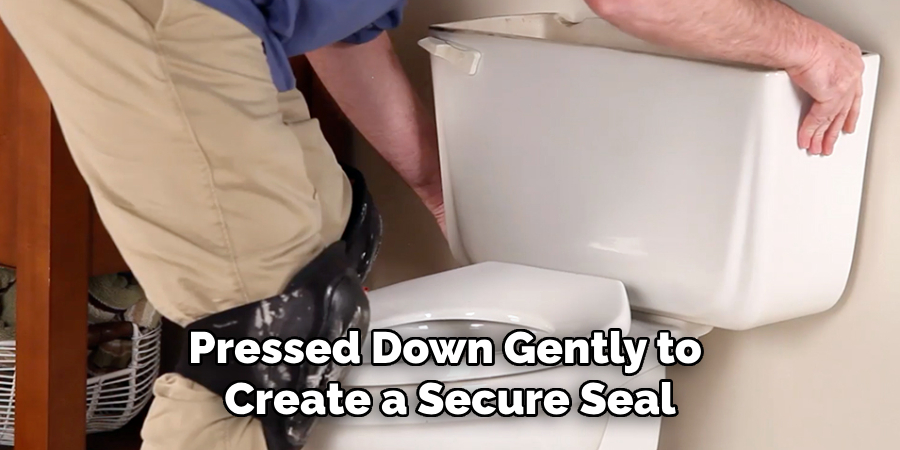
Before positioning your new Kohler toilet, place the new wax ring on the flange at the base of the waste pipe. Ensure that the wax ring is centered properly and pressed down gently to create a secure seal. The wax ring plays a critical role in preventing leaks and ensuring an airtight connection between your toilet and the plumbing system.
Avoid handling the wax ring excessively to maintain its shape and effectiveness. With the wax ring in place, you are now ready to position the toilet bowl onto the floor bolts.
Step 4: Attach Tank to Bowl
Once the bowl is securely placed over the wax ring and floor bolts, it’s time to attach the tank to the bowl. Start by positioning the tank’s rubber gasket onto the base of the tank outlet to ensure a watertight seal. Next, carefully align the holes at the bottom of the tank with the corresponding holes on the back of the bowl.
Insert the provided bolts through the holes in the tank and the bowl, securing them with an error that occurred during generation. Please try again or contact support if it continues. The accompanying nuts and washers. Tighten the bolts until they are snug, but avoid over-tightening as it may cause damage to the tank or bowl.
Step 5: Install the Water Supply Line
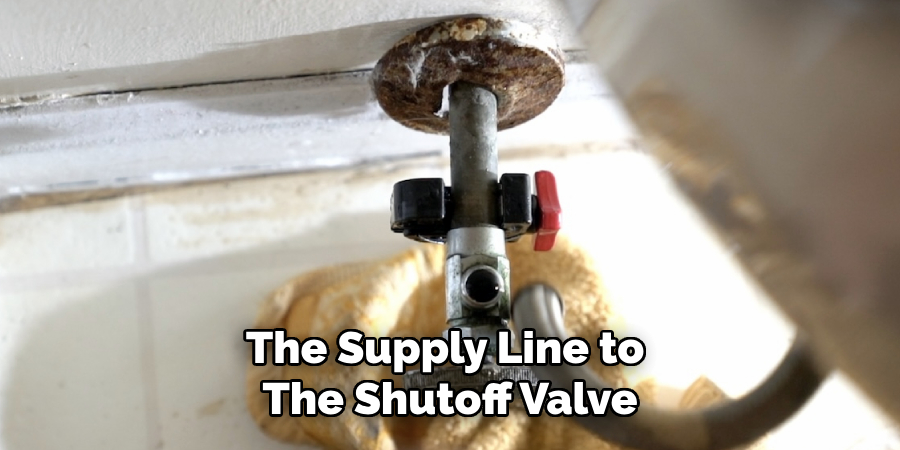
After securely attaching the tank to the bowl, the next step is to connect the water supply line. Begin by attaching one end of the supply line to the shutoff valve and the other end to the fill valve on the bottom of the tank. Ensure that the connections are hand-tightened to prevent damage to the threads.
Once the connections are secure, use an adjustable wrench to gently tighten them further, ensuring a snug and leak-free fit. Be careful not to overtighten, as this could damage the fittings or cause leaks. After the supply line is connected, turn the shutoff valve counterclockwise to restore the water supply. Check for any leaks at both connection points and tighten further if necessary.
Step 6: Secure Toilet Seat
Now that the toilet is fully installed and connected to the plumbing, it’s time to attach the toilet seat. Place the seat on top of the bowl and align it with the holes on the rim. Use a screwdriver to secure the nuts and bolts provided with your Kohler toilet to keep the seat in place. Test for stability by gently shifting or sitting on the seat.
If needed, adjust the seat slightly until it is centered and comfortable before tightening all bolts securely.
Step 7: Check Levelness and Fill the Tank
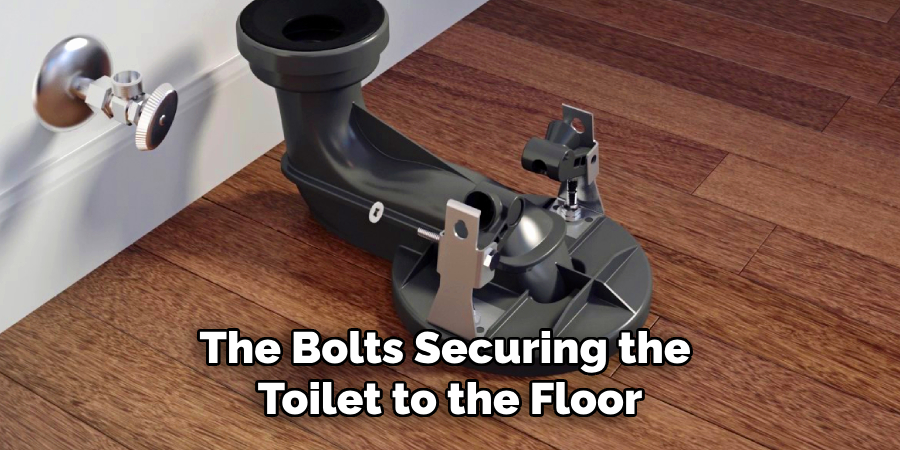
With your new Kohler toilet now fully installed, check its levelness using a level tool. Adjust as necessary by tightening or loosening the bolts securing the toilet to the floor. Once satisfied with its level, turn on the water supply and allow the tank to fill up completely before flushing and testing for any issues.
Congratulations, you have successfully installed your new Kohler toilet! Enjoy its functionality and aesthetic appeal for years to come. Remember to periodically check for any leaks or issues and perform regular maintenance to keep your Kohler toilet in top working condition.
Following these simple step-by-step instructions on how to install kohler toilet, you can easily install your Kohler toilet with minimal hassle and in no time. With the right tools and precautions, this process can be completed by anyone, even those without prior plumbing experience. Invest in a high-quality Kohler toilet and enjoy its durability, efficiency, and style for years to come. So don’t hesitate – upgrade your bathroom today! Happy flushing!
Additional Tips
- When tightening bolts or connection points, use a gentle hand to avoid over-tightening and causing damage.
- Consider using silicone caulk around the base of your Kohler toilet for added stability and to prevent any water or debris from seeping underneath it.
- Remember to dispose of your old toilet properly according to local regulations.
- Regularly clean and maintain your Kohler toilet as recommended by the manufacturer for optimal performance and longevity. So don’t hesitate – upgrade your bathroom today! Happy flushing!
Frequently Asked Questions
Q1: How Long Does It Take to Install a Kohler Toilet?
A1: The time required to install a Kohler toilet varies depending on your experience level. For most individuals, the installation process typically takes around 1-2 hours. Beginners should set aside extra time to carefully follow each step.
Q2: Do I Need Any Special Tools for Installing a Kohler Toilet?
A2: Yes, you will need basic plumbing tools such as an adjustable wrench, screwdriver, and level. Additionally, it is recommended to use a wax ring with an extra thick flange for added stability.
Q3: Can I Install a Kohler Toilet Myself or Should I Hire a Professional Plumber?
A3: With the right tools and precautions, anyone can install a Kohler toilet. However, if you are not confident in your abilities or have any doubts about the installation process, it is always best to hire a professional plumber to ensure proper installation and avoid any potential issues in the future. So don’t hesitate – upgrade your bathroom today! Happy flushing!
Q4: What Are the Benefits of Installing a Kohler Toilet?
A4: Some benefits of installing a Kohler toilet include its durability, efficiency, and stylish design options. Kohler toilets also come with warranty coverage for added peace of mind. Furthermore, they are known for their water-saving features, helping to reduce water usage and lower utility bills. Additionally, Kohler is a trusted and reputable brand in the plumbing industry, ensuring high-quality products that will last for years to come. So don’t hesitate – upgrade your bathroom today! Happy flushing!
Conclusion
Installing a Kohler toilet is a straightforward process that can be accomplished with the right tools, preparation, and attention to detail. By following the step-by-step instructions on how to install kohler toilet provided and keeping maintenance tips in mind, you can ensure a successful installation and long-lasting performance. Kohler toilets combine functionality, style, and efficiency, making them an excellent upgrade for any bathroom.
Whether you choose to tackle this project yourself or enlist the help of a professional, investing in a Kohler toilet is a decision that adds both convenience and value to your home. Enjoy the reliability and elegance that Kohler products bring, and take pride in your newly upgraded space!

