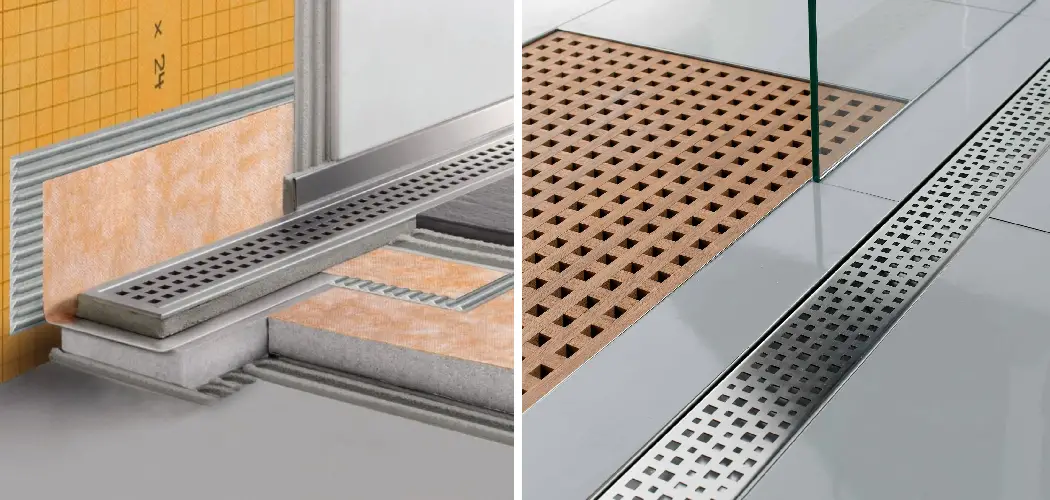
Are you considering a linear drain for your bathroom renovation? Are you looking for an easy and relatively inexpensive way to upgrade your bathroom or walk-in shower? If so, then you need to know how to properly install one.
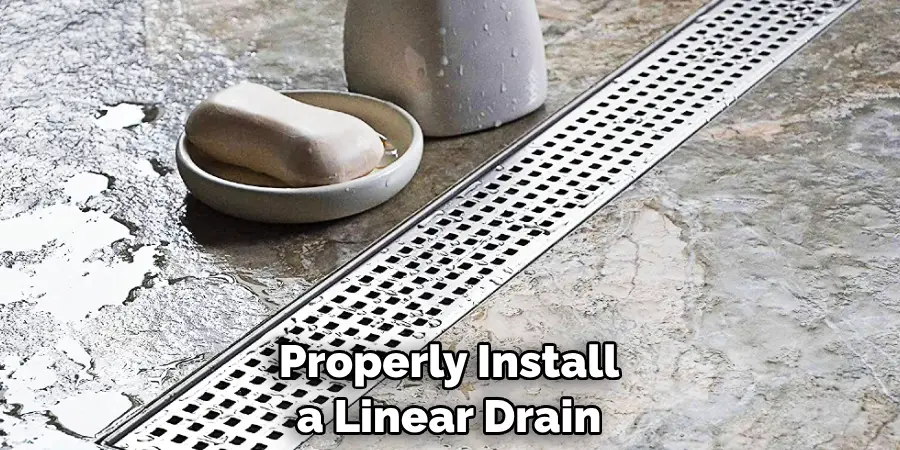
Linear drains – also known as channel or trench drains – offer considerable advantages over traditional shower and sink drains, creating an elegant, streamlined look that can add sophistication to your bathroom design.
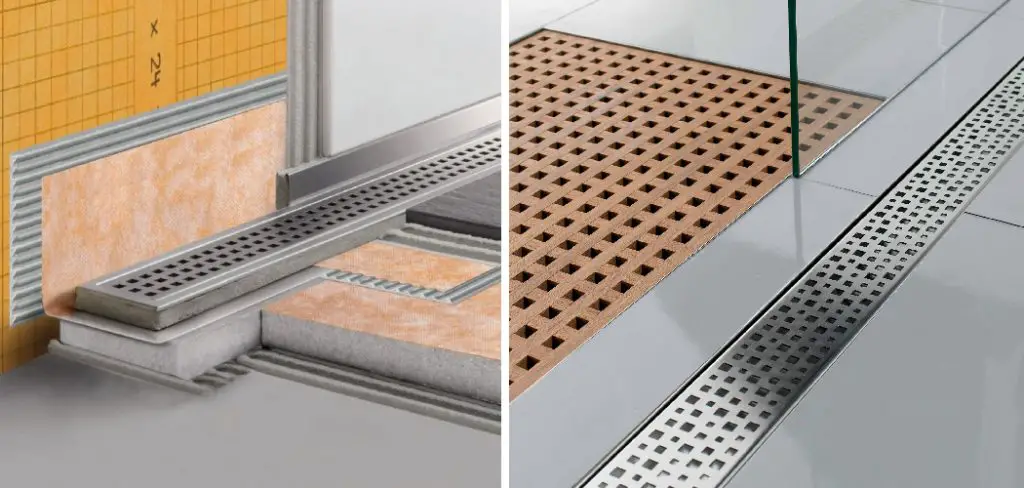
Installing a linear drain is not particularly difficult, but it does require some special tools and careful attention throughout the process. In this blog post, we’ll provide step-by-step instructions on how to install linear drain in any size bathroom or wet area quickly and with minimal effort.
We’ll give you an overview of everything you need to know about installing a linear drain—from what tools and materials are required to having some helpful tips and tricks up your sleeves. So buckle up, and let’s get started!
Benefits of Installing Linear Drain
Before getting into the nitty-gritty of installation, let’s take a moment to discuss some of the potential benefits you can enjoy by installing a linear drain in your bathroom.
1. Aesthetically Pleasing
Linear drains are typically more aesthetically pleasing than standard shower and sink drains. This is because they often feature sleek, modern designs that can help spruce up the look of any bathroom. In addition, linear drains are designed to be recessed into the ground so they don’t stick out as much as traditional models.
2. More Space
One of the major advantages of installing a linear drain is that it provides more usable space in your shower or bathroom. This is because they can be installed close to walls or in corners, allowing you to maximize the space available.
3. Easier Maintenance
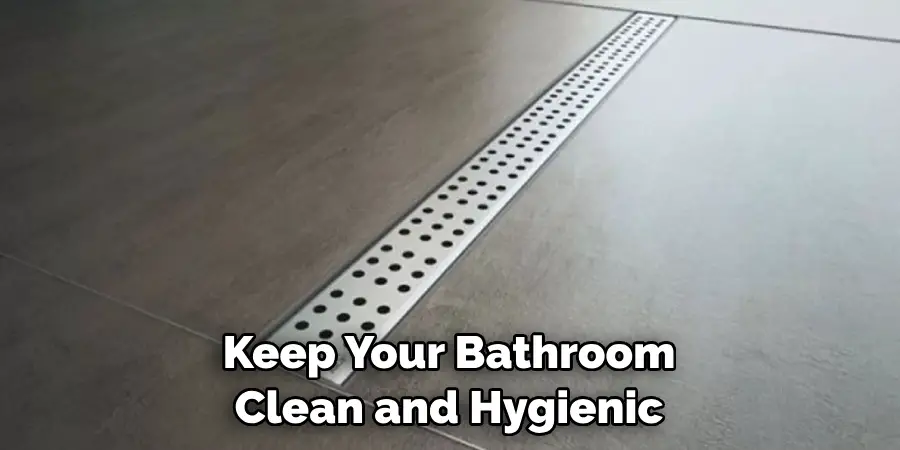
Linear drains also make it easier to keep your bathroom clean and hygienic because they are designed with an easy-to-clean surface that doesn’t trap moisture or dirt as easily as traditional models. This makes them more resistant to mold and mildew growth.
Tools and Materials Needed for Installation
Now that you know the benefits of installing a linear drain, it’s time to get started with the installation process. To do this, you will need a few basic tools and materials, such as:
- Drain piping
- PVC cement
- Level
- Tape measure
- Putty knife
- Hammer
- Drill
- Screwdriver
- Tile saw
- Grout
- Glue
- Silicone caulk
10 Instructions on How to Install Linear Drain
Once you’ve gathered all the necessary tools and materials, it’s time to begin installing your linear drain. Here is a step-by-step guide to help you get started:
1. Measurement
Measure the area using tape measure where you will be installing the drain and mark off the edges with a pencil or chalk on the floor. The right measurement is necessary for the correct installation of the drain. The size of the linear drain you purchase should match the measurements taken.
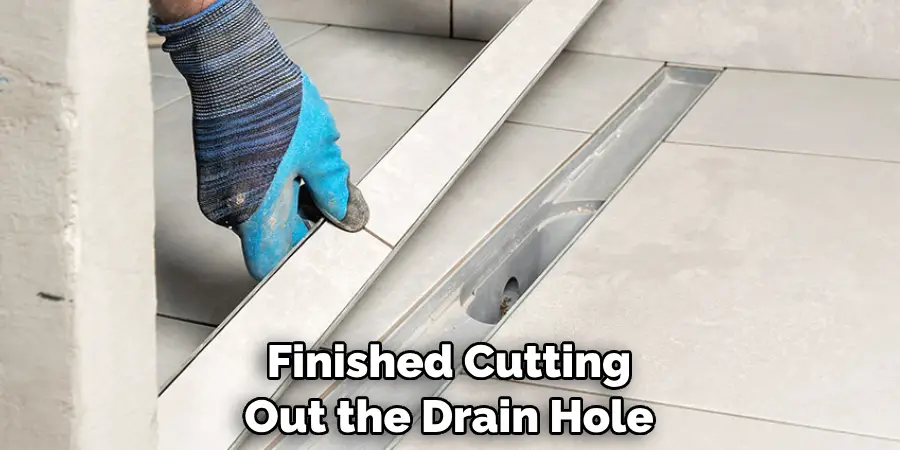
2. Cut Out The Drain Hole
Using a wet tile saw, carefully cut out the marked area for your drain hole. It is important to use caution when cutting out the hole and be sure not to damage any surrounding tiles. Cutting the hole too big can leave gaps between the linear drain and the surrounding tiles.
3. Apply Adhesive
Once you’ve finished cutting out the drain hole, apply a generous amount of adhesive to the bottom of the drain pan before placing it in its designated spot. This will help ensure that your linear drain is properly secured in place.
4. Install Drains
Next, you’ll need to connect the drain pipes. Using PVC cement and a putty knife, attach the pipes to their corresponding outlets on the linear drain. Make sure all connections are sealed tightly before proceeding.
5. Leveling The Drain
Use a level to make sure your linear drain is properly leveled with the surrounding tiles. If it is not, use a hammer to make adjustments and level the drain. Leveling the drain is essential for proper installation.
6. Securing The Drain
Once you’ve checked that the drain is level, use screws to secure it in place on the floor. Be sure to cover all of the screw heads with putty or grout to ensure a safe and smooth surface.
7. Setting Tiles
Now that your linear drain is securely fastened, you can set the tiles around it. Make sure to use a tile saw if necessary, and choose tiles that match the design of your bathroom. Setting the tiles in a pattern will give your bathroom an attractive, uniform look.
8. Sealing The Tiles
Once all of the tiles are set, it’s time to seal them with grout or glue. This will help ensure that water does not seep between the gaps and damage your flooring. Allow 24 hours for the sealant to completely dry before proceeding.
9. Caulking the Drain
Once the sealant is completely dry, use silicone caulk to fill any remaining gaps around the drain or between the tiles and the drain pan. This will help prevent water from leaking out of your linear drain.
10. Final Touches
Now that you’ve completed all of the steps, it’s time to finish up the installation. Check all of the connections and make sure that everything is secure. Once you are satisfied with the results, your linear drain is ready for use!
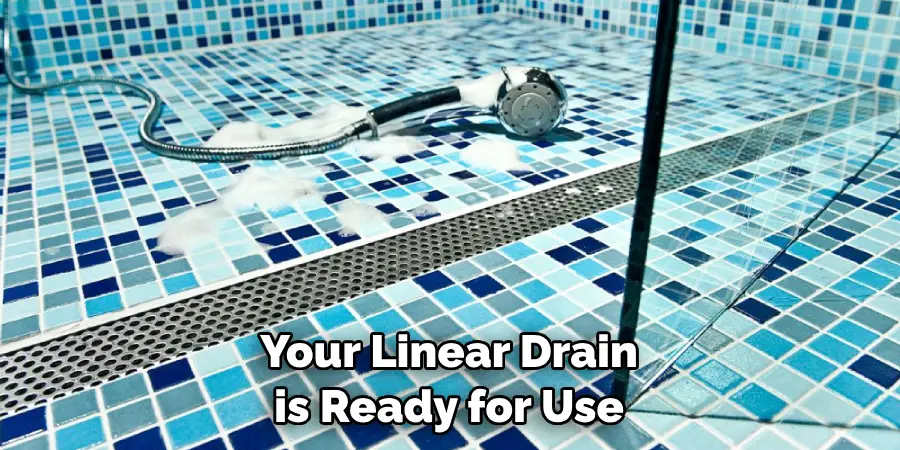
Installing a linear drain can add a touch of class to any bathroom or wet area in your house. As long as you take the time to properly prepare and install the drain, you’ll be able to enjoy its benefits for years to come.
8 Safety Measures to Follow When Installing a Linear Drain
Installing a linear drain is a great way to add functionality and style to your shower or bathroom. It is important, however, to take proper safety precautions before beginning the installation process. To ensure your safety and success in installing a linear drain, here are 8 safety measures you need to follow:
1. Have the right tools available before you begin. This includes a wrench, screwdriver, and drill. You may also need additional tools depending on the type of linear drain you’re installing. Having the right tools will make the installation process easier and safer.
2. Wear protective gear such as safety glasses and gloves. This will help protect your eyes, hands, and other parts of your body from any sharp objects that may be present during the installation process.
3. Make sure the space you’re working in is properly ventilated and well-lit. This will help you avoid any potential hazards and make the installation easier to complete.
4. Carefully read all instructions before beginning the process. It is important to understand each step of the installation fully before attempting it as a wrong move can potentially cause injury or cause damage to the drain itself.
5. Make sure that all pipes, fittings, and connections are secure before you start connecting them. A loose connection can result in a leak or other damage. Making sure everything is secure before beginning will help prevent any potential damage.
6. Make sure that the drain is properly leveled before securing it into place. If it’s not leveled correctly, it can cause water to back up or overflow if not handled properly. Leveling the drain correctly is an important step for a successful installation.
7. Test and inspect your work after you’re done installing. This will help ensure that everything has been installed properly and that there are no issues with water flow or drainage.
8. Make sure to follow all local codes when installing a linear drain. Different areas may have different codes and requirements for drain installation, so it is important to be aware of them before beginning.
By following these safety measures when installing a linear drain, you can ensure your own safety and make sure that the installation process goes as smoothly as possible. Always remember to follow instructions carefully and double-check all connections and fittings before starting. Taking the time to properly install a linear drain will help ensure that it works properly for years to come.
Frequently Asked QuestionS
What are the Best Maintenance Tips for Linear Drains?
The best maintenance tip for linear drains is to make sure they are regularly inspected for any signs of blockages. Blockages can cause water to back up and potentially cause damage to your home. You should also ensure that all connections are secure and free from leaks or clogs.
Regular cleaning with a mild detergent will help keep your drain clean and functioning properly. Additionally , you should also check for any signs of corrosion or rusting and make sure to repair any issues as soon as possible. Finally, it is important to ensure that all drains are properly installed and sealed to prevent water from leaking behind walls or other areas.
How Long Does a Linear Drain Last?
A linear drain can last up to 10 years or more if properly installed and maintained. Regularly inspecting your drain for any signs of damage or blockages and cleaning it on a regular basis will help ensure its longevity. Additionally, sealing the drain with silicone caulk after installation will help prevent water from escaping and damaging the surrounding area.
Conclusion
Installing a linear drain is an exciting way to add a modern flair to your bathroom or kitchen. Not only does it look great, but with proper installation, you also can rest assured knowing that it will last for years to come. With the right tools and skills, anyone can have confidence when tackling this project.
Although installing a linear drain may take some time and effort, the end results are surely worth the investment. With its sleek look and powerful drainage capabilities, linear drains are perfect for adding an updated touch or revamping an existing area in your home.
This guide on how to install linear drain will have you well on your way to taking your space to the next level with this sophisticated style of drainage system–that is truly something worth coming home to!

