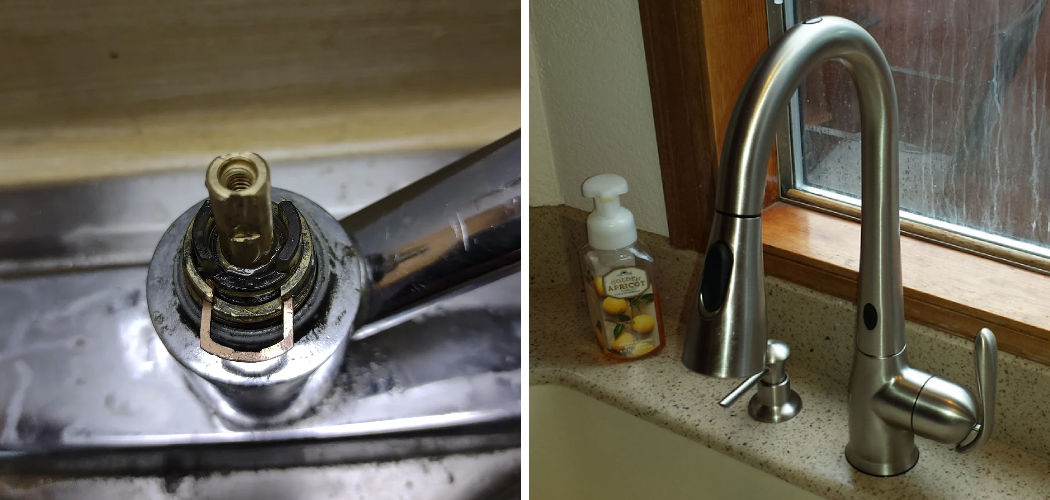
Replacing a Moen kitchen faucet cartridge is a straightforward task that can help restore your faucet’s functionality and fix common issues like dripping or reduced water flow. This guide will walk you through the process step-by-step, ensuring that you can complete the repair efficiently and with confidence.
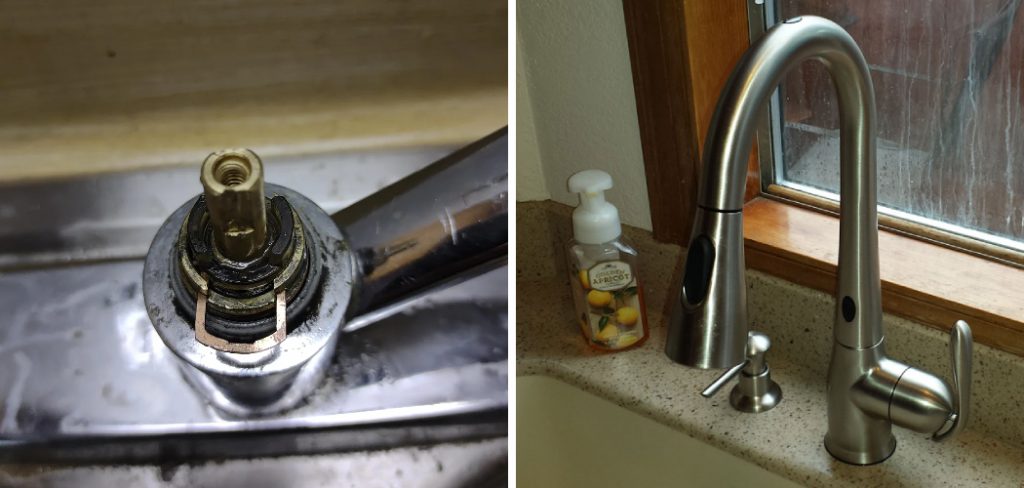
By following these instructions on how to install moen kitchen faucet cartridge, you’ll save money on professional services and extend the life of your faucet.
Why Replace a Kitchen Faucet Cartridge?
As the heart of your faucet, the cartridge is responsible for controlling the water flow and temperature. Over time, it can become worn or damaged, leading to leaks or malfunctions. Replacing the cartridge can solve these issues and prevent further damage to your faucet.
In addition, replacing a kitchen faucet cartridge is more cost-effective than purchasing a brand-new faucet. It also reduces waste by allowing you to keep using your existing fixture instead of throwing it away.
Tools and Materials Needed
Before beginning the replacement process, gather all necessary tools and materials:
- New Moen Kitchen Faucet Cartridge
- Adjustable Wrench or Channel Locks
- Screwdriver (Flathead or Phillips)
- Plumbers’ Grease or Silicone Lubricant
- Clean Cloth or Rag
- Safety Goggles
9 Step-by-Step Instructions on How to Install Moen Kitchen Faucet Cartridge
Step 1: Turn Off the Water Supply
Start by turning off the water supply to your kitchen faucet. Locate the shut-off valves under the sink—there should be a hot water valve and a cold water valve. Turn both valves clockwise until they are fully closed.
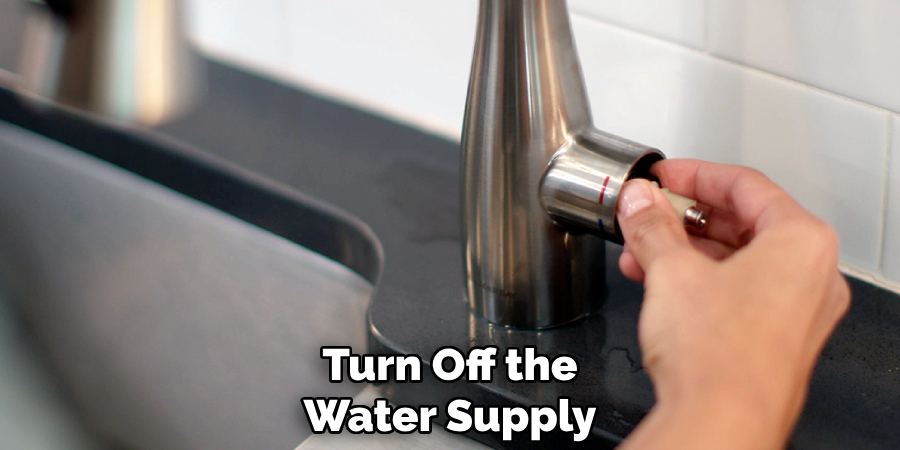
To ensure the water is completely off, turn on the faucet and check that no water comes out. This step is crucial to prevent any leaks or water damage during the replacement process.
Step 2: Remove the Handle
To remove the handle, start by locating the set screw that secures the handle to the faucet. This screw is usually found on the side or underneath the handle and may be covered by a decorative cap. If there is a cap, carefully pry it off using a flathead screwdriver to expose the screw.
Use an appropriate-sized Allen wrench or screwdriver to loosen and remove the set screw. Once the screw is removed, gently lift the handle off the faucet. If the handle feels stuck, applying a slight wiggling motion should help release it. Set the handle aside in a safe place for reassembly.
Step 3: Unscrew the Bonnet Nut
After removing the handle, locate the bonnet nut that secures the faucet cartridge in place. This nut is typically situated directly beneath where the handle was attached. Use an adjustable wrench or a pair of pliers to carefully turn the bonnet nut counterclockwise. Apply steady pressure to avoid stripping or damaging the nut.
Once loosened, fully unscrew and remove the bonnet nut, setting it aside in a safe location for later reassembly. This step will expose the faucet cartridge, allowing you to proceed with the next phase of the repair.
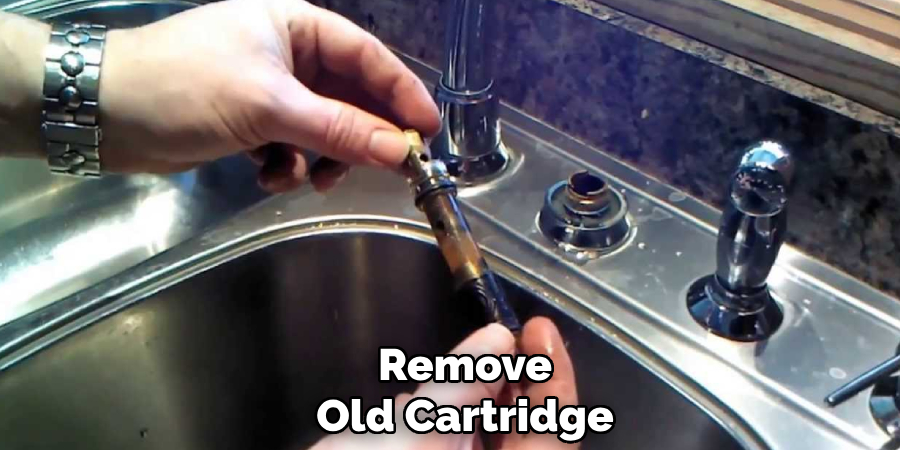
Step 4: Remove Old Cartridge
With the bonnet nut removed, you can now access the faucet cartridge. Gently grasp the cartridge with a pair of pliers or a cartridge removal tool if necessary, and pull it straight out from the faucet body. If the cartridge feels stuck or does not come out easily, try wiggling it gently while applying even pressure to prevent damage to the faucet housing.
Inspect the old cartridge for any visible wear, cracks, or mineral buildup, as these could have been contributing factors to the faucet issue. Once removed, set the old cartridge aside and prepare to install the new one in the next step.
Step 5: Clean and Prep the Housing
Before installing the new cartridge, take a moment to thoroughly clean the faucet housing. Use a soft cloth or a small brush to remove any debris, mineral buildup, or old sealant inside the housing. If stubborn residue persists, apply a mild cleaning solution or vinegar to dissolve it, ensuring the area is spotless.
Dry the housing completely with a clean cloth to prevent moisture from interfering with the new cartridge’s installation. A clean and well-prepped housing helps ensure a secure fit and optimal faucet performance.
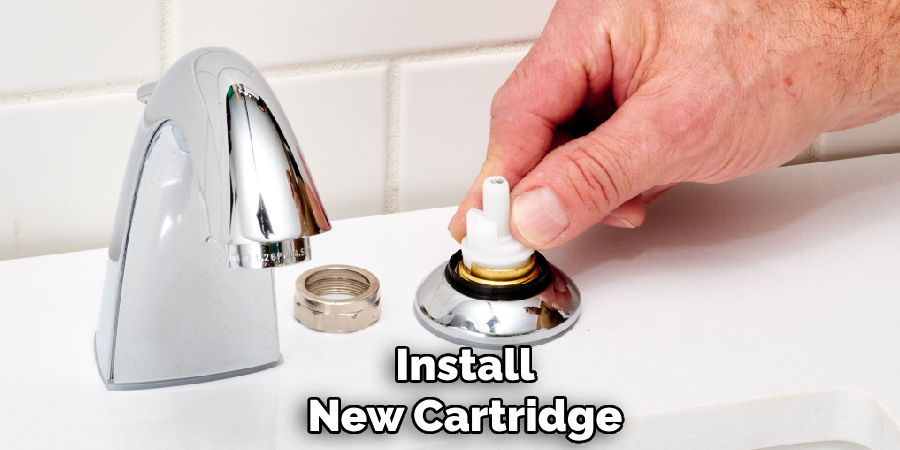
Step 6: Install New Cartridge
Carefully unpack the new cartridge and inspect it to ensure it is free of damage or defects. Align the cartridge with the grooves inside the faucet housing, making sure it fits properly. Gently press it down into place, ensuring it sits flush and secure. Once positioned, refer to the markings or instructions included with the cartridge to verify the correct orientation.
Use the retaining clip or nut (if applicable) to secure the cartridge in place. Tighten it firmly but avoid overtightening, which could cause damage. A properly installed cartridge is crucial for the faucet to function smoothly and without leaks.
Step 7: Reattach Bonnet Nut
Once the cartridge is secured, take the bonnet nut and carefully place it over the cartridge. Thread it onto the faucet housing by turning it clockwise. Use a wrench or pliers to tighten the bonnet nut, ensuring it is snug but not overtightened to avoid damaging the components.
The bonnet nut holds the cartridge securely in place, contributing to a leak-free and properly functioning faucet. Double-check that the nut is evenly tightened for optimal performance.
Step 8: Reinstall Handle
With the bonnet nut securely in place, it’s time to reinstall the handle onto the faucet. Align the handle with the stem of the cartridge, ensuring it sits correctly. Push the handle onto the stem and secure it by fastening the screw that holds it in place. Depending on your faucet model, you may need a screwdriver or an Allen key to tighten the screw.
Once the handle is attached, make sure it moves smoothly without any resistance or wobbling. Finally, reattach any decorative caps or covers, if applicable, to complete the installation. The faucet should now be fully assembled and ready for use.
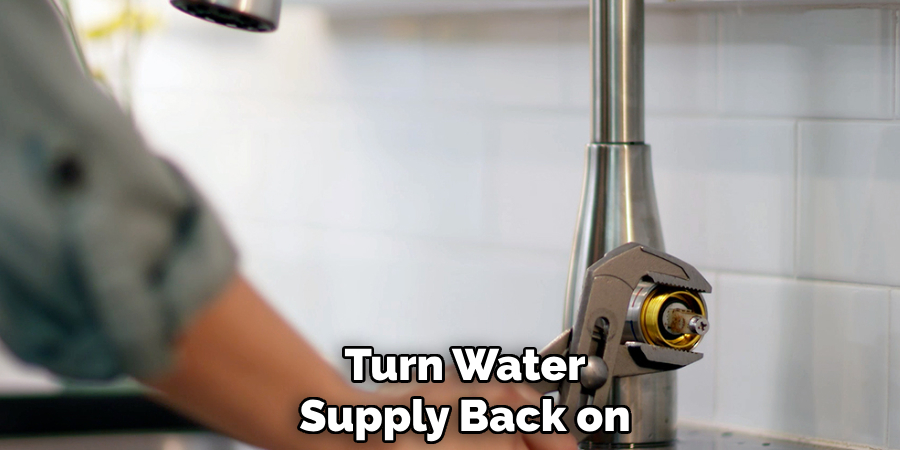
Step 9: Turn Water Supply Back On
Turn the water supply back on by reopening the main shutoff valve. Slowly turn on the faucet handles to check for any leaks or unusual noises. If everything seems normal, you have successfully replaced your shower cartridge!
Following these steps on how to install moen kitchen faucet cartridge can help you replace your shower cartridge with ease and without the help of a professional plumber. However, if you are unsure or uncomfortable with tackling this task on your own, it is always best to call a licensed plumber for assistance.
Additional Tips and Considerations
- It is always a good idea to consult your specific manufacturer’s instructions before attempting to replace a shower cartridge.
- Keep all removed parts in a safe place during the replacement process in case you need to refer back to them.
- Make sure to turn off the water supply before beginning any work on your shower cartridge.
- Use caution when removing or replacing small parts, as they can easily get lost or damaged.
- If you encounter any difficulties during the replacement process, do not force any parts and consult a professional for help.
- Regularly cleaning and maintaining your shower cartridge can prevent future issues and extend its lifespan.
- Consider using plumber’s grease or silicone lubricant on moving parts for smoother operation.
Frequently Asked Questions
Q1: How Often Should I Replace My Shower Cartridge?
A1: The frequency of replacement depends on usage, water quality, and the specific model of your shower cartridge. On average, cartridges last 1-5 years. Regular maintenance can help extend their lifespan. We recommend checking your cartridge for signs of wear or buildup every 6-12 months.
Q2: How Do I Know If My Shower Cartridge Needs to Be Replaced?
A2: There are a few indicators that your shower cartridge may need to be replaced:
- Your water pressure has decreased significantly.
- You notice leaks around the handle or while using the shower.
- The temperature and/or flow of water is inconsistent.
If you experience any of these issues, it’s best to inspect your cartridge and replace it if necessary.
Q3: Can I Replace My Shower Cartridge on My Own?
A3: It is possible to replace your shower cartridge yourself if you have some basic plumbing knowledge and tools. However, if you are unsure or uncomfortable with handling this task, it is best to hire a professional plumber.
There are many helpful step-by-step guides and videos available online that can guide you through the process of replacing a shower cartridge. Just make sure to research and follow the specific instructions for your type of shower valve.
Q4: How Often Should I Replace My Shower Cartridge?
A: There is no set timeline for replacing a shower cartridge, as it depends on factors such as water quality and frequency of use. However, on average, it is recommended to replace your shower cartridge every 1-2 years to ensure optimal performance. If you notice decreased water pressure or leaks from your shower head, it may be time to check and potentially replace the cartridge.
Regular maintenance and cleaning can also help extend the lifespan of your shower cartridge. Make sure to clean any buildup or debris from the valve periodically to prevent clogs and damage.
Conclusion
Proper care and regular maintenance of your shower cartridge are essential for sustaining the performance and longevity of your shower system. By adhering to replacement guidelines and addressing signs of wear promptly, you can avoid water pressure issues and leaks while ensuring an enjoyable shower experience.
Simple steps on how to install moen kitchen faucet cartridge, like routine cleaning and inspection, can go a long way in maintaining efficiency and reducing the need for costly repairs. Taking these precautions will not only save you time and effort but also enhance the overall functionality of your shower.

