Installing an outdoor water spigot is a practical improvement for any home, providing easy access to water for gardening, washing vehicles, or filling kiddie pools.
Whether you’re a seasoned DIY enthusiast or a novice looking to take on a new project, understanding the process of installation is essential for ensuring functionality and preventing future leaks.
This guide on how to install outdoor water spigot will walk you through the necessary steps, tools, and tips to successfully install your outdoor spigot, making your outdoor tasks more convenient and enjoyable.
Benefits of Having an Outdoor Water Spigot
Having an outdoor water spigot offers numerous advantages that can enhance your outdoor experience and improve functionality around your home. Firstly, it provides immediate access to water, making tasks such as gardening, watering plants, or washing outdoor furniture much more convenient. Instead of dragging hoses around or filling buckets from indoors, you can quickly fill up your watering can or connect a hose right where you need it.
Additionally, an outdoor spigot can help save time and effort, particularly during hot summer months when watering gardens is essential. It also reduces the risk of carrying heavy water containers over long distances, making it a safer option for individuals of all ages.
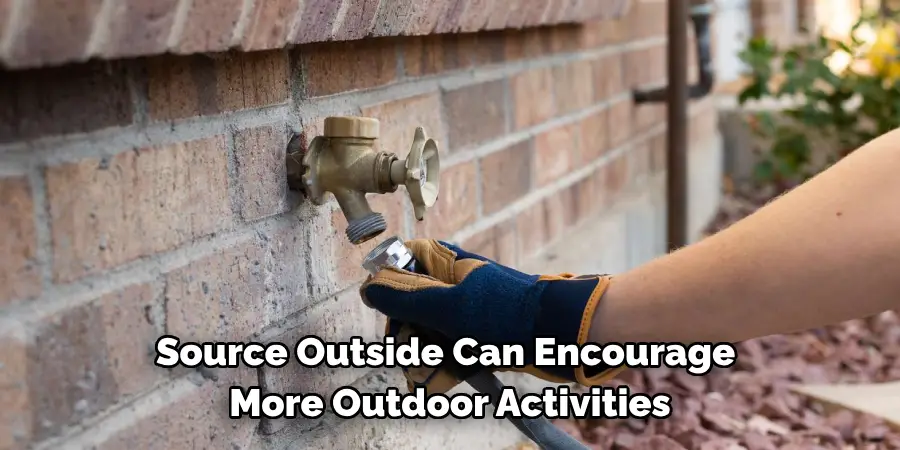
Furthermore, having a dedicated water source outside can encourage more outdoor activities, such as washing cars, cleaning outdoor equipment, or even setting up for backyard gatherings. Ultimately, the convenience and efficiency of an outdoor water spigot make it a valuable addition to any home.
Importance of Proper Installation
Proper installation of an outdoor water spigot is crucial for ensuring its longevity and functionality. Inadequate installation can lead to a variety of issues, including leaks, water pressure problems, and potential damage to your home’s plumbing system. Ensuring that the spigot is securely mounted and properly sealed helps to prevent water wastage and reduces the risk of more significant plumbing issues down the line.
Moreover, a well-installed spigot can withstand the elements, making it less susceptible to winter freeze damage, which can lead to costly repairs. Taking the time to thoroughly follow installation guidelines not only enhances the performance of the spigot but also contributes to a safer and more efficient outdoor environment.
10 Methods How to Install Outdoor Water Spigot
1. Choose the Location
The first step in installing an outdoor water spigot is selecting the best location for it. Ideally, you’ll want to install the spigot close to an existing water supply line to minimize the amount of plumbing work required.
Common locations include the exterior wall of your home, near the garden, or beside a driveway. Consider convenience and accessibility when choosing the location. Also, ensure that the spigot is placed in an area where it won’t be obstructed by plants, vehicles, or other outdoor items.
2. Turn Off the Water Supply
Before beginning any plumbing work, it’s essential to turn off the water supply to avoid any water damage or spills. Locate the main shutoff valve inside your home, which is usually found in the basement, utility room, or crawlspace. Turn the valve clockwise to shut off the water flow.
After the water supply is turned off, open the nearest faucet to relieve any residual pressure in the pipes, ensuring that no water remains in the line when you begin the installation.
3. Drill a Hole Through the Wall
To install the outdoor spigot, you’ll need to drill a hole through the exterior wall of your home where the spigot will be mounted. Use a power drill with a hole saw or masonry bit, depending on the type of wall material you’re working with (wood, brick, or concrete).
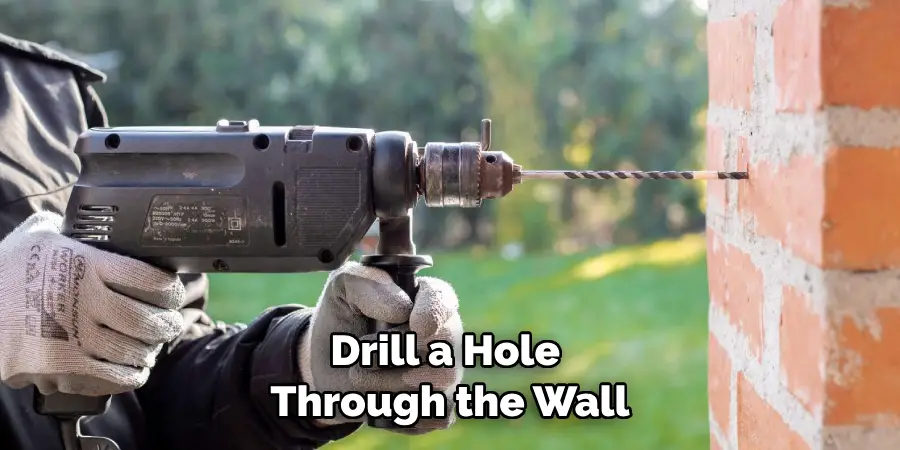
The hole should be large enough to accommodate the pipe or spigot fitting, typically ¾-inch in diameter. Be sure to drill the hole at a slight downward angle to prevent water from pooling inside the pipe, which can cause freezing in cold weather.
4. Install a Frost-Proof Spigot (Optional)
If you live in an area with cold winters, consider installing a frost-proof spigot to prevent freezing and potential pipe damage. Frost-proof spigots are designed with a long stem that keeps the valve mechanism inside the warmer part of the home, reducing the risk of water freezing inside the pipe. Install the frost-proof spigot by sliding the stem through the hole you drilled in the wall and securing the flange to the exterior wall with screws. This type of spigot provides added protection and longevity, especially in colder climates.
5. Run the Piping
Next, you’ll need to run a pipe from the nearest water supply line inside your home to the hole where the spigot will be installed. Copper, PEX, or PVC piping are commonly used for this purpose. If you’re using copper pipe, measure and cut the required length, then solder the joints to create a secure connection.
For PEX or PVC piping, use the appropriate fittings and connectors to attach the pipe sections. Be sure to measure accurately and use pipe hangers or brackets to secure the piping along the way.
6. Attach a Shutoff Valve
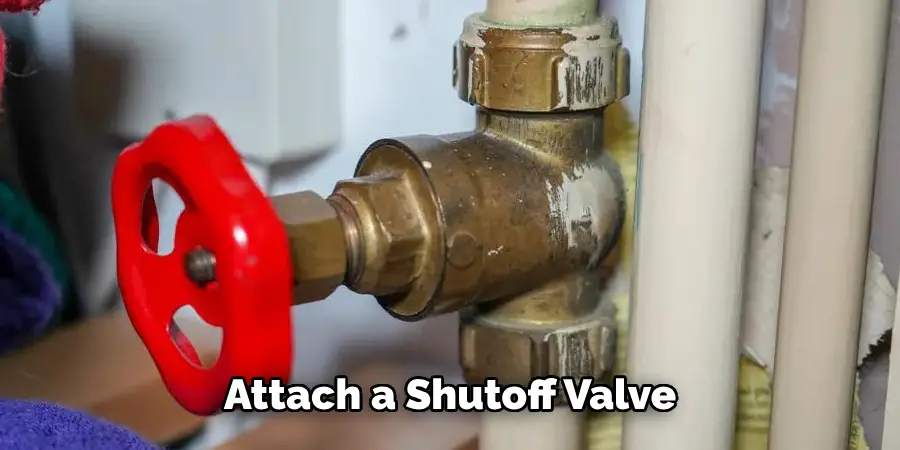
Installing a shutoff valve inside your home, close to where the spigot connects to the water supply line, is a crucial step. This valve allows you to shut off water flow to the outdoor spigot during winter months or for maintenance without affecting the rest of the house’s plumbing.
A ball valve or gate valve works well for this purpose. Simply cut into the existing water supply line, install the shutoff valve with the necessary fittings, and ensure that it’s securely fastened and aligned correctly.
7. Connect the Spigot to the Pipe
Once the piping is in place, it’s time to connect the spigot to the pipe. Depending on the type of pipe and spigot, you may need to use a threaded adapter or compression fitting to make the connection. Wrap the threads of the spigot with plumber’s tape (Teflon tape) to create a watertight seal, and then screw the spigot onto the fitting or pipe. Tighten the connection with a wrench, but be careful not to overtighten, as this can damage the fittings or the spigot itself.
8. Secure the Spigot to the Wall
After connecting the spigot to the pipe, you’ll need to secure it to the exterior wall to ensure stability and prevent movement. Most outdoor spigots have a mounting flange with screw holes that allow you to attach the spigot to the wall. Use masonry screws for brick or concrete walls, or wood screws for wooden siding. If you’re installing a frost-proof spigot, make sure the flange is flush against the wall to prevent cold air from entering the hole. Tighten the screws firmly, but avoid overtightening, as this could crack the wall material or the spigot flange.
9. Test for Leaks
Before completing the installation, it’s important to test the spigot and piping for any leaks. First, open the shutoff valve inside your home to restore water flow to the spigot. Next, turn on the outdoor spigot and check for any signs of water leakage around the connections, pipe joints, or the spigot itself. If you notice any leaks, turn off the water supply and tighten the fittings, or apply additional plumber’s tape to the threads. Once you’re confident there are no leaks, turn the water back on and check again.
10. Insulate the Piping
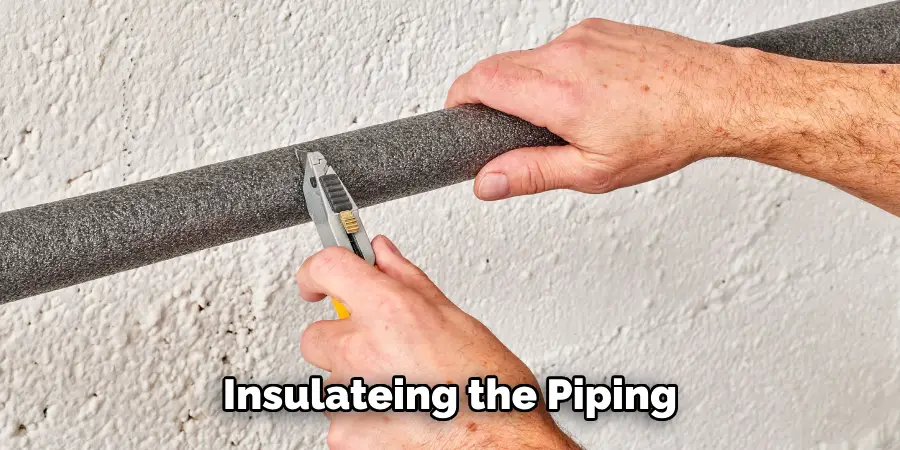
To protect your newly installed outdoor spigot and piping from freezing during colder months, consider insulating the pipes that run from the water supply line to the spigot. Foam pipe insulation is an affordable and effective solution that can be wrapped around the pipes to prevent heat loss.
You may also want to install an insulated spigot cover, especially if you didn’t use a frost-proof spigot. These covers provide additional protection against freezing temperatures and can be easily removed during warmer months when the spigot is in use.
Common Mistakes to Avoid
When installing an outdoor spigot, it’s essential to be mindful of common pitfalls that can lead to problems down the line. One frequent mistake is neglecting to check local building codes and regulations, which can result in non-compliance and potential fines. Additionally, many people fail to adequately secure the piping, leading to movement or damage over time.
Another issue arises from using improper fittings or tools; for example, using a wrench that is too large can damage the fittings or spigot. Finally, overlooking the importance of testing for leaks thoroughly can cause water damage and increased repair costs later. By being aware of these mistakes and taking the time to plan each step carefully, you can ensure a successful installation.
Conclusion
In conclusion, installing an outdoor water spigot involves several key steps, from choosing the location and turning off the water supply to running the piping and securing the spigot to the wall. By following these methods, you can complete the installation with confidence, ensuring that your outdoor water spigot is both functional and durable. Hopefully, this article gave you some helpful tips about how to install outdoor water spigot successfully, so now that you have the proper knowledge on how to get the job done, why not give it a try today?

