Are you looking to install a new pillar cock for your counter? Don’t worry, it’s easier than you think.
How to install pillar cock for counter is a straightforward process that can enhance both the functionality and aesthetics of your sink area. Whether you are upgrading your existing faucet or installing a new one, understanding the steps involved ensures a smooth and efficient setup. This guide will walk you through the required tools, preparation, and installation process to help you achieve a professional finish. Additionally, we will cover some tips and precautions to remember during the installation process.
With a little care and attention to detail, you can efficiently complete the task, ensuring a secure and leak-free installation.

What Are the Benefits of Installing a Faucet?
Installing a faucet can bring several benefits to your household or commercial space. Some of the advantages include:
- Improved Water Efficiency: Old faucets tend to waste more water, whereas newer models are designed for improved efficiency, resulting in lower water bills.
- Better Functionality: Newer faucets have advanced features, such as adjustable water flow and temperature settings, making them more convenient and user-friendly.
- Enhanced Aesthetics: A new faucet can improve the overall look of your kitchen or bathroom, adding value and style to your space.
- Increased Durability: With modern materials and technologies, newer faucets are built to last longer than traditional ones.
What Will You Need?
To replace your old faucet with a new one, you will need the following tools and materials:
- Adjustable wrench
- Screwdriver (Phillips or flathead)
- Plumber’s putty or silicone caulk
- Teflon tape
- New faucet assembly (includes the spout, handles/knobs, and connections)
If you do not have these tools at home, consider purchasing them beforehand to make the installation smoother. Additionally, if you are unsure about any steps in the process, it is always recommended to consult a professional plumber for assistance.
8 Easy Steps on How to Install Pillar Cock for Counter
Step 1: Turn Off the Water Supply
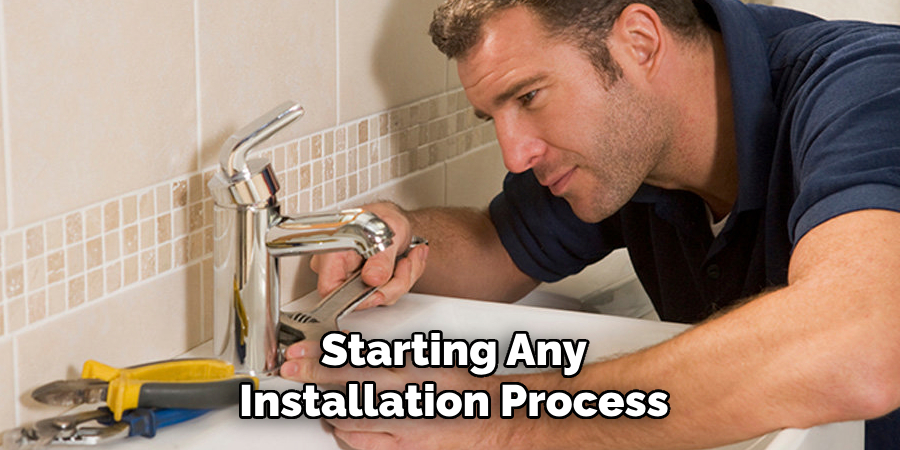
Before starting any installation process, ensuring safety and preventing water wastage is crucial. Locate the main water supply valve under your sink or the dedicated shut-off valves for replacing the faucet. Turn these valves clockwise to shut off the water flow completely.
If you cannot find individual valves for the faucet, you may need to turn off the main water supply to your home. Once the water is turned off, open the existing faucet and allow any remaining water in the pipes to drain out. This step helps reduce pressure and ensures a clean, dry workspace while minimizing any mess during installation.
Step 2: Remove the Old Faucet
Begin by disconnecting the supply lines attached to the underside of the old faucet. Use an adjustable wrench to loosen the nuts, secure the lines, and carefully detach them. Next, locate the mounting hardware that holds the faucet in place—usually nuts or brackets underneath the sink.
Use a basin wrench or pliers to remove these components. Remove the old faucet from the sink once all connections are undone. Take this opportunity to clean the sink surface around the mounting holes, removing any residue or debris to prepare for the new faucet installation.
Step 3: Install the New Faucet
Begin by positioning the new faucet into the mounting holes on the sink. Ensure the faucet is aligned correctly and sits securely. If your faucet comes with a gasket or rubber seal, place it between the faucet base and the sink to prevent leaks.
From underneath the sink, secure the faucet by attaching the mounting hardware and tightening the nuts or brackets with a basin wrench or pliers. Be cautious not to overtighten to avoid damaging the components. Once the faucet is firmly in place, connect the water supply lines.

Step 4: Connect the Water Supply Lines
Attach the hot and cold water supply lines to the corresponding valves on the faucet. Use an adjustable wrench to ensure the connections are snug, but take care not to overtighten them, as this could damage the fittings or cause leaks. Double-check that the supply lines are securely fastened and aligned correctly.
Once the connections are complete, slowly turn on the water supply valves under the sink to allow water to flow into the faucet. Check for any leaks around the connections and tighten them if necessary.
Step 5: Test the Faucet
Once the water supply is turned on and you have checked for leaks, test the faucet to ensure it functions correctly. Turn the handles or lever to run hot and cold water, and observe the water pressure and temperature. Make sure the water flows smoothly with no sputtering or irregularities. If the faucet operates as expected and there are no leaks, your installation is complete.
Step 6: Clean Up the Workspace
After ensuring your faucet is working perfectly, it’s time to clean up your workspace. Remove any tools, packaging, or debris from the installation area. Wipe down the sink and surrounding surfaces for a clean and polished look. Proper cleanup ensures that your new faucet installation is ready to use and provides a visually appealing finish.
Step 7: Perform Regular Maintenance
To keep your faucet in optimal condition, make it a habit to perform regular maintenance. Check for any signs of leaks, mineral buildup, or wear on the components.
Clean the faucet regularly using a non-abrasive cleaner to maintain its shine and functionality. If you notice any issues, address them promptly to avoid more significant problems in the future. Regular care will extend the lifespan of your faucet and ensure it continues to function efficiently.
Step 8: Replace Worn-Out Parts
Over time, certain parts of your faucet may wear out due to frequent use. Typical components that may need replacement include washers, O-rings, or cartridges.
Refer to the manufacturer’s instructions to identify the correct replacement parts and ensure compatibility. Installing new parts as needed will prevent leaks, maintain water pressure, and keep your faucet performing at its best. Taking prompt action to replace worn-out parts will save you from costly repairs in the long run.
Following these simple maintenance tips ensures that your faucet remains in good working condition for years.
5 Things You Should Avoid
- Ignoring the Manufacturer’s Instructions
Always refer to the manufacturer-provided guide before installation. Skipping this step can result in improper installation, voided warranties, or damage to the product.
- Using the Wrong Tools
Avoid using makeshift tools or improper equipment during installation. Incorrect tools can damage the fittings or lead to improper sealing, causing leaks.
- Skipping the Cleaning of the Counter Surface
Ensure that the counter surface is clean and free of debris before installation. Dirt and residue can interfere with the fitting process and compromise the stability of the pillar cock.
- Over-tightening the Fittings
Over-tightening screws, nuts, or mounts can crack the fixture or create unnecessary stress on the connections. Ensure you apply the right amount of pressure as recommended by the manufacturer.
- Neglecting to Check for Leaks After Installation
Always perform a thorough leak check by turning on the water supply post-installation. Neglecting this step can lead to long-term water damage if issues go unnoticed.

What is the Difference Between a Pillar Tap and a Mixer Tap?
Pillar taps and mixer taps are two common types of bathroom faucets, but they function differently. A pillar tap has two separate handles for hot and cold water, while a mixer tap combines hot and cold water through one spout.
- Design
Pillar taps have a classic design with separate knobs for hot and cold water. They are usually more compact than mixer taps, making them suitable for smaller sinks or basins. However, some modern pillar taps may have lever handles instead of traditional knobs.
On the other hand, mixer taps have a sleeker and more contemporary design with a single spout that dispenses hot and cold water. They are available in various styles and finishes, from traditional to modern, making them suitable for different kitchen or bathroom designs.
- Installation
Pillar taps are usually attached directly to the sink or basin with separate hot and cold water supply pipes. A plumber can install them without any additional components. However, if you want to upgrade your existing pillar taps to mixer taps, some modifications may be required as mixer taps require a single tap hole for installation.
- Maintenance
Pillar taps are relatively low maintenance, but like any other tap, they may develop leaks over time. It is essential to regularly check and tighten any loose parts or replace worn-out washers to prevent leaks. You can also use a descaling solution to remove mineral buildup from the internal components of the tap, which can affect water flow and cause blockages.
- Designs
Pillar taps come in various designs and finishes to suit different bathroom styles. Some have traditional crosshead handles, while others have modern lever handles. They can also be found with longer spouts for easier reach or shorter ones for a more compact look.
- Installation
Installing pillar taps is relatively easy and can be done by anyone with basic plumbing knowledge. However, if you are unsure or uncomfortable with DIY projects, it is best to hire a professional plumber to ensure proper installation and prevent any potential issues.

Conclusion
How to install pillar cock for counter is a straightforward process when the correct steps are followed.
Ensure all necessary tools, such as wrenches, sealants, and plumbing tape, are available. Measuring the installation area accurately and checking for compatibility with the counter is crucial. The proper sealing of joints and connections is essential to prevent leaks. Finally, test the tap thoroughly after installation to ensure it functions correctly.
If there are any uncertainties, consulting or hiring a professional plumber is highly recommended to avoid potential installation issues and ensure a durable, long-lasting result.

