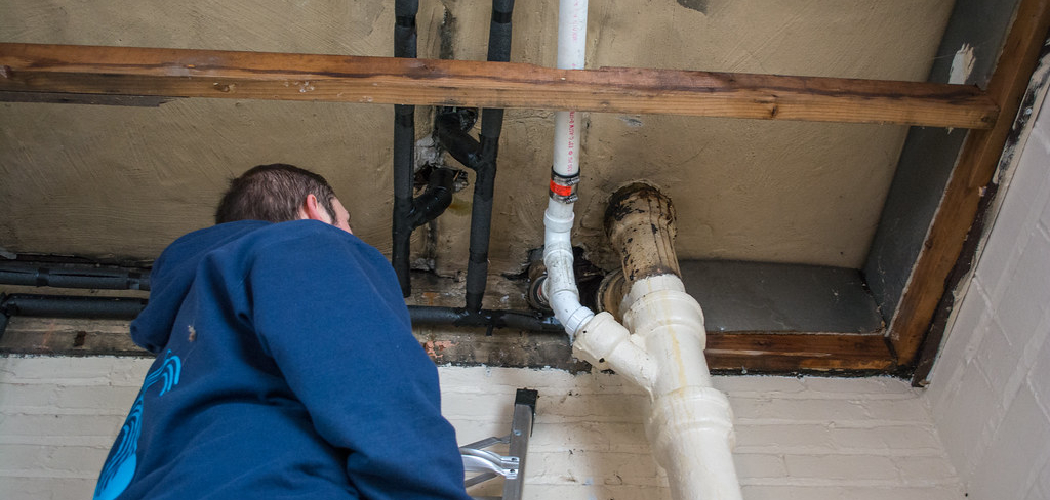
The purpose of this article is to outline the essential steps involved in how to install plumbing in a new house, highlighting the importance of a well-planned and executed plumbing system.
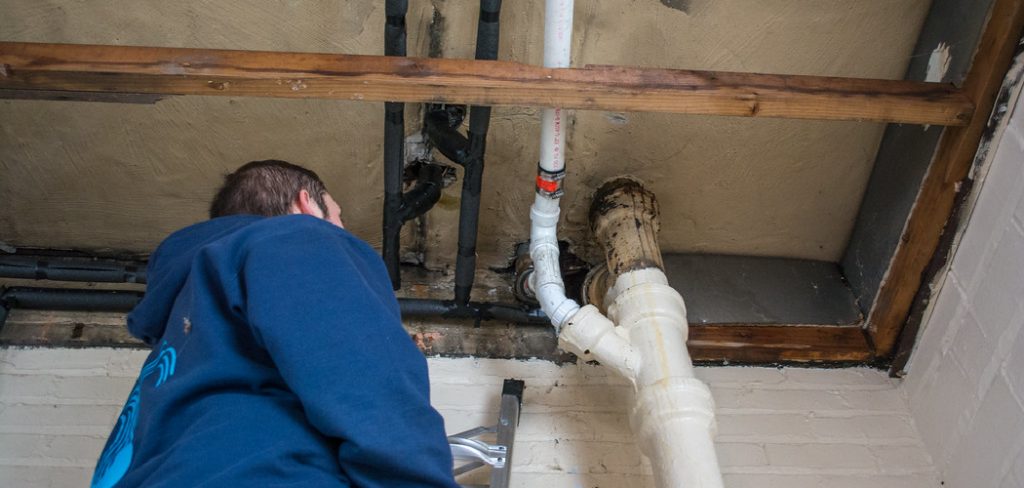
Proper installation matters significantly, as it ensures the functionality and efficiency of the plumbing system while also guaranteeing compliance with local building codes and regulations.
An effective plumbing system not only prevents costly repairs in the future but also contributes to the overall health and safety of the home environment. This article will provide an overview of the key stages of plumbing installation, beginning with planning and layout, moving through each crucial installation step, and culminating in final inspections and adjustments.
By following these guidelines, homeowners and contractors can achieve a robust and reliable plumbing system that serves their needs for years to come.
Planning and Designing the Plumbing System
Create a Plumbing Layout
Creating a comprehensive plumbing layout is crucial for successfully installing a plumbing system in a new house. Detailed blueprints and schematics enable the identification of optimal locations for fixtures, pipes, and appliances, ensuring efficient water flow and drainage.
This pre-planning phase not only aids in visualizing the overall design but also helps identify potential issues early in the process. Furthermore, reviewing and incorporating local building codes and regulations into the plumbing design is essential. Compliance with these codes guarantees safety and functionality and helps avoid costly revisions and penalties during inspection.
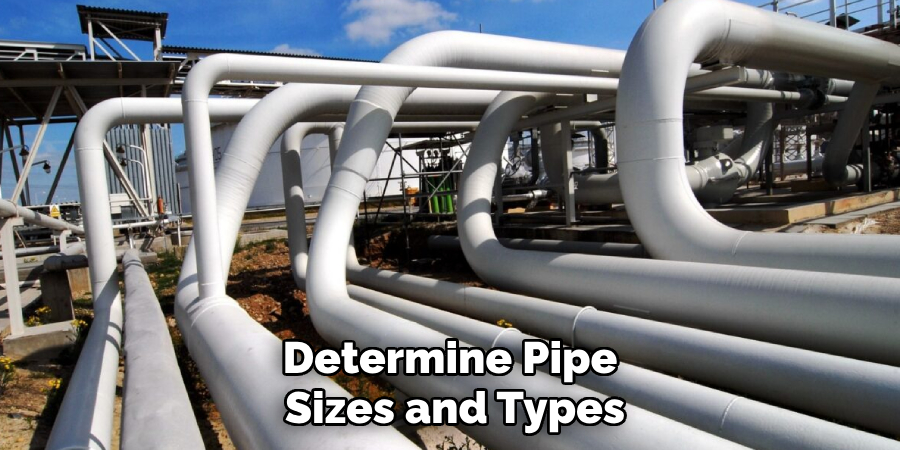
Determine Pipe Sizes and Types
Determining the correct pipe sizes and types is vital in ensuring the plumbing system functions effectively. The sizes of the pipes must be based on the requirements of each fixture, as well as the overall building design, to ensure that there is adequate water supply and drainage capacity. Water pressure and distance from the main supply can influence the necessary dimensions.
Additionally, selecting the appropriate pipe materials is key to achieving optimal performance and longevity. Common materials include PEX, which is flexible and resistant to corrosion; copper, which is known for its durability and reliability; and PVC, which is often used for drainage systems due to its lightweight properties. Each material has its advantages and suitability for different parts of the plumbing system, making it important to consider the specific needs of the installation.
How to Install Plumbing in A New House: Installing Water Supply Lines
Step 1: Install Main Water Line
Connecting the main water line from the municipal supply or private well to the house is essential for providing a reliable water source. Begin by locating the point of entry where the water line will connect, ensuring it complies with local codes and regulations.
Dig a trench leading from the main supply to the house’s foundation, placing the pipe below the frost line to avoid freezing. Once the pipe is laid, connect it to the municipal supply or well, using appropriate fittings and seals to prevent leaks. Installing a main shut-off valve at the entry point is crucial as it allows homeowners to easily control water flow throughout the house, facilitating repairs and maintenance.
Step 2: Run Water Supply Pipes
After establishing the main water line, route water supply pipes from this line to various fixtures, including sinks, toilets, and appliances. It’s important to plan the layout of these pipes for efficient water distribution while minimizing bends and turns, which can inhibit flow.
Use the appropriate size and material for each section of pipe, aligning with the needs of the fixtures. In addition, proper pipe supports should be installed to prevent movement, which can create stress on the joints. To further protect the pipes, insulation may be necessary in colder areas to prevent freezing, ensuring the longevity of the plumbing system.
Step 3: Install Fixtures and Appliances
Once water supply pipes are in place, connect various fixtures such as faucets, toilets, and water heaters to the water supply lines. This process involves attaching each fixture to its corresponding supply line, ensuring that connectors are tight and properly sealed to prevent water leakage.
After all connections are made, testing for leaks by turning on the water supply and inspecting each joint and fixture is essential. This step is crucial before proceeding to the next stage of the installation, as it helps catch any potential issues early, preventing future headaches and costly repairs.
Installing Drainage and Venting Systems
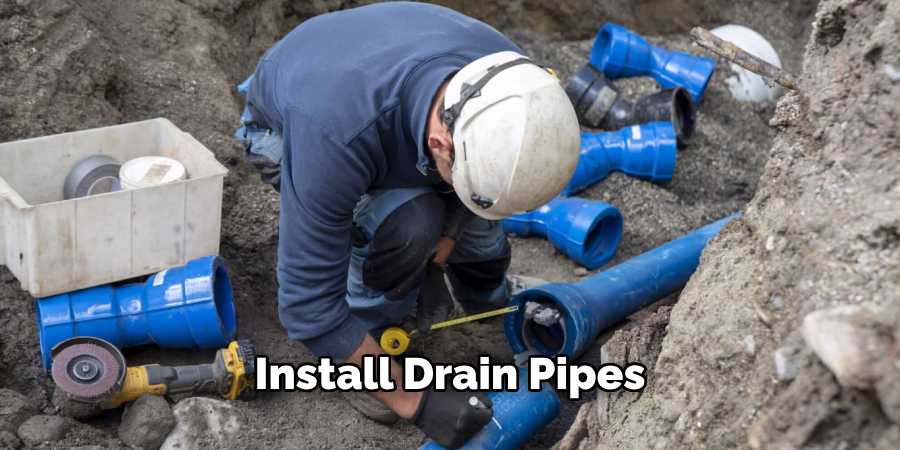
Step 1: Install Drain Pipes
To effectively install horizontal drain pipes and vertical soil stacks, designing a system that properly carries wastewater from fixtures to the main sewer line is vital. Horizontal drain pipes should be sloped away from the fixtures at a grade of at least 1/4 inch per foot to facilitate gravity-fed drainage.
When installing vertical soil stacks, ensure they extend above the highest fixture in the home to prevent standing water. Use appropriate fittings for joint connections and ensure they are secured and watertight to avoid leaks, as these could lead to significant plumbing issues. It’s crucial to also check for blockages or clogs during installation to ensure a smooth operation of the drainage system.
Step 2: Install Vent Pipes
Venting is essential in plumbing systems, as vent pipes allow air to enter the drainage system, which aids in maintaining proper pressure and prevents sewer gases from infiltrating the home. There are several types of vents to consider; for example, roof vents extend through the roofline and provide an efficient means for gas escape, while air admittance valves serve as an alternative in spaces where traditional venting may not be feasible.
When installing these vents, ensure they are positioned according to building codes and regulations, properly sized and sealed to prevent leaks, and located at points that will effectively allow for airflow throughout the plumbing system. Such precautions will help ensure a safe and functional plumbing installation.
Installing Water Heaters and Appliances
Step 1: Install Water Heater
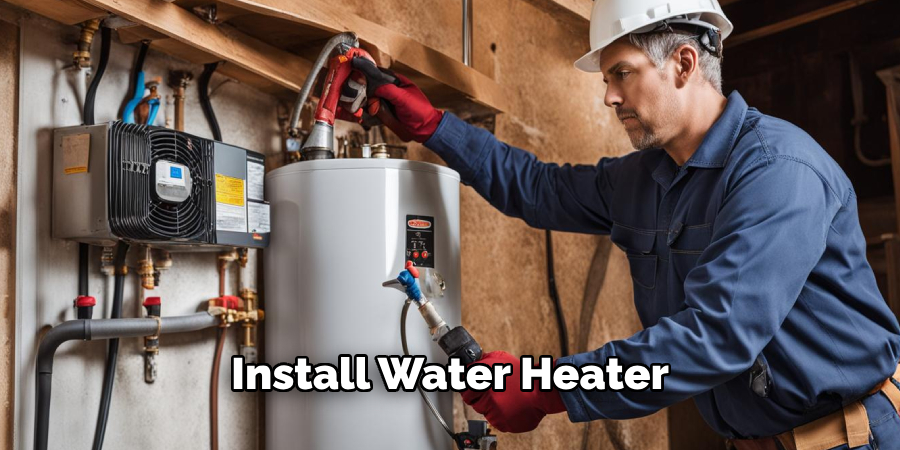
Choosing a suitable location for a water heater is crucial for efficient operation and maintenance. Ideally, the unit should be installed in an area with sufficient clearance on all sides, allowing for proper airflow and easy access for service and repairs. It’s also important to consider local building codes, which may specify minimum distance from combustible materials.
Once the location is determined, securely mount the water heater according to the manufacturer’s guidelines. Connect the cold water supply line to the inlet on the water heater using Teflon tape or joint compound on the threads to ensure a watertight seal.
Next, connect the hot water distribution line to the outlet, again ensuring that all connections are tight to prevent leaks.
Step 2: Connect Appliances
Connecting appliances such as dishwashers, washing machines, and refrigerators to the plumbing system involves several critical steps. Ensure each appliance has the necessary water supply lines and drainage connections. For instance, dishwashers typically require both a hot water line and an appropriate drainage connection, often utilizing an air gap to prevent contamination.
Similarly, washing machines need both hot and cold supply lines connected to ensure proper operation. Attach the supply line to the appliance’s inlet valve for refrigerators with water dispensers and ice makers. Once all connections are made, carefully test each appliance for functionality, checking for leaks and ensuring the drainage systems are operating correctly to prevent backups.
Performing Inspections and Testing
Inspect Plumbing Work
Visual Inspection: Conduct a thorough visual inspection of all installed plumbing components, ensuring that each part is installed correctly, connections are secure, and the system complies with local codes. Look for any visible signs of leaks or misalignment in the fixtures and pipes.
Professional Inspection: To enhance the reliability of the installation, consider scheduling a professional plumber to review the entire system. They can provide valuable insights and ensure that the installation meets all necessary standards and regulations, mitigating potential issues in the future.
Test System Functionality
Pressure Test: Next, perform a pressure test on the water supply lines. This test will help identify any leaks and confirm that the pressure levels are within acceptable ranges, ensuring the system operates efficiently. Use a pressure gauge to monitor the levels accurately throughout the testing process.
Drainage Test: After confirming the water supply system, run water through each fixture in the drainage system. This will verify that all fixtures drain properly and check for any blockages or backups. Observing how well the water flows can help identify areas that may need adjustment or further inspection.
Finalizing and Securing the System
Insulate Pipes
Pipe insulation is essential for protecting exposed pipes from freezing in colder climates and enhancing energy efficiency by reducing heat loss from hot water lines. Using foam or fiberglass insulation can help maintain the water temperature within the pipes, ultimately leading to lower energy bills and preventing costly damage during winter months. Additionally, ensure that all pipes are properly supported and secured using brackets or straps to prevent movement, which could lead to misalignment or damage over time.
Final Adjustments and Clean-Up
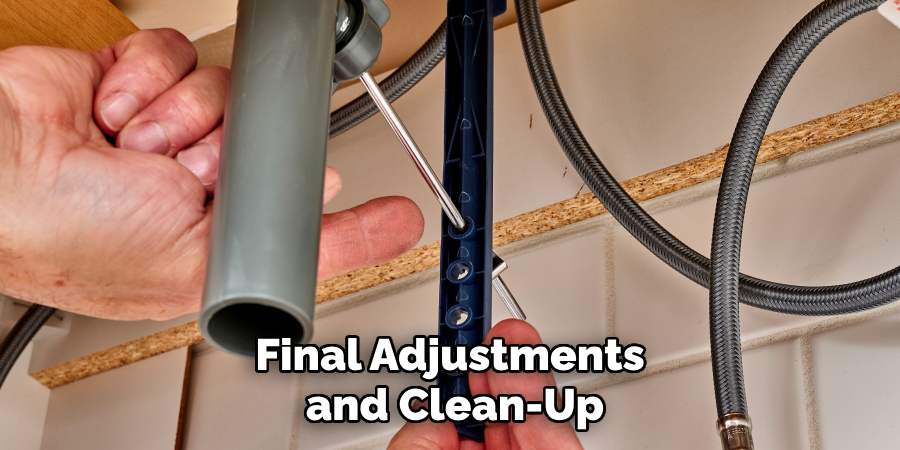
Make any final adjustments to fixtures and appliances to ensure proper alignment and functionality. Check that all taps operate smoothly and drainage systems function without obstruction. Following adjustments, it is crucial to clean up the work area by removing any debris, excess materials, or tools, ensuring that the plumbing system is ready for use and that the surrounding area is neat and safe.
Conclusion
In summary, installing plumbing in a new house requires careful attention to detail and a series of essential steps. It begins with thorough planning and design, followed by installing drain, vent, water supply lines, and necessary appliances. Proper inspections and testing should be conducted to identify any issues before finalizing the system.
It’s imperative to consider professional help for complex plumbing installations to ensure compliance with local codes and quality workmanship. Furthermore, regular maintenance and inspections are critical in keeping the plumbing system in good working order, preventing costly repairs down the line.
Understanding how to install plumbing in a new house not only prepares you for the installation process but also highlights the importance of upkeep to maintain optimal functionality for years to come.

