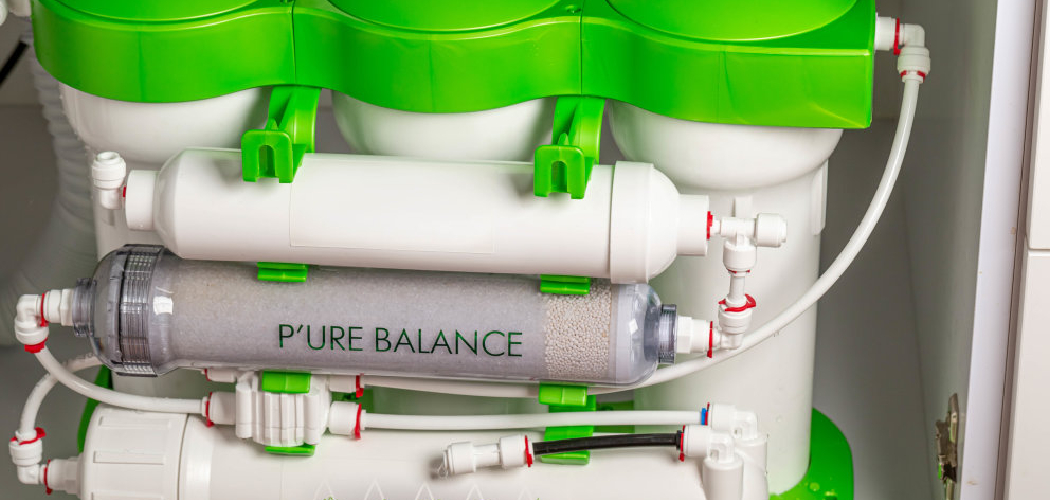
Installing a reverse osmosis (RO) system is an effective way to ensure your household has access to clean, purified water. Reverse osmosis systems work by filtering out contaminants, including sediments, chlorine, and harmful substances, providing water that is both safe and great-tasting. This guide will walk you through the steps of how to install reverse osmosis system successfully, making the process straightforward and manageable for most homeowners.
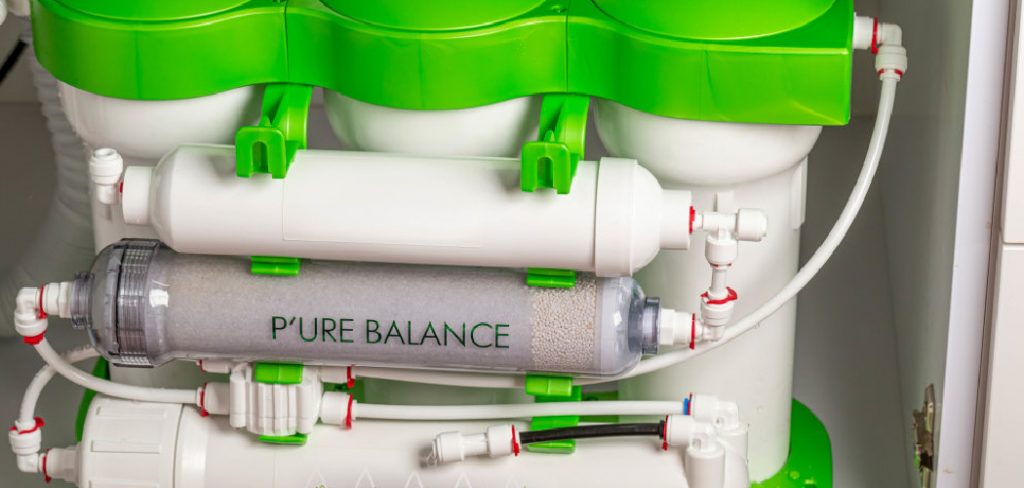
What is a Reverse Osmosis System?
A reverse osmosis (RO) system is a water purification technology that uses a semi-permeable membrane to remove impurities and contaminants from water. The process works by applying pressure to force water through the membrane, allowing only clean water molecules to pass through while blocking larger particles such as sediments, salts, and harmful chemicals. Reverse osmosis systems are popular for residential, commercial, and industrial use due to their ability to provide high-quality, purified water. They are particularly effective at removing contaminants such as lead, arsenic, nitrates, and certain microorganisms, ensuring safe and healthy drinking water for your household.
Types of Reverse Osmosis Systems
Reverse osmosis systems come in various types, each designed to suit different needs and applications. The most common types include:
Under-Sink Reverse Osmosis Systems
These are compact systems installed beneath kitchen sinks, making them ideal for households. They provide on-demand purified water directly to a dedicated faucet, offering convenience and ease of use.
Countertop Reverse Osmosis Systems
Countertop units are portable and do not require installation. They are perfect for renters or those seeking a simple solution without modifying plumbing. Users simply attach them to their faucet when needed.
Whole-House Reverse Osmosis Systems
Designed for comprehensive water purification, these systems treat water at the point of entry, ensuring that all water sources in a home are purified. They are best suited for homes with serious water quality issues.
Commercial and Industrial Reverse Osmosis Systems
These high-capacity systems cater to businesses and industries, purifying large volumes of water to meet the demands of manufacturing, food processing, or other commercial applications.
Each type of system is designed with specific capacities and features to address varying needs, making reverse osmosis a versatile solution for water purification.
10 Methods How to Install Reverse Osmosis System
1. Choose the Right Reverse Osmosis System for Your Needs
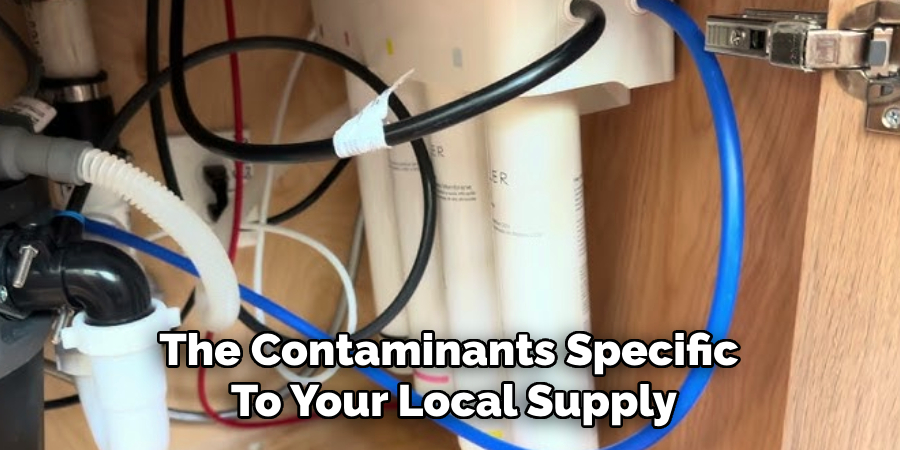
The first step in installing an RO system is selecting the right model for your household. Consider how much filtered water your family consumes daily, your water pressure levels, and the contaminants specific to your local supply. Some systems are compact and designed for under-sink installation, while others are whole-house units. Pay attention to the number of filtration stages—typically ranging from 3 to 6—and check whether the system includes pre-filters (for sediment and chlorine), the RO membrane, and post-filters (for taste and polishing). Choosing a unit with clear instructions, certified components, and readily available replacement filters will make installation and maintenance easier.
2. Gather All Required Tools and Read the Instructions Thoroughly
Before starting the installation, lay out the entire RO system and read the manufacturer’s instructions carefully. Gather tools including an adjustable wrench, drill with appropriate bits, Phillips screwdriver, utility knife, Teflon tape, and possibly a basin wrench for tight spots under the sink. Make sure you have all necessary parts such as tubing, connectors, faucet, and the storage tank. Familiarizing yourself with the parts and process will reduce the likelihood of mistakes and ensure a smooth experience.
3. Plan the Installation Location and Dry-Fit Components
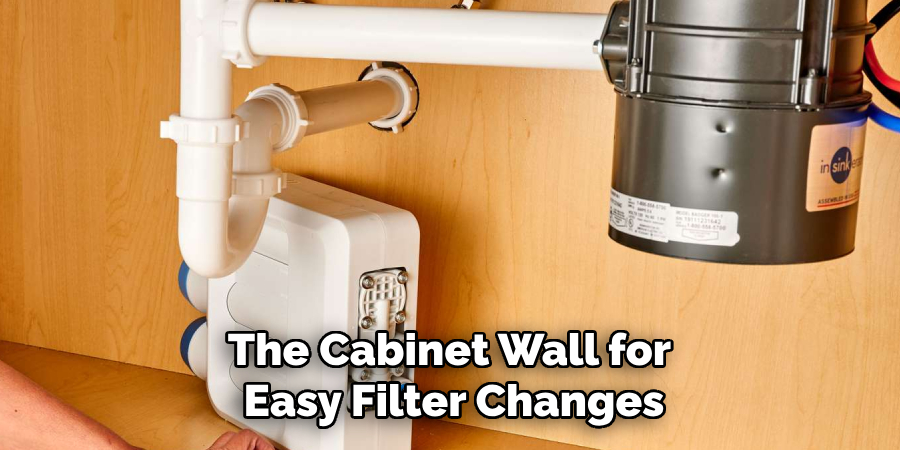
Decide where each component of the RO system will go under your sink. The filter housing and manifold should be mounted to the cabinet wall for easy filter changes. The storage tank needs to be placed where there is enough clearance for future access. The new faucet (for dispensing RO water) will typically be installed in the sink deck or countertop, so check for available holes or determine where drilling will be required. Do a “dry run” by positioning everything without connecting tubes to make sure it all fits and nothing is obstructed.
4. Install the RO Water Faucet on the Sink or Countertop
The RO system will include a dedicated drinking water faucet. If your sink already has an unused sprayer or soap dispenser hole, you can use that. Otherwise, you’ll need to drill a hole using a carbide-tipped bit sized according to the faucet base. Before drilling, ensure there’s clearance underneath and that you won’t hit pipes or wiring. Once the hole is prepared, feed the faucet tube through the opening, secure the base with the provided hardware, and tighten the lock nut from below. Install any rubber or plastic gaskets included to prevent leaks.
5. Connect the Cold Water Supply with the Feed Water Adapter
Shut off the cold water valve under the sink, then disconnect the supply line from the valve. Install the feed water adapter that comes with the RO kit between the shut-off valve and the cold water line. This adapter typically has a small port designed to connect the tubing that supplies water to the RO system. Apply Teflon tape to the threads to prevent leaks, and tighten all fittings securely but gently. Once installed, reconnect the cold water line and keep the valve off until you’re ready to test the system.
6. Install the Drain Saddle to the Sink Drain Pipe
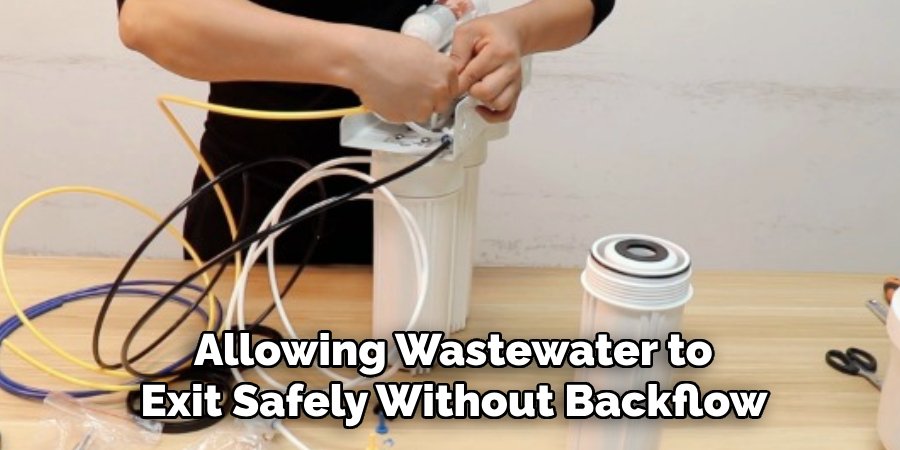
The RO system must dispose of reject water, so you’ll need to attach a drain saddle to the sink drain line. Choose a spot above the P-trap and drill a small hole in the pipe according to the instructions. Place the drain saddle over the hole and secure it with screws, making sure the clamp aligns perfectly with the drilled hole. This saddle will connect to the RO system’s drain line via a plastic tube, allowing wastewater to exit safely without backflow or odors entering the system.
7. Mount the RO System and Connect the Tubing
Secure the main RO filter unit to the cabinet wall using the provided mounting screws or brackets. Next, connect the colored tubing to their designated ports: typically, blue for the faucet, red for feed water, black for the drain, and white for the tank. Push the tubing into the quick-connect fittings until fully seated—usually about ½ inch. Give each tube a gentle tug to ensure it’s secure. Keeping tubing organized and avoiding sharp bends will help maintain flow and prevent leaks.
8. Set Up and Pressurize the Storage Tank
Most RO storage tanks come pre-pressurized at around 7 psi when empty. Use a bicycle pump and pressure gauge to verify this before installation. Wrap Teflon tape around the tank’s threaded port and screw on the tank valve. Then, connect the white tubing from the RO unit to the tank valve, ensuring a tight seal. Place the tank in an upright position under the sink. Its location doesn’t affect function, but make sure it’s easily accessible for maintenance and replacement.
9. Perform a Leak Test and Flush the System
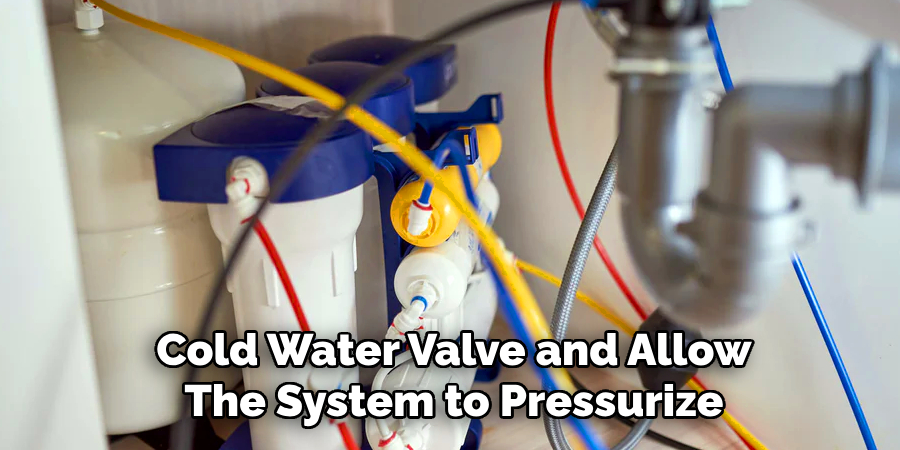
With all connections made, slowly open the cold water valve and allow the system to pressurize. Watch all joints and fittings for signs of leaks. If you notice dripping, tighten the affected connection or reseat the tubing. Once the system has filled and the tank is full (usually within 2–3 hours), open the RO faucet and let the water drain completely. This first batch will contain carbon fines and membrane preservatives, so it’s not suitable for drinking. Repeat the fill and flush process once or twice more to ensure clean, fresh water.
10. Label Tubing, Set a Filter Change Reminder, and Enjoy Clean Water
After successful installation and flushing, label each tube for future troubleshooting. Make note of the installation date and mark your calendar for filter replacements—typically every 6 to 12 months, depending on water quality and usage. Store the instruction manual and extra tubing somewhere accessible. Now you can enjoy safe, great-tasting water straight from your dedicated RO faucet, with peace of mind knowing your system is properly installed and functioning efficiently.
Things to Consider When Maintaining Your RO System
To ensure your reverse osmosis (RO) system continues performing optimally, there are a few key factors to keep in mind. Regularly check the system for any leaks or wear on the tubing and connections, as early detection can prevent major issues. Pay attention to the water pressure, as low pressure can hinder performance, while excessively high pressure could damage the system. Keep an eye on water quality over time—if you notice changes in taste or clarity, it may indicate the need for a filter replacement. Finally, always use compatible replacement parts and follow the manufacturer’s guidelines to maintain the system’s efficiency and longevity.
Conclusion
Installing a reverse osmosis system is a practical and rewarding project that brings immediate health benefits and long-term savings. These ten detailed methods walk you through everything from selecting the right model and setting up components to connecting tubing, flushing the system, and maintaining it. With careful preparation, attention to detail, and patience, you can transform your tap water into a reliable source of clean hydration—all from the comfort of your own kitchen.

