Are you ready to tackle a plumbing project at your home or business? Take control of that troublesome leaky pipe and learn how to install the Sharkbite fitting, an easy-to-use push-connect system! This quick, durable connection does not require soldering or clamps and is completely safe for potable water and pressure systems.

With a few simple steps on how to install sharkbite fitting, you’ll be on your way to installing this dependable Sharkbite fitting – making any future repair projects much easier!
What is a Sharkbite Fitting?
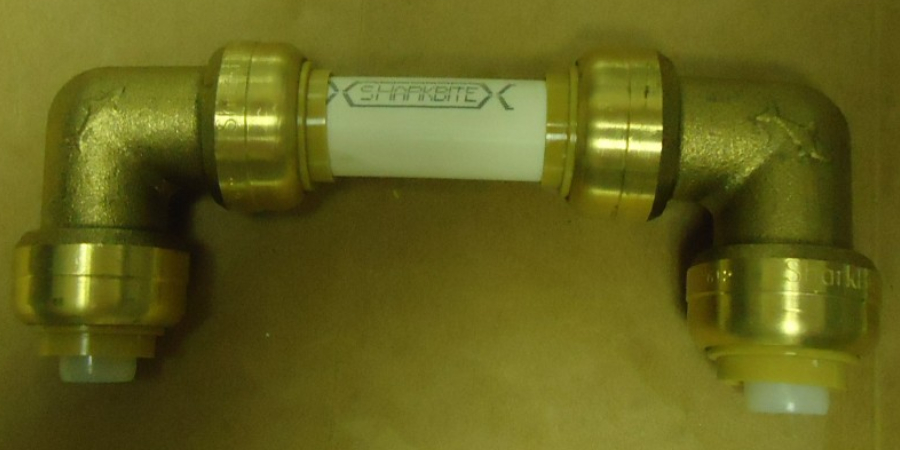
A Sharkbite fitting is a push-to-connect plumbing connector designed for use with PEX, copper, CPVC, and PE-RT pipes. This innovative system allows you to make quick and easy connections without the need for special tools or equipment. You simply push the fitting onto the pipe, and it creates a secure, watertight seal.
Not only is this system simple to use, but it’s also versatile and can be used for various plumbing projects such as repairs, renovations, or new installations. And the best part? No more waiting for glue or solder to dry, saving you time and frustration.
Tools Needed
Before we dive into how to install Sharkbite fitting, let’s gather the necessary tools:
- A Sharkbite Fitting (Make Sure It Matches Your Pipe Size and Type)
- A Pipe Cutter or a Sharp Utility Knife
- Sharkbite Deburring Tool (Optional)
- A Clean Rag or Cloth
- Safety Glasses (Optional)
10 Simple Step-by-step Guidelines on How to Install Sharkbite Fitting
Step 1: Turn Off the Water Supply
Before beginning any plumbing project, it’s crucial to turn off the water supply to avoid any accidents or floods. It’s also a good idea to open all faucets and drain the water out of the pipes before starting. But for Sharkbite fittings, it’s not necessary to completely drain the pipes. This feature is especially helpful for emergency repairs.
Step 2: Cut the Pipe
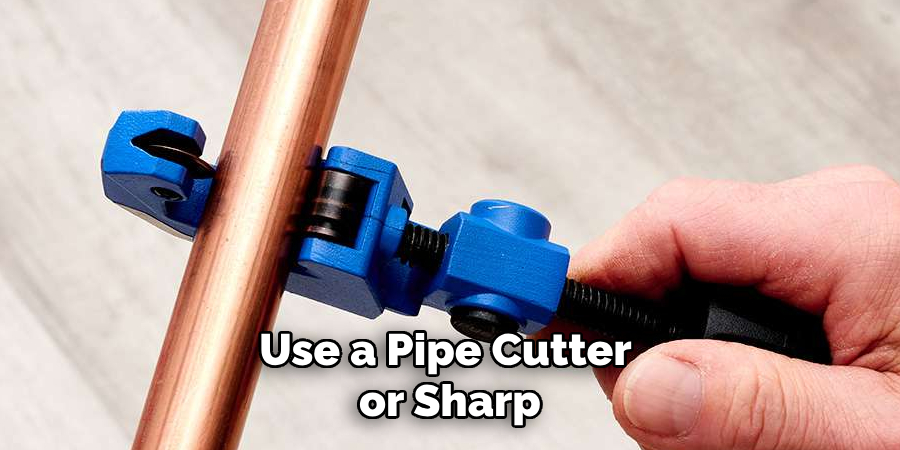
Use a pipe cutter or sharp utility knife to cut the pipes at the desired location. Make sure to cut the pipe as cleanly and evenly as possible. It’s essential to cut the pipe squarely to ensure a proper fit and seal. But don’t worry; if your cuts aren’t perfect, Sharkbite fittings can still create a secure connection. It’s always a good idea to deburr the edges of the pipe with a Sharkbite deburring tool or sandpaper for a smoother connection.

Step 3: Clean the Pipe
Use a clean rag or cloth to remove any dirt, debris, or excess moisture from both ends of the cut pipes. Cleaning the pipes will help create a better seal and prevent any particles from entering your plumbing system. It’s also essential to make sure the pipes are completely dry before moving on to the next step.
Step 4: Mark the Pipe Depth
Using a Sharkbite depth gauge tool or a marker, mark the insertion depth on each pipe. The insertion depth varies depending on the size and type of Sharkbite fitting you’re using. Be sure to follow the manufacturer’s guidelines closely for best results. But in general, the insertion depth should be around 15mm for 1/2-inch pipes and 18mm for 3/4-inch pipes. You can also use the fitting itself as a guide by holding it next to the pipe and marking where the end of the fitting reaches.
Step 5: Check for Damage
Before inserting the Sharkbite fitting, make sure there are no visible signs of damage. If there is any damage, such as scratches or gouges, do not use the fitting and replace it with a new one to ensure a secure connection. Remember, Sharkbite fittings cannot make a secure seal if the pipe is damaged. You can also use a Sharkbite release tool to remove the damaged fitting and replace it with a new one.
Step 6: Lubricate the Pipe
Apply a small amount of plumbing lubricant, dish soap, or water on the outside of each pipe end. This will help the Sharkbite fitting slide onto the pipes smoothly and create an even tighter seal. It’s especially helpful if you’re using PEX pipes, which tend to be more rigid than other types of pipes. Avoid using petroleum-based lubricants, as they can cause damage to the fitting.

Step 7: Insert the Fitting
Holding one end of the Sharkbite fitting in each hand, carefully push it onto each pipe until it reaches the marked insertion depth. It should feel tight and secure but not forced. If you have trouble pushing the fitting on, try twisting or rotating it gently while applying pressure. This will help evenly distribute the lubricant and make a smooth connection. You can also use a Sharkbite disconnect tool to adjust or remove the fitting if needed.
Step 8: Check for Proper Fit
Once the fittings are in place, make sure they are inserted to the correct depth. If they are not fully inserted, you will see a small gap between the end of the fitting and the marked line on the pipe. If this happens, use a Sharkbite disconnect tool to remove the fitting and push it onto the pipe again until it reaches the proper insertion depth. It’s important to make sure the fittings are fully inserted for a secure connection.
Step 9: Turn On Water Supply
After checking the correct insertion depth and ensuring a tight fit, it’s time to turn on the water supply. Be sure to check all connections for leaks before moving on to any other steps in your plumbing project. If there are any leaks, use a Sharkbite disconnect tool to remove and adjust the fitting until it creates a watertight seal. If there are no leaks, you’re good to go!
Step 10: Test and Enjoy
Congratulations, you have successfully installed a Sharkbite fitting! Turn on your faucets and test the water flow to make sure everything is working correctly. Now sit back, relax, and enjoy the convenience of having a reliable plumbing connection that can save you time and hassle in the future.
Following these simple step-by-step guidelines on how to install sharkbite fitting will ensure a proper installation of Sharkbite fittings and provide you with a secure, leak-free plumbing system. Remember to always follow the manufacturer’s instructions and guidelines for best results, and don’t hesitate to seek professional help if needed.
With Sharkbite fittings, your plumbing projects just got faster, easier, and more efficient! So next time you need to make a repair or install new pipes, consider using Sharkbite fittings for a hassle-free experience. Happy plumbing!
Additional Tips
- Sharkbite Fittings Can Be Used on Various Types of Pipes, Including Copper, Pex, and Cpvc.
- Always Check the Compatibility of Sharkbite Fittings With Other Plumbing Materials Before Use.
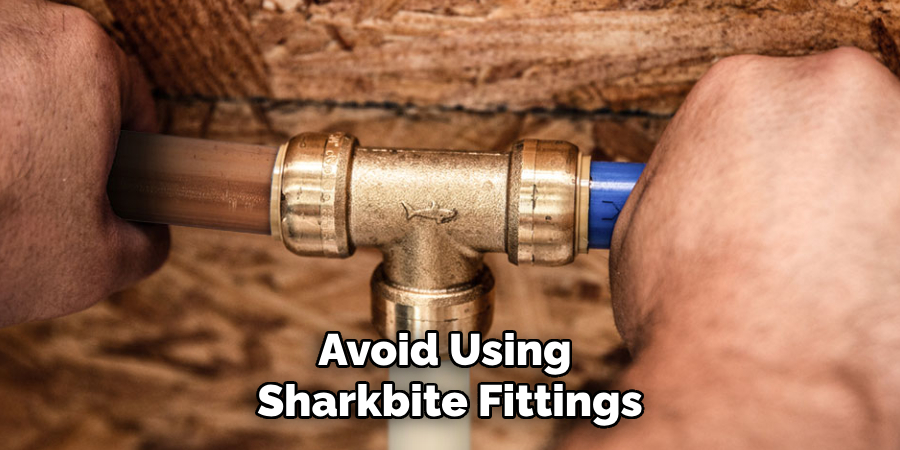
- Avoid Using Sharkbite Fittings in Places With Extreme Temperatures or Direct Sunlight.
- Sharkbite Fittings Are Not Intended for Permanent Joints, So Make Sure to Use Them for Temporary or Removable Connections.
- In Case of a Plumbing Emergency, You Can Quickly and Easily Repair or Replace Using Sharkbite Fittings Without Having to Call a Professional Plumber.
- Remember to Always Use Proper Safety Measures, Such as Gloves and Eye Protection, When Working With Plumbing Materials.

Now that you know how to install Sharkbite fittings, the possibilities for your plumbing projects are endless! From simple repairs to full system installations, Sharkbite fittings provide a reliable and efficient solution. But that’s not all; they also offer various benefits such as cost savings, flexibility, and convenience.
Frequently Asked Questions
Q: Can I Reuse Sharkbite Fittings?
A: Yes, Sharkbite fittings can be disassembled and reused as long as they are not damaged. Be sure to properly clean and lubricate the fitting before reusing it for a secure connection.
Q: Are Sharkbite Fittings Approved for Use in My Area?
A: Sharkbite fittings are approved by various national and international plumbing codes, but it’s always best to check with your local authorities for specific regulations.
Q: Can I Use Sharkbite Fittings for Outdoor Plumbing Projects?
A: While Sharkbite fittings are designed to withstand various conditions, it’s not recommended to use them in areas with direct sunlight or extreme temperatures. For outdoor projects, consider using a protective cover or insulation for added durability.

Conclusion
All in all, it is important to understand the basics of how to install sharkbite fitting, from properly measuring the pipes, aligning the jaw parts of the fitting, and pushing firmly to ensure a secure fit.
Now that you have a few more tips at your disposal you can head off and get started with installing your own fittings. Just remember to be safe and take any necessary precautions when handling these fixtures, for both your personal safety and to ensure that you won’t run into any potential leaks within your water system!
Don’t forget to practice proper maintenance tools for even greater efficiency along the way. With that being said, installing sharkbite fittings might bear an intimidating image but have been made to achieve an easy and secure installation. So don’t wait any longer – try out these simple steps now and get ready to enjoy the benefits of using this great tool!

