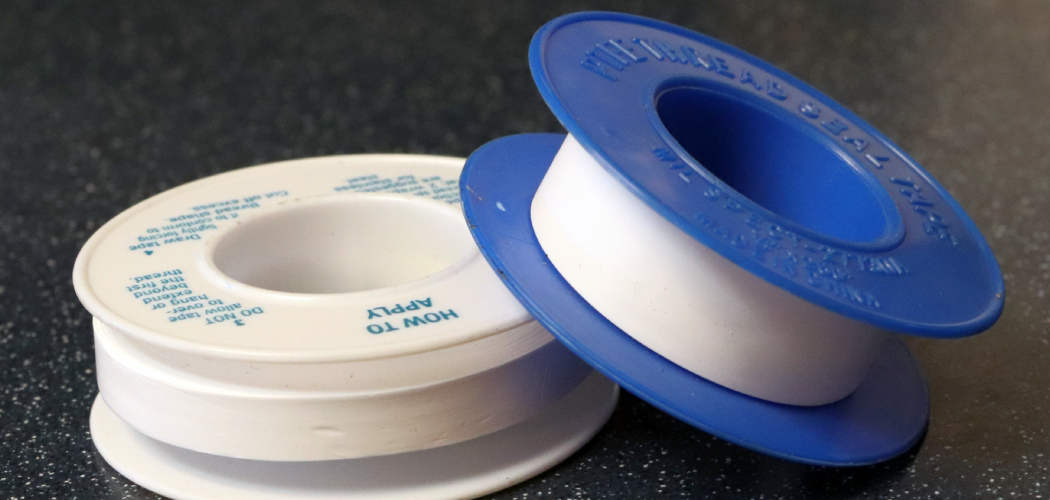
Teflon tape, also known as plumber’s tape, is a versatile and essential tool for ensuring watertight seals on threaded pipe connections. It is commonly used in plumbing, gas fitting, and other applications where preventing leaks is critical. By applying Teflon tape correctly, you can enhance the durability and efficiency of your connections while minimizing the risk of future issues. This guide will walk you through the steps of how to install teflon tape.
What is Teflon Tape?
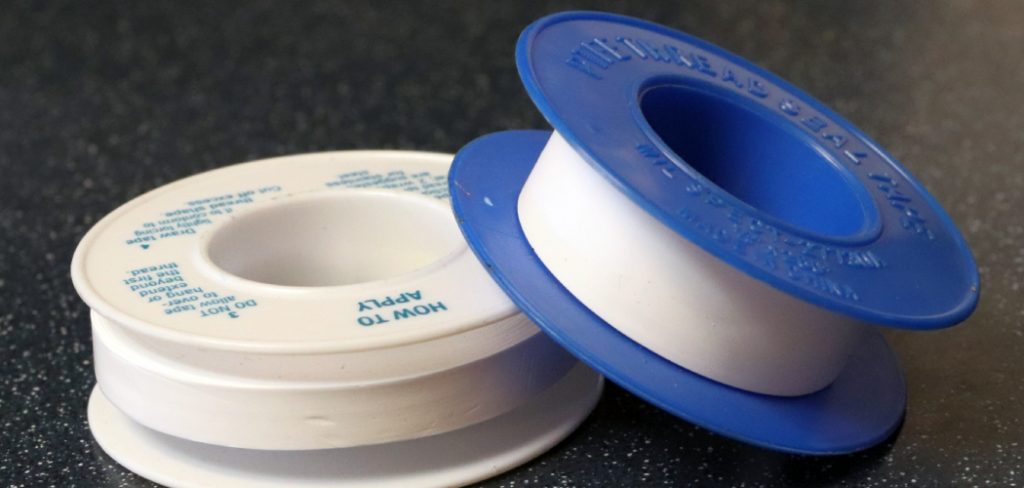
Teflon tape, also referred to as thread seal tape, is a thin, flexible tape made from polytetrafluoroethylene (PTFE). It is specifically designed to be wrapped around the threads of pipes and fittings to create a tight seal that prevents leaks. Teflon tape is resistant to heat, pressure, and chemical corrosion, making it suitable for a wide range of applications, including plumbing, gas systems, and air compressors. It is available in different thicknesses and colors, with each type tailored to specific uses, such as white for standard plumbing and yellow for gas lines. Its ease of use and durability make Teflon tape an indispensable tool for both professionals and DIY enthusiasts.
Importance of Proper Application
Applying Teflon tape correctly is essential to achieve a reliable and leakproof seal. Improper application can result in issues such as leaks, weakened connections, or even potential damage to threads. When the tape is applied in the wrong direction or in an uneven manner, it may unravel during assembly, reducing its effectiveness. Additionally, using too little tape can fail to provide adequate sealing, while excessive tape can cause difficulties in tightening the connection properly. By taking the time to ensure the correct application, you can avoid costly repairs, enhance the longevity of your plumbing systems, and ensure efficient performance.
Tools and Materials Needed
Before you begin applying Teflon tape, gather the necessary tools and materials to ensure the process goes smoothly. Here’s what you will need:
- Teflon Tape: Choose the appropriate type of tape for your application. For standard plumbing, use white tape, and for gas lines, opt for yellow tape.
- Pipe Wrench or Adjustable Wrench: Helps secure and tighten the fittings as you assemble them.
- Clean Cloth or Rag: Used to clean the threads of the pipes and fittings before applying the tape, ensuring a proper seal.
- Pipe Cutter or Hacksaw (optional): If you need to cut the pipes to size before threading.
- Thread Sealant Paste (optional): Can be used in addition to Teflon tape for added sealing strength, especially in high-pressure systems.
10 Methods How to Install Teflon Tape
1. Understanding the Purpose of Teflon Tape
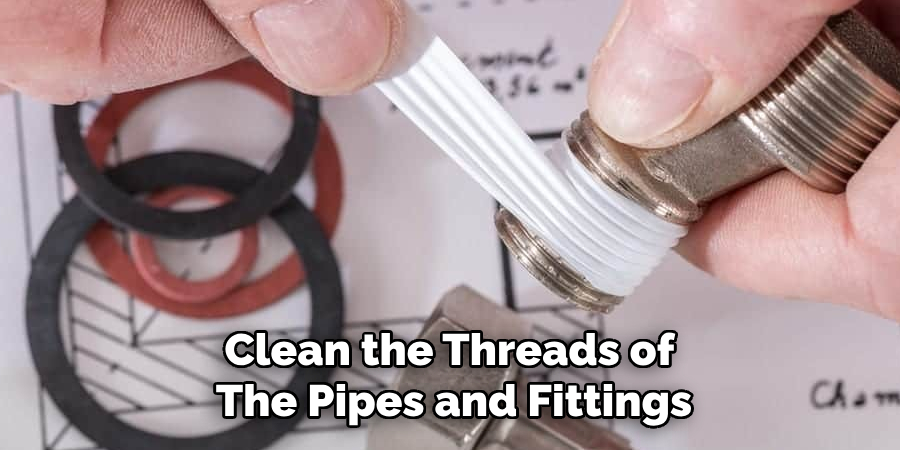
Before you start, it’s crucial to grasp why Teflon tape is used. This versatile material fills minute gaps in threaded connections, creating a barrier that prevents leaks of water, gas, or air. While it’s suitable for both metal and plastic threads, it should not be used on compression fittings or flare connections. Understanding these limitations ensures you apply Teflon tape in the right contexts, improving the functionality and longevity of your installations.
2. Selecting the Correct Type of Teflon Tape
Teflon tape comes in a variety of types and thicknesses, each tailored for specific applications. For standard water lines, the common white tape suffices. Yellow tape is thicker and designed specifically for gas lines, while pink tape is preferred for larger-diameter water pipes. Green Teflon tape, resistant to oxygen degradation, is used for oxygen lines. Selecting the appropriate tape for your project not only ensures compatibility but also prevents mishaps such as leaks or improper sealing.
3. Preparing the Pipe Threads Thoroughly
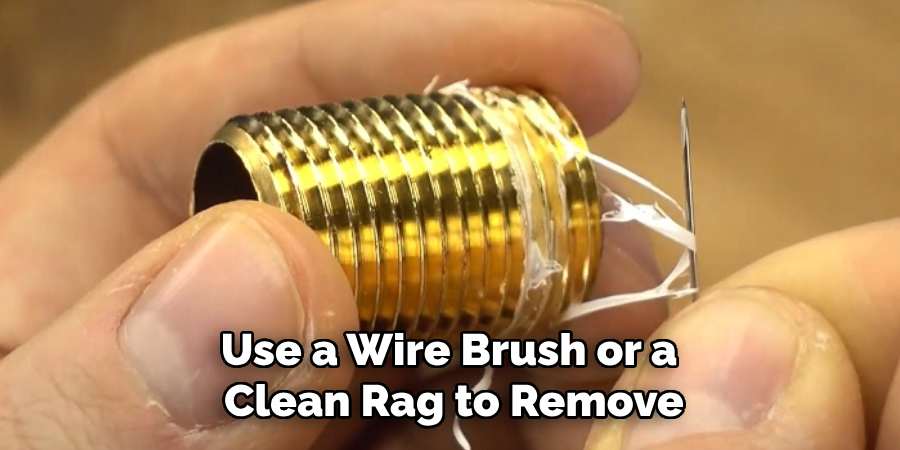
Preparation is key to achieving a reliable seal. Begin by inspecting the pipe threads for debris, rust, or old tape remnants. Use a wire brush or a clean rag to remove any impurities. Ensuring the threads are clean and dry allows the Teflon tape to adhere firmly, minimizing the chances of slippage or uneven application. If the threads are damaged, repair or replace them before proceeding.
4. Positioning the Tape Correctly Before Application
When starting the application, hold the Teflon tape taut and place the end at the base of the first thread on the male connector. Avoid overlapping the tape onto the pipe opening, as stray material can obstruct flow or dislodge into the system. This initial placement is critical for ensuring that the tape aligns properly and sets the stage for a smooth wrapping process.
5. Wrapping the Tape in the Proper Direction
Always wrap the tape in the same direction as the thread’s rotation—typically clockwise for standard threads. This ensures that the tape tightens as the fitting is screwed on, rather than unraveling. Wrapping in the wrong direction can result in an uneven seal or make it difficult to fully tighten the connection. Pay close attention to this step, especially when working on unfamiliar thread types.
6. Determining the Optimal Number of Wraps
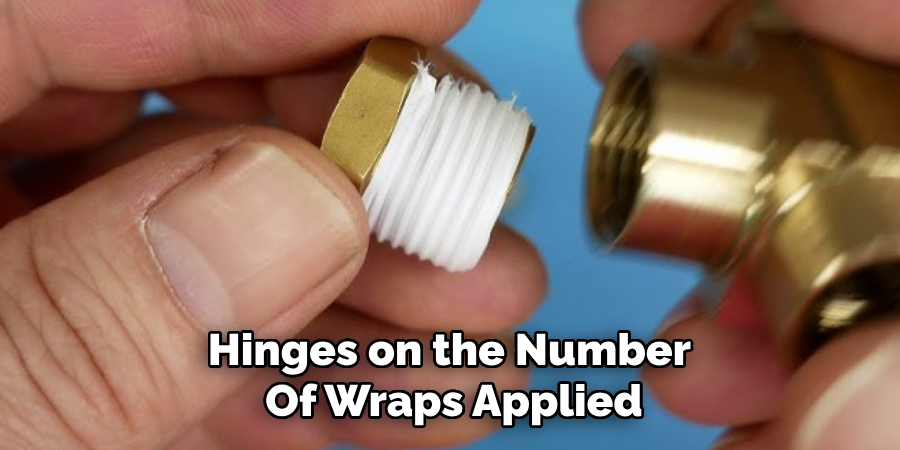
The effectiveness of Teflon tape hinges on the number of wraps applied. For most small-diameter pipes, 2-4 layers of tape are sufficient. Larger or coarse threads may require additional layers to fill gaps adequately. However, avoid over-wrapping, as excessive tape can create too much bulk, making it difficult to thread the connection properly or even causing cracks in plastic fittings.
7. Achieving Uniform Coverage During Application
As you wrap the tape, ensure each layer overlaps the previous one slightly. This overlap guarantees uniform coverage of the threads, preventing gaps or weak spots. Keep the tape taut as you apply it, smoothing it down with your fingers to press it into the threads. A consistent and even application enhances the seal and minimizes the risk of leaks.
8. Inspecting and Adjusting the Wrapped Threads
Once the tape has been applied, carefully inspect the threads. Look for any areas where the tape may be bunched up, loose, or misaligned. If necessary, remove the tape and reapply it, ensuring a smooth and uniform layer. Proper inspection at this stage can save you the hassle of disassembling the connection later to fix leaks.
9. Tightening the Fittings Carefully
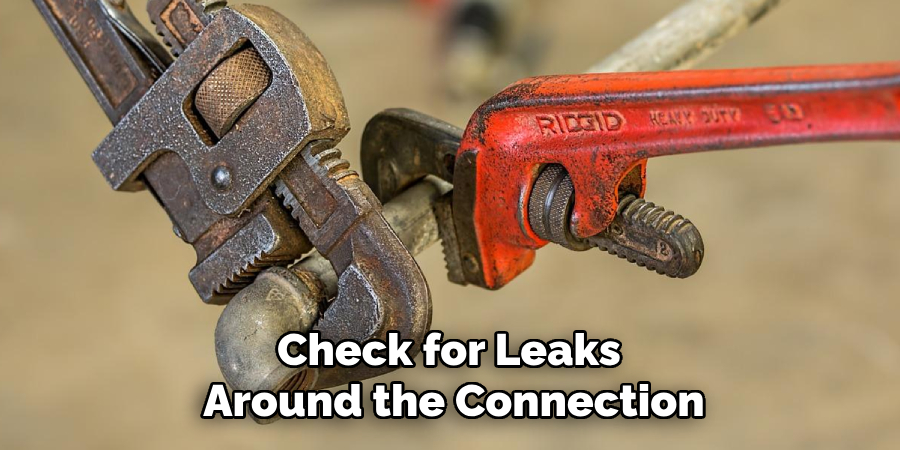
After the Teflon tape is in place, assemble the male and female fittings. Start by hand-tightening the connection to ensure the threads align properly. Then, use a wrench or pliers to finish tightening, applying firm but controlled force. Avoid over-tightening, as this can damage the threads or compress the tape too much, reducing its sealing capability. The goal is to create a snug and secure fit without stressing the materials.
10. Testing the Seal for Effectiveness
Testing is the final step to ensure your Teflon tape application has been successful. Run water, gas, or air through the system and carefully check for leaks around the connection. For water systems, small leaks can often be identified visually. For gas or air lines, use a soapy water solution to detect escaping bubbles. If leaks are found, disassemble the joint, remove the old tape, and repeat the process with extra care to achieve a perfect seal.
Maintenance and Upkeep
Proper maintenance and upkeep of your Teflon-taped connections are essential to ensure long-lasting, leak-free performance. Regularly inspect the fittings for signs of wear, corrosion, or loosening. Over time, environmental factors such as temperature fluctuations, vibration, and moisture can compromise the integrity of the seal. If you notice any leaks or deterioration, disassemble the joint, remove the old tape, and reapply it following the correct procedure. For high-pressure or critical systems, periodic testing is recommended to confirm the effectiveness of the seal. By staying proactive with maintenance, you can prevent unexpected issues and ensure the reliability of your system over time.
Common Mistakes to Avoid
1. Using the Wrong Type of Teflon Tape
One of the most frequent mistakes is selecting the incorrect type of Teflon tape for the job. For instance, using thin white tape on gas lines or large-diameter pipes may result in an inadequate seal. Always choose the appropriate tape for your specific application to ensure compatibility and durability.
2. Failing to Clean the Threads Properly
Neglecting to thoroughly clean the pipe threads before applying Teflon tape is a common error. Dirt, rust, or old tape fragments can prevent the tape from adhering properly, leading to leaks. Always inspect and clean the threads to create a smooth surface for application.
3. Wrapping in the Wrong Direction
Another frequent mistake is wrapping the tape in the wrong direction, against the thread rotation. This can cause the tape to unravel as the fitting is tightened, compromising the seal. Be sure to wrap the tape clockwise for standard threads to ensure a secure fit.
4. Applying Too Few or Too Many Layers
Using too few layers of tape may result in an insufficient seal, while excessive wrapping can create bulk that makes threading difficult or damages the fitting. Finding the right balance—commonly 2-4 wraps for most applications—is critical for a reliable connection.
Conclusion
Although applying Teflon tape might appear straightforward, paying attention to these detailed methods ensures a superior seal and a professional result. By understanding the material’s purpose, selecting the correct type, and following proper application techniques, you can achieve reliable, leak-free connections every time. Thanks for reading, and we hope this has given you some inspiration on how to install teflon tape!

