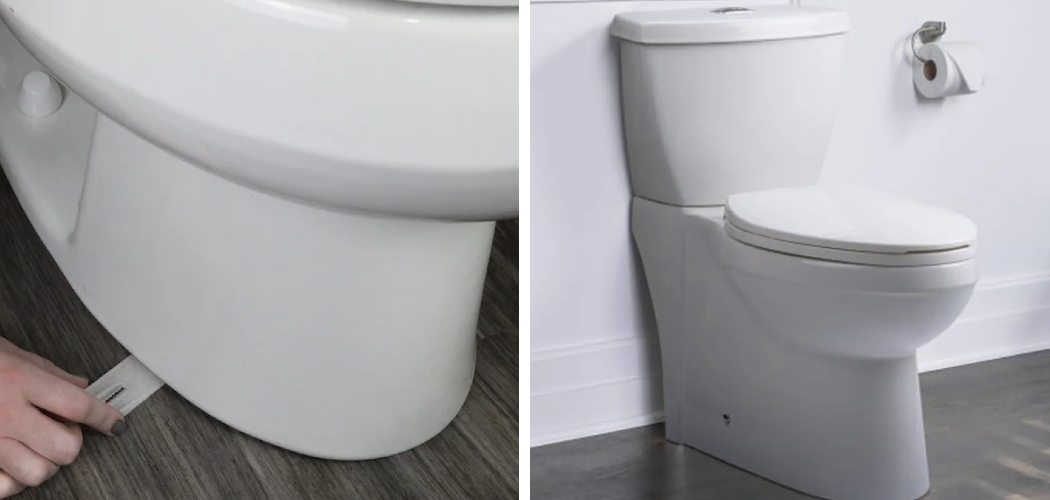
Have you ever noticed a toilet rocking or shifting? You could be dealing with an installation issue. Toilet shims are great tools to help keep your toilet in place and level on the floor – they put tension underneath the toilet to stop it from leaning in any direction while also stabilizing it. Wonder how you can install them yourself? Read on for our step-by-step guide on how to install toilet shims!
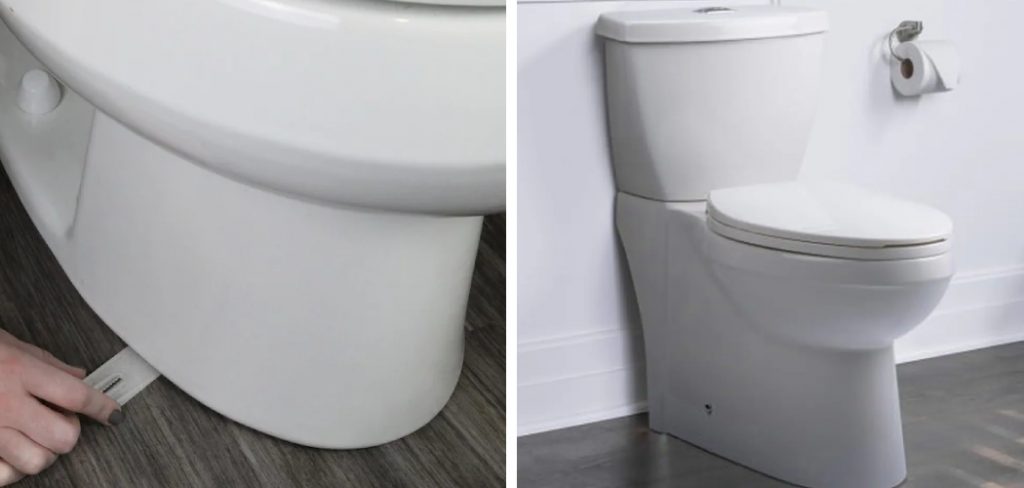
If you have ever noticed your toilet rocking from side to side, uneven floors may be the culprit. Toilet shims are an inexpensive and easy solution for stabilizing a rocking toilet.
Installing them correctly is essential to getting the best possible results that will keep your toilet in place with minimal effort on your part! In this blog post, we’ll cover all of the steps involved in properly installing a set of toilet shims so that you can ensure everything stays securely fastened and steadily stable.
Benefits of Installing Toilet Shims
1. Stabilize a Rocking Toilet
One of the main reasons for installing toilet shims is to stabilize a rocking toilet. Over time, the toilet may become loose due to shifting floorboards or other factors. Installing a few shims underneath can help secure it in place and prevent future rocking.
2. Prevent Toilet Leaks
By securing the toilet, you’ll also be preventing any potential water leaks. If the toilet rocks and shifts, it can cause a seal to break and start leaking from the base of the toilet. Installing shims helps ensure that this doesn’t happen by keeping everything secure and level.
3. Make Toilet Installation Easier
Another benefit of installing shims is that it can make the overall installation process easier. When installing a new toilet, shims can be used to create an even and flat surface for the toilet to sit on. This makes the entire installation process much simpler since you don’t have to worry about leveling out the floor.
4. Create Even Floor Lines
Finally, using shims when installing a toilet can help to create even floor lines throughout your bathroom. This creates an overall more aesthetically pleasing look and helps make your bathroom look more professional and put together.
5. Inexpensive and Easy to Install
Installing toilet shims is an inexpensive and easy process. All you need is a level and a few shims to get started. Additionally, most hardware stores carry toilet shims so they’re easy to find if you don’t already have them.
Overall, installing toilet shims is an easy and straightforward process that can provide numerous benefits. Not only will it help to secure the toilet in place, but also prevent any potential water leaks and create even floor lines. Plus, it’s an inexpensive process so there’s no reason not to give it a try!
How to Install Toilet Shims in 5 Easy Steps
Step 1: Determine the Amount of Shimming That is Needed
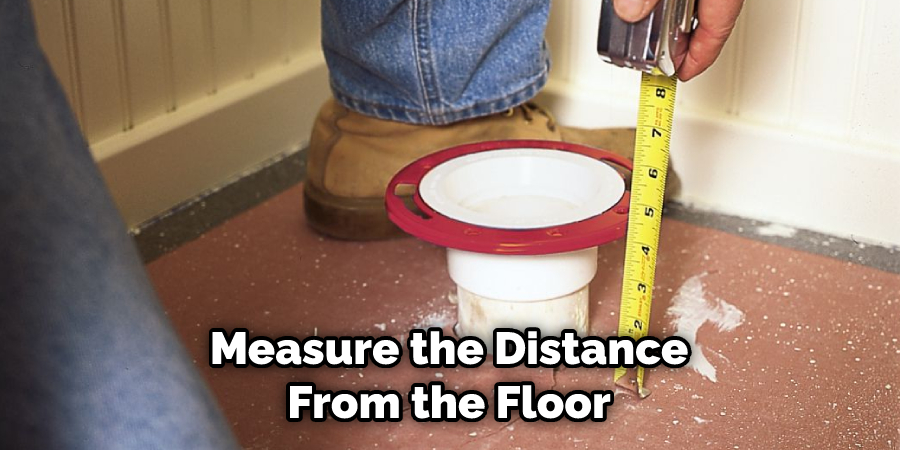
The very first step is to determine the amount of shimming that is needed. To do this, lay a level on top of the toilet and adjust it until it’s perfectly balanced. Now measure the distance from the floor to the bottom edge of the level. This measurement indicates how much shimming needs to be done in order for your toilet to be level.
Step 2: Prepare the Area
Once you’ve determined how much shimming needs to be done, it’s time to prepare the area. Start by cleaning the floor around your toilet, and removing any debris or dust that might get in the way of a proper installation. Next, lay down a tarp or drop cloth to protect the floor from possible spills or messes.
Step 3: Place the Shims
Now it’s time to place the shims where they need to go. Start by placing one shim at a time, in an alternating pattern around your toilet. This will help distribute the weight evenly and make sure that your toilet is level. Make sure that the shims are firmly in place, and check your level to make sure they’re even.
Step 4: Secure the Shims
Once you’ve placed all of the shims where they need to be, it’s time to secure them in place. Start by placing a few drops of construction adhesive onto each of the shims. Then use a caulking gun to apply a thin layer of caulk around each of the shims, ensuring that they’re firmly attached to the floor.
Step 5: Clean Up
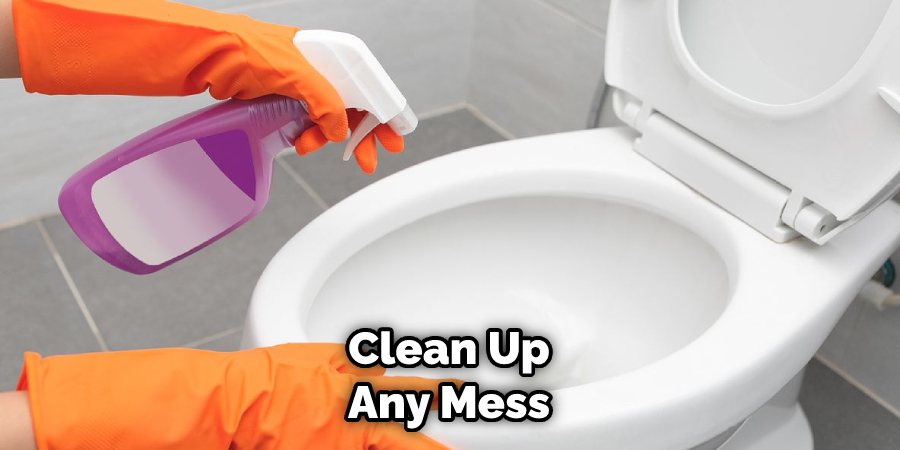
The last step is to clean up any mess that was created during the installation process. Use a damp cloth to wipe away any adhesive or caulk that may have spilled, and then use a dry cloth to pick up any debris that may have been left behind.
Once you’ve finished these five easy steps, your toilet shim should be securely in place and your toilet should be perfectly level! Congratulations on successfully installing your new toilet shim!
Some Additional Tips to Install Toilet Shims
1. Do Not Leave Spaces
Always make sure that there are no spaces left between the toilet and the shim. This is important to prevent further damage or a wobbly toilet. This will also help keep the shim secure in its place.
2. Secure with Adhesive
Using an adhesive to secure the shim is also a good idea. This will prevent any shifting after installation and make sure it stays firmly in place. Make sure to use a quality adhesive that can withstand moisture and extreme temperatures.
3. Know When to Replace Shim
Know when it is time to replace the shim if you notice that it has become too worn or damaged. It is important not to use a worn-out shim as this could cause further damage and lead to more serious issues with your toilet.
4. Clean and Inspect Regularly
Regularly cleaning and inspecting the shim and the area around it will help make sure that it is working properly over time. This can also help to spot any issues before they become serious or cause damage.
5. Seek Professional Assistance
If you are unsure of how to install the toilet shims correctly, then it is best to seek professional assistance. An experienced professional can ensure that the shims are installed correctly and safely. They can also provide advice or assistance on any further maintenance that needs to be done.
6. Avoid Cheap Materials
It is important to avoid using materials that are not meant for this purpose, such as cheap plastic toilet shims. These kinds of materials will not be able to provide the same level of support and stability as quality materials, which could lead to further problems down the line.
7. Follow the Manufacturer’s Instructions
Always make sure to follow the manufacturer’s instructions when installing toilet shims in order to ensure that they are installed correctly and safely. This will also help you get the most out of your investment as it will make sure that the shims last for many years to come.

By following these tips, you can ensure that your toilet shim installation goes smoothly and helps keep your toilet secure in its place for years to come. If you ever have questions about how to install toilet shims, it is best to contact a professional for assistance and advice. With their help, you can ensure that the process goes as smoothly as possible.
This will save time and money in the long run.
Frequently Asked Questions
What Precautions Should I Take When Installing Toilet Shims?
When installing toilet shims, it is important to ensure that the floor is clean and free of debris. Make sure that you level the toilet before putting any shims in place so that they will be able to do their job properly.
Additionally, take extra precautions when handling shims as some models can be sharp, which could cause injury. Finally, check that the shims are firmly in place and the toilet is stable before using.
Are Toilet Shims Necessary?
Toilet shims are often necessary to level a toilet properly and prevent leaks. It is also important to make sure your toilet is level so that it will operate correctly and last longer. Therefore, if you find that your toilet is uneven or not level properly, installing shims may be the best option to fix the issue.
What Are The Different Types Of Toilet Shims?
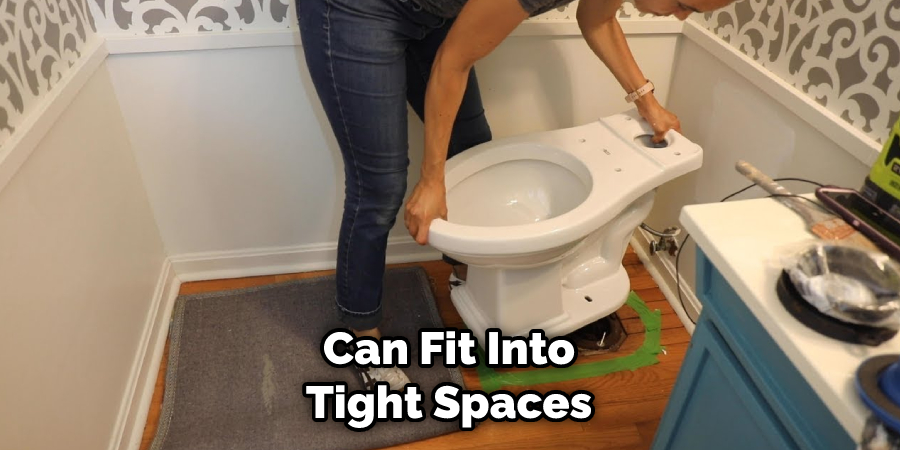
There are several different types of toilet shims available on the market today. Plastic shims are a popular choice as they are easy to install and can fit into tight spaces.
Foam shims are also an option, providing a flexible solution that is resistant to water. Additionally, metal shims are available for heavier toilets, offering greater stability and strength.
Can I Install Toilet Shims Myself?
Yes, installing toilet shims is a relatively simple process that can be done by most homeowners easily. However, it is important to read the instructions carefully and take the necessary precautions for your safety.
If you are unsure of how to install shims properly or have any questions about the process, consider hiring a professional plumber instead.
How Much Do Toilet Shims Cost?
The cost of toilet shims will depend on the type and quantity you need. Generally, plastic shims are the most affordable option, while metal ones tend to be more expensive. Typically, a set of four to six shims will cost between $10 and $20.
Can I Reuse Toilet Shims?
In some cases, toilet shims may be able to be reused if they are in good condition. However, it is important to inspect the shims for any signs of wear and damage before attempting to reuse them. If you find that the shims have been worn down or damaged in any way, it is best to replace them with new ones instead.
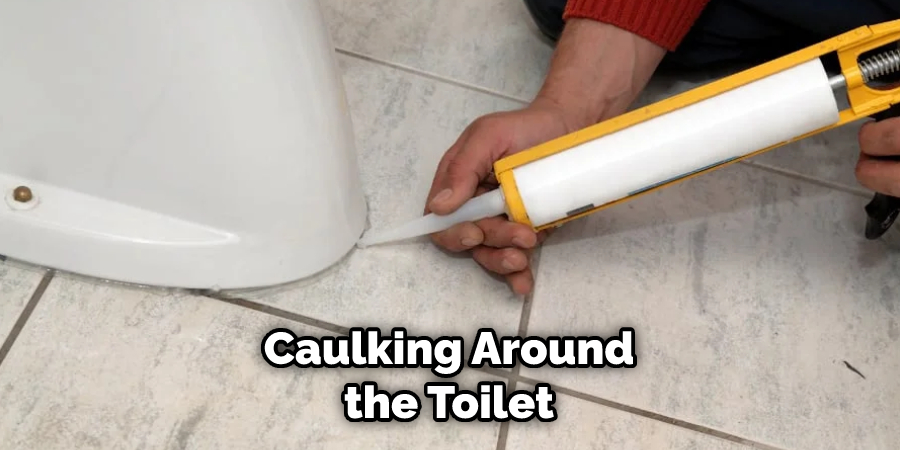
Should I Caulk Around The Toilet After Installing Shims?
Caulking around the toilet after installing shims is not typically necessary but may be beneficial in some cases. If you find that your toilet is still not level, caulking can help seal any gaps and prevent water from leaking out. In general, though, if you have used the correct number and type of shims, caulking will not be necessary.
Overall, installing toilet shims is an easy process that can help you level your toilet properly and prevent any unwanted leaks. Be sure to take the necessary precautions when handling the shims and make sure they are firmly in place before using the toilet. Additionally, choose the right type and number of shims for your needs, and consider caulking around the toilet if necessary.
Conclusion
Installing shims to level your toilet is a necessary step for anyone who needs a well-functioning bathroom. With the help of these easy-to-follow instructions on how to install toilet shims, you should be able to complete this task with ease and an increased sense of confidence in your own handyman’s capabilities.
Don’t forget to check the manufacturer’s guidelines before you get started and make sure to only buy genuine toilet shims so that you can safely and successfully complete this project.
If done correctly, installing your own shims will keep your toilet perfectly level for years and provide peace of mind knowing that taking on such a task is possible. So go ahead and take on the challenge today; you won’t regret it!

