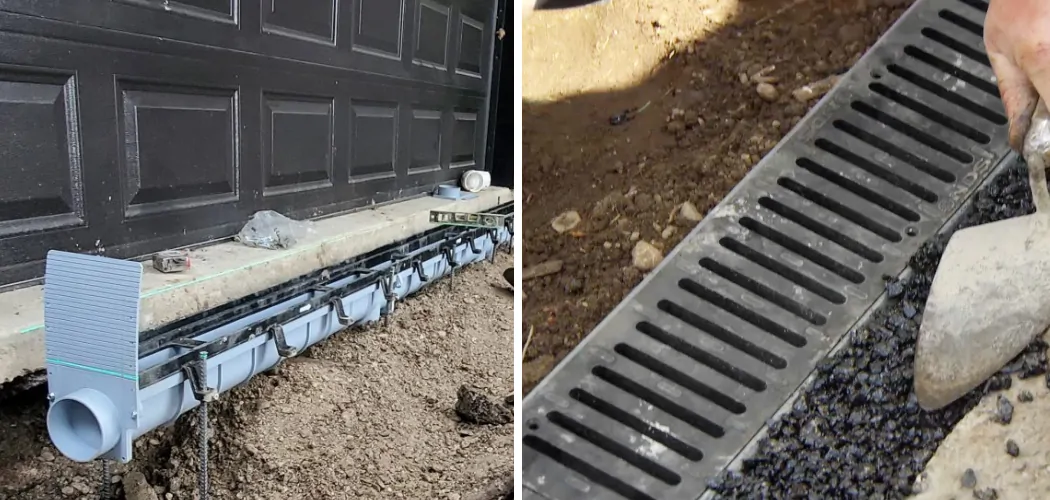
Installing a trench drain is an effective way to improve drainage issues in your home or garden. Trench drains are easy to install and provide long-term protection against flooding and water damage.
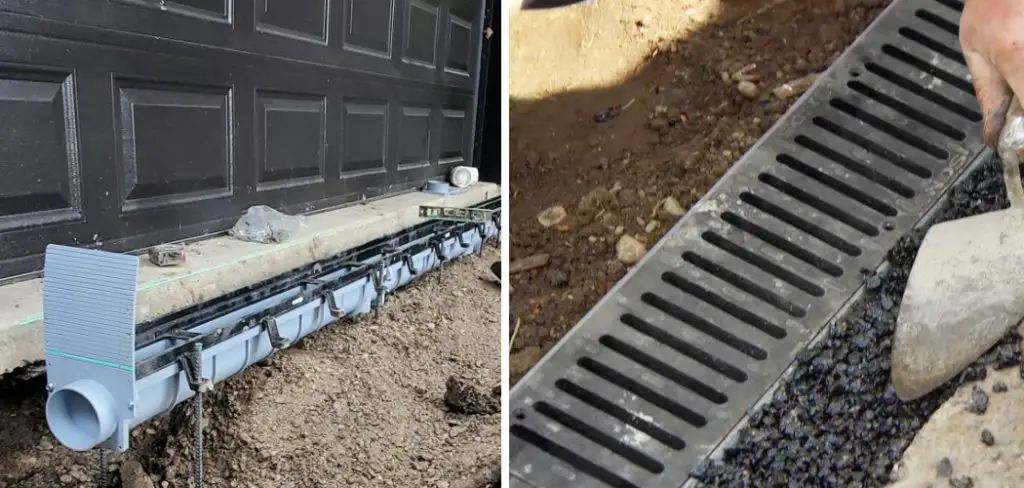
If you’re ready to enjoy the benefits of installing a trench drain, then our comprehensive guide on how to do so properly can help! From choosing the right size and type of trench drain for your space to understanding the basic principles behind its installation – we’ll make sure that you have all the knowledge on how to install trench drain you need when it comes time for installation day. Let’s get started!
What is Trench Drain?
A trench drain is a type of drainage system that collects and transports surface water away from your home or garden. This system consists of a shallow trench, which can be filled with gravel or other materials to allow water to flow freely beneath it.
The length and width of the trench will vary depending on the size of the space being drained, but typically these systems are at least 8 inches deep. The trench drain also has a grate or cover over the top, which prevents debris and dirt from entering the drainage system.
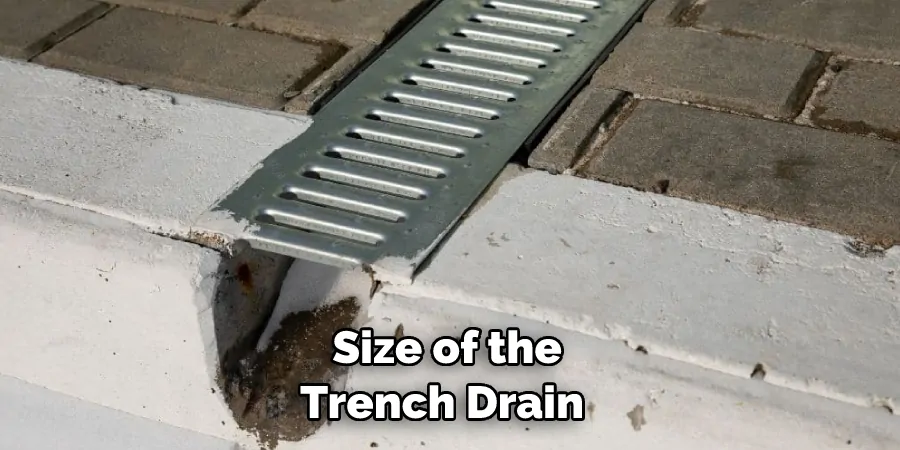
What Size Trench Drain Do You Need?
The size of the trench drain you need depends on several factors such as the total area being drained, how much water will be flowing, and the type of soil in your area. Generally speaking, a trench drain should be 12 inches wide and 8-12 inches deep for most applications. However, larger areas may require a deeper trench with wider channels to handle heavier water flow.
Pros and Cons:
Given below are some of the pros and cons you should consider when deciding to install a trench drain system:
Pros:
- Improved drainage in wet or low areas.
- Reduced risk of flooding and water damage.
- Easier to maintain than other types of drainage systems.
- Can be used in both residential and commercial applications.
Cons:
- Costly upfront installation fees.
- May require ongoing maintenance such as cleaning out the trench.
- Some areas may need a permit for installation.
- The grate or cover may need to be replaced periodically.
- May require additional landscaping work to incorporate the trench drain into the space.
Needed Materials
Given below are the materials that you will need to install your trench drain:
Trench Drain
This is the main component of the system; make sure to purchase a high-quality drain that is designed to last.
Trench Box
This will be used to hold the trench in place while being filled with gravel and should be sized appropriately for your trench’s size and weight.
Gravel
Gravel or stones will be used to fill the trench and provide a stable base for the drain.
Leveling Tool
A level or other leveling tool is needed to make sure the trench is even and level before installing the drain.
10 Simple Step-by-step Instructions on How to Install Trench Drain
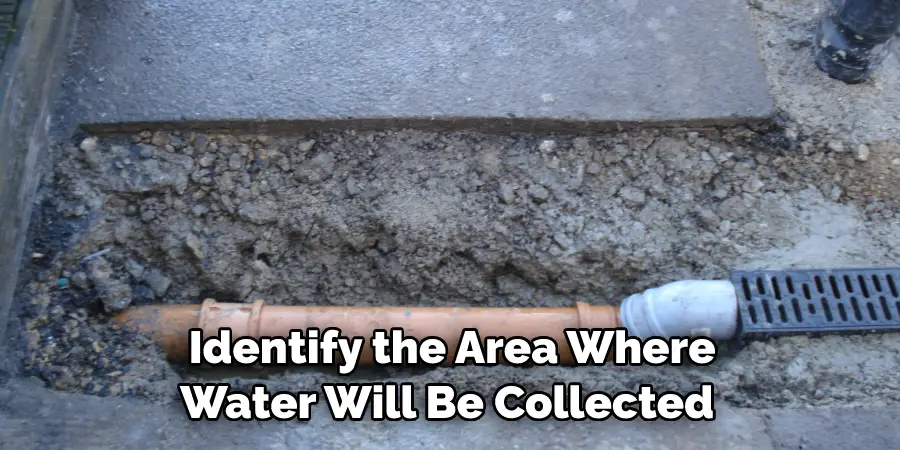
Step 1: Identify the Drainage Area
The first step is to identify the area where water will be collected and drained away. Make sure that you measure the area accurately and that you’re aware of any underground pipes or wires in the vicinity.
If there are any, they must be routed around or above the trench. However, it is best to avoid routing them over the trench as this could interfere with the drain. It is also important to make sure that the area is away from structures and buildings.
Step 2: Locate a Suitable Spot
Once you have identified the drainage area, you must then locate a suitable spot for the trench drain. This should be at least 3 feet from any buildings and away from any trees or shrubs.
If possible, the trench should be located on a gently sloping area as this will allow for better drainage. Otherwise, the trench should be dug out so that it is level. It is important to note that the trench should be dug in an area where water does not pool.
Step 3: Dig the Trench
The next step is to dig the trench for your drain. Make sure you measure it accurately and make sure that the sides are level. The depth of the trench will vary depending on where you’re installing it, but generally, it should be at least 8” deep.
If you’re having trouble digging the trench, you can rent a mini-excavator to make the job easier. This tool is especially helpful if you’re installing a large trench drain or one in an uneven area.
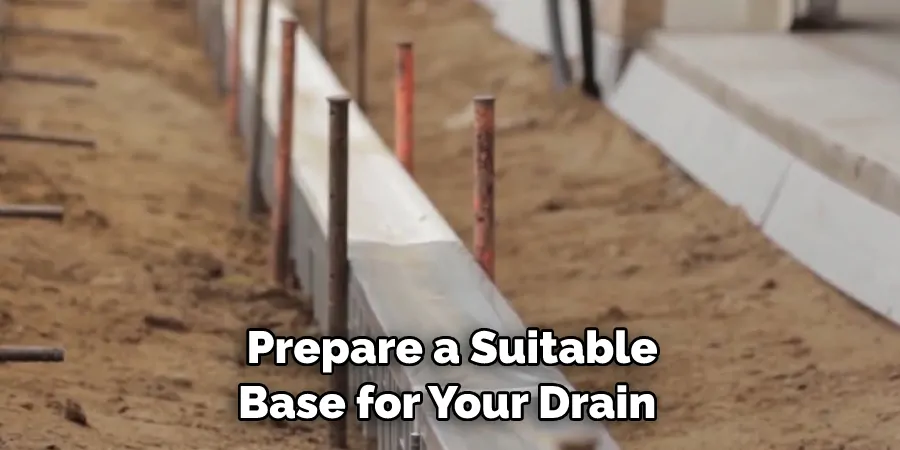
Step 4: Prepare the Base
Once you have dug out the trench, you must then prepare a suitable base for your drain. This can be done by laying down gravel or stones in the bottom of the trench and making sure it is level before adding more soil over the top of it.
If you are laying a foundation for the drain, it is important to make sure that it is level and well-packed. But before doing this it is best to check with your local building department for any specific requirements.
Step 5: Place Drain Pipe
Next, place the drain pipe inside the trench. Make sure it is securely attached to the sides and that there are no gaps or loose connections. Otherwise, the pipe could become damaged or clogged with dirt.
You can use mortar or concrete to secure the pipe in place. It is also important to make sure that the pipe follows the slope of the trench so that water will flow properly. But before doing this it is best to check with your local building department for any specific requirements.
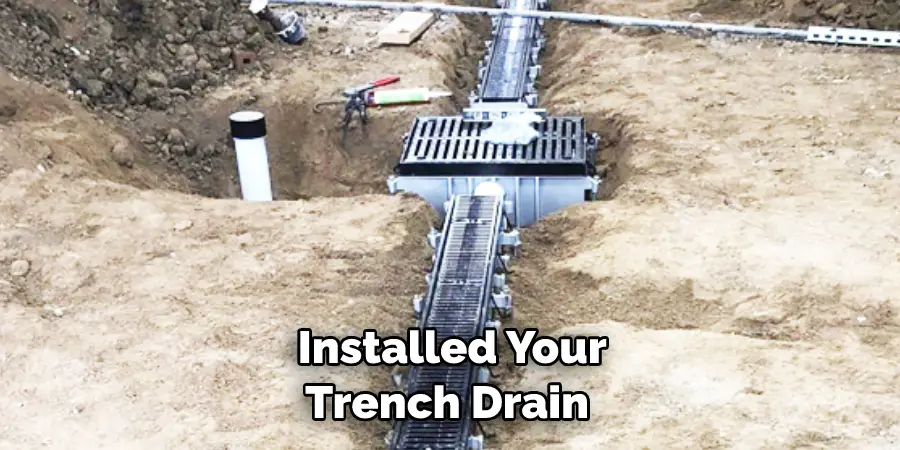
Step 6: Secure Trench Drain
Now, place your trench drain in place. Make sure it is level and secure by using screws, nails, or other fasteners. If you are using a prefabricated drain, it is important to follow the manufacturer’s instructions for installation. You may also need to secure the drain with mortar or concrete.
Step 7: Fill with Gravel
After you have secured the trench drain in place, pour gravel into the bottom of the trench until it reaches a depth of at least 8” (or more depending on where you live). This helps prevent water from ponding at low points. If the drainage area is very large, you may need to use a larger gravel such as pea gravel or crushed stone.
Step 8: Place the Grate
Once you have filled the bottom of the trench with gravel, it is now time to place the grate over the top of it. This will help keep debris and dirt from entering the drainage system. This should be secured with screws, nails, or other fasteners. Although, it is important to note that the grate should be removable in case you need to access the pipe for any reason.
Step 9: Test for Leaks
After you have installed your trench drain, it is important to test for leaks by filling it with water and checking for any signs of leakage or seepage around the edges. If there are any signs of leakage, you may need to go back and make sure everything is sealed properly.
Then, you can refill the trench with dirt and it is ready for use. It is important to note that after installation, regular maintenance should be conducted at least once a year. This will help ensure the trench drain continues to work properly.
Step 10: Install Trench Drain Cover
You’re almost done! The last step is to install a cover on top of your trench drain. This helps prevent anyone from stepping into the trench while protecting against rainwater and other sources of contamination that could enter the drainage system. Be sure to make sure it is securely fastened in place. Always check with your local building department for any specific requirements before installing.
Following these 10 simple steps on how to install trench drain will help you install your trench drain correctly and safely. With proper installation, your trench drain should be able to serve its purpose for many years to come! Good luck!
Do You Need to Hire a Professional?
If you’re not confident in your ability to install a trench drain on your own, don’t hesitate to hire a professional. A professional plumber or contractor will have the experience and expertise to make sure that your trench drain is properly installed. They’ll also be able to advise you on the best type of drain for your particular application. If you decide to hire a professional, make sure that they are certified and insured.
Conclusion
Thanks for reading this article on how to install trench drain. Installing a trench drain can be an intimidating task with all the parts and pieces to assemble. However, if you take your time and follow the steps provided in this blog post, you will be able to successfully complete your installation.
Trench drains can help direct large volumes of water away from problem areas in your yard or other outdoor areas, helping reduce flooding and erosion risks. Additionally, they come in multiple sizes and materials so you can choose which best fits your needs.
With proper care and maintenance, quality-made trench drains should last for many years. Now that you know how to install a trench drain yourself, it’s time to get started!

