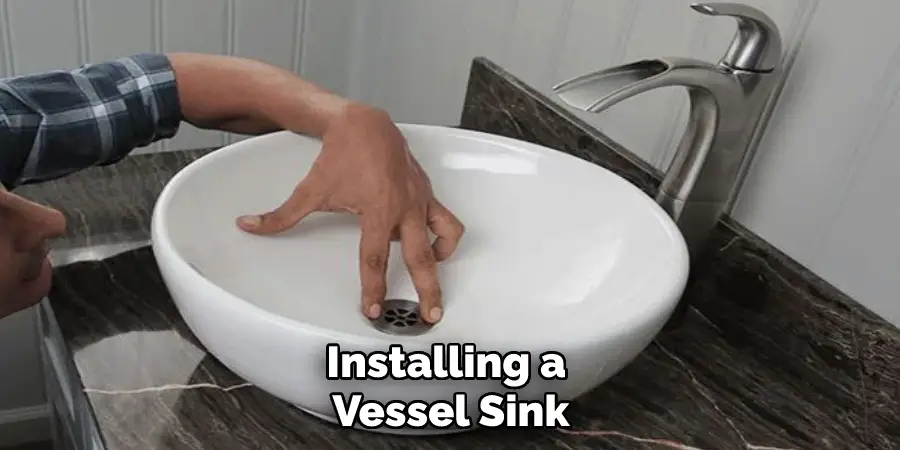
Vessel sinks are a beautiful addition to any bathroom. They elevate the appeal of the space, providing a touch of elegance and sophistication. Installing a vessel sink on granite can be a little trickier than the plain porcelain bowl variety.

However, with a simple guide, the process can be less complicated and completed in just a few steps. In this blog post, we’ll take you through each step on how to install vessel sink on granite and provide helpful tips to ensure your sink is secure and looks stunning.
Can You Install a Vessel Sink on Granite?
Are you considering installing a sleek, modern vessel sink on your granite countertop? The good news is, it’s definitely possible! Installing a vessel sink on granite requires a bit of expertise and precision, but with the right tools and knowledge, the process can be a success.
The main factor to keep in mind is ensuring that the sink’s drain and faucet connect correctly with your plumbing. Additionally, you’ll want to make sure that your granite countertop is strong enough to support the weight of your chosen sink. With these considerations in mind, your vessel sink installation on granite can be a chic and functional addition to your bathroom or kitchen space.
Why Should You Install a Vessel Sink on Granite?
Vessel sinks are a modern and elegant addition to any bathroom, and when paired with a granite countertop, they create a striking focal point. The smooth, flat surface of granite creates the perfect base for a vessel sink’s unique shape and design, making it even more alluring.
But the benefits go beyond just aesthetics. Vessel sinks are installed above the countertop, which makes them easier to clean and maintain. Plus, with various materials, like glass, ceramic, and stone, you can customize your sink to match your style and preferences. When considering a bathroom renovation or update, installing a vessel sink on granite is a stylish and practical choice.
What Tools Are Needed to Install a Vessel Sink on Granite?
When upgrading your bathroom or simply seeking to change things up a bit, a vessel sink can add significant flair to your space. However, installing a vessel sink onto a granite countertop can seem like a daunting task. Fortunately, the process is made easier with the right tools.

Firstly, you’ll need a diamond hole saw to drill the hole in your countertop. Additionally, a wrench or pliers will help secure your drain and faucet. If you’re not confident in doing the work yourself, consider hiring a professional installer to make sure it’s done right. With the necessary tools and a bit of patience, your new vessel sink will be the talk of the town!
A Step-by-Step Guide on How to Install Vessel Sink on Granite
Step 1: Choose the Right Vessel Sink and Countertop
Before you begin, you must choose what kind of vessel sink and countertop suits your bathroom design. Be sure to measure the sink and make sure that the height fits the faucet. Also, ensure that the sink will not wobble when placed on the countertop. Once you have everything in place, mark the position you want your sink to be and drill a hole for the drain.
Step 2: Prepare the Area for Installation
Now that you have your sink and countertop, you can begin the installation process. Start by clearing the work area. Remove the old sink and any junk that may be in the way. Clean the area thoroughly, and ensure the countertop is dry and moisture-free. Take extra care to ensure the countertop is free of dust and debris.
Step 3: Install the Sink
With everything prepared, you can now install the sink into the countertop. Most vessel sinks come with a mounting ring to securely hold the sink in place. Place the mounting ring on the work table and apply silicone adhesive to the underside. Firmly press the mounting ring to the bottom of the sink’s base. Next, place the sink on the countertop hole. Make sure it’s level and centered. Then, use shims to create a solid base that is safe from wobbling.
Step 4: Connect the Plumbing
Complete the installation by connecting the plumbing. Place the drain assembly in the drain hole from below the countertop. Make sure to tighten the lock nut and sealing gasket. Then, install the faucet through the pre-drilled hole, connect your supply lines, and turn the water on. Test the sink for leaks by running the faucet for a few minutes.

Step 5: Seal the Countertop Edges
Since you are installing a vessel sink on granite, you need to seal the edges. Begin by applying a silicone or latex caulk around the edges of the sink and countertop. This will prevent any water from seeping into cracks and causing damage later on. Use a damp cloth to wipe away excess sealant.
Step 6: Secure the Sink
Secure the sink to the countertop by using mounting clips. These should have come with your vessel sink. Make sure that you place them evenly around the perimeter of the sink. This will help keep it secure and prevent any wobbling or movement when in use.
Step 7: Clean Up and Enjoy
Now that everything is installed, it’s time to clean up and enjoy your new vessel sink. Thoroughly wipe down the countertop and sink. Then, check for any leaks or loose fittings. Finally, admire your newly installed vessel sink on granite! Have fun!
That’s it! You have successfully installed a vessel sink on granite. With the right tools and a little bit of know-how, you can tackle this project with confidence. Enjoy your beautiful new bathroom!
5 Considerations Things When You Need to Install Vessel Sink on Granite
1. Decide the Location of The Vessel Sink
Most importantly, you need to decide where you want to install the vessel sink. You need to consider the height and distance from the faucet. You don’t want your guests to have to reach too far to wash their hands, but you don’t want them to stoop too low.
2. Make Sure You Have All the Necessary Tools
Before you begin, make sure that you have all the necessary tools. You will need a drill, a hole saw, a jigsaw, and a granite sealer. If you do not have all of these tools, you may want to consider hiring a professional to install your vessel sink for you.

3. Cut the Hole for The Vessel Sink
Once you have decided on the location of the vessel sink, use a drill to create a pilot hole. Then, use a hole saw to cut out the main hole for the vessel sink. Be sure to wear safety goggles when using power tools!
4. Install the Faucet and Drain Assembly
Once the hole has been cut, installing the faucet and drain assembly is time. First, apply a bead of silicone sealant around the edge of the drain opening. Then, insert the drain into the hole and tighten it in place with the provided nuts and washers. Next, apply another bead of silicone sealant around the base of the faucet before inserting it into the hole. Finally, use supplied nuts and washers to secure the faucet in place.
5. Seal the Vessel Sink and Faucet
Finally, you will need to apply a granite sealer to ensure that your sink and faucet are completely sealed from moisture and water damage. This should be done once all of the installation is complete. Make sure to read the instructions on the granite sealer before applying it!
Benefits of Installing Vessel Sink on Granite
Installing a vessel sink on granite can be a fantastic addition to any bathroom. Not only does it provide a modern and stylish look, but it also has practical benefits. The height of the sink is much higher than traditional sinks, making it easier for taller individuals to use it comfortably.
Additionally, because the sink sits on top of the granite, it frees up space underneath the countertop, allowing for additional storage or a unique design element to be added. Vessel sinks also come in various shapes, sizes, and colors, allowing for bathroom customization. With all of these benefits, a vessel sink on granite is a smart investment for those looking to update their bathroom.
Some Common Mistakes People Make When Trying to Install Vessel Sink on Granite
Installing a vessel sink on granite may seem like a daunting task, but with the right tools and preparation, it can be a simple and rewarding project. Before starting, make sure to avoid some common mistakes that people often make during installation. One mistake is not properly measuring the hole for the sink, which can lead to uneven installation and potential leaks.

Another mistake is choosing the wrong type of silicone sealant for the job, which can cause the sink to shift or break over time. Furthermore, failing to clean and dry the surface before installation can also result in a poor attachment between the sink and the granite. By taking these factors into consideration, you can avoid common mistakes and ensure a successful installation of your vessel sink on granite.
Conclusion
Installing a vessel sink on granite can be a fun and rewarding DIY project. Just follow the steps above, and you’ll have a beautiful and functional sink to enjoy for years to come. Remember to take your time and double-check everything as you go along. We hope this comprehensive guide has been helpful and will ensure that your vessel sink is securely mounted to your granite countertop. Thanks for reading our post about how to install vessel sink on granite.

