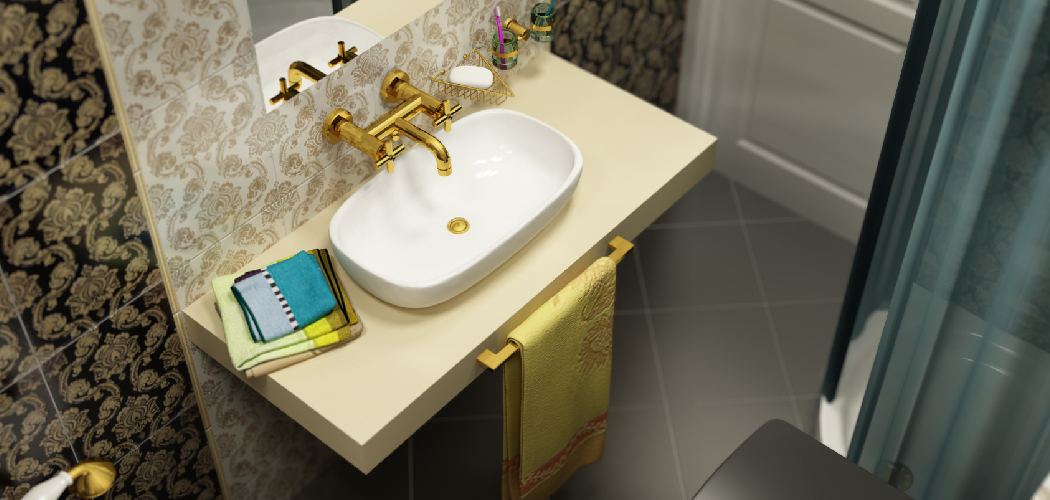
Are you tired of staring at that old and outdated bathroom sink? It’s time to upgrade to a sleek and modern wall-hung basin.
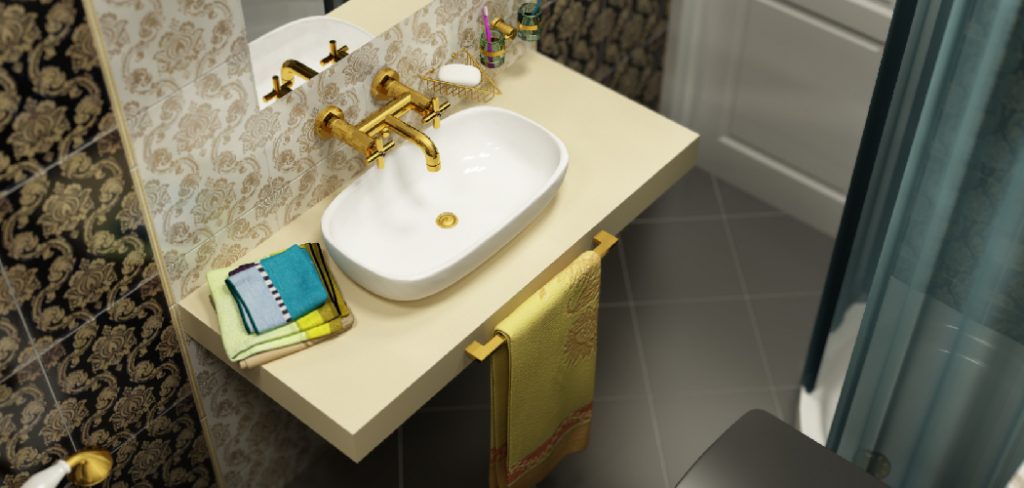
How to install wall hung basin can be a transformative addition to your bathroom, providing a sleek and modern aesthetic while also maximizing floor space. Unlike traditional basins that rest on a pedestal or countertop, wall-hung basins are mounted directly to the wall, allowing for easier cleaning and a more open feel.
This guide will walk you through the essential steps to successfully install a wall-hung basin, from selecting the right location and tools to ensuring proper plumbing connections and securing the basin firmly. Whether you’re a seasoned DIY enthusiast or a first-time installer, these straightforward instructions will help you achieve a stylish and functional bathroom space.
What Will You Need?
Before we dive into the steps, let’s go over the tools and materials you’ll need for this project:
- Wall hung basin
- Mounting hardware (usually included with the basin)
- Drill and appropriate drill bits
- Spirit level
- Measuring tape
- Pencil or marker
- Adjustable wrench or pliers
- Pipe cutter (if needed)
- Plumber putty or silicone sealant
Once you have all the necessary items, you’re ready to start your wall-hung basin installation.
10 Easy Steps on How to Install Wall Hung Basin
Step 1: Choose the Location
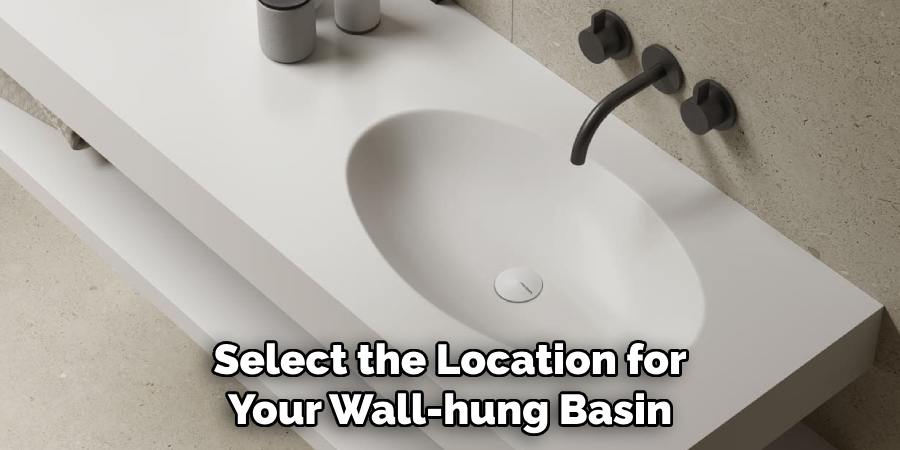
The first step is to select the location for your wall-hung basin. This will depend on factors such as plumbing connections and personal preference. Remember that you’ll need enough space for the basin to hang securely and comfortably accommodate its user.
When choosing a location, also consider any nearby electrical outlets or lighting fixtures that may interfere with the basin’s placement. It’s also essential to ensure enough vertical clearance for the basin and any additional accessories, such as a mirror or towel bar.
Use your measuring tape and mark the desired location with a pencil or marker. Make sure the marks are level.
Step 2: Prepare the Mounting Area
Once you have chosen your desired location, it’s time to prepare the mounting area. Begin by using a spirit level to ensure that the basin’s markings are straight and level. If they’re not, adjust accordingly.
Next, use your drill and appropriate drill bit to create holes in the marked spots on the wall. These will be used to secure the mounting hardware for your basin.
Step 3: Install Mounting Hardware
With the holes drilled, it’s crucial to install the mounting hardware correctly to ensure your wall-hung basin is secure and stable. Start by placing the mounting brackets into the drilled holes, ensuring they align with the pre-marked level points. Depending on your wall type—whether it’s drywall, concrete, or brick—you may need to use specific anchors or screws designated for that material to provide additional support.
Carefully tighten the screws using your drill or wrench, ensuring that the brackets are firmly attached to the wall and can withstand the weight of the basin when installed. It’s essential to check that the brackets remain level throughout the installation, as any misalignment at this stage could affect the basin’s fit and function later.
Once the mounting hardware is securely in place, double-check your measurements and the levelness of the brackets one last time. This precaution will help avoid complications when it comes time to attach the basin. After confirming everything is correct, you can proceed to the next step: connecting the plumbing fixtures.
Step 4: Connect the Plumbing Fixtures
With the mounting hardware in place, the next step involves connecting the plumbing fixtures to your wall-hung basin. Before doing this, ensure that the water supply is turned off to prevent leaks. Begin by positioning the basin onto the mounted brackets, ensuring that any plumbing access holes align with the existing water supply lines and drain.
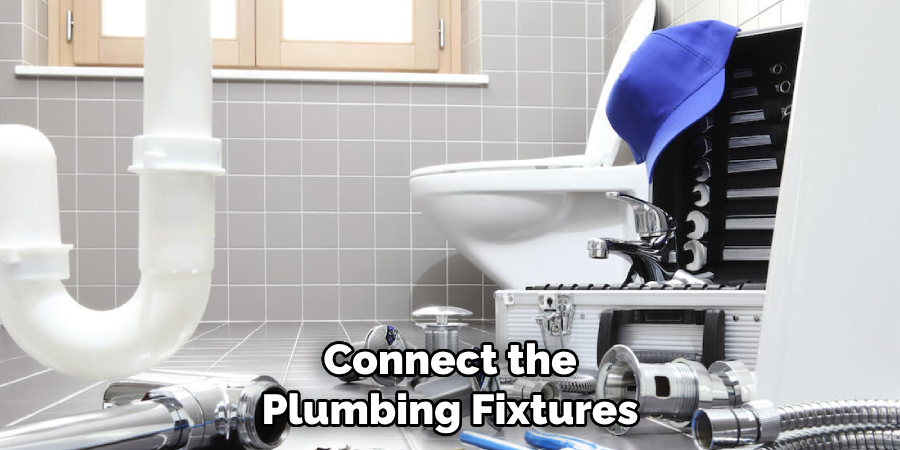
Once the basin is secured on the brackets, attach the water supply lines to the faucet inlet of the basin. Use your adjustable wrench or pliers to tighten the connections, being careful not to overtighten, which could damage the fittings. Next, connect the drain assembly to the basin, ensuring it’s properly aligned with the trap underneath. Again, tighten the connections as needed. After securing these fittings, turn the water supply back on and check for leaks. It’s essential to resolve any issues at this stage before moving on to the final steps of the installation.
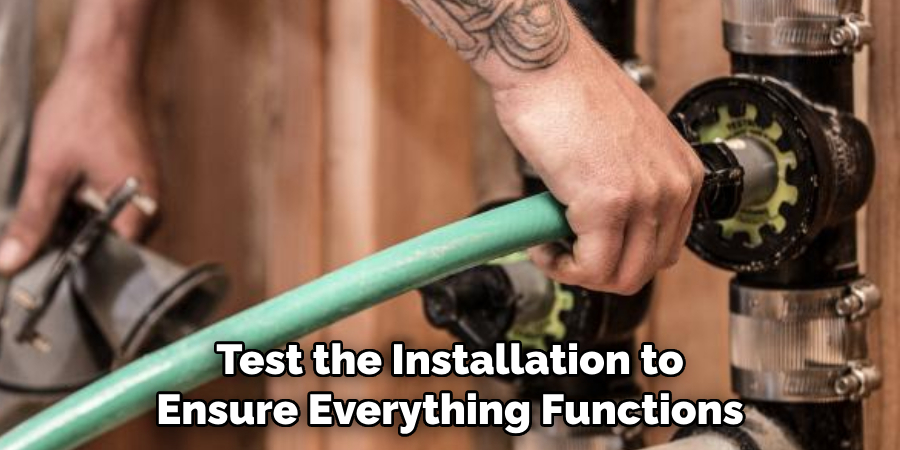
Step 5: Test the Installation
After securely connecting the plumbing fixtures, it’s time to test the installation to ensure everything functions correctly. Start by turning on the water supply and checking for leaks around all the connections you’ve made, including the faucet inlet and drain assembly. If you notice any leaks, immediately turn off the water supply and tighten the affected connections until they are secure.
Next, allow the water to run for a few moments to ensure that the drainage is functioning correctly and that there are no blockages. Testing checks for leaks and confirms that the basin is securely mounted and that all plumbing elements are working as intended before you finish the installation. You can move on to the final steps once you’re satisfied that everything is in order.
Step 6: Secure the Basin
With the plumbing connections tested and functioning correctly, securing the basin to the mounting hardware is time. Carefully lift the basin off the brackets, if necessary, and ensure it fits properly onto the mounting brackets you’ve installed. Most basins will have specific spots where retention screws can be inserted to hold the basin securely in place on the mounting hardware.
Align the basin so that it sits straight and level, and then insert the screws into the designated holes. Use a screwdriver to tighten them gently, ensuring the basin is stable without forcing it too hard, which could lead to cracks or damage.
Double-check the overall alignment once secured to ensure the basin maintains its aesthetic and functional appeal. Once this step is complete, proceed to the final touches of your wall-hung basin installation.
Step 7: Add Finishing Touches
Once the basin is securely in place, it’s time to add the final touches to complete your installation. Clean up any debris or dust from the installation area to ensure a neat appearance. You should apply a silicone caulk around the edges of the basin where it meets the wall; this enhances the aesthetic appeal and helps prevent water damage by sealing any gaps.
After the caulk has cured, you can place any additional accessories, such as a soap dispenser or toothbrush holder, as desired. Finally, step back and admire your work, ensuring that the wall hung basin looks great and is ready for daily use.
Step 8: Final Inspection
Once you have completed the installation and added the finishing touches, it’s essential to conduct a final inspection to ensure that everything meets your satisfaction and local building codes. Begin by carefully rechecking all connections for any signs of leaks, ensuring that water flows freely from the faucet and drains properly. Assess the stability of the basin by gently applying pressure to confirm that it is securely mounted to the wall.
Also, verify that all accessories are firmly in place and functioning as intended. Finally, review the overall appearance of your installation, ensuring that the basin enhances the aesthetic of your space. A thorough final inspection ensures not only functionality but also the durability of your wall-hung basin for years to come.
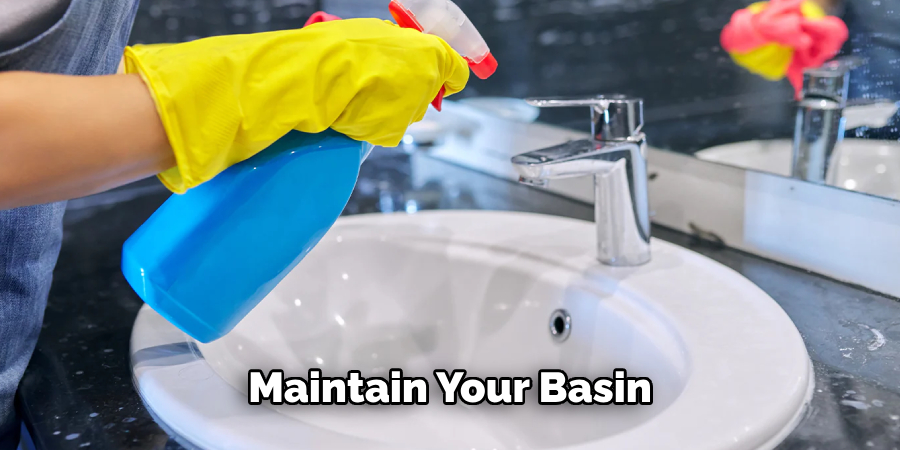
Step 9: Maintain Your Basin
Regular maintenance is critical to ensuring that your wall-hung basin remains in optimal condition over time. Begin by routinely cleaning the surface with non-abrasive cleaners to prevent scratches and preserve the basin’s finish. Pay special attention to any joint areas, particularly around the edges where caulk has been applied, to ensure they remain mold-free or mildew.
Additionally, periodically check all plumbing connections for leaks or wear, tightening any loose fittings as necessary. If you notice any signs of damage or deterioration, such as cracks or chips in the basin, address these issues promptly to avoid more significant problems in the future. By incorporating these maintenance practices into your routine, you can extend the lifespan and functionality of your wall-hung basin.
Step 10: Troubleshooting Common Issues
Even with meticulous installation and maintenance, you may encounter common issues with your wall-hung basin. One frequent problem is slow drainage, which can cause blockages within the drain assembly. If you notice water pooling in the basin, it’s advisable to disassemble the drain and check for any obstructions, such as hair or debris.
Another issue could be leaks resulting from improper sealing or loose connections. In such cases, re-applying silicone caulk around the edges or tightening the fittings can often resolve the problem if the faucet malfunctions, such as dripping water; replacing the cartridge may be necessary.
By following these steps, you can successfully install and maintain a wall-hung basin in your space.
Conclusion
Successfully installing a wall-hung basin involves careful planning and execution to ensure both functionality and aesthetic appeal.
By following the outlined steps on how to install wall hung basin—ranging from secure plumbing connections and precise mounting to thorough testing and maintenance—you can achieve a durable installation that enhances your bathroom’s design. Remember, regular upkeep and prompt attention to any issues will contribute to the longevity and performance of your basin.
With patience and attention to detail, your wall-hung basin can provide lasting satisfaction and style in your space.

