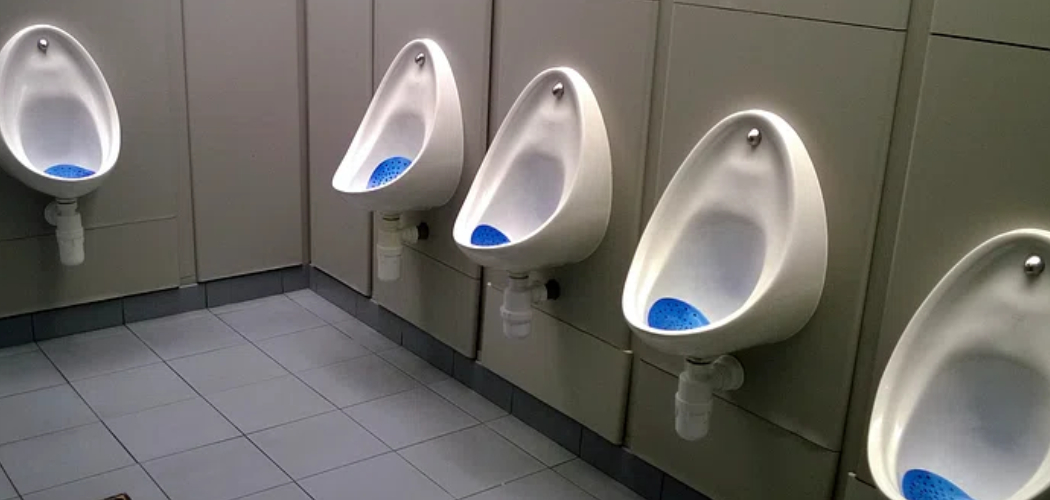
Installing a wall-hung WC can be an excellent choice for modern bathrooms, offering a sleek and space-saving design. These systems not only provide a contemporary aesthetic but also make cleaning easier by keeping the floor clear. However, proper installation is crucial to ensure stability, functionality, and long-term durability.
This guide on how to install wall hung wc will walk you through the essential steps and considerations to correctly install a wall-hung WC in your home or renovation project.
Why Install a Wall-Hung WC?
Wall-hung WCs are becoming increasingly popular due to their multitude of benefits, including:
Space-saving Design:
By mounting the toilet on the wall rather than the floor, you can save valuable space in your bathroom. This can be particularly beneficial for smaller bathrooms or rooms with limited layout options.
Easy Cleaning:
With no floor-mounted base, cleaning around a wall-hung WC becomes effortless. You can easily mop or sweep the floor without any obstructions, making it a hygienic and low-maintenance option.
Modern Aesthetic:
Wall-hung WCs have a sleek and minimalistic design that adds a touch of modernity to any bathroom. They come in various styles, sizes, and shapes, allowing you to choose one that complements your bathroom’s overall look.
Necessary Tools and Materials:
Before starting the installation process, make sure you have all the necessary tools and materials ready at hand:
Wall-hung Toilet Frame:
This is the metal frame that supports the weight of the toilet. It usually comes with height-adjustable feet and brackets to secure it to the wall.
Wall-mounted Flush Plate:
The flush plate is a control panel mounted on the wall, allowing you to flush the toilet. Some frames come with an included flush plate, while others require you to purchase one separately.
Mounting Brackets:
These brackets are used to securely fix the frame onto the wall.
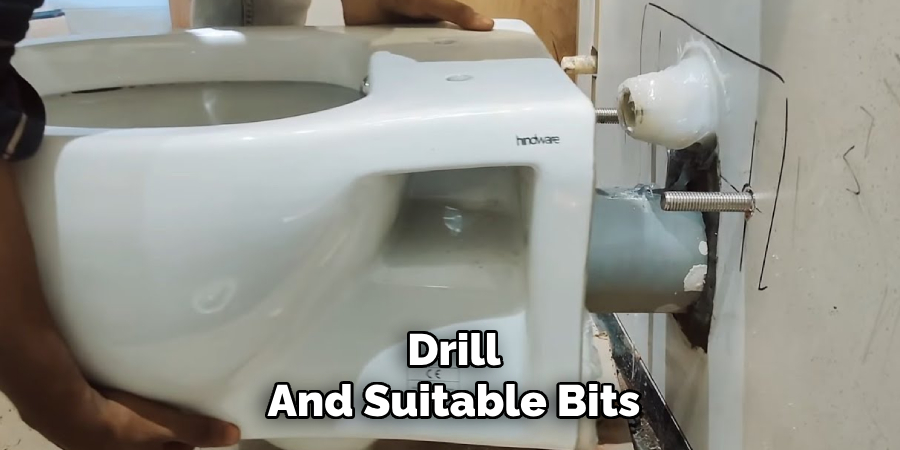
Drill and Appropriate Bits:
You will need a drill and suitable bits to make holes in the wall for mounting brackets and fixing screws.
Spirit Level:
A spirit level will help ensure that the frame is perfectly level when installed.
Silicone Sealant:
This is used to seal any gaps between the bowl and wall after installation. It also helps prevent water leakage behind the toilet.
8 Step-by-step Guidelines on How to Install Wall Hung Wc:
Step 1: Identify the Spot for Installation
The first step in installing a wall-hung WC is to carefully select the right spot for installation. Ensure that the chosen location has adequate support for the wall-mounted toilet frame, as it will need to bear the weight of the user. It’s essential to consult the installation manual to check the minimum and maximum height requirements for mounting.
Additionally, ensure that the spot allows easy access to the plumbing system, including both the water inlet and drainage outlet. Use a measuring tape to mark the desired height of the toilet bowl and the flush plate based on ergonomic preferences and industry standards. Finally, double-check the position to confirm that it aligns with your bathroom layout and design.
Step 2: Install the Wall-hung Toilet Frame
Once you have identified the ideal spot for installation, the next step is to install the wall-hung toilet frame. Begin by positioning the frame against the wall where the WC will be installed. Adjust the height of the frame using the height-adjustable feet to match the desired height of the toilet bowl, typically 15-19 inches (38-48 cm) from the ground to the top of the seat for comfort.
Using a spirit level, ensure that the frame is perfectly straight and level both vertically and horizontally. Mark the spots on the wall and floor where the brackets and screws will go. Drill holes at the marked positions and secure the frame to the wall and floor using mounting brackets and appropriate screws or bolts.
Step 3: Install the Mounting Bracket and Wall-mounted Flush Plate
With the toilet frame securely in place, the next task is to install the mounting brackets and the wall-mounted flush plate. Start by attaching the mounting brackets to the frame. These brackets are crucial as they provide additional support and ensure that the toilet bowl attaches firmly to the frame. Use the provided hardware to secure the brackets, and double-check that they are aligned correctly and tightly fastened.
Next, focus on the wall-mounted flush plate installation. Connect the flush mechanism to the frame as per the manufacturer’s instructions, making sure all components are properly secured and aligned.
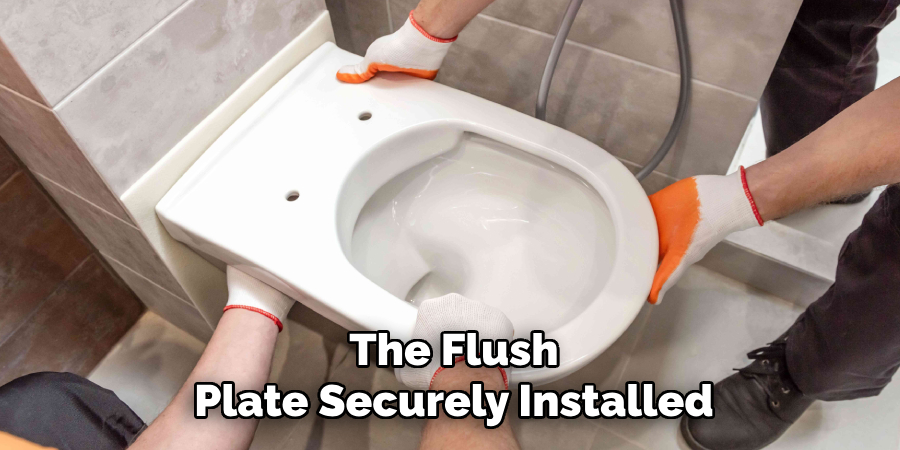
Position the flush plate opening at the marked spot and attach it to the plumbing connections and the wall. Ensure a snug fit and test the mechanism to confirm it operates smoothly. This step is essential to guarantee that the flush system functions effectively when the installation is complete.
Step 4: Connect the Water Inlet and Waste Drainage
With the flush plate securely installed, the next step is to connect the water inlet and waste drainage. Use flexible hoses to connect the toilet’s water inlet and outlet with the plumbing connections. Place rubber gaskets between each connection to ensure a tight seal that prevents any leakage.
The water inlet usually connects to a water supply valve, while the waste drainage connects to the soil pipe through an angled connector. Ensure that all connections are secure and tightly fastened to prevent any potential leaks.
Step 5: Install the Toilet Bowl
Now, it’s time to install the wall-hung toilet bowl onto the frame. First, attach the soft-closing seattoo to the bowl, ensuring it clicks into place correctly. Next, carefully lift and align the bowl with its corresponding mounting brackets on the frame. Once positioned correctly, apply pressure to snap it into place securely.
Double-check that all connections are tight and aligned properly before proceeding further. Any loose connections can result in damage or malfunctioning of the toilet in the future.
Step 6: Test and Adjust the Toilet Bowl
After installing the wall-hung toilet bowl, test it by flushing it multiple times to make sure all connections are watertight and functioning correctly. Check for any potential leaks around the flush plate or connection points.
If everything seems to be working fine, use a spirit level to adjust the toilet bowl’s angle if necessary. This step is crucial as it ensures that your WC looks aesthetically pleasing while also providing comfort to users.
Step 7: Seal Gaps with Silicone
Once you have confirmed that all components are correctly installed, use silicone sealant to fill any gaps between the back of the toilet bowl and the wall. This step ensures a neat finish and prevents any water leakage behind the WC.
The silicone sealant will also help in preventing any potential water damage to the wall or floor. Allow the silicone to dry completely before using the toilet.
Step 8: Final Touches
With your wall-hung WC successfully installed and tested, all that’s left to do is add some final touches. These can include attaching a toilet brush holder nearby for convenience, adding a bidet attachment for better hygiene, or installing a hand sanitizer dispenser for extra cleanliness.
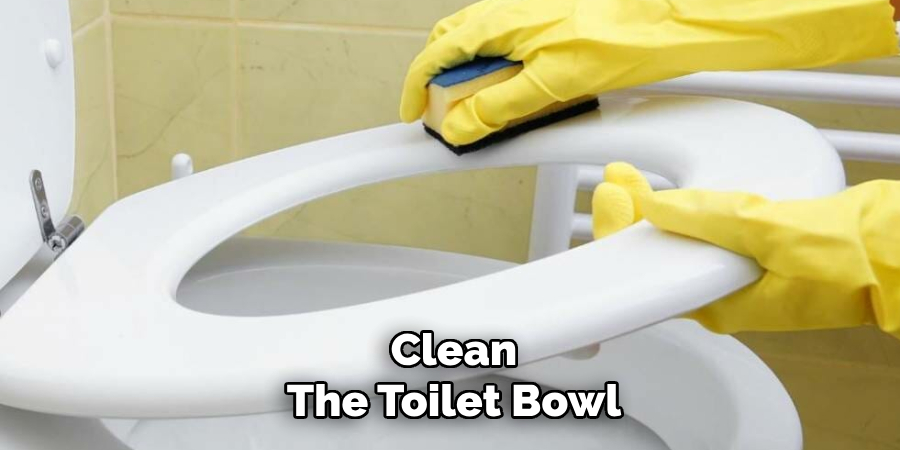
Finally, clean the toilet bowl thoroughly with an appropriate cleaning solution and enjoy your newly installed wall-hung WC! Remember to follow proper maintenance practices to ensure its longevity and functionality. Keep up with regular cleaning routines and address any issues promptly to avoid any potential problems in the future.
Following these steps on how to install wall hung wc will ensure a successful and hassle-free installation of a wall-hung toilet in your bathroom. With proper planning, the right tools and materials, and careful attention to detail, you can have an elegant and modern WC that not only saves space but also adds value to your home. Happy installing!
Frequently Asked Questions:
Q1: What Are the Benefits of a Wall-hung Toilet?
A: Wall-hung toilets offer several advantages, such as saving space, modern aesthetics, and ease of cleaning. They also have adjustable seat heights for ergonomic comfort and can be installed at desired heights for people of different ages and abilities.
Q2: Can a Wall-hung Toilet Support Heavy Weights?
A: Yes, wall-hung toilets can support heavy weights as long as they are installed correctly according to the manufacturer’s instructions and using appropriate supporting materials. Consult a professional installer if you have any concerns about weight capacity.
Q3: Is it Possible to Replace an Existing Floor-mounted Toilet with a Wall-hung One?
A: Yes, it is possible to replace an existing floor-mounted toilet with a wall-hung one. However, this task may require additional work, such as rearranging plumbing connections and possibly adjusting the flooring or wall. It’s best to consult a professional before attempting this installation.
Q4: How Often Should I Clean a Wall-hung Toilet?
A: It is recommended to clean a wall-hung toilet at least once a week or more frequently if it experiences heavy usage. Regular cleaning helps prevent the build-up of dirt, stains, and bacteria, ensuring good hygiene and maintaining the WC’s appearance.
Conclusion
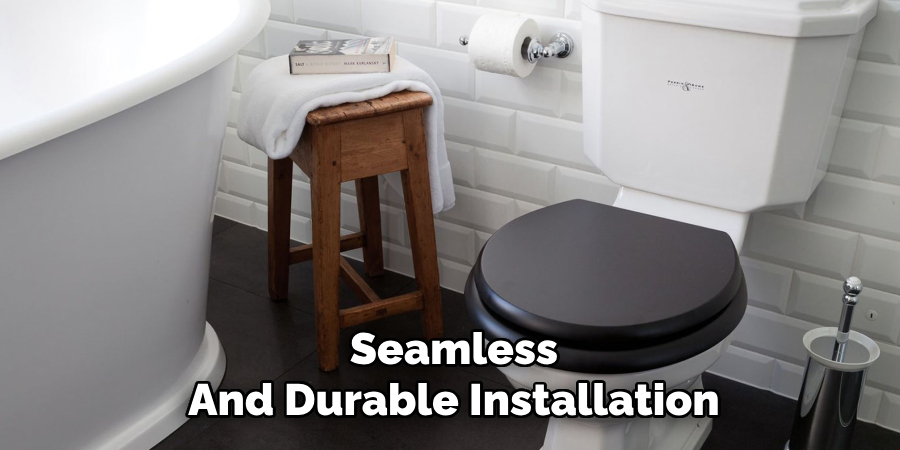
Installing a wall-hung toilet can be a rewarding project that enhances the functionality and aesthetics of your bathroom. By following the step-by-step process on how to install wall hung wc outlined above and ensuring proper planning and attention to detail, you can achieve a seamless and durable installation. Wall-hung toilets provide numerous benefits, including space-saving design, modern appeal, and easier maintenance, making them a valuable addition to any home.
Whether you’re renovating an existing bathroom or building a new one, a wall-hung toilet adds both practicality and style. Remember to perform regular maintenance and cleaning to keep your WC in optimal condition. With the right tools, preparation, and care, you can enjoy the comfort and elegance of your wall-hung toilet for years to come!

