Are you planning to install a wall-mounted toilet in your bathroom? This modern and sleek style of toilet is gaining popularity due to its space-saving design. However, the installation process may seem daunting if you have never done it before. But don’t worry—with the right tools and steps, you can easily install a wall-mounted toilet in your bathroom.
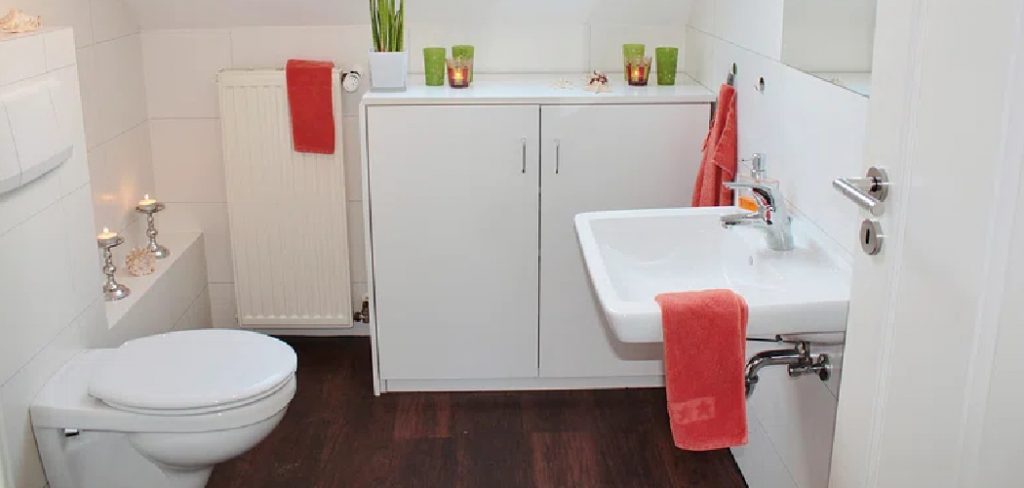
How to install wall mounted toilet can be a great way to enhance the aesthetic appeal and functionality of your bathroom. Not only do these toilets offer a sleek, modern look, but they also save space and make cleaning more manageable since the floor remains unobstructed.
This guide will explain the key steps and considerations for successfully installing a wall-mounted toilet, from selecting the right model to ensuring proper plumbing and support.
What are the Benefits of a Wall Mounted Toilet?
Before diving into the installation process, it’s essential to understand why wall-mounted toilets are becoming increasingly popular. Some of the benefits of installing a wall-mounted toilet include:
- Space-saving Design: The tank and plumbing for a wall-mounted toilet are hidden behind the wall, freeing up valuable floor space in your bathroom.
- Modern and Sleek Look: These toilets have a minimalist design that can add a touch of elegance to any bathroom.
- Easy to Clean: With no base or crevices around the bottom, cleaning becomes much easier as there are fewer places for dirt and bacteria to hide.
- Adjustable Height: Most models allow you to adjust the height at which the unit is mounted on the wall, making it suitable for people of different heights and abilities.
- Water-saving: Wall-mounted toilets use less water per flush than traditional floor-mounted toilets, reducing your water bill and environmental impact.
What Will You Need?
Before you begin the installation process, ensure you have all the necessary tools and materials. Here’s a list of what you’ll need:
- Wall mounted toilet
- Toilet tank and bowl mounting bolts
- Toilet seat
- Wax ring
- Closet flange
- Adjustable wrench or pliers
- Screwdriver
- Drill and drill bits
- Level tool
- Measuring tape
Once you have gathered all the necessary components, it’s time to start the installation process.
10 Easy Steps on How to Install Wall Mounted Toilet
Step 1: Choose the Right Location
The first step is to choose the right location for your wall-mounted toilet. Remember that these toilets require a strong and stable wall to support their weight. Also, consider the placement of water supply lines and drain pipes, as they need to be easily accessible for installation.
Step 2: Measure and Mark the Wall
Accurate measurements are crucial for a successful installation of your wall-mounted toilet. Begin by determining the height at which the toilet will be installed.
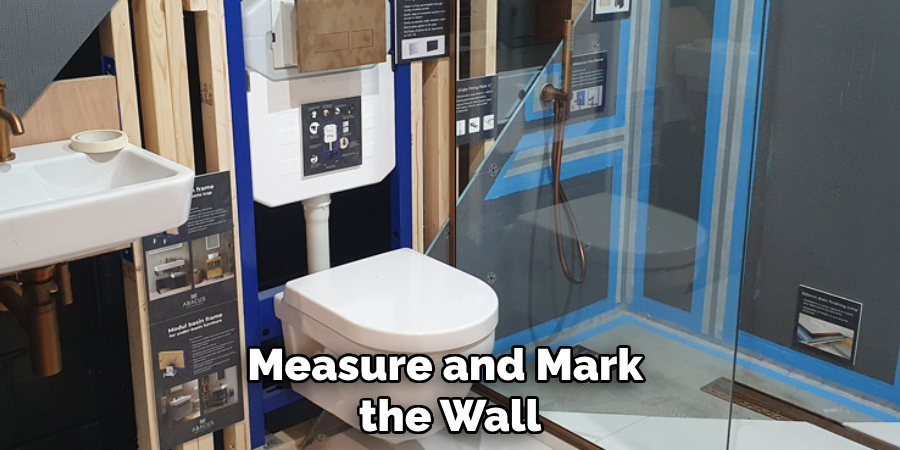
Most wall-mounted toilets are typically placed between 15 to 19 inches from the finished floor to the top of the bowl, but local building codes and personal preferences may influence this height. Use a measuring tape to mark the desired height on the wall, ensuring it is level.
Next, locate the studs in the wall behind your chosen position. This can be done using a stud finder, as the wall-mounted toilet must be anchored securely to these studs. Once you’ve found the studs, mark their positions on the wall and your height measurement. After marking the stud positions, use the level tool or a chalk line to ensure everything is straight. This preparation will help you avoid misalignment issues during installation, providing a sturdy and reliable support structure for your new toilet.
Step 3: Install the Carrier Frame
Once you have marked the wall and located the studs, it’s time to install the carrier frame to support your wall-mounted toilet. Begin by carefully reading the manufacturer’s instructions for the carrier, as different models may have specific installation requirements. Secure the frame to the wall using the drill by attaching it to the marked studs. Make sure to double-check that the frame is level and firmly anchored, as the stability of the toilet will depend on the frame’s strength.
Step 4: Connect Water Supply
Next, you must connect the water supply to the carrier frame. Locate the inlet valve on your carrier and attach the flexible supply line to the water source. Ensure all connections are tight to prevent leaks once the toilet is in use. It’s advisable to turn off the water supply during this process to avoid any accidents.
Step 5: Install the Closet Flange
Position the closet flange on the carrier frame according to the manufacturer’s specifications. This flange is crucial as it connects your toilet to the drainpipe and helps maintain a tight seal.
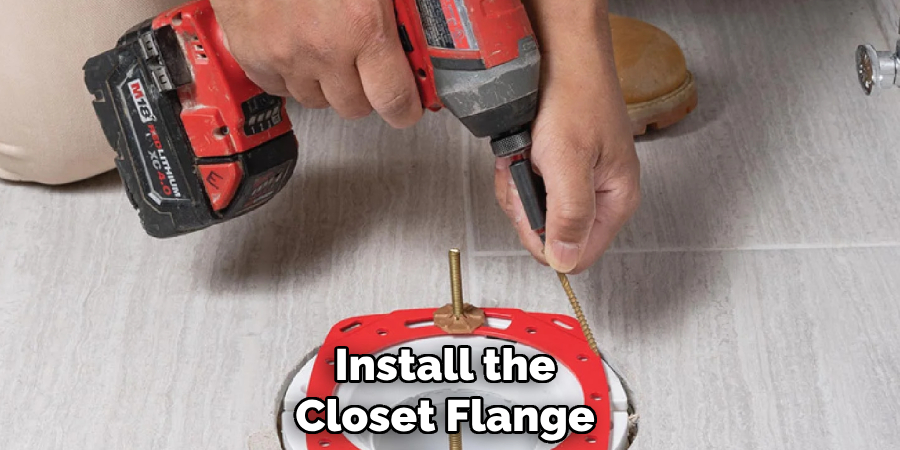
Align it carefully with the drain line, and secure it using the provided screws. Again, ensure this installation step is level, as any misalignment could lead to leaks later.
Step 6: Install the Wax Ring
Prepare the wax ring before placing the toilet bowl, creating a watertight seal between the toilet and the flange. Take the wax ring and put it directly on the flange. Ensure it is centered properly to allow a complete seal when placing the bowl. This step is critical for preventing leaks and ensuring a proper fit.
Step 7: Mount the Toilet Bowl
Now, it’s time to place the toilet bowl onto the wax ring. Carefully align the holes on the bottom of the toilet bowl with the bolts extending from the closet flange. Ensure the bowl is centered over the wax ring to seal even. Once aligned, gently lower the toilet bowl onto the flange, allowing it to press down into the wax ring. This action is crucial as it will form the seal necessary to prevent leaks.
After the bowl is seated correctly, press down firmly while simultaneously tightening the nuts onto the bolts from the underside of the bowl. Be cautious not to overtighten, as this could crack the porcelain. Using a level tool, confirm that the toilet bowl is sitting evenly. This helps avoid issues with flushing and drainage later on. Once satisfied with the positioning and tightness, proceed to attach the toilet tank.
Step 8: Install the Toilet Tank
With the bowl securely in place, it’s time to install the toilet tank on top. Place the tank onto the bowl, ensuring it aligns properly with the mounting holes. Secure it with the provided bolts, again being careful not to overtighten. After securing the tank, connect the flushing mechanism according to the manufacturer’s instructions. This may involve connecting a float assembly and chain to the flapper, ensuring everything works smoothly.
Next, attach the water supply line to the tank’s inlet valve, ensuring all connections are adequately tightened to prevent leaks. Turn the water supply back on and allow the tank to fill. Use this time to check for any leaks around the connections and ensure that the flushing mechanism operates effectively.
Step 9: Adjust the Toilet Seat
Once the tank is installed and functioning, install the toilet seat to provide comfort and functionality. Position the seat over the bowl and line up the hinges with the holes in the bowl. Secure it in place using the screws provided, ensuring that the seat is aligned correctly and can easily open and close without any obstruction.
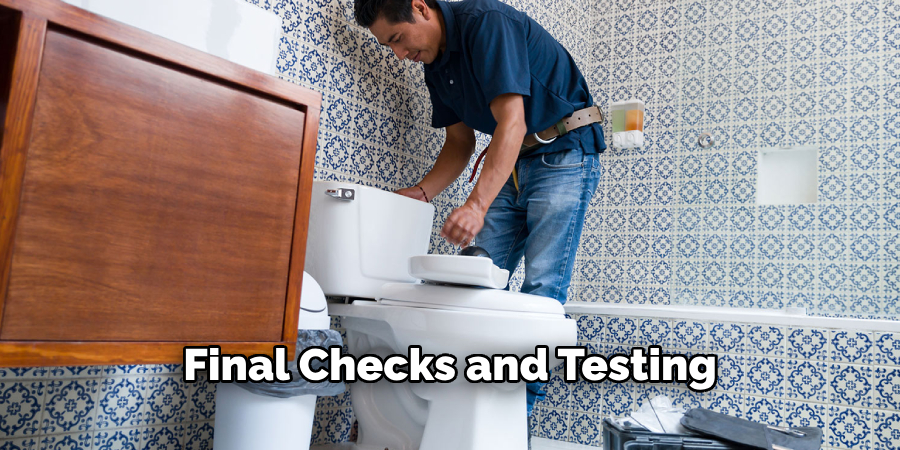
Step 10: Final Checks and Testing
Finally, perform a thorough check to ensure everything is installed correctly and functioning as expected. Flush the toilet several times to confirm that the water flows freely and that there are no leaks around the base or connections. Inspect the overall stability of the installation and make any necessary adjustments. Once satisfied with the installation, you can take a moment to enjoy the sleek and modern look of your new wall-mounted toilet!
By following these steps and carefully reading the manufacturer’s instructions, you can successfully install a wall-mounted toilet in your bathroom.
5 Things You Should Avoid
- Ignoring Manufacturer’s Instructions: Failure to adhere to the specific guidelines provided by the manufacturer can lead to improper installation, compromising the toilet’s functionality and safety.
- Neglecting Wall Structure Assessment: Overlooking the condition and strength of the wall may result in an unstable installation. Always ensure that the wall can support the weight of the wall-mounted toilet and the user.
- Skipping the Level Check: Not using a level tool during installation can lead to misalignment, which can cause issues with flushing and drainage later on. Always check for level after positioning the carrier frame and the toilet bowl.
- Forgetting to Test for Leaks: Failing to check for leaks after installation can lead to water damage and costly repairs. Always test all connections and the flushing mechanism before finalizing the installation.
- Overtightening Bolts and Screws: While it’s vital to secure the toilet properly, overtightening can crack the ceramic or damage the mounting hardware. Use the appropriate torque to ensure a secure fit without risking damage.
By avoiding these common mistakes, you can ensure a successful and long-lasting installation of your wall-mounted toilet.
You Can Also Check Install Furnace Filter
Conclusion
In conclusion, how to install wall mounted toilet involves a series of precise steps that, when executed correctly, can enhance both the functionality and aesthetics of your bathroom.
Each stage requires attention to detail and adherence to the manufacturer’s instructions, from preparing the wall structure and mounting the carrier frame to securing the toilet bowl and tank. Remember to perform thorough checks for leaks and stability after installation to ensure everything operates smoothly. With careful planning and execution, you can successfully install a wall-mounted toilet that provides a sleek, modern look while efficiently serving your needs.
Enjoy the benefits of your new fixture, knowing you’ve completed the installation with confidence and care.
