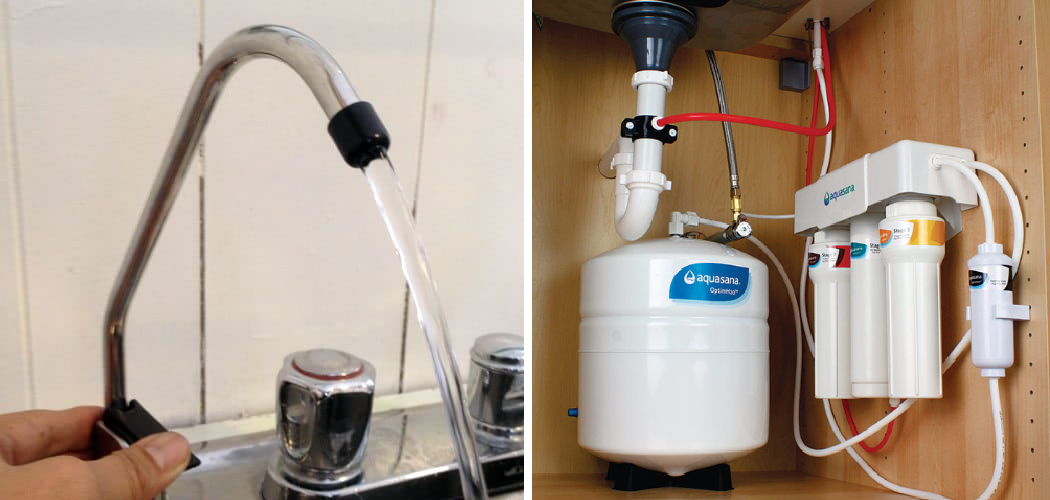
Are you looking for a convenient way to access clean, filtered drinking water straight from your kitchen sink? Installing a water filtration system under your sink may be the solution. With this setup, all of the equipment needed to filter and deliver fresh-tasting drinking water is tucked away discreetly beneath your countertop – providing hassle-free access to healthy hydration anytime you need it!
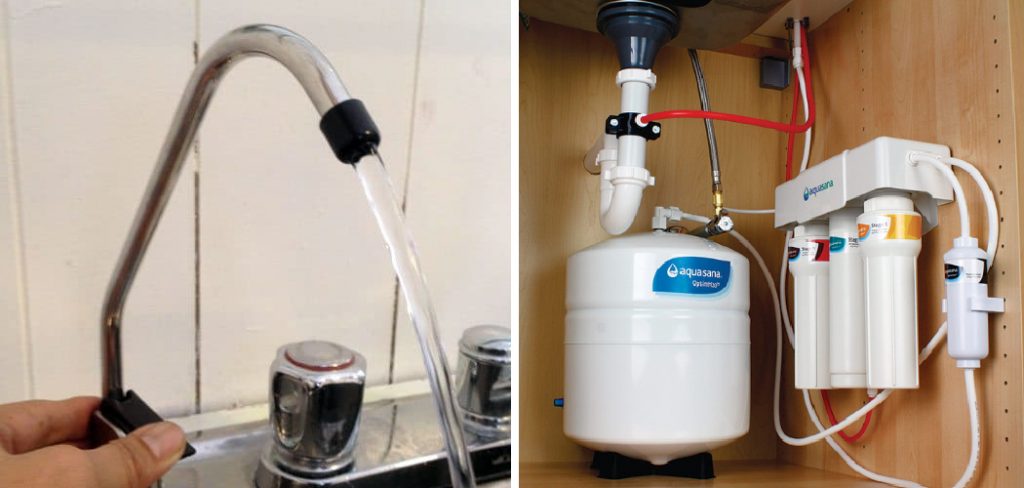
In this blog post, we’ll guide you through how to install water filtration system under sink, from buying the necessary components and supplies to connecting everything up correctly. We’ll also provide tips on maintaining your system so it continues to work optimally for years to come. Let’s get started!
Tools and Materials You Will Need to Install Water Filtration System Under Sink
- Water filtration system components (e.g., filter housing, sediment filter, carbon block filter, etc.)
- Water supply hoses and fittings
- Screwdrivers
- Basin wrench or adjustable wrench
- Channel locks or pipe wrench
- Pipe sealant or thread-seal tape
Step by Step Guidelines on How to Install Water Filtration System Under Sink
Step 1. Gather the Necessary Equipment and Supplies
Before installing a water filtration system under your sink, ensure you have all the necessary components and tools. Double-check that the items listed above are in your work area and that everything is in good working condition. Make sure to read all instructions and safety precautions before continuing.
Step 2. Prepare the Filter Housing
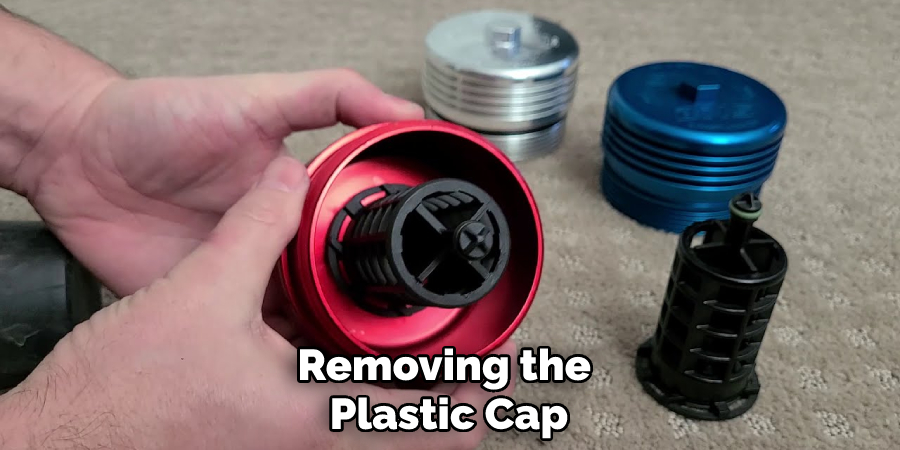
The first step is to prepare the filter housing for installation. Begin by removing the plastic cap from the top of the filter housing and insert the sediment filter into it, making sure that it is tightly sealed and secure with no gaps or leaks. Then, insert the carbon block filter into the other end of the housing.
Step 3. Connect to Existing Plumbing Fixtures
Now it’s time to connect your new water filtration system to the existing plumbing fixtures beneath your sink. Locate and disconnect the cold water supply line from your current faucet or tap and then attach the new hoses and fittings to the supply line. Make sure all connections are securely tightened with a basin wrench or adjustable wrench.
Step 4. Connect to the Water Filtration System
Next, you’ll need to connect the water filtration system components together using the included tubing and fittings. Start by connecting one end of the supply line to the inlet port on the filter housing, using a pipe sealant or thread-seal tape for extra protection against leaks. Then, attach the other end of the supply line to your cold water tap or faucet.
Step 5. Flush and Test Your System
Once all of your connections are made, it’s time to flush and test your water filtration system. Turn on the cold water supply line to let freshwater flow through for a few minutes until the unfiltered water runs clear. Then, turn off the supply line and check for any leaks or irregularities in the connections. In this stage, it’s important to look for any signs of damage or wear on the filter housing, tubing, and fittings.
Step 6. Maintain Your System Regularly
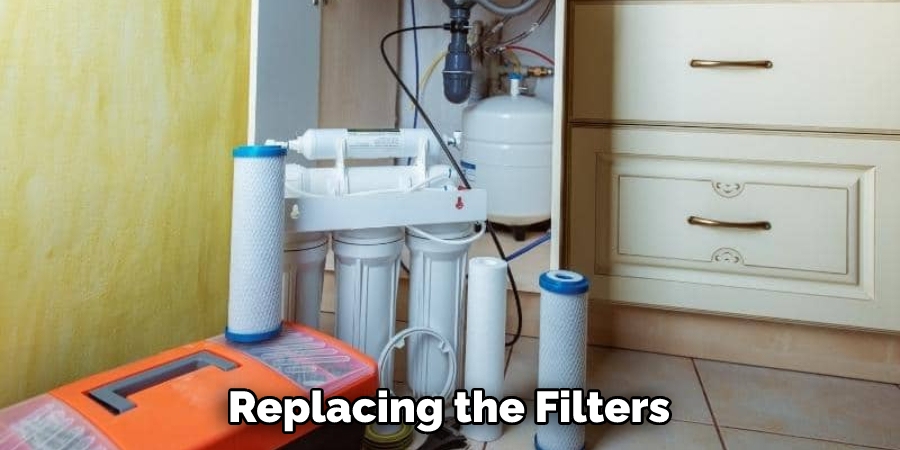
To ensure that your water filtration system is functioning properly and lasts for many years to come, it’s important to perform regular maintenance on it. This includes replacing the filters when they become clogged or full of debris and checking all connections for wear and tear. If you notice any problems with your system, be sure to contact a professional plumber right away.
Congratulations! You’ve just finished installing a water filtration system under your sink. With this new setup, you can now enjoy safe and clean drinking water any time you need it. Thanks for reading and don’t forget to maintain your system regularly!
Additional Tips and Tricks to Install Water Filtration System Under Sink
1. Make sure you have all the necessary tools for the job. This includes a drill, screwdriver, wrench set, plumbing tape, measuring tape, and possibly a saw or other tool if you’re doing any custom work.
2. Mark out where you plan to install your filtration system before drilling into your sink’s surface. It is important to note that the system should be installed below the sink’s drain.
3. Take measurements for your filtration system carefully before you begin installing it. Measure twice, cut once!
4. If you’re replacing an old water filtration system, make sure to properly dispose of all components before beginning the installation of the new one.
5. Install the main housing for your system by following all manufacturer instructions closely. Make sure to properly secure it with screws and/or bolts when possible using a wrench or other tool if necessary.
6. Connect the water lines to the filtration system, taking care not to overtighten any connections in the process.
7. Tighten all connections with plumbing tape to ensure a secure fitting between the water lines and the filter housing.
8. If you are installing a new faucet, make sure to test it out before you reinstall your sink’s surface cover plate. Make sure that the valve is able to shut off completely to prevent water from flowing when not in use.
9. Once everything is installed, turn on both the cold and hot water valves to ensure that they are working properly. Test out your new filter system by running both hot and cold water through it for a few minutes each. If you notice any leakage or other problems, take steps immediately to troubleshoot them.
With these tips and tricks, you’ll be able to easily install a water filtration system under your sink in no time. Make sure to follow all manufacturer instructions closely and take any necessary safety precautions while working with tools or water lines. With a little patience and effort, you’ll have clean, filtered water straight from your tap!
Things You Should Consider to Install Water Filtration System Under Sink
1. Check the size of your sink and make sure you have enough space to fit the water filtration system.
2. Ensure that you have all the necessary tools for installation, including wrenches, Teflon tape, screwdrivers, pliers, PVC primer and glue, etc.
3. Read the instructions provided in the water filtration system manual to understand how to install each part.
4. It is recommended that you turn off the main water supply before beginning any installation process, as this will prevent any unnecessary flooding or damage from occurring.
5. Ensure that the water filtration system is securely attached and sealed in place with Teflon tape to prevent any leaks.
6. Test all connections to ensure a secure and watertight seal before turning the main water supply back on again.
7. Finally, flush the system for several minutes to make sure it is working properly, and discard any sediment that may have accumulated inside the pipes. Once you are satisfied with the performance, your water filtration system is ready to use.
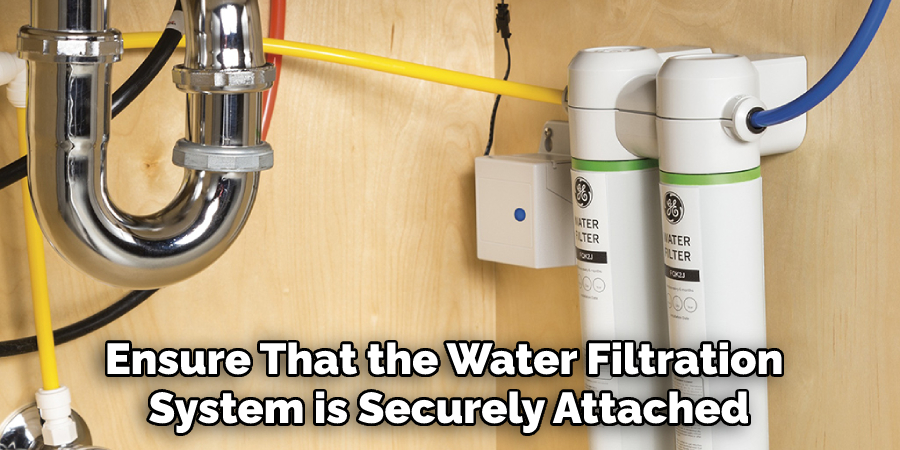
By following the considerations and steps described above, you can install a water filtration system under your sink with ease. This will help you enjoy clean, healthy drinking water while avoiding any potential problems that may arise from incorrect installation. Be sure to take the necessary time and precautions when installing the water filtration system for the best results.
Frequently Asked Questions
What Type of Water Filtration System Do I Need?
The type of water filtration system that you will need depends on your individual needs. You should consider the size and number of people living in your home, what contaminants are present in the water supply, and any other factors that could affect your water quality. Additionally, you should determine what type of system would be the most cost-effective for your budget.
What Kind of Maintenance Does a Water Filtration System Need?
Generally speaking, maintenance requirements vary depending on the type of filter that you use. Some systems may require monthly or quarterly filter changes while others may need more frequent replacement of filters. It is important to follow the instructions for your specific system to ensure that it operates at its best efficiency.
How Long Does an Under-Sink Water Filtration System Last?
The length of time a water filtration system lasts depends on how often the filters are changed as well as the quality of materials used in the system. Generally, if well maintained and with regular filter changes, a good quality water filtration system should last between 5 to 10 years.
Are There Any Health Benefits of Using a Water Filtration System?
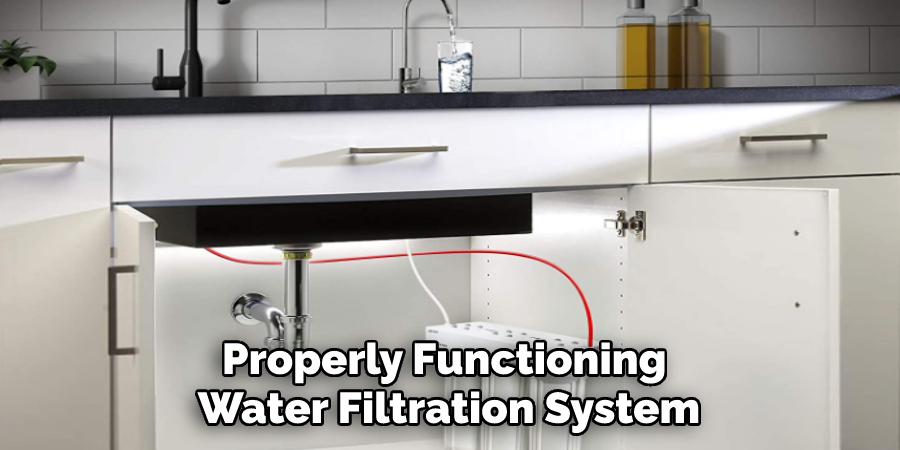
Yes! A properly functioning water filtration system can remove contaminants such as lead, cysts, heavy metals, and other harmful microorganisms from your water supply. This can help to reduce health risks associated with these contaminants and improve the overall quality of your drinking water.
Can I Install an Under-Sink Water Filtration System Myself?
In most cases, yes! However, depending on the specific system you choose, you may need to hire a professional installer or plumber. It is important to carefully read the instructions for your particular system and follow all safety guidelines before attempting any installation yourself.
Conclusion
With these blog posts, you will have a clear knowledge of how to install water filtration system under sink. You will know what kind of filtration system is best for your home, how often it needs to be maintained, and the health benefits you can gain from using one.
Furthermore, you will be able to determine whether or not you can install an under-sink water filtration system yourself. So now that you have this knowledge, you can make an educated decision about the type of water filtration system that would be best for your home.

