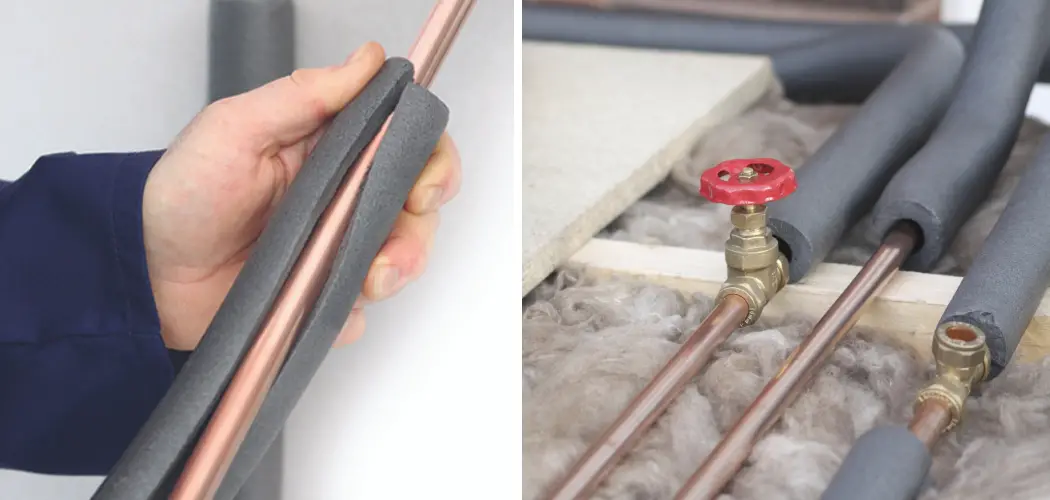
Are you facing an energy efficiency dilemma in your home? Cold pipes, drafty rooms, and rising energy bills can often be a result of inadequate insulation. Whether you’ve recently moved into an older residence or are embarking on renovations to improve comfort, securing insulation to exposed water pipes is one important task that shouldn’t be overlooked!
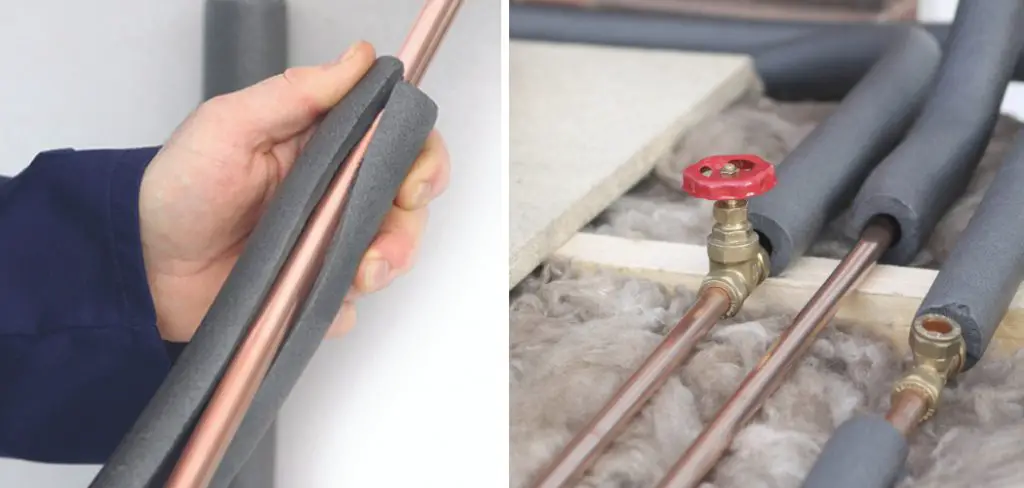
Let’s take a look at how to insulate exposed water pipes so you can enjoy greater warmth throughout the winter months without increasing energy consumption.
What Causes Exposed Water Pipes?
In most modern homes, water pipes are hidden behind walls and ceilings. However, in older houses or apartments, pipes may be exposed to the elements due to construction practices of the time.
Exposed pipes can be found in basements, crawl spaces, attics, garages, and even outside walls. These areas are often uninsulated or under-insulated which causes heat loss and can lead to issues such as frozen pipes, high energy bills, and uncomfortable living conditions.
Tools and Materials You Will Need to Insulate Exposed Water Pipes
- Measuring tape
- Insulation material (such as foam pipe sleeves or fiberglass)
- Scissors or utility knife
- Duct tape
- Safety goggles and gloves
Step-by-step Guidelines on How to Insulate Exposed Water Pipes
Step 1: Measure the Pipes
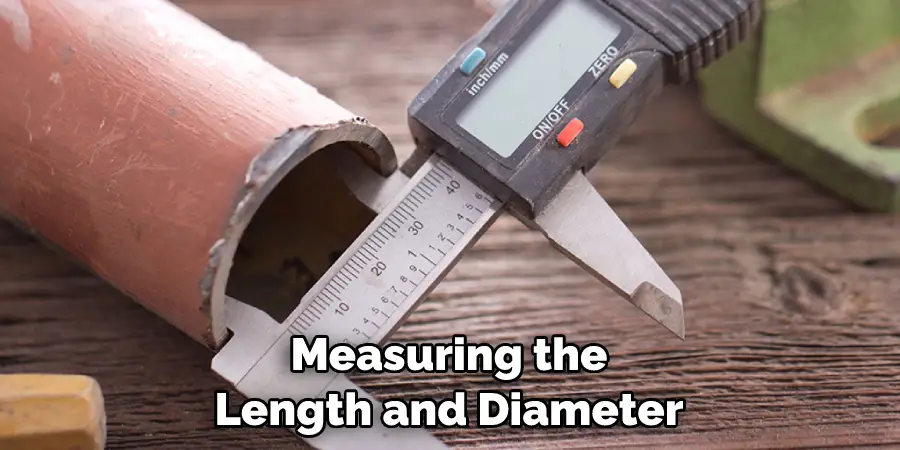
Start by measuring the length and diameter of your exposed pipes. This will help you determine how much insulation material you will need to purchase. Measuring also ensures that you get the right size of insulation sleeves or wrap for your pipes. Make sure to leave some extra length for any curves or bends in the pipes.
Step 2: Choose the Insulation Material
The type of insulation material will depend on the location and accessibility of your exposed water pipes. For easily accessible pipes, foam pipe sleeves can be used as they are simple to install and provide good insulation. For hard-to-reach areas, fiberglass insulation can be used as it can be easily cut and shaped to fit around pipes.
Step 3: Cut the Insulation
Measure and cut the insulation material according to the length of your pipes. Use a pair of scissors or a utility knife to make clean, straight cuts. While cutting, always wear safety goggles and gloves to protect yourself from any fibers or materials that may irritate the skin or eyes. Make sure to cut the insulation slightly longer than the pipe’s length to ensure a snug fit.
Step 4: Wrap the Pipes
Carefully wrap the insulation around the exposed pipes, making sure that it fits securely. Use duct tape to hold the ends of the insulation together and seal any gaps or holes in the material. This will prevent any air from getting in and reduce heat loss. While wrapping, make sure to cover all bends and curves in the pipes as well.
Step 5: Repeat for All Exposed Pipes
Repeat the above steps for all exposed water pipes in your home. Make sure to cover all sections of the pipes, including any bends or joints. For hard-to-reach areas, use a flashlight to ensure that the insulation is uniformly installed. If you have multiple pipes running close together, you can also wrap them together for better insulation and to prevent heat transfer between the pipes.
Following these simple steps will help you effectively insulate your exposed water pipes and reduce energy costs. It is important to regularly check and maintain the insulation, especially in areas with extreme temperatures, to ensure it remains effective. Stay warm, save money, and make your home more energy efficient by insulating your exposed water pipes today!
So, don’t let cold pipes put a chill on your comfort and budget. Take action now to insulate your exposed water pipes and enjoy a more comfortable and cost-efficient home. Happy insulating!
Additional Tips and Tricks to Insulate Exposed Water Pipes
- While installing insulation, always wear safety goggles, gloves, and a respiratory mask to protect yourself from potential skin irritation or dust inhalation.
- Avoid using duct tape as it tends to deteriorate over time and cannot withstand cold temperatures. Use weatherproof sealing tape instead.
- If your water pipes are located in an area with high foot traffic or is prone to getting wet, consider using a vapor barrier over the insulation to prevent damage.
- To further reduce heat loss, install pipe sleeves on any exposed piping. These are preformed foam tubes that easily slip onto your pipes and can be cut to the desired length with a utility knife.
- Regularly check for any damaged or missing insulation and promptly replace it to prevent energy loss.
- If you’re insulating hot water pipes, make sure to use insulation with a vapor-retardant backing to prevent condensation buildup.
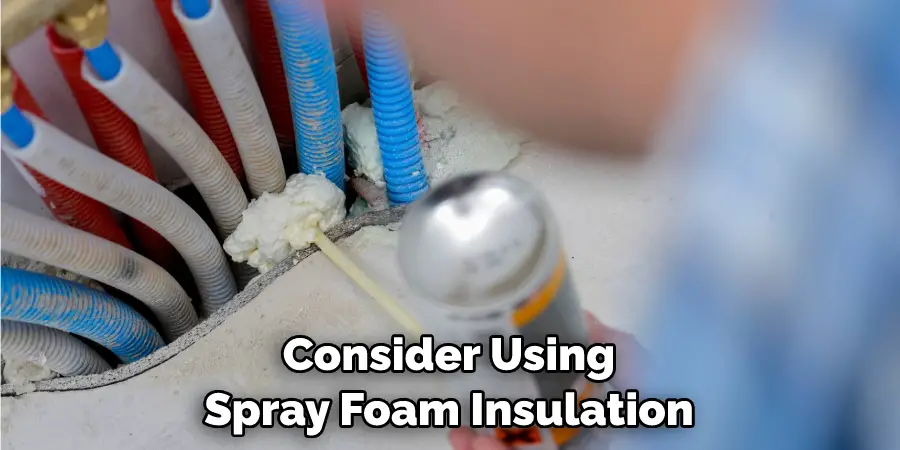
- Consider using spray foam insulation for hard-to-reach areas or oddly shaped piping.
- For added protection against freezing temperatures, install a heat cable along the length of your exposed pipes and plug it in during colder months.
- If your water pipes are located in a garage or attic, make sure to insulate the door or hatch leading to that space to prevent cold air from seeping in.
- For maximum efficiency, insulate both hot and cold water pipes. This will not only save you money on energy costs but also help maintain consistent water temperatures.
Following these tips and tricks will not only help insulate your exposed water pipes but also save you money and energy in the long run. Remember, proper insulation is key to keeping your home comfortable and efficient throughout the year. So don’t forget to regularly check for any damage or wear and tear on your insulation, and make necessary repairs or replacements as needed.
Benefits of Insulating Exposed Water Pipes
- Insulating exposed water pipes can help reduce heat loss by up to 80%. This is because the insulation acts as a barrier that prevents heat from escaping through the walls of the pipe. As a result, you’ll be able to heat your water more efficiently and save money on energy bills.
- Insulating exposed water pipes also helps to prevent frozen pipes. When temperatures drop, water inside the uninsulated pipes can freeze and expand, causing damage to your plumbing system. By insulating the pipes, you’ll be protecting them from extreme temperatures and reducing the risk of expensive repairs.
- Another benefit of insulating exposed water pipes is that it helps to regulate the temperature of your water. Insulation can keep hot water hotter for longer and cold water colder for longer, ensuring that you have consistent water temperatures when using your faucets.
- Insulating exposed water pipes can also help reduce noise from running water. Without insulation, the sound of running water through pipes can be loud and disruptive. However, with proper insulation, the noise can be significantly reduced, providing a more peaceful and quiet environment in your home.
- In addition to these benefits, insulating exposed water pipes also helps protect the environment. By using less energy to heat your water, you’ll be reducing your carbon footprint and contributing to a more sustainable future for our planet.
These are just some of the many benefits of insulating exposed water pipes. By taking this simple and affordable step, you can improve your home’s energy efficiency, protect your plumbing system, and contribute to a greener world. So why not consider insulating your exposed water pipes today? Your wallet and the environment will thank you.
Frequently Asked Questions
What Are Exposed Water Pipes?
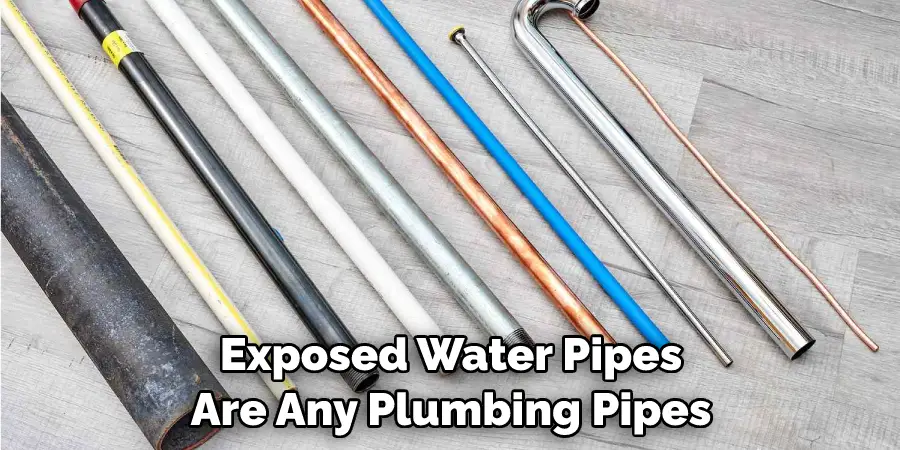
Exposed water pipes are any plumbing pipes that are not hidden within walls, ceilings, or floors. These can include pipes in basements, crawl spaces, attics, and even outdoor plumbing.
Why is It Important to Insulate Exposed Water Pipes?
Insulating exposed water pipes helps prevent freezing during colder temperatures, which can cause the pipes to burst. Burst pipes can lead to significant water damage, resulting in costly repairs and potential health hazards from mold growth.
How Do I Know If My Pipes Need Insulation?
If you live in an area with cold winters or have experienced frozen pipes in the past, it is recommended to insulate your exposed water pipes. You can also check for signs of insulation, such as bare pipes or visible condensation, which can indicate a lack of insulation.
Do I Need to Follow Any Precautions While Insulating Exposed Water Pipes?
Yes, it is essential to take appropriate safety precautions when insulating exposed water pipes. These can include wearing protective gear, using proper insulation materials, and following the manufacturer’s instructions carefully. It is also crucial to turn off the water supply and drain any remaining water from the pipes before beginning the insulation process.
Conclusion
Hopefully, with the above outlined, you can easily learn how to insulate exposed water pipes. Remember, it is always better to be proactive and insulate your pipes before the colder temperatures set in. This will help prevent any potential damage and save you from costly repairs in the long run.
Stay warm and keep your pipes protected! So, if you have any questions or concerns about insulating exposed water pipes, be sure to consult a professional plumber for guidance and assistance. Stay safe, stay warm, and keep your plumbing in optimal condition! Happy insulating!

