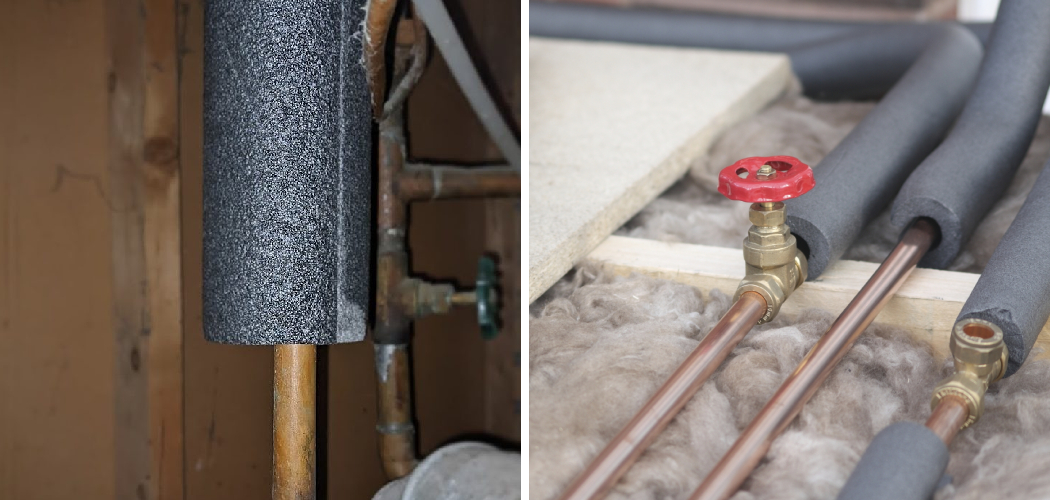
Are you tired of waiting for the hot water to reach your faucet? Are you frustrated with high energy bills due to heat loss from your hot water pipes?
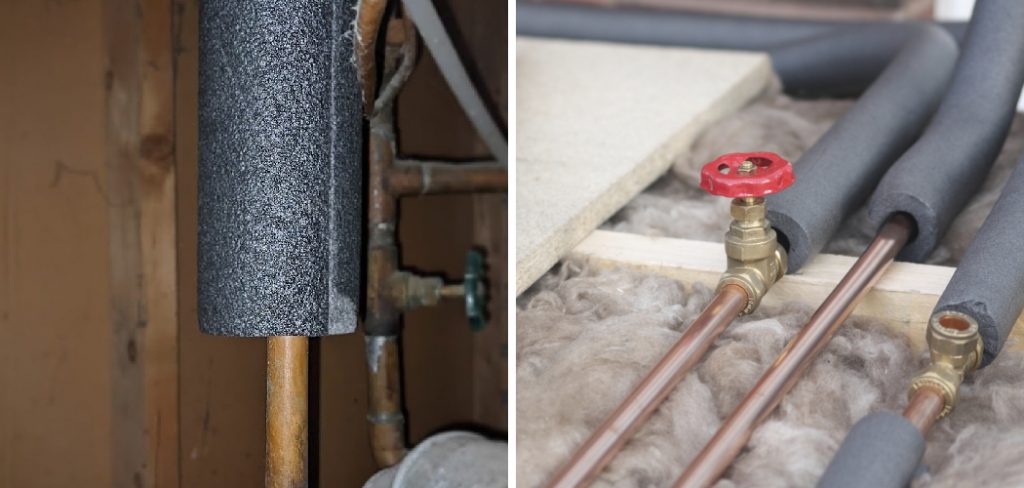
Properly insulating your hot water pipes is an effective way to improve energy efficiency, reduce heat loss, and lower utility costs. By maintaining the water temperature as it travels through your plumbing system, insulation ensures that hot water is delivered more quickly to your faucets, reducing water waste and improving comfort. Additionally, insulated pipes can prevent freezing in colder climates, protecting your home from potential damage.
This guide on how to insulate hot water pipes will walk you through the steps and considerations for insulating your hot water pipes to enhance your home’s efficiency and functionality.
What Are the Benefits of Insulating Hot Water Pipes?
Insulating your hot water pipes can bring a variety of benefits, including:
- Improved Energy Efficiency: Insulated pipes reduce heat loss during water transport, meaning your water heater won’t have to work as hard to maintain the desired temperature. This can result in lower energy bills and a reduced carbon footprint.
- Faster Hot Water Delivery: As mentioned earlier, insulation ensures that hot water travels more quickly through your plumbing system, reducing wait times for hot water at faucets and showers.
- Reduced Risk of Freezing: In cold climates, insulated pipes can prevent freezing and potential damage to your home’s plumbing system.
- Increased Comfort: With faster delivery and reduced heat loss, insulated pipes can help ensure you always have hot water at the desired temperature, for your comfort and convenience.
- Protection Against Accidental Burns: Insulated pipes reduce the risk of accidental burns from touching or coming into contact with hot pipes. This is especially important in homes with young children or elderly individuals.
What Will You Need?
- Insulation material (such as foam, fiberglass, or rubber)
- Measuring tape
- Scissors or a utility knife
- Gloves and protective eyewear
- Adhesive or tape for securing the insulation
- Pipe hangers or clamps (if necessary)
Once you have gathered all of your materials, you can begin the insulation process. It is recommended to wear gloves and protective eyewear while working with insulation material.
8 Easy Steps on How to Insulate Hot Water Pipes
Step 1. Turn Off the Water Supply
Before beginning, ensure that the water supply to the pipes is completely turned off. This step is crucial for your safety and prevents any potential water leakage while you work. Locate the main water supply valve and turn it clockwise to shut off the supply.
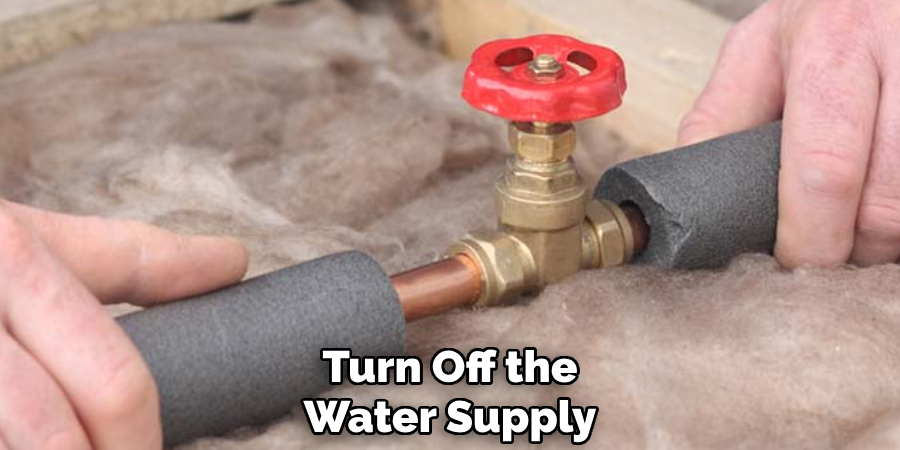
Once the water is turned off, open a nearby faucet to release any remaining pressure in the pipes. This will also help any leftover water drain out, ensuring the pipes are dry and ready for the insulation process. Taking these precautions will make the task safer and more effective.
Step 2. Measure the Pipes
To properly measure the pipes, start by identifying the sections that require insulation. Use a flexible measuring tape to measure the length of each pipe segment, taking into account any bends or corners. Carefully note down these measurements, as accuracy is essential to ensure the insulation fits snugly and provides maximum efficiency.
It’s also important to measure the pipe’s diameter, as the insulation material comes in various sizes designed to suit different pipe widths. If the pipes are in hard-to-reach or confined spaces, consider using a flashlight or a mirror to help you obtain precise dimensions. Double-check your measurements before proceeding to avoid any potential errors that could lead to improper insulation.
Step 3. Cut the Insulation Material
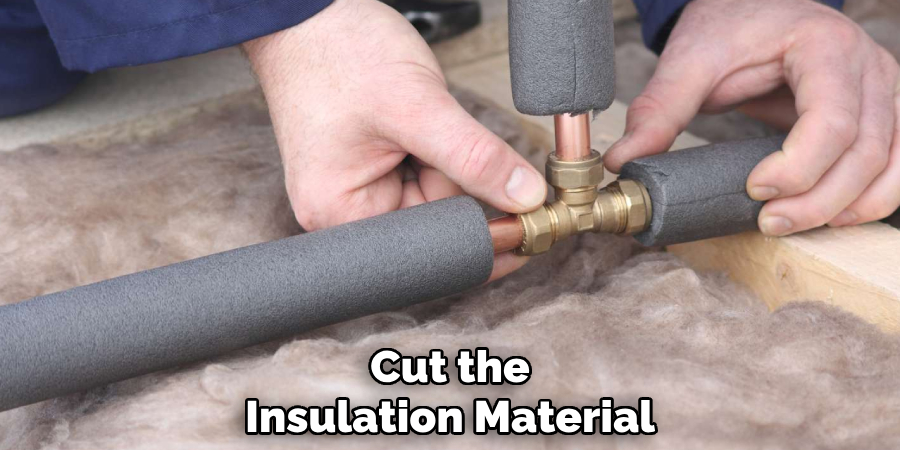
Use a sharp utility knife or specialized insulation cutter to achieve clean, precise cuts. Before cutting, lay the insulation material on a flat, stable surface, and mark the measurements clearly to ensure accuracy. Be sure to follow the length requirements you determined in Step 2, and always cut slightly longer if you’re unsure. Excess material can be trimmed later, but insufficient length can compromise the insulation process.
For pre-formed insulation sleeves, take care to avoid damaging the factory-sealed edges. If working with fiberglass insulation, use gloves to protect your hands, as the material can be abrasive. Proper cutting not only ensures a snug fit but also helps maintain the material’s insulating properties, which reduces energy loss and improves overall pipe efficiency.
Step 4. Open the Insulation
Once the insulation is cut correctly, the next step is to open it carefully and fit it around the pipe. For insulation with a pre-cut seam, gently pull apart the seam to avoid tearing or damaging the material. Ensure that the opening is clean and free from frayed edges or debris, which could interfere with a proper seal. If using tubular insulation, such as foam or rubber sleeves, locate the seam or slit along the length of the tube and pull it apart with steady, even pressure. Avoid over-stretching the material, as this could compromise its integrity or cause gaps when re-sealed.
For fiberglass or other rolled insulation, unfold the material thoroughly and align it to the pipe before wrapping it around. It’s essential to handle the insulation gently, as loose fibers can dislodge and reduce its effectiveness. Pay particular attention to areas around bends or fittings, ensuring the insulation can fully envelop the pipe without leaving gaps. Properly opening the insulation prepares it for secure installation, maximizing its efficiency in maintaining consistent temperatures and minimizing energy waste.
Step 5. Wrap or Slide the Insulation Over the Pipe
After ensuring the insulation is adequately prepared, carefully wrap or slide it over the pipe, starting from one end and working your way to the other. For wrap-style insulation, overlap the edges slightly as you go to create a snug fit and minimize the risk of heat loss or condensation gaps. If you are using pre-slit cylindrical insulation, open the slit just enough to fit it around the pipe, then press it gently but firmly to seal it in place.
Pay extra attention to joints, elbows, and valves, as these areas can be tricky to insulate thoroughly. Use insulation tape or adhesive to secure the ends and seams, ensuring the material stays in place over time. Doing so prevents any shifting that could compromise its performance.
Step 6. Secure the Insulation
Once the insulation is in place, it is crucial to ensure it is securely in place to maintain its effectiveness over time. For straight sections of the pipe, ensure the insulation fits tightly around it, leaving no visible gaps. Use high-quality insulation tape to wrap around the seams and ends of the insulation, providing an extra layer of durability.
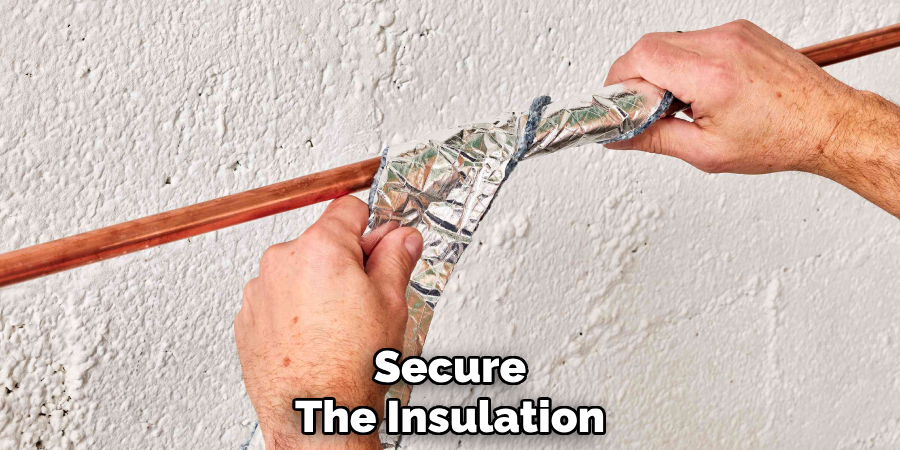
When working on bends, elbows, or irregular areas, consider using adhesive or mastic to reinforce the insulation and prevent it from shifting due to temperature changes or vibrations. Ensure that any overlaps are sealed thoroughly to create a continuous thermal barrier. If your project involves outdoor pipes or areas exposed to moisture, it may be necessary to use a weatherproof covering over the insulation for added protection.
Step 7. Seal the Joints
Sealing the joints is a crucial step to ensure the insulation maintains its effectiveness over time. Gaps or poorly sealed joints can allow heat loss, condensation, or the entry of moisture, which can compromise the insulation’s integrity. To properly seal the joints, use a high-quality sealing tape explicitly designed for insulation applications. Begin by wrapping the tape securely around the joint, ensuring it adheres smoothly and evenly without wrinkles.
For added durability, consider using double-layered tape or applying a layer of mastic sealant to reinforce the bond. Pay special attention to areas where insulation sections meet or where pipes change direction, as these spots are often vulnerable to gaps. Always inspect your work for completeness, checking for any exposed areas or loose seals, and reapply tape or sealant if necessary.
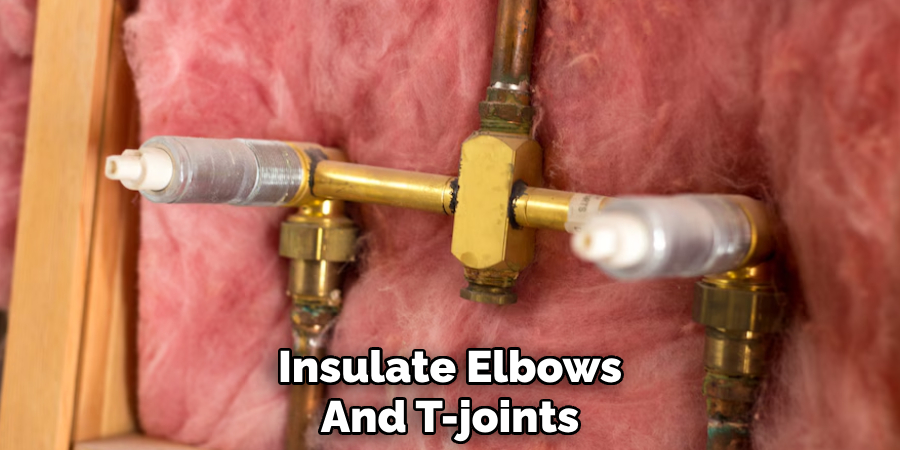
Step 8. Insulate Elbows and T-Joints
Elbows and T-joints are critical points in the pipe insulation process, as these areas are prone to heat loss if not adequately covered. To insulate elbows, start by cutting sections of insulation at an angle so they can fit snugly around the bend. Pre-formed elbow insulation pieces are also available and can simplify this step. For T-joints, measure and cut the insulation to cover all three connecting pipes, ensuring there are no gaps where the pipes meet.
It’s important to use tape or a sealant to secure the insulation in these areas and create an airtight seal. Always verify that the insulation fully covers these joints without leaving exposed surfaces, as even small gaps can lead to inefficiencies. Taking the time to properly insulate elbows and T-joints properly will substantially enhance the overall effectiveness of your pipe insulation system.
By following these guidelines and properly insulating your pipes, you can help make your building more energy-efficient, saving you money on heating and cooling costs.
Conclusion
How to insulate hot water pipes is a straightforward yet highly effective way to improve energy efficiency, reduce heat loss, and lower utility bills.
By selecting the right insulation materials, carefully measuring and cutting them to size, and ensuring all joints and fittings are fully covered, you can significantly enhance the performance of your plumbing system. Not only does this practice help maintain water temperature, but it also contributes to a more sustainable and cost-effective home or building.
Taking the time to insulate your hot water pipes is an investment that pays off in comfort and savings over the long term.

