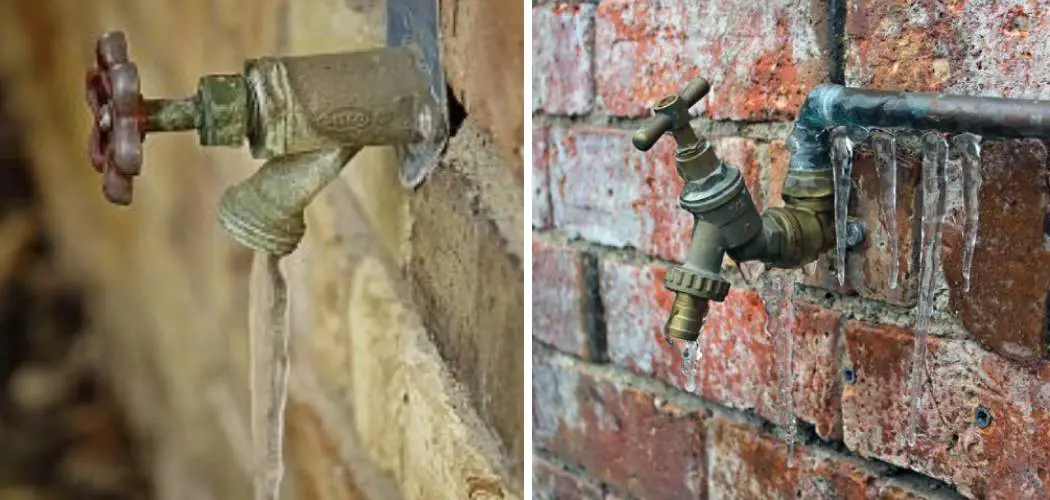
Insulating outside pipes is a crucial step in preventing costly damage during the winter months. When temperatures plummet, exposed pipes are at risk of freezing and bursting, which can lead to water leaks and significant repair expenses.
Proper insulation helps maintain the temperature of the water within the pipes, ensuring that they remain functional and protected from harsh weather conditions.
In this guide on how to insulate outside pipes from freezing, we will explore effective methods and materials for insulating outdoor pipes, equipping you with the knowledge to safeguard your plumbing system and avoid the headaches that come with frozen pipes.
Why Insulate Outside Pipes?
Before we delve into the steps for insulating outside pipes, let’s first understand why it is necessary. When water freezes inside a pipe, it expands and exerts tremendous pressure on the walls of the pipe.
This can cause cracks or even ruptures, resulting in water leaks that can damage your property and require expensive repairs. Additionally, when pipes freeze, water flow is disrupted, leading to inconvenience and potential disruptions to daily activities.
Insulating outside pipes prevents these issues by maintaining the temperature of the water within the pipes above freezing point. It also helps protect against external factors like wind and extreme temperatures that can contribute to frozen pipes.
Materials for Insulating Outside Pipes
There are various materials that can be used to insulate outside pipes, each with its own advantages and suitability depending on the location and type of pipes. Here are some commonly used materials for insulating outdoor pipes:
Fiberglass Insulation:
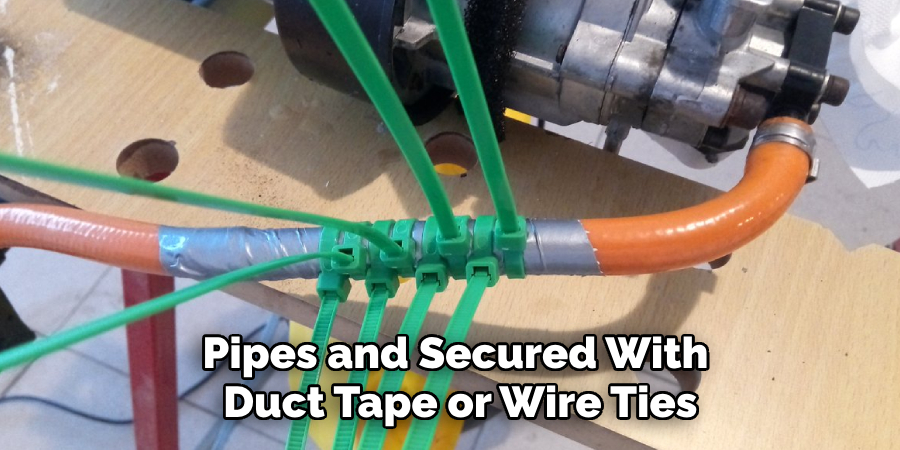
This is a popular option as it is affordable, easy to install, and has good insulating properties. Fiberglass insulation comes in the form of rolls or batts that can be wrapped around pipes and secured with duct tape or wire ties. It is important to wear gloves, a mask, and protective eyewear when handling fiberglass insulation.
Foam Pipe Insulation:
This type of insulation is made from polyethylene or neoprene foam and comes in pre-slit tubes that can easily slip over pipes. Foam pipe insulation is lightweight, durable, and resistant to moisture, making it suitable for outdoor use. It also provides good insulation and can easily be cut to fit around bends or corners in the pipes.
Heat Tape:
Heat tape is a flexible heating element that can be wrapped around pipes to prevent them from freezing. It is ideal for pipes that are located in hard-to-reach areas, as it can be plugged into an electrical outlet and turned on when needed. Heat tape should only be used on metal or rigid plastic pipes and must be installed according to manufacturer instructions for safety.
8 Steps on How to Insulate Outside Pipes From Freezing
Step 1: Identify Which Pipes Need Insulation
The first step in insulating outside pipes from freezing is to identify which pipes are vulnerable to cold temperatures. Begin by inspecting your property’s exterior to locate any exposed pipes, particularly those that run along outside walls, crawl spaces, attics, or areas with poor insulation. Pay special attention to pipes that are situated in shaded areas or are exposed to harsh winds, as these are more likely to freeze.
Additionally, check for any signs of previous freezing or damage, as this may indicate that these pipes require immediate attention. Once you have identified the pipes that need insulation, you can proceed to choose the appropriate insulation materials and methods tailored to their specific needs.
Step 2: Clean and Dry the Pipes
Before applying any insulation, it is essential to ensure that the pipes are clean and dry. Start by removing any dirt, debris, or grease that has accumulated on the surfaces of the pipes. This can usually be done with a cloth or sponge and some mild soap and water. Thoroughly wipe down each pipe, paying attention to the joints and bends where moisture can also gather.
After cleaning, allow the pipes to dry completely, as any trapped moisture can hinder the adhesion of insulation materials and promote rust or corrosion. Taking this step will help ensure optimal insulation and prolong the lifespan of your pipes.
Step 3: Measure the Pipes and Cut Insulation Materials
Once your pipes are clean and dry, the next step is to measure their lengths and diameters accurately. Use a tape measure to determine the distance along each pipe that requires insulation, taking care to account for any bends or fittings that may affect the insulation coverage.

Record these measurements to ensure you purchase or cut the correct amount of insulation material.
After measuring, select your chosen insulation material and carefully cut it to size according to your measurements. For foam pipe insulation, ensure that the lengths are precise and that the slits in the foam align properly with the pipe surfaces.
If using fiberglass insulation, cut the appropriate strips or pieces to fit around the pipes snugly. Proper measurements and cutting are key to ensuring a tight fit, which maximizes the effectiveness of the insulation and prevents cold air from seeping in.
Step 4: Wrap or Secure the Insulation Around the Pipes
With your insulation material prepared, you can now begin wrapping it around the pipes. If using fiberglass insulation, start at one end of the pipe and wrap the strips or pieces tightly around it in a spiral motion until you reach the other end.
Use duct tape or wire ties to secure the insulation in place every few inches along its length. Make sure there are no gaps or spaces between each piece of insulation, as this will reduce its effectiveness.
For foam pipe insulation, simply slip the pre-slit tubes over each pipe, ensuring that they fit snugly and cover all exposed areas. Similar to fiberglass insulation, use duct tape or wire ties to secure the foam in place at regular intervals. If there are any gaps or spaces, use additional pieces of insulation to cover them.
Step 5: Secure Insulation on Exposed Joints and Fittings
Exposed joints and fittings are vulnerable areas that require extra attention when insulating outside pipes. These include elbows, tees, valves, and connections between different pipe materials. For these areas, use self-adhesive foam strips or tape to wrap around the joints and fittings tightly. Alternatively, you can use expanding foam sealant to fill in any gaps or cracks along these areas.
It is essential to ensure that all joints and fittings are adequately insulated, as they can be significant sources of heat loss and increase the risk of freezing.
Step 6: Consider Using Heat Tape for Added Protection
For pipes located in extremely cold or hard-to-reach areas, it may be necessary to use heat tape as an extra layer of protection. As mentioned earlier, heat tape should only be used on metal or rigid plastic pipes and must be installed according to manufacturer instructions for safety. Make sure you check the product’s heating capacity to determine if it is suitable for your specific needs.
Wrap the heat tape around the pipe in a spiral motion, ensuring that there are no gaps or spaces between each layer. Secure the tape in place using duct tape or wire ties, and plug it into an electrical outlet. It is crucial to monitor the heat tape regularly to ensure it is functioning correctly and does not overheat.
Step 7: Insulate Outdoor Faucets and Spigots
Outdoor faucets and spigots are also at risk of freezing, as they are often exposed to cold temperatures and susceptible to leaks. To insulate these areas, use a foam faucet cover or wrap insulation material around them, securing them with duct tape or wire ties. You can also use insulated covers for outdoor hose bibs if needed.
You may also want to consider installing a frost-free faucet, which is designed specifically to prevent freezing and leaks. These faucets feature a long stem that extends into the house, where it is kept warm by interior temperatures. Consult a professional plumber for advice on choosing and installing a frost-free faucet.
Step 8: Regularly Monitor and Maintain Insulation
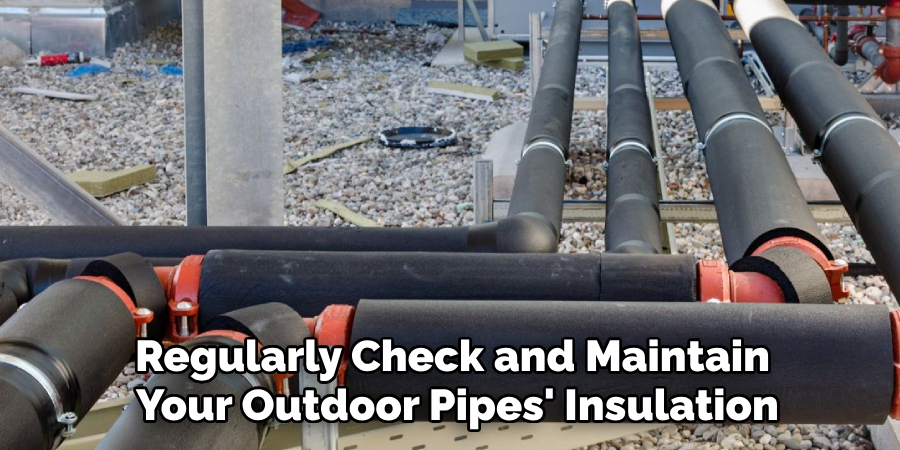
Once your outside pipes are fully insulated, it is important to monitor them regularly and make any necessary repairs or adjustments as needed. Check for any signs of damage or wear on the insulation materials, such as cracks, tears, or gaps. Also, be sure to replace any damaged insulation promptly to maintain optimal protection against freezing temperatures.
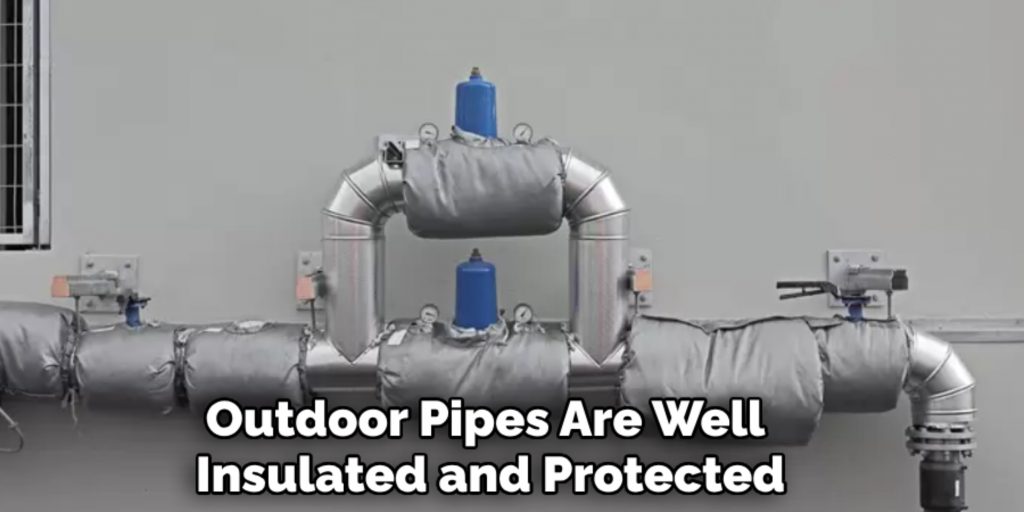
Following these steps on how to insulate outside pipes from freezing will help ensure that your outdoor pipes are well insulated and protected from freezing weather conditions.
By taking the time to properly clean, measure, and install insulation, you can avoid costly repairs and potential water damage to your home. Remember to regularly maintain and monitor your outdoor pipes’ insulation for optimal performance throughout the winter months. Stay warm and safe!
Frequently Asked Questions
Q: What is the Best Insulation Material to Use for Outside Pipes?
A: The best insulation material for outside pipes depends on various factors, including climate, pipe size and location, and personal preferences. Some commonly used materials are foam pipe insulation, fiberglass insulation, and self-adhesive foam strips or tape. It is essential to choose a material that is suitable for your specific needs and provides adequate protection against freezing temperatures.
Q: Can I Use Heat Tape on All Types of Pipes?
A: No, heat tape should only be used on metal or rigid plastic pipes. It is not safe to use on PVC, CPVC, or other types of plastic pipes as it can cause damage and potentially create fire hazards. Be sure to read the manufacturer’s instructions carefully and choose a heat tape with the appropriate heating capacity for your specific pipes.
Q: How Often Should I Check My Outdoor Pipes’ Insulation?
A: Regularly check and maintain your outdoor pipes’ insulation, especially before and during the winter months. Look for any signs of damage or wear, such as cracks, tears, or gaps, and make necessary repairs or replacements as needed.
Monitoring your insulation regularly will help ensure that your pipes are well-protected and avoid potential issues with freezing temperatures. So, it is essential to check them at least once a month during the winter season.
Conclusion
Insulating outside pipes from freezing is crucial in preventing costly damages and maintaining a comfortable living environment during colder months. By following these simple steps on how to insulate outside pipes from freezing, you can protect your home’s plumbing system and avoid potential issues with frozen or burst pipes.
Remember to choose suitable insulation materials and monitor and maintain them regularly for optimal performance. Stay warm, safe, and prepared for the winter season ahead! So, don’t forget to insulate your outdoor pipes properly.

