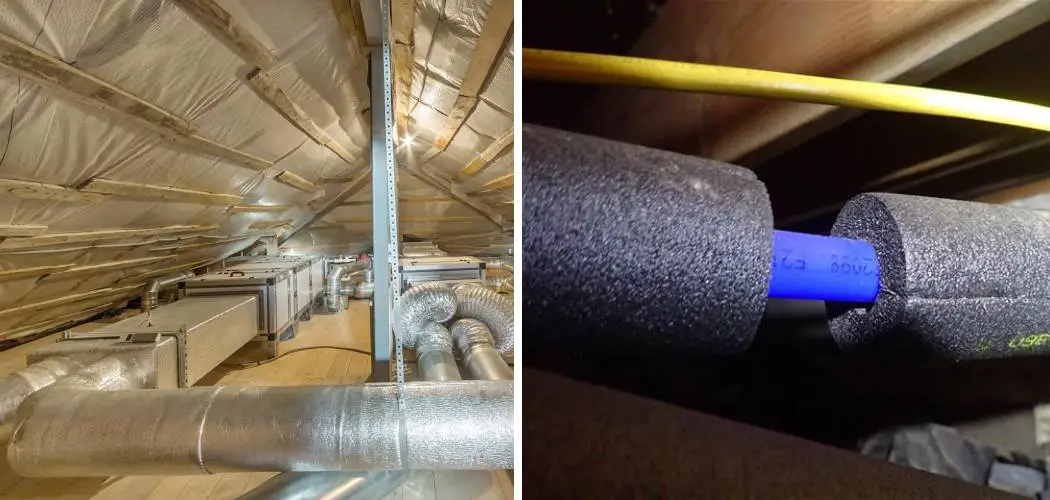
As a homeowner, it can be daunting to take on the task of insulating pipes in your attic. You may have heard horror stories from friends and family and feel daunted by this seemingly intimidating job!
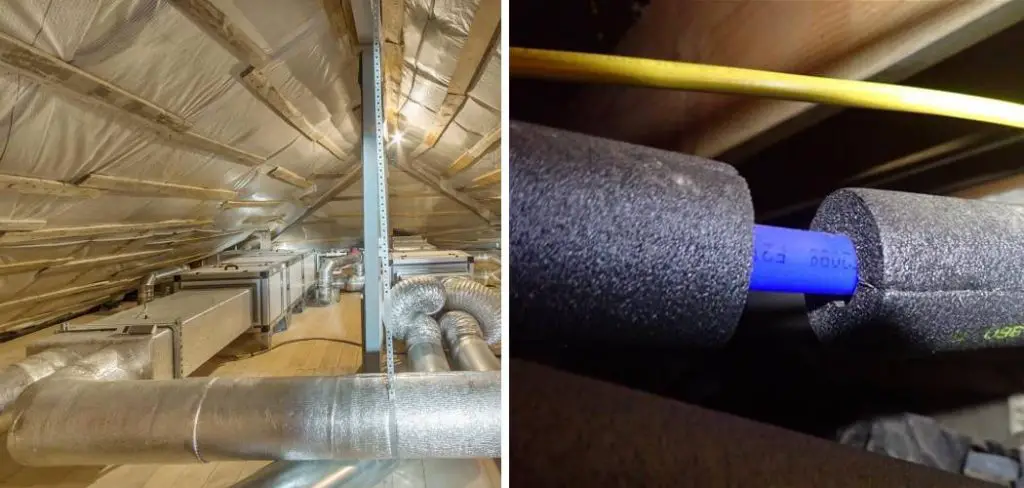
However, you don’t need to be scared – with the right tools, materials, and a bit of elbow grease, you too can successfully insulate your pipes and reap all the benefits that come along with it: energy efficiency, improved pipe temperature maintenance over time, reduced plumbing risk due to freezing temperatures—the list goes on.
In this blog post, we’ll cover how to insulate pipes in attic (or any other area around the house) so you won’t even break a sweat as you learn about what’s involved. Let’s get started!
Supplies You Will Need to Insulate Pipes in Attic
- Pipe insulation (we recommend flexible foam)
- Measuring tape
- Scissors or a utility knife for cutting insulation
- Duct tape
- Weather stripping (if necessary)
- Proper safety gear, including gloves and goggles, if needed
Step-by-step Guidelines on How to Insulate Pipes in Attic
Step 1: Measure the Pipes
Before you purchase any pipe insulation, make sure to measure the diameter and length of your pipes accurately. This will help you determine how much material you’ll need to buy. Typically, foam pipe insulation comes in pre-cut sizes that fit standard-sized pipes perfectly. However, if you have non-standard or larger pipes, you may need to purchase a roll of insulation and cut it yourself with scissors or a utility knife.
Step 2: Cut the Insulation
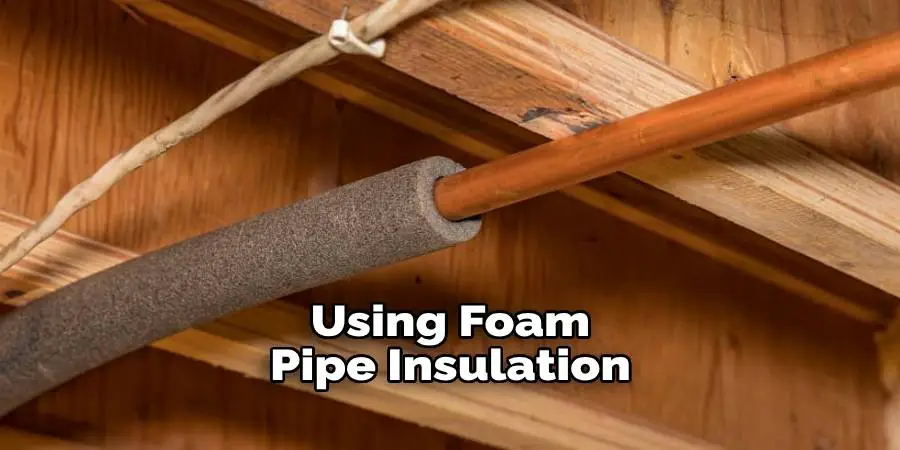
Once you have your measurements, begin cutting the insulation to fit snugly around each pipe. Make sure to leave a little bit of extra insulation at the ends to overlap and seal later. If you’re using foam pipe insulation, make sure to cut it lengthwise so that you can wrap it fully around each pipe. For larger pipes, consider using two pieces of insulation instead of one for optimal coverage.
Step 3: Place the Insulation
Now that you have all your insulation cut to size, it’s time to place it around your pipes. Start at one end and work your way down, making sure to press firmly so that the insulation sticks in place. If you encounter any obstacles or joints along the pipe, carefully cut and shape the insulation to fit around them. For extra security, use duct tape to secure the ends of each piece of insulation together and prevent any gaps from forming.
Step 4: Insulate Other Areas
If you have any other areas in your attic that need to be insulated, such as water tanks or hot water lines, now is the time to do so. Follow the same process for measuring, cutting, and placing insulation around these areas to ensure full coverage. While you’re at it, consider weather stripping around any openings where pipes enter or exit your attic to prevent drafts and maintain energy efficiency.
Step 5: Seal Any Gaps
As a final step, make sure to seal any gaps or holes around pipes with weather stripping. This will help prevent air leaks and keep your insulation in place for the long haul. This is especially important for those living in colder climates, where freezing pipes are a real threat. Once everything is properly sealed and insulated, you can sit back and relax knowing that your pipes are well-protected.
Following these simple steps is all it takes to insulate pipes in your attic. It may seem like a daunting task at first, but with the right tools and a little bit of patience, you can easily save money and protect your plumbing system from potential freezing damage. So why wait? Get started on insulating your attic pipes today! Happy home-owning!
Additional Tips and Tricks for Properly Insulating Pipes in Attic
1. When purchasing insulation, make sure to check the R-value (the measure of thermal resistance) and choose a higher value for optimal energy efficiency.
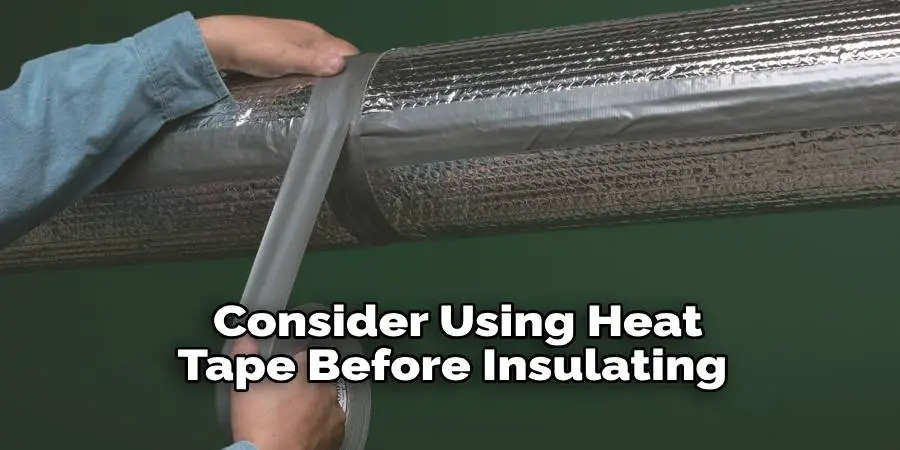
2. For pipes that are prone to freezing, consider using heat tape before insulating them with foam or other materials. This will provide an extra layer of protection against extreme temperatures.
3. Take the time to properly seal any gaps or holes in the attic where pipes pass through. Use caulk or spray foam insulation for a secure seal.
4. Don’t forget to insulate the attic access door or hatch as well. This will help prevent heat loss in the attic and keep your pipes properly insulated.
5. If you live in an older home, consider hiring a professional to inspect your existing insulation and make any necessary upgrades for better energy efficiency.
6. Regularly check your pipes for any signs of damage or wear. If you notice any issues, make sure to address them promptly to prevent future problems.
7. Consider using a pipe sleeve instead of traditional insulation for areas with limited space, such as tight corners or around bends in the pipes. This will provide effective insulation without taking up too much room.
8. Remember to wear protective gear, such as gloves and a face mask, when handling insulation materials. This will help prevent irritation or allergic reactions.
Following these additional tips and tricks will ensure that your pipes are properly insulated in the attic, which will not only protect them from freezing but also save you money on energy bills.
Don’t overlook the importance of properly insulating your attic pipes – it’s a small investment that can have big returns in terms of comfort and cost savings. Keep these tips in mind and enjoy a well-protected and energy-efficient home all year round. So, follow this guide and make sure to insulate your pipes effectively for maximum efficiency! Happy insulating!
Precautions Need to Be Followed for Insulating Pipes in Attic
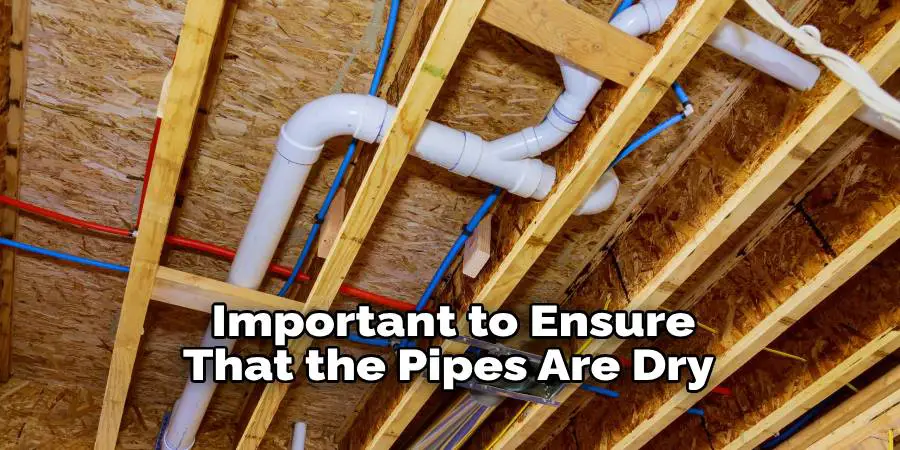
1. First and foremost, it is important to ensure that the pipes are dry before starting the insulation process. This will prevent any mold or mildew growth in the future.
2. Make sure to wear protective gear such as gloves, goggles, and a mask while working with insulation materials. These materials can be irritating to the skin and eyes if not handled properly.
3. It is important to identify any areas where there may be leaks or cracks in the pipes before insulating them. These areas should be sealed with appropriate materials, such as heat-resistant tape or sealant, to prevent air from escaping.
4. If the pipes are to be insulated with fiberglass or mineral wool, it is important to use a vapor barrier to prevent moisture from getting trapped between the insulation and the pipes. This can cause damage over time.
5. When installing the insulation, be sure to leave enough space for any future repairs or maintenance that may need to be done on the pipes. This will save time and effort in the long run.
6. It is also important to properly secure and seal the insulation around the pipes to prevent it from shifting or falling off. This will ensure that the insulation is effective in keeping the pipes warm and reducing energy costs.
7. If there are any electrical components near the pipes, make sure to use non-flammable insulation materials to avoid any potential fire hazards.
8. Lastly, it is recommended to consult a professional if you are unsure about how to properly insulate pipes in your attic. They can provide guidance and ensure that the insulation is done correctly and safely.
Following these precautions will not only help in effectively insulating your pipes but also ensure the safety of your home and family. It is important to prioritize safety when working with insulation materials and taking the necessary precautions can prevent any potential hazards. So make sure to follow these steps carefully before starting the insulation process in your attic. Happy insulating!
Frequently Asked Questions
Why Should I Insulate Pipes in My Attic?
Insulating pipes in your attic can help prevent freezing during cold winter months, saving you from costly repairs and potential water damage. The insulation also helps to regulate the temperature of your home, making it more energy efficient and reducing your utility bills.
How Do I Know If My Pipes Need Insulation?
If you have noticed that your water takes longer to warm up or if your pipes are prone to freezing during cold weather, then it is likely time to insulate them. You can also check for exposed pipes in your attic and feel for any temperature differences between insulated and non-insulated sections. Any exposed pipes that are in areas prone to freezing temperatures should be insulated.
What Are the Benefits of Insulating Pipes in My Attic?
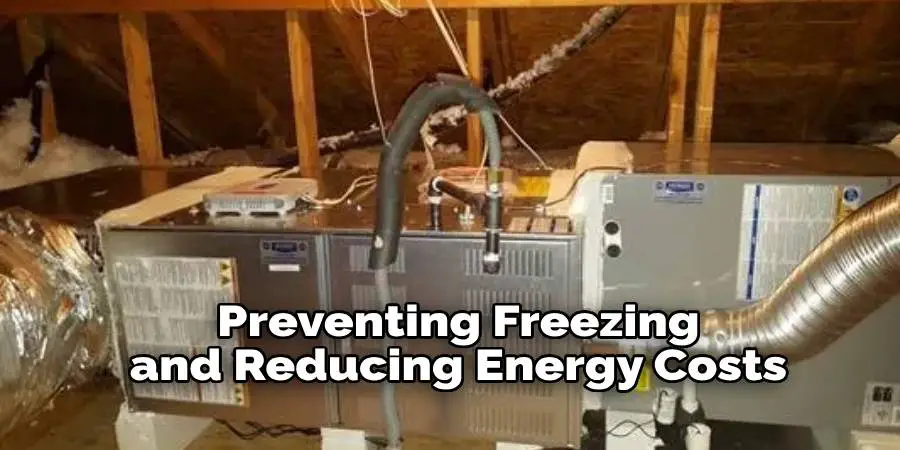
In addition to preventing freezing and reducing energy costs, insulating pipes can also protect them from hot temperatures during the summer. This will help maintain the temperature of your water and prevent it from being too hot, which can lead to scalding.
Insulation can also reduce noise levels from running water, making your home a quieter place. Insulating pipes can also extend their lifespan, as it helps prevent corrosion and damage from extreme temperatures.
Conclusion
With the above outlined you can easily understand how to insulate pipes in attic. It is a simple and cost-effective way to protect your home from potential water damage, reduce energy costs, and increase the lifespan of your pipes.
By taking the time to insulate your pipes, you can ensure that your home stays comfortable and efficient all year round. Stay informed about proper insulation techniques and regularly check for any areas that may need additional insulation to keep your pipes in top condition. So, don’t wait until it’s too late – insulate your attic pipes today! Happy insulating!

