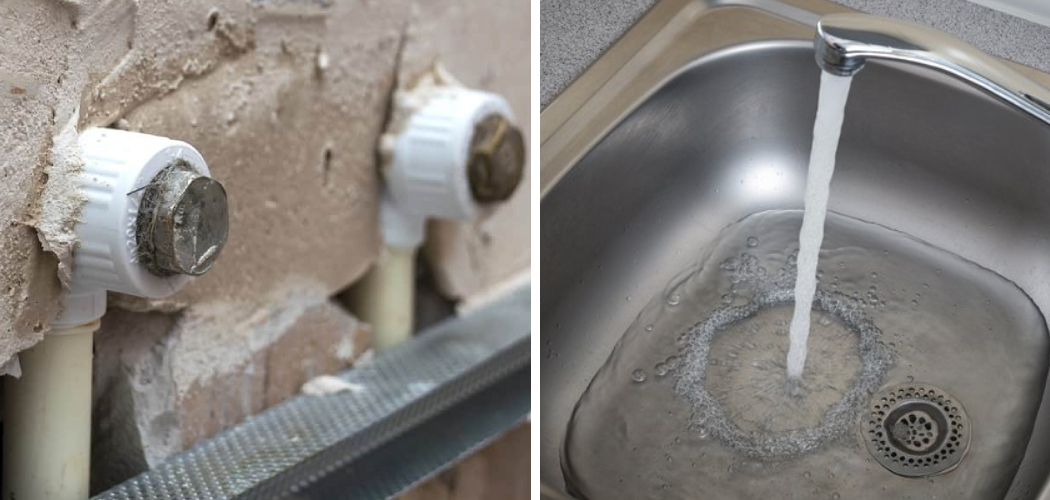
Kitchen sinks are a major source of water leakage in homes. In fact, the U.S. EPA reports that leaks from kitchen and bathroom faucets and fixtures account for 14 percent of all indoor water use, or about 9 billion gallons per day.
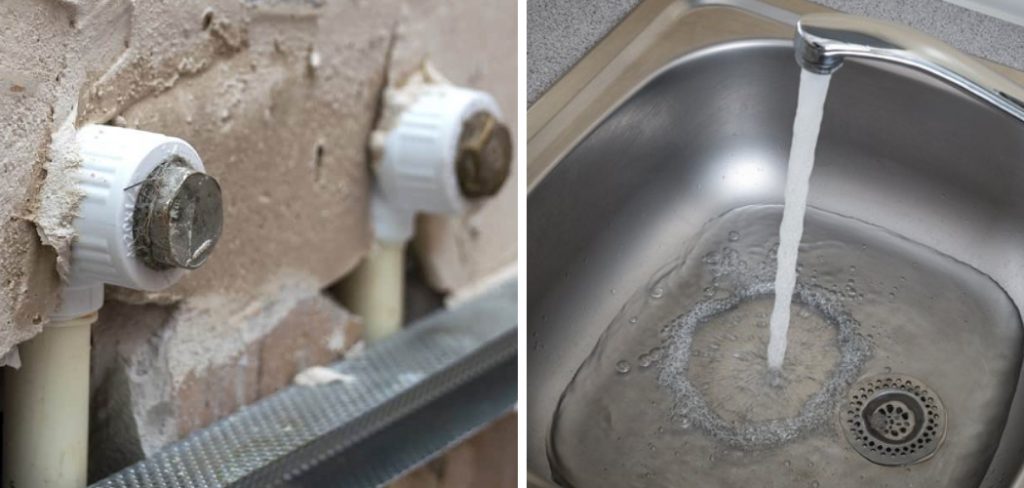
That’s why it’s important to properly insulate your kitchen sink to prevent heat loss and save on your energy bill. If you have ever felt a cold draft under your kitchen sink, you know how annoying it can be. Fortunately, there is an easy way to fix this problem – by insulating the space under your sink. In this blog post, we will show you how to insulate under kitchen sink.
How Do I Stop Condensation under My Sink Pipes?
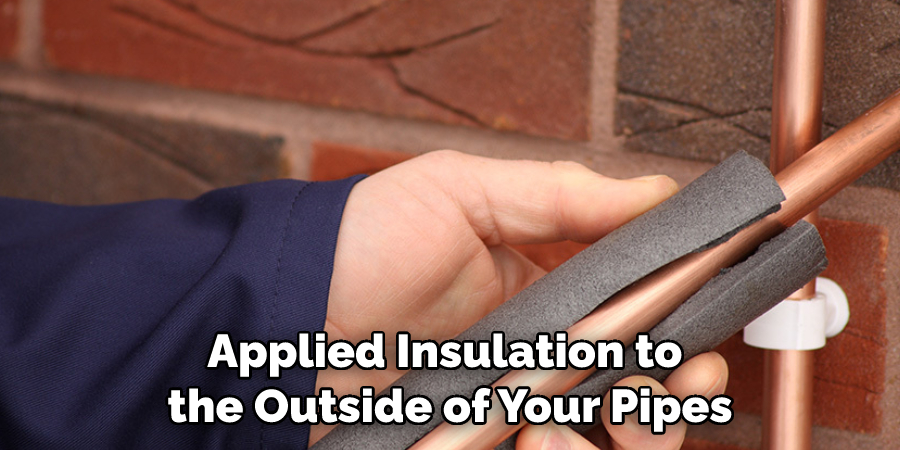
The first step in insulating your kitchen sink is to stop any condensation that may be forming on the pipes. This can be done by applying a layer of insulation to the outside of the pipes. There are many different types of insulation available, such as foam pipe insulation or aluminum foil tape. You should also make sure that all exposed piping is properly sealed with caulk or tape to prevent drafts. However, if you notice any areas where moisture is still present, you may need to apply additional insulation.
Where Should I Place Insulation Under the Kitchen Sink?
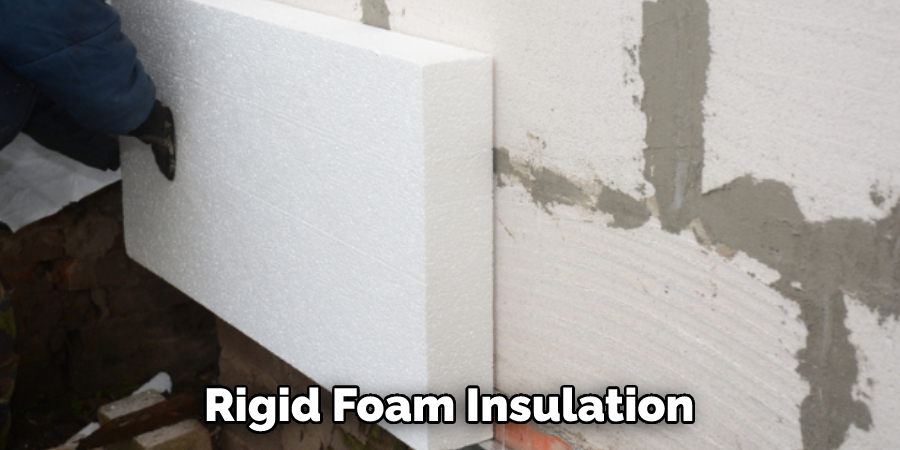
Once you have applied insulation to the outside of your pipes, it’s time to insulate the area under your kitchen sink. The most effective way is to use rigid foam board insulation and cover the entire area with a sheet of plastic.
This will prevent air from entering the space and will also help to keep in any heat that may be generated by the hot water pipes. If you have a cabinet above your sink, make sure to insulate between the cabinet and the wall to reduce heat loss in this area as well. Although this may seem like a tedious task, it will make a huge difference in reducing your energy bills.
8 Methods on How to Insulate Under Kitchen Sink
1. Use a Foam Gasket
One of the easiest ways to insulate your under-sink space is to use a foam gasket. These gaskets are made of flexible foam and can be easily cut to size with a utility knife. They can be placed around your plumbing pipes and faucet to create a barrier of insulation. If you have an exposed pipe, the gasket can be placed directly on it to prevent it from freezing.
2. Use Rigid Foam Insulation
Another option for insulating your under-sink space is to use rigid foam insulation. This type of insulation comes in sheets that can be cut to size and then glued or taped into place. Rigid foam insulation is more difficult to install than a foam gasket, but it will create a more airtight seal.
Although more expensive than other options, rigid foam insulation is very effective at keeping your sink space warm and dry. It also helps to keep the air temperature inside your sink space more consistent. This can help to reduce the chance of condensation forming and dripping onto your countertop or floor below.
3. Use Fiberglass Insulation
If you want an even more durable option, you can use fiberglass insulation. This type of insulation comes in rolls that can be cut to size and then stapled or nailed into place. Fiberglass insulation is more difficult to install than both foam gaskets and rigid foam insulation, but it will create an extremely airtight seal.
Now that you know the different types of insulation available, you can choose which one is best for your project. Be sure to take into consideration the cost and difficulty of installation, as well as the airtightness and durability of each insulation type, before making a decision.
4. Install Weatherstripping
Weatherstripping is another easy way to insulate your under-sink space. This type of sealant can be found at most hardware stores and can be easily applied around the perimeter of cabinet doors.
While it may not provide as much insulation as caulking, it’s perfect for preventing drafts and air leaks. Weatherstripping also helps keep your pipes from freezing in the winter. To install, just measure and cut the weatherstripping to fit around each cabinet door and then secure it with a few staples or nails. Once it’s in place, it will create a tight seal that should last for many years.
5. Use Caulk
Caulk is another type of sealant that can be used to insulate your under-sink space. This material comes in a tube and can be applied around the perimeter of the cabinet doors with a caulking gun. Once in place, simply close the doors, and the space will be sealed off from the rest of the kitchen. Try to use a mold-resistant caulk for the best results. Caulk can also be used to seal around other places in your kitchen, such as where the countertop meets the wall, or around any pipes that are exposed.
6. Install Door Sweeps
Door sweeps are strips of metal or plastic that are mounted on the bottom edge of a door in order to seal off any gaps between the door and the floor. Door sweeps are an easy way to insulate your under-sink space and can be found at most hardware stores.
You Can Check It Out to Disconnect Dryer Gas Line
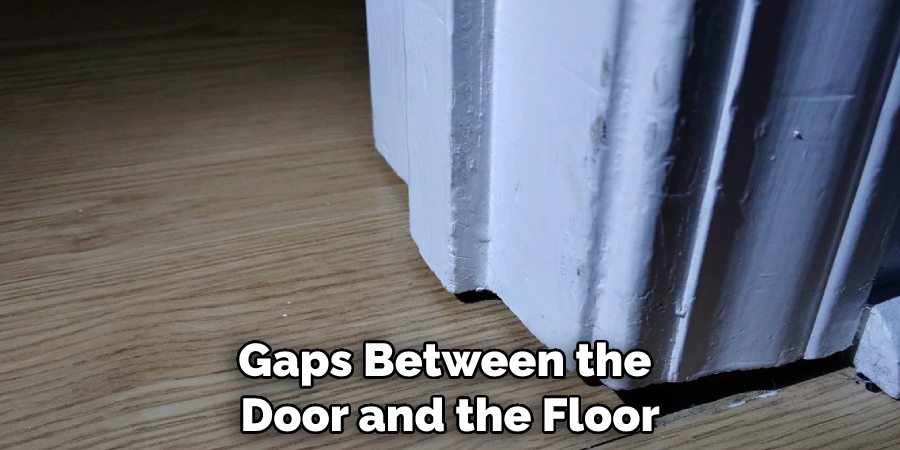
Start by measuring the gap between your door and the floor, then head to a local hardware store to purchase a door sweep of the appropriate size. When you get home, follow the instructions included with your door sweep to install it properly. Once installed, you’ll have an extra layer of insulation that will help keep out unwanted drafts and pests.
7. Apply Weather Stripping
Weatherstripping is a great way to insulate any doors in use that lead to your under-sink space. It will create a seal between the door and the adjacent wall or floor, creating a barrier that helps prevent heat from escaping. Start by measuring the gap between your door and wall or floor, then head to a hardware store for weatherstripping of appropriate size.
When you get home, carefully install the weatherstripping following the instructions on the package; this usually involves cutting pieces of weatherstripping to the right size and gluing them in place. Once installed, you’ll have an extra layer of insulation that will help keep out unwanted drafts and pests.
8. Use Insulated Curtains
Insulated curtains are a simple and cost-effective way to insulate any windows in or near your under-sink space. Start by measuring your window frame dimensions, then head to a local hardware store for insulated curtains of the appropriate size. When you get home, hang the curtains following the instructions on the package; this usually involves using adhesive tape or magnets to hold the curtains in place. Once installed, you’ll have an extra layer of insulation that will help keep out unwanted drafts and pests.
Things to Consider When Insulating under Kitchen Sink
1. Determine the Most Appropriate Insulation Material:
The most common materials used for insulating under a kitchen sink are fiberglass and foam, both of which have their pros and cons. Fiberglass is lightweight, fire-resistant, and can be cut easily to fit around plumbing pipes. It also provides solid insulation but can irritate the skin if not handled with care. Foam on the other hand has a higher R-value, meaning it’s better at preventing heat transfer. However, foam is flammable and takes longer to install due to its more complex shapes.
2. Make Sure That All Plumbing Pipes Are Insulated:
Insulation under your kitchen sink should extend over any exposed piping or joints in order to reduce the risk of condensation forming on them. This could lead to water accumulation and potential issues with your plumbing system so make sure you thoroughly cover every pipe with insulation.
3. Avoid Using Any Type of Plastic:
Plastic is not suitable for insulating under your kitchen sink as it can potentially trap moisture and create an ideal environment for mold to grow.
4. Leave a Small Gap Around the Edge of the Sink:
This will allow air to circulate freely and reduce the chances of condensation forming on the underside of your sink. It’s also important to make sure this gap is covered with insulation so that heat doesn’t escape from the area.
5. Install a Fan in the Cabinet:
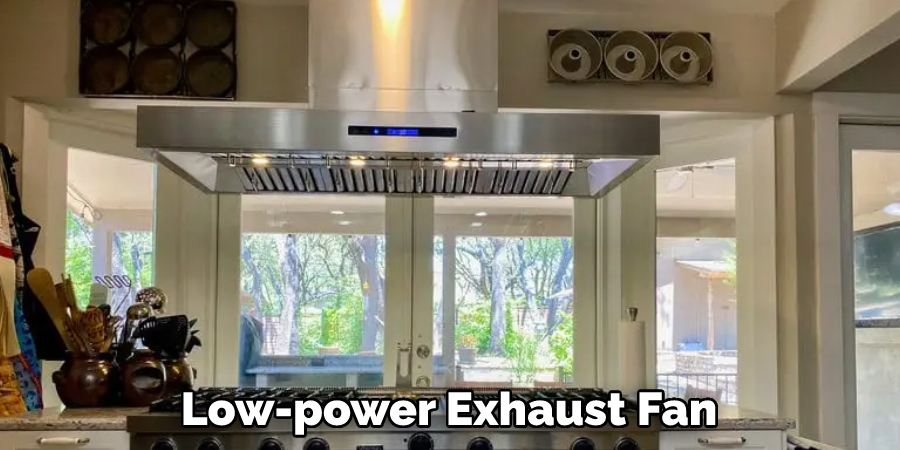
A small, low-power exhaust fan will help draw out any remaining humidity in the airspace beneath your kitchen sink, preventing it from accumulating and causing damage or mold growth.
Conclusion
Properly insulating your kitchen sink can save you money on your energy bills, as well as keep your pipes from freezing in the winter. By following the tips above, you can easily insulate the area under your sink and enjoy a warm and comfortable environment in your kitchen.
We hope this guide has been helpful in showing you how to insulate under kitchen sink. If you have any questions or comments, please feel free to leave them below! Thanks for reading!

