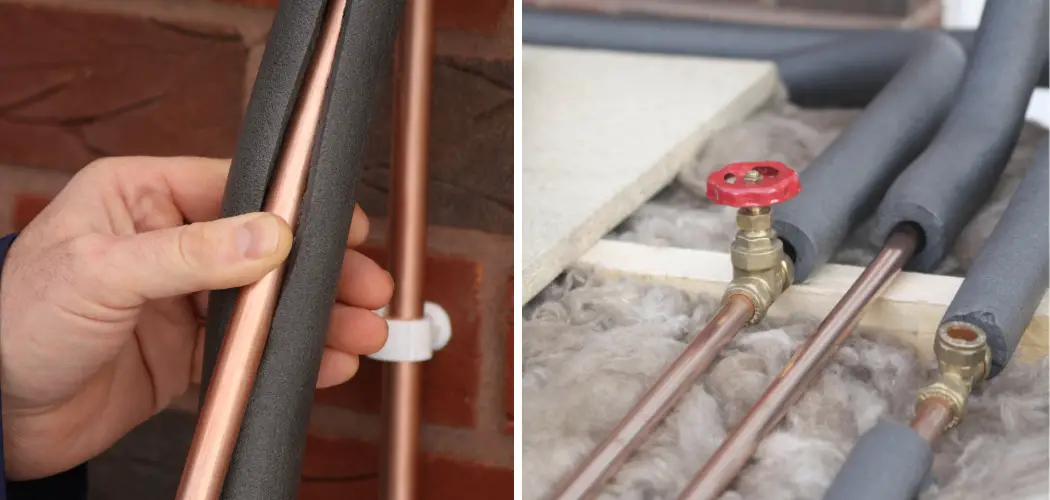
When the temperature drops, water lines can freeze and burst, causing costly damage to your home. Insulating water lines is a cost-effective way to prevent this from happening. It not only protects your pipes but also ensures that you have access to running water during cold weather.
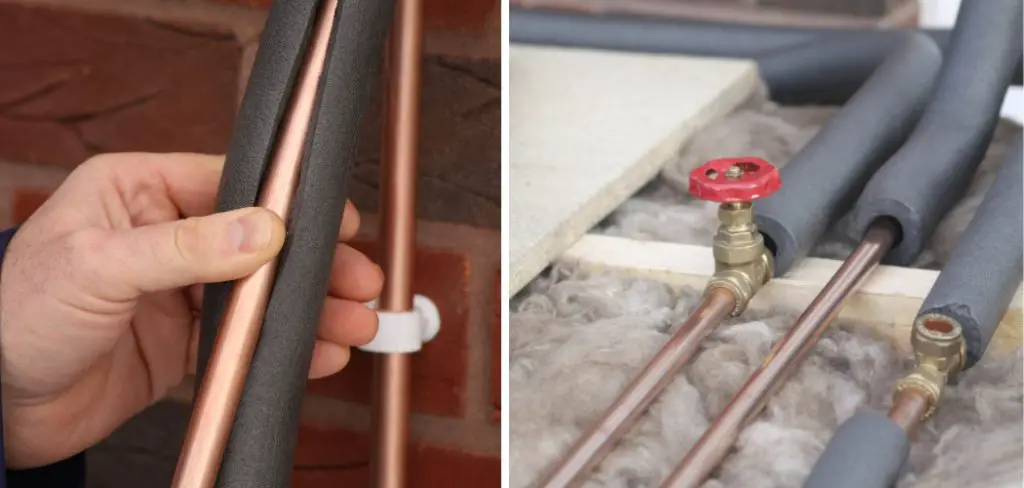
The main advantage of insulating water lines is that it helps to prevent them from freezing during cold weather. This is especially important for outdoor water lines, such as those connected to garden hoses or sprinkler systems. Frozen pipes can lead to costly damages and repairs, so insulating them can save you from potential headaches and expenses. In this blog post, You will learn in detail how to insulate water lines.
Materials You Will Need
- Pre-slit foam pipe insulation
- Elbow and T-pipe insulation
- Insulation tape
- Pipe hangers or straps
- Scissors or utility knife
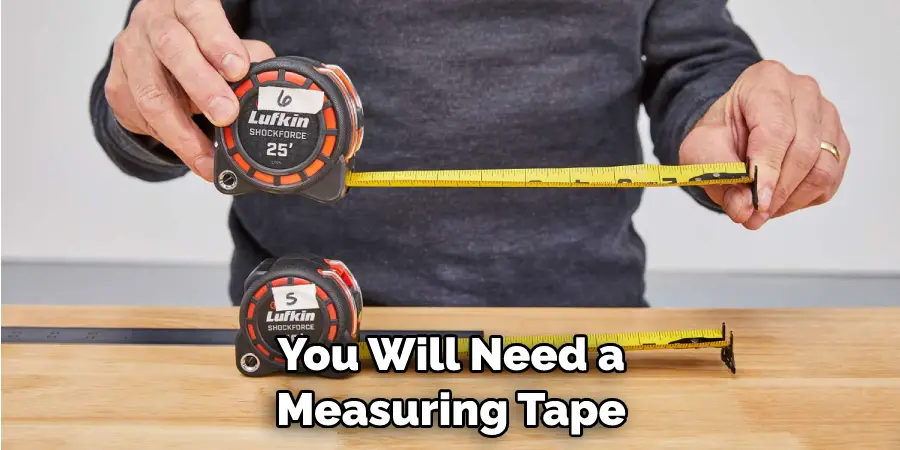
- Measuring tape
- Pencil or marker pen
- Plastic ties or cable ties
- Screwdriver (if applicable)
- Caulk (optional)
Water lines are an essential part of our plumbing system and provide us with the daily convenience of running water for various household tasks. However, during cold winter months, these lines are at risk of freezing due to low temperatures.
Step-by-step Instructions for How to Insulate Water Lines
Step 1: Inspect Your Water Lines
Before you begin insulating, inspect your water lines to ensure they are in good condition. Look for any leaks or damage that may require repair before proceeding with the insulation process. There are several types of insulation materials available such as foam, fiberglass, and rubber. Choose an appropriate material based on the climate conditions and the type of pipes you have.
Step 2: Gather Necessary Tools and Materials
In addition to insulation material, you will need a measuring tape, gloves, utility knife, duct tape, and pipe wrap. Make sure all these items are readily available before you start insulating your water lines. Clear out any clutter or debris around the water lines to make room for your work. This will also ensure that you have enough space to move around and access all areas of the pipes.
Step 3: Measure and Cut Insulation Material
Using a measuring tape, measure the length of each section of the water line that needs to be insulated. Cut out a piece of insulation material according to the measurement using a utility knife. Wrap the insulation material around the pipes, making sure there are no gaps or spaces in between. Secure the ends with duct tape to keep the material in place.
Step 4: Insulate Exposed Sections
If your water lines have any exposed sections, make sure to insulate them as well. This will prevent these vulnerable areas from freezing. For extra protection, you can use pipe wrap on top of the insulation. This will provide an additional layer of insulation and help keep the pipes from freezing.
Step 5: Check for Any Gaps or Spaces
After insulating all sections, check for any gaps or spaces that may have been missed. Use duct tape to seal any openings and ensure that the insulation is secure. Regularly check your insulated water lines for any signs of damage or wear. If you notice any issues, make necessary repairs as soon as possible to maintain the effectiveness of the insulation.
Following these simple steps will help keep your water lines well-insulated and prevent them from freezing during cold weather. Remember to always prioritize safety and take the necessary precautions when handling insulation materials.
Safety Precautions for How to Insulate Water Lines
- Always wear protective gear such as gloves, safety glasses and a long-sleeved shirt when working with insulation materials.
- Make sure to check the temperature of hot water lines before beginning installation of insulation. Use a thermometer to determine the temperature and make sure it is below 140°F (60°C). If the water is hotter than this, wait for it to cool down before proceeding.
- Be cautious when working near electrical sources or outlets, as some insulation materials may conduct electricity and could cause a safety hazard.
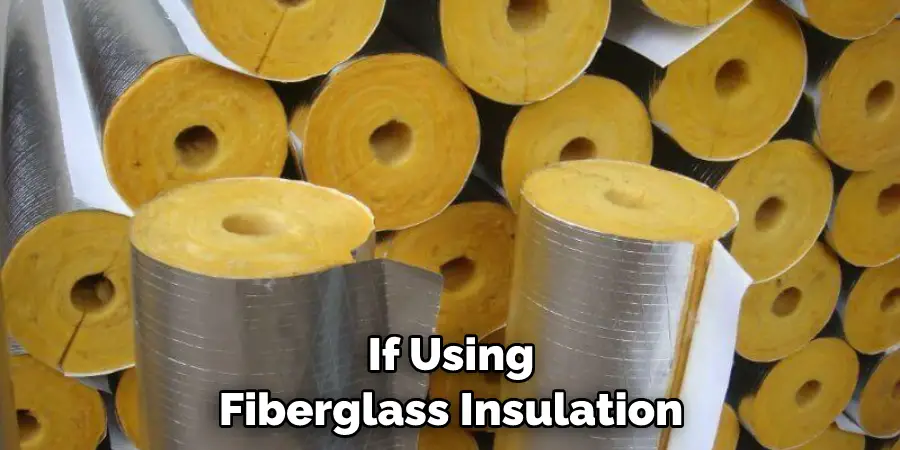
- If using fiberglass insulation, be careful not to inhale the fibers as they can irritate the lungs and skin. Wear a face mask or respirator if necessary.
- When cutting insulation material, use proper tools such as a utility knife or scissors to avoid accidents and ensure clean cuts.
- Avoid using insulation materials that contain formaldehyde, a harmful chemical found in some types of foam insulation. Look for safe alternatives such as cellulose or mineral wool.
- If working in cold weather conditions, make sure to dress warmly and take frequent breaks to warm up. This will help prevent cold-related injuries such as frostbite or hypothermia.
By following these safety precautions, you can ensure a smooth and safe process while insulating water lines in your home. Remember to always prioritize safety first and seek professional help if needed.
What Are the Benefits of Insulating Water Lines?
Insulating water lines is a great way to improve the efficiency of your plumbing system and save money on your utility bills. Whether you live in a cold climate or just want to conserve energy, insulating your water lines can provide several benefits. In this article, we will discuss some of the main advantages of insulating water lines.
1. Improved Energy Efficiency
One of the main reasons to insulate your water lines is to improve energy efficiency. When water travels through uninsulated pipes, it loses heat as it passes through the colder surrounding air. This means that your water heater has to work harder and use more energy to maintain the desired temperature. By insulating your water lines, you can prevent this heat loss and reduce the amount of energy needed to heat your water.
2. Protection Against Freezing
Insulating water lines is especially important in colder climates, where frozen pipes can become a major issue. When water freezes, it expands and can cause the pipes to burst. This not only leads to costly repairs, but it also wastes valuable water. By insulating your water lines, you can protect them from freezing and avoid potential damage to your plumbing system.
3. Reduced Noise
If you have ever heard loud banging or clanging noises when turning your water on or off, it may be due to uninsulated pipes. The sound of rushing water can also be amplified by uninsulated pipes. By adding insulation, you can reduce these noise disturbances and enjoy a more peaceful home.
4. Prevents Condensation
Insulating water lines can also prevent condensation from forming on your pipes. This is especially important in areas with high humidity levels. Condensation can cause damage to the surrounding walls and floors, as well as potentially promote the growth of mold or mildew. By insulating your water lines, you can eliminate the risk of condensation and protect your home.
5. Saves Money
By improving energy efficiency, preventing freezing, reducing noise, and preventing condensation, insulating water lines ultimately saves you money. Not only will your utility bills decrease, but you will also avoid costly repairs and potential damage to your home. Additionally, many utility companies offer rebates or incentives for implementing energy-saving measures like insulating water lines.

Can Existing Insulation Be Replaced if It Becomes Damaged?
When it comes to insulating water lines, many homeowners may wonder if existing insulation can be replaced if it becomes damaged. The answer is yes, but there are a few things to consider before doing so.
Firstly, it’s important to properly diagnose the reason for the damage. If the insulation has been damaged due to pests or moisture, simply replacing it will not solve the underlying issue. Steps must be taken to eliminate the source of the problem before any new insulation is installed.
Secondly, it’s important to choose the right type of insulation for your water lines. There are various types available such as foam pipe insulation, fiberglass pipe wrap, and even self-sealing rubber tubes. It’s best to consult with a professional or do some research to determine which type is best for your specific needs and budget.
Once you have determined the cause of the damage and chosen the appropriate insulation, it’s time to replace the old insulation. This can be a messy process, especially if there is exposed moisture or mold. It’s important to wear protective gear and properly dispose of any damaged insulation.
What is the Cost of Insulating Water Lines?
There are several methods that can be used to insulate water lines. The most common method is by using foam pipe insulation, which is an affordable and efficient way to prevent heat loss from the pipes. However, there are some alternative methods that can also be used for insulating water lines.
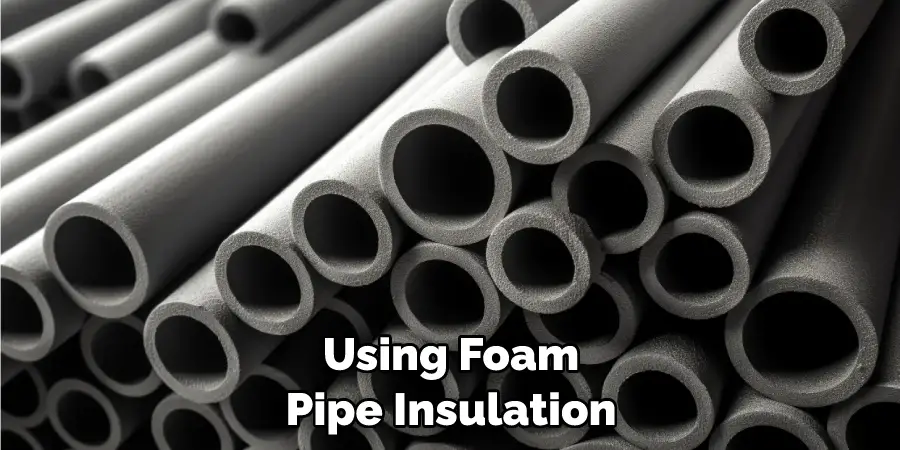
The cost of insulating water lines can vary depending on the materials and methods used. Foam pipe insulation is generally considered to be the most cost-effective option, with prices ranging from $1 to $5 per linear foot. Other options such as fiberglass or rubber pipe insulation may cost more but can also provide better insulation.
Conclusion
In conclusion, insulating water lines is an important task that can help save money and protect your home during the harsh winter months. It is a relatively simple process that can be done by anyone with basic DIY skills. By properly insulating your water lines, you can prevent frozen pipes, reduce energy costs, and extend the life of your plumbing system.
To insulate your water lines, make sure to use quality insulation materials such as foam pipe insulation or self-sealing rubber tubes. Take note of any areas where pipes are exposed to cold areas or drafts and pay special attention to them. I hope this article has been beneficial for learning how to insulate water lines. Make Sure the precautionary measures are followed chronologically.

