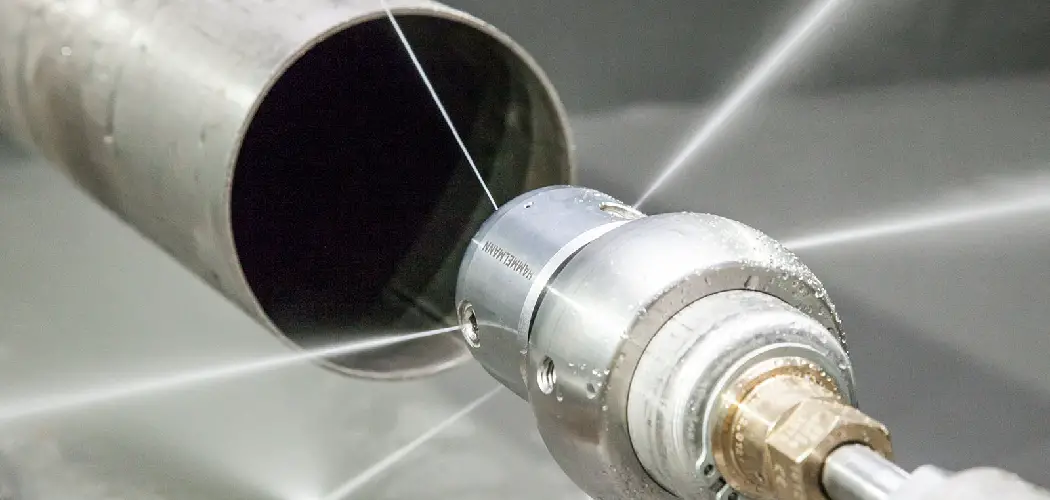
Are you experiencing a clogged drain line? If so, you may need to jet your drain line to clear any blockages and keep the water flowing smoothly. Jetting is a process that uses high-pressure water to remove debris and build-up from inside your drain pipes.
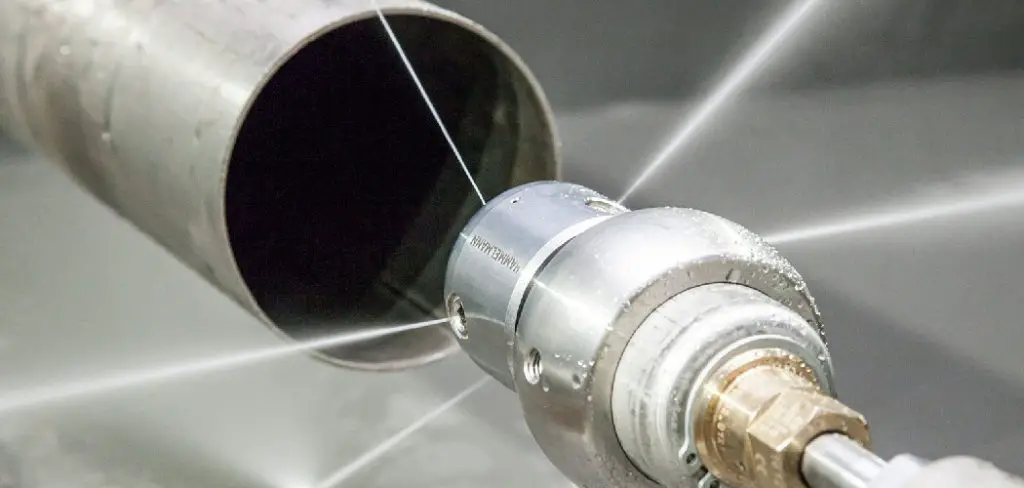
If you ever need to unclog a particularly stubborn drain line, don’t worry. With this comprehensive guide on how to jet a drain line, you’ll be able to tackle even the most challenging obstruction easily and confidently.
Not only will this guide teach you the essential steps in getting a drain line, but it will also equip you with advanced tips and tricks proven to help clear out blockages more effectively.
The best part? You don’t need special tools or any prior plumbing experience; these instructions are easily doable for anyone who follows them closely!
What Will You Need?
To jet a drain line, you’ll need the following items:
- A high-pressure water source such as a pressure washer or sewer jetter
- Protective gear, including gloves, goggles, and boots
- A hose long enough to reach from your water source to the clogged drain
- A sewer jetting nozzle or attachment for your pressure washer
- A plumbing snake, just in case the jetting process is not enough to remove the blockage,
Now that you have all your materials ready let’s dive into the steps on how to get a drain line.
10 Easy Steps on How to Jet a Drain Line
Step 1. Preparation:
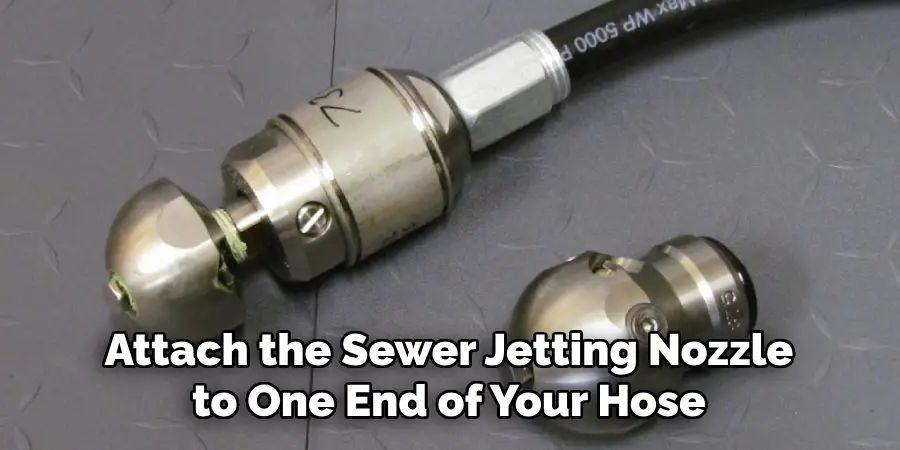
The first step is to set up your equipment. Attach the sewer jetting nozzle to one end of your hose, and connect the other end to your high-pressure water source. Ensure all connections are secure to prevent leaks.
Step 2. Safety Measures:
Before you begin the process, remember to put on your protective gear. This includes gloves, goggles, and boots. This equipment will keep you safe from any debris that may be expelled during the jetting process. It’s important to take these precautions to avoid any potential injuries.
Step 3. Locating the Blockage:
To effectively jet your drain line, determine where the blockage is. You can do this by manually feeding a plumbing snake into the drain. When the snake can no longer progress, you’ve likely found your obstruction.
Mark this location for reference during the jetting process. It’s essential to pinpoint the location of the blockage to ensure the jetting procedure is as effective as possible.
Step 4. Initiating the Jetting Process:
Once you’ve located the blockage, it’s time to start the jetting process. Slowly feed the hose with the sewer jetting nozzle attached to the drain until it reaches the obstruction. Start the high-pressure water source and allow the pressure to dislodge and break apart the blockage. Be patient.
This process can take some time, depending on the size and nature of the obstruction. Remain alert for any changes in the flow of the water as this could signify the blockage is being cleared.
Step 5. Monitoring the Process:
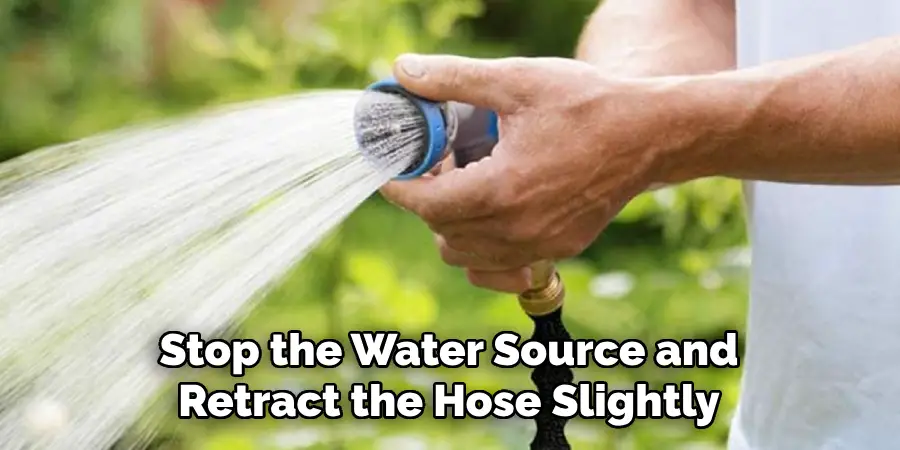
As the jetting process is underway, pay close attention to the flow of the water. If the water flows back towards you, stop the water source and retract the hose slightly. This indicates that the blockage is not yet fully cleared. Once the blockage is removed, the water should flow freely down the drain.
If the water still isn’t flowing after several attempts, you may need to try a different technique or seek professional help. Remember to proceed with caution to avoid damaging your drain line.
Step 6. Retracting the Hose:
After successfully clearing the blockage and observing a free flow of water, it’s time to retract the hose. Turn off the high-pressure water source first to ensure safety. Then, slowly pull the hose back out of the drain, making sure to keep the area clean and avoid any potential mess. This step should be done with care to prevent any possible damage to the inside of the drain line.
Step 7. Inspecting the Drain Line:
After removing the hose, it’s crucial to inspect the drain line to ensure the blockage is entirely cleared and no residues are left behind. You can run water down the drain to observe its flow.
If the water flows smoothly and quickly, it’s a good sign that you have successfully jetted your drain line. In case there’s still a slow drain or blockage, you might need to repeat the jetting process or consider hiring a professional if the problem persists.
Step 8. Clean Up:
Post-jetting, it’s essential to clean up your work area. This includes properly disposing of any debris or residue that may have been expelled from the drain during the jetting process. Additionally, ensure that all tools are cleaned and stored safely for future use. Cleaning up after the job not only leaves the area tidy but also ensures prolonged tool life and readiness for any future drain jetting tasks.
Step 9. Regular Maintenance:
Post-jetting, schedule regular maintenance for your drain line to prevent future blockage. This can involve periodic checks for any slow drains, regularly cleaning the drain line, or even scheduled jetting once or twice a year.
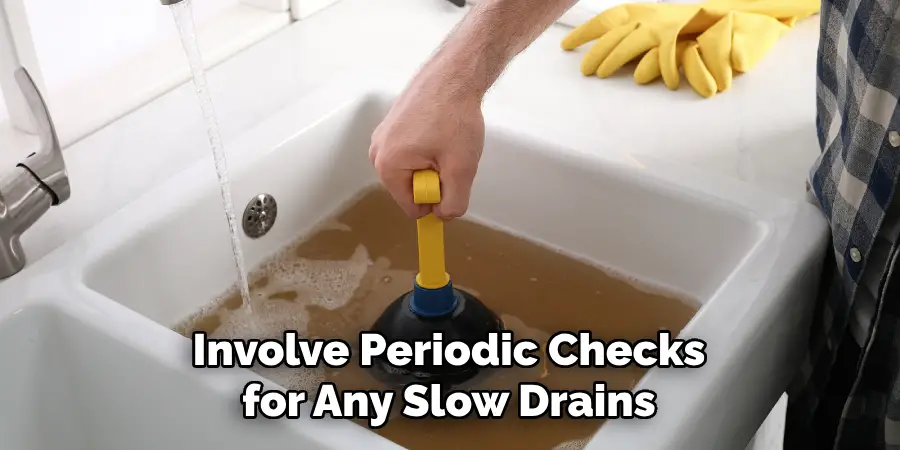
Remember, prevention is better than cure, and maintaining a clean drain line can save you the trouble of dealing with stubborn blockages in the future.
Step 10. Celebrate Your Success:
Congratulations! You’ve successfully jetted your drain line. After completing all these steps, take a moment to appreciate your work. Drain jetting is a challenging task, and you’ve proven you can handle it effectively.
Going forward, you’ll have the knowledge and skills to handle similar issues. Great job! Remember, as with all plumbing endeavors, safety measures and regular maintenance are crucial to avoiding severe blockages and keeping your drain lines flowing smoothly.
By following these 10 easy steps, you know how to jet a drain line effectively and safely. With the right equipment, preparation, and techniques, you can save yourself time, money, and the hassle of dealing with clogged drains.
5 Additional Tips and Tricks
- Appropriate Pressure: It’s crucial to use the correct pressure when jetting a drain line. Too much pressure can cause damage to the pipes, while too little might not effectively clear the blockage.
- Proper Technique: When jetting a drain line, the nozzle should be inserted into the drain and slowly moved back and forth to break down the clog. The idea is to use the force of the water to push the debris out of the drain.
- Consider the Environment: Jetting uses a lot of water, so it’s important to consider its environmental impact. Try using eco-friendly products or reducing the amount of water used during jetting.
- Check for Other Issues: While jetting can effectively clear a blockage, it’s essential to also check for any underlying issues with the drain line. If the blockage keeps recurring, a more significant problem could need to be addressed.
- Preventive Measures: To avoid frequent clogs in your drain line, consider implementing preventive measures such as regular maintenance and using drain screens to catch debris before it goes into the drain. These simple steps can help prevent future costly and time-consuming jetting sessions.
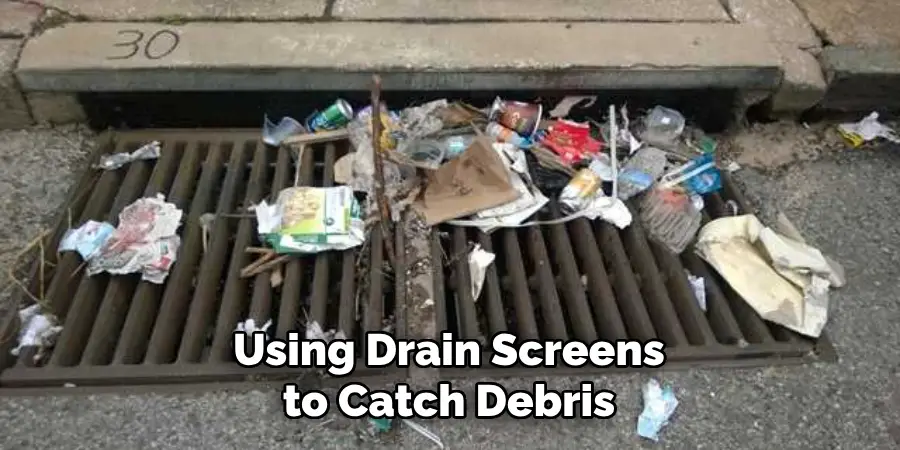
Remember, knowing to jet a drain line is only half the battle. Proper techniques, appropriate pressure, and being mindful of environmental impact are all essential factors for successful jetting.
5 Things You Should Avoid
- Avoiding Safety Gear: It’s essential to ensure safety when jetting a drain line. Not wearing proper safety gear, such as gloves and eye protection, can lead to injuries. Always ensure you have the proper protective equipment before starting the process.
- Ignoring Pipe Material: Different pipe materials can withstand different levels of pressure. Disregarding the type of material your drain line is made of can lead to damage. Always familiarize yourself with the pipe material before you start jetting.
- Overusing Chemicals: While chemicals can assist in drain cleaning, overuse can harm your pipes and the environment. Always follow the manufacturer’s instructions and use eco-friendly products whenever possible.
- Forgetting Regular Maintenance: Regular maintenance is key to preventing severe blockages. Neglecting this step can lead to more frequent and challenging clogs, requiring more intensive and costly jetting.
- Attempting Difficult Jobs Alone: If a blockage seems persistent or the drain line is old or delicate, it’s best to call in professionals. Trying to handle difficult jobs without proper training can lead to further damage.
Avoiding these common mistakes can save you from potential hazards and costly repairs while ensuring the longevity of your drain line.
Conclusion
How to jet a drain line can be both a simple and complicated task, but if you approach it with caution and follow these steps, you’ll ensure that the job gets done quickly and correctly. Only attempt to complete this project with the essential safety gear; it’s crucial for your safety and the efficiency of this job.
Remember, ignoring minor signs leading up to a complete drainage blockage is dangerous – act quickly when noticing strange sounds or slow water movement through pipes. With the right equipment and knowledge, jetting your drain line won’t seem so daunting after all!
So don’t wait any longer – contact a professional plumbing service to have your drain line jetted today!

