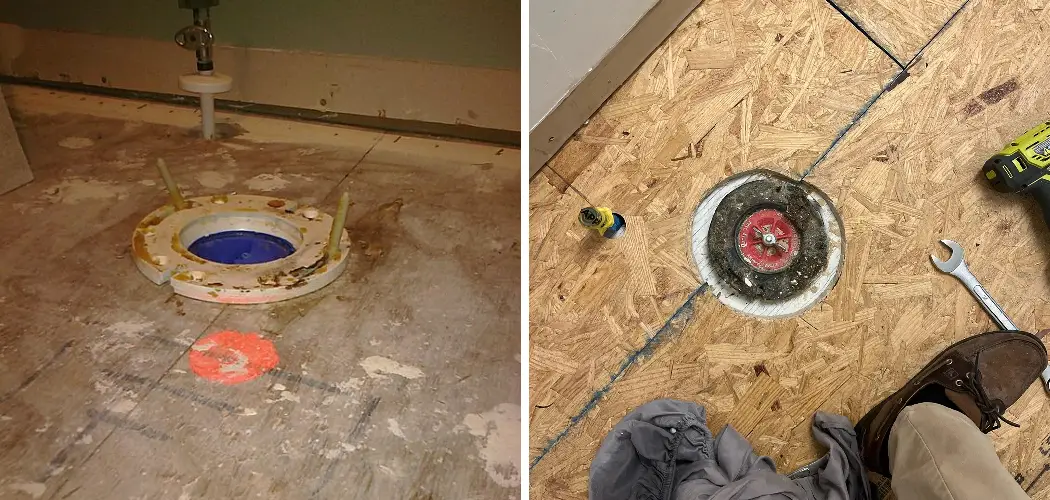
Installing a subfloor around a toilet flange is a crucial step in creating a stable and durable base for your bathroom flooring. Properly laying subflooring not only ensures that the toilet is secure but also helps to prevent leaks and structural issues down the line. This process requires careful measurements and an understanding of both the toilet flange placement and the materials needed. In this guide, we will walk you through how to lay subfloo, ensuring a reliable foundation for the rest of your bathroom renovation.
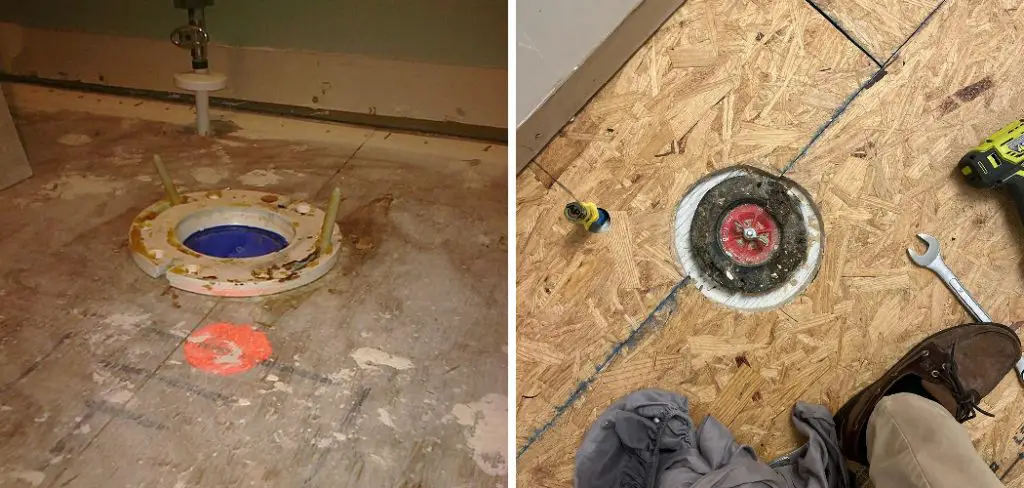
Understanding the Subfloor and Toilet Flange
Before diving into the installation process, it’s essential to understand the relationship between the subfloor and the toilet flange. The subfloor serves as the base layer that provides stability to your bathroom floor and supports various fixtures, including the toilet. Usually made from plywood or oriented strand board (OSB), the subfloor needs to be solid and level to properly hold the toilet flange.
The toilet flange itself is a circular fitting that connects the toilet to the home’s plumbing system. It is installed on top of the subfloor and secures the toilet while providing a seal against leaks. The placement of the flange is critical; it should be level and flush with the finished floor height to ensure a proper fit for the toilet. Understanding these components helps to ensure a successful installation and a long-lasting flooring solution for your bathroom.
Why Precise Installation is Important
Precise installation of the subfloor around the toilet flange is vital for several reasons. Firstly, an accurately positioned subfloor ensures that the toilet flange sits level, which is essential for the toilet’s stability and function. If the flange is misaligned or set too high or low, it can lead to an unstable toilet, resulting in rocking or wobbling during use.
Furthermore, improper installation can compromise the watertight seal between the toilet and the flange, increasing the risk of leaks that can damage the flooring and lead to costly repairs over time. Additionally, achieving a level subfloor is crucial for the overall aesthetics and longevity of the finished floor, as uneven surfaces can cause cracking or warping of the final flooring material. In summary, careful attention to detail during installation sets the foundation for a secure, functional, and visually appealing bathroom.
10 Methods How to Lay Subfloor around Toilet Flange
1. Turn Off the Water Supply and Remove the Toilet
Before working on the subfloor, the first step is to turn off the water supply to the toilet. Locate the shutoff valve near the base of the toilet and turn it clockwise to stop the water flow. After shutting off the water, flush the toilet to drain the tank and bowl. Once the water is off, disconnect the water supply line from the toilet tank. Use a wrench to loosen the bolts at the base of the toilet, then carefully lift the toilet and set it aside on a towel or in another room. This will give you clear access to the flange and the area around it.
2. Inspect the Existing Flange and Subfloor
With the toilet removed, take some time to inspect the condition of the existing toilet flange and subfloor. If the flange is damaged, corroded, or cracked, it will need to be replaced before installing the new subfloor. Likewise, check the subfloor for any signs of water damage, rot, or mold. If the subfloor is compromised, remove the damaged sections and prepare to install new subflooring around the flange. This inspection will ensure that you’re working with a solid foundation before proceeding with the new subfloor installation.
3. Measure and Cut the Subfloor Material
The next step is to measure the area where the new subfloor will be laid. Use a tape measure to take precise measurements of the bathroom floor, particularly around the toilet flange. Once you have your measurements, mark the dimensions onto your subfloor material, which could be plywood or oriented strand board (OSB). You’ll need to cut the subfloor to fit around the flange precisely. Use a jigsaw or hole saw to cut a circular opening for the flange. The hole should be slightly larger than the flange itself, allowing enough space for the flange to sit flush with the finished floor but still providing support for the toilet.
4. Dry Fit the Subfloor Around the Flange
Before securing the subfloor, do a dry fit to ensure it fits properly around the toilet flange and the rest of the bathroom floor. Place the cut subfloor material in position and check that the hole for the flange is properly aligned and that the edges of the subfloor are snug against the walls and any other fixtures. Make adjustments as necessary by trimming the subfloor or enlarging the hole for the flange. This step is crucial for ensuring that the final installation is seamless and that the toilet flange is at the correct height.
5. Apply Construction Adhesive to the Joists
To secure the subfloor in place, apply a generous amount of construction adhesive to the floor joists before laying the subfloor material. The adhesive helps to prevent squeaking and adds stability to the subfloor. Apply the adhesive in straight lines along the top of the joists, ensuring that it covers the entire surface where the subfloor will rest. This adhesive layer will create a strong bond between the joists and the subfloor, preventing movement and ensuring a durable, long-lasting installation.

6. Screw the Subfloor into Place
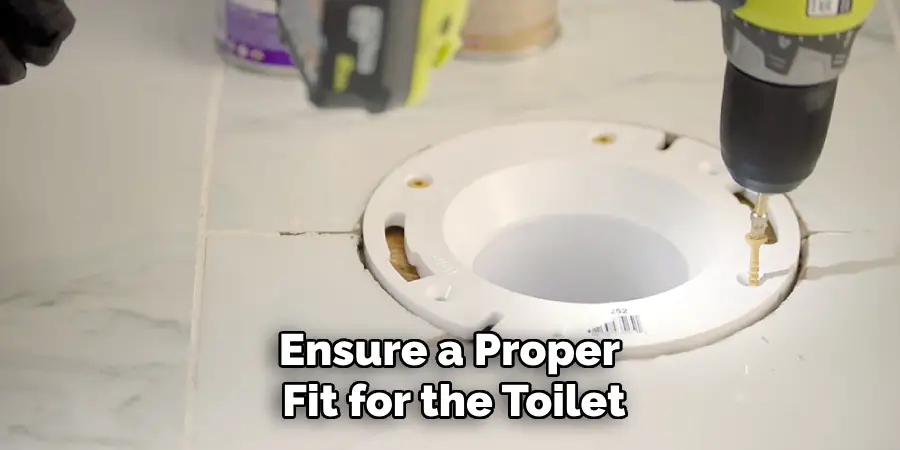
After applying the construction adhesive, carefully lay the subfloor material over the joists and around the toilet flange. Use a power drill and screws to secure the subfloor to the joists. Space the screws about 6 to 8 inches apart along the edges of the subfloor and every 12 inches along the joists in the center. Ensure that the subfloor is screwed tightly into place, with no gaps or loose areas. Be careful to avoid driving screws too close to the flange, as this could damage it. Properly securing the subfloor will prevent any movement or sagging around the toilet area.
7. Check the Height of the Toilet Flange
Once the subfloor is secured, check the height of the toilet flange in relation to the new subfloor. The flange should sit about 1/4 inch above the finished floor to ensure a proper seal with the wax ring and the base of the toilet. If the flange is too low, you can use a flange extender kit to raise it to the correct height. If the flange is too high, you may need to adjust the subfloor or replace the flange with one that sits flush with the finished floor. Ensuring the correct flange height is critical to preventing leaks and ensuring a stable toilet installation.

8. Seal Any Gaps Between the Subfloor and Flange
To create a watertight seal between the subfloor and the toilet flange, it’s essential to fill any gaps that may exist. Use silicone caulk or a foam sealant to seal the edges around the flange, preventing water from seeping under the subfloor and causing damage over time. Apply the sealant carefully, ensuring it fully covers the gaps without obstructing the flange. A good seal will also help support the toilet and keep it stable during use.
9. Install the Finished Flooring
With the subfloor securely in place and the flange properly aligned, the next step is to install the finished flooring. Whether you’re using tile, vinyl, or another type of flooring, it’s important to cut the material around the flange carefully. The finished floor should sit flush against the flange without covering it. Leave a small gap between the flooring and the flange to allow the toilet base to sit properly. Once the finished flooring is installed, the toilet flange should be level with or slightly above the surface of the floor for proper toilet installation.
10. Reinstall the Toilet
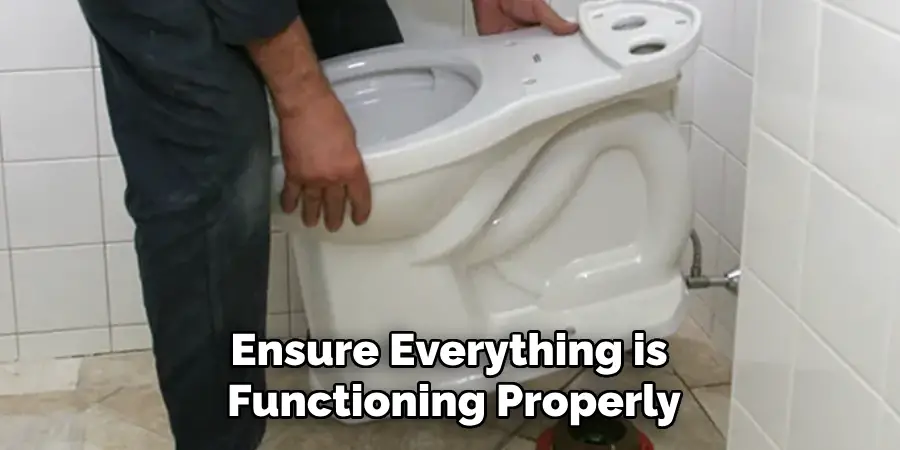
After the subfloor and finished flooring are installed, it’s time to reinstall the toilet. Start by placing a new wax ring on the bottom of the toilet bowl outlet. Carefully lower the toilet onto the flange, ensuring that the bolts align with the holes in the base of the toilet. Once the toilet is in place, press down firmly to compress the wax ring and create a watertight seal. Secure the toilet with bolts, being careful not to overtighten them, as this can crack the porcelain. Reconnect the water supply, turn it back on, and test the toilet by flushing it a few times to ensure everything is functioning properly.
Conclusion
Laying a subfloor around a toilet flange requires careful measurement, precision cutting, and attention to detail. Each step, from turning off the water supply to reinstalling the toilet, is crucial for ensuring a stable and leak-free installation. By following these ten methods, you can successfully replace or install a subfloor around a toilet flange, creating a solid foundation for your bathroom floor and preventing long-term water damage. Thanks for reading, and we hope this has given you some inspiration on how to lay subfloor around toilet flange!

