Lighting a pilot light on a propane furnace is an essential skill that can ensure your home remains warm and comfortable during colder months. Understanding the process not only saves time and money but also provides peace of mind, knowing that you can take care of your heating system when needed.

This guide on how to light a pilot light on a propane furnace will walk you through the necessary steps and safety precautions to successfully light the pilot light, empowering you to maintain your furnace without the need for immediate professional assistance.
Whether you are a seasoned homeowner or new to furnace maintenance, these straightforward instructions will help you navigate the task with confidence.
Why is It Important to Know?
Knowing how to light a pilot light on a propane furnace is crucial for several reasons. Firstly, it allows homeowners to quickly address heating issues without waiting for a technician, which can be especially important during frigid weather conditions. This skill not only empowers individuals to take control of their home’s comfort but also enhances their understanding of the furnace’s operation, leading to better maintenance practices.
Additionally, being able to relight the pilot light can prevent the inconvenience and potential dangers associated with prolonged heating outages, ensuring a safer living environment. Ultimately, this knowledge fosters a sense of self-sufficiency and confidence in managing home systems effectively.
Needed Materials
Before delving into the step-by-step process of lighting a pilot light on a propane furnace, it is essential to gather all necessary materials beforehand. This helps avoid interruptions and provides a seamless experience.
A Flashlight
As the furnace’s pilot light can be challenging to see, having a reliable source of light such as a flashlight, will make the process easier.
A Long-Stemmed Lighter or Matches
These tools are necessary for igniting the pilot light. It is recommended to use a long-stemmed lighter as it provides better reach and safety, minimizing the risk of burns.

Protective Gear
It is crucial to prioritize safety when dealing with any furnace maintenance tasks. Wearing protective gear like gloves and goggles can prevent potential injuries from hot surfaces or gas leaks.
8 Step-by-Step Guide on How to Light a Pilot Light on a Propane Furnace
Step 1: Locate the Pilot Light and Gas Valve
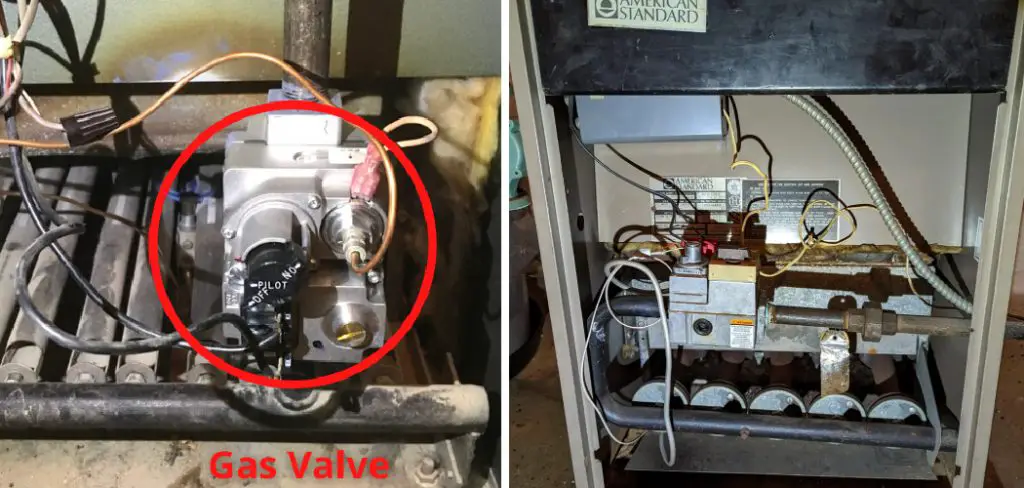
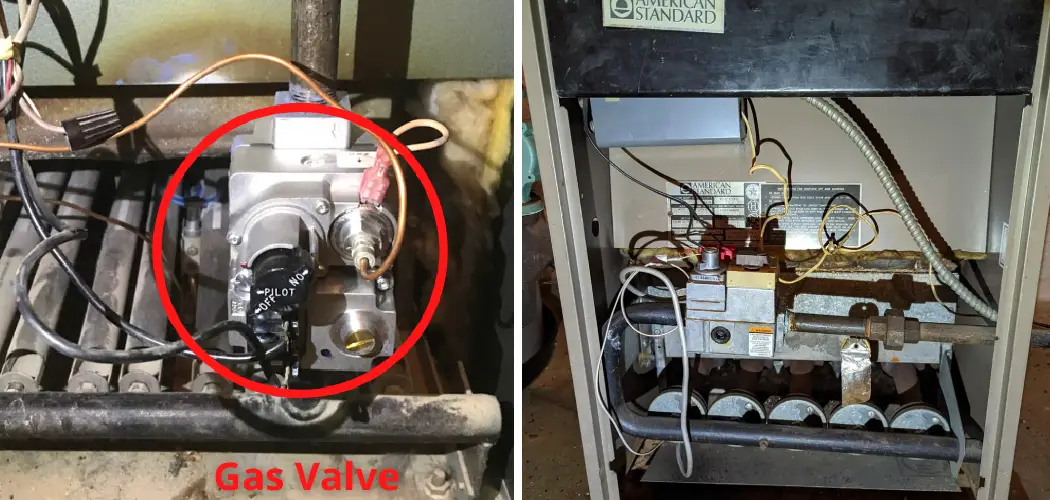
The first step in lighting the pilot light on your propane furnace is to locate both the pilot light and the gas valve. Typically, the pilot light can be found near the bottom of the furnace, often behind a small access panel. Ensure the area is well-lit with your flashlight to help you see clearly.
The gas valve, which controls the flow of propane to the pilot light, is usually situated adjacent to the pilot assembly. It may be labeled with instructions such as “On,” “Off,” or “Pilot.” Familiarizing yourself with these components is essential before proceeding to the next steps, as it sets the foundation for safely lighting the pilot light.
Step 2: Turn Off the Gas Supply
Once you have located the pilot light and gas valve, the next crucial step is to turn off the gas supply. This is an important safety precaution to prevent any gas from leaking while you work on relighting the pilot light. To do this, simply rotate the gas valve to the “Off” position. You may notice that the valve has a specific marking indicating “Off.”
Ensure that it is completely turned off before proceeding. Wait for a few minutes to allow any residual gas to disperse, which further enhances safety. Once you are confident that the gas is completely shut off, you can move on to the next step in the process.
Step 3: Remove the Access Panel
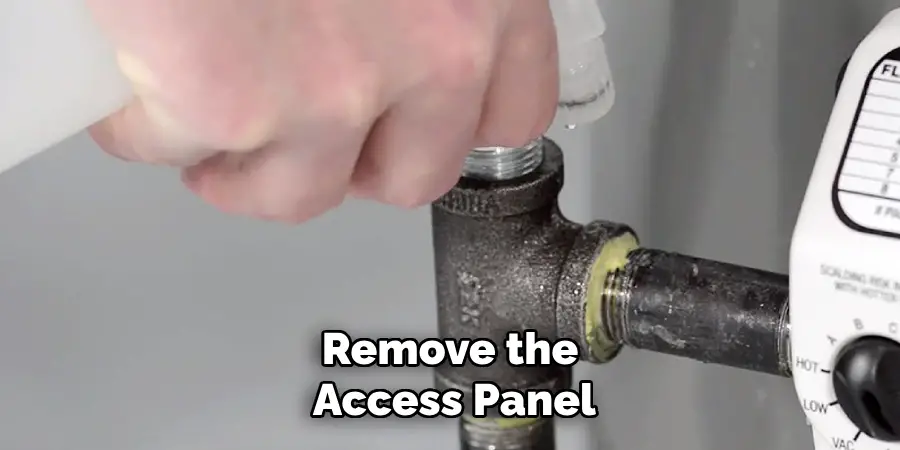
After ensuring that the gas supply is turned off and any residual gas has dispersed, the next step is to remove the access panel that covers the pilot light and the burner assembly.

This panel is typically secured with screws or clips, which may require a screwdriver or your fingers to detach. Carefully take off the panel and set it aside in a safe place to avoid losing any hardware.
Inspect the area for any signs of dirt or debris, as a clean surface will make lighting the pilot light easier. Once the access panel is removed, you will have a clear view of the pilot light and gas assembly, allowing you to proceed with the lighting process.
Step 4: Prepare the Pilot Light for Lighting
Before attempting to light the pilot light, it is essential to ensure that it is ready for ignition. Using a small brush or compressed air, gently clean any dust or debris around the pilot light and burner assembly. Additionally, check that the pilot light tube is free from any blockages or obstructions.
Once you have cleared the area and confirmed everything is in good condition, carefully move on to lighting the pilot light.
Step 5: Locate and Identify the Pilot Light Valve
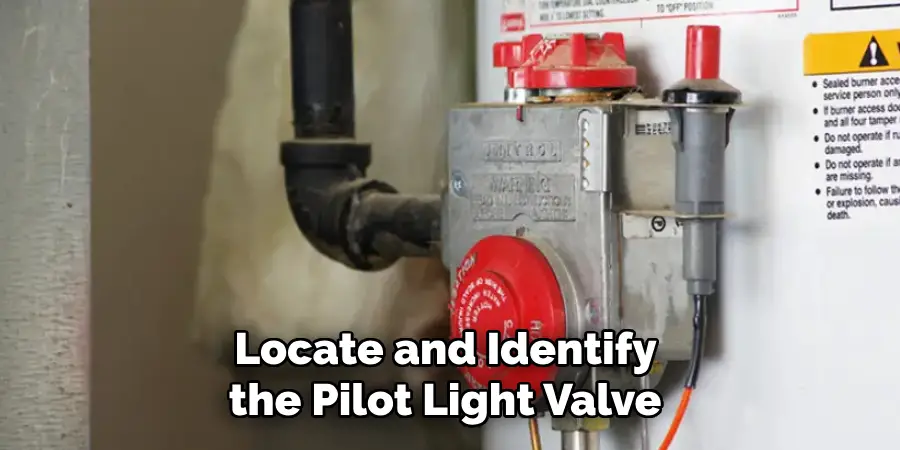
With the access panel removed and the pilot light area prepared, the next step is to locate and identify the pilot light valve. This valve is a critical component that regulates the flow of gas, specifically to the pilot light.
Look for a small valve typically situated near the pilot assembly, which may be integrated with or adjacent to the gas valve you encountered earlier. The pilot light valve may be labeled distinctly, often marked with “Pilot” or a similar term to signify its purpose.
It is important to ensure that you have accurate identification of this valve before proceeding, as it will allow for a safe and proper lighting process. Once located, ensure that the pilot light valve is set to the “Pilot” position, which is essential for allowing gas to flow to the pilot light when you attempt to ignite it.

Step 6: Light the Pilot Light
Now that everything is in place, it’s time to light the pilot light. Using your long-stemmed lighter or matches, carefully ignite the flame at the tip of the pilot light tube. Once lit, continue holding down on the reset button while keeping the flame steady for about 30 seconds. This allows enough time for gas to flow and reach the pilot light, establishing a steady flame.
If the pilot light does not stay lit after releasing the reset button, repeat this step until it remains continuously lit without assistance.
Step 7: Bring Back the Access Panel and Turn On the Gas Supply
Once your pilot light is successfully ignited and remains lit without assistance, you can now bring back the access panel and secure it in place. Return any screws or clips, making sure they are tightly fastened to ensure safe operation.
With the access panel secured, it is time to turn the gas supply back on. Simply rotate the gas valve to the “On” position and wait for a few minutes before proceeding. This allows enough time for gas pressure to build up, ensuring that everything is functioning correctly before turning on your furnace.
Step 8: Test Your Furnace
After following all previous steps successfully and safely lighting your pilot light, it’s time to test your furnace. Turn on your thermostat and set it to a higher temperature than the current room temperature. If everything is working correctly, your furnace should turn on, and warm air should start blowing through your vents.
However, if you encounter any issues with your furnace not turning on or producing heat, it may be a sign of a more significant problem that requires professional assistance. In this case, consult a licensed technician for further diagnosis and repair.
Following these steps on how to light a pilot light on a propane furnace properly will ensure safe and efficient lighting of your pilot light on a propane furnace. Remember to always prioritize safety by wearing protective gear and following all manufacturer’s guidelines for maintenance and operation.

Regularly inspecting and maintaining your furnace can also prevent future issues and extend its lifespan, saving you time and money in the long run.
Frequently Asked Questions
Q1: Is It Safe to Light the Pilot Light on a Propane Furnace Myself?
A: Yes, as long as you follow the proper steps and safety precautions outlined in this guide, it is safe to light the pilot light on a propane furnace yourself. If you are unsure or uncomfortable with the process, it is always best to seek professional assistance.
Q2: How Often Should I Inspect and Light My Pilot Light?
A: It is recommended to inspect and light your pilot light before each heating season or when restarting your furnace after an extended period of time. Regularly checking your furnace’s functionality can also help detect any potential issues early on.
Conclusion
Successfully lighting the pilot light on your propane furnace is a straightforward process that, when followed meticulously, ensures both safety and efficiency. By adhering to the outlined steps on how to light a pilot light on a propane furnace—from turning off the gas supply to testing the furnace—you can confidently manage your furnace maintenance. Regular checks and proper handling not only enhance the longevity of your unit but also contribute to a safe home environment.
Should you face persistent issues, don’t hesitate to seek professional help, as they can provide the necessary expertise to resolve any underlying concerns. Remember, prioritizing safety and maintenance is key to a comfortable and worry-free heating experience.

