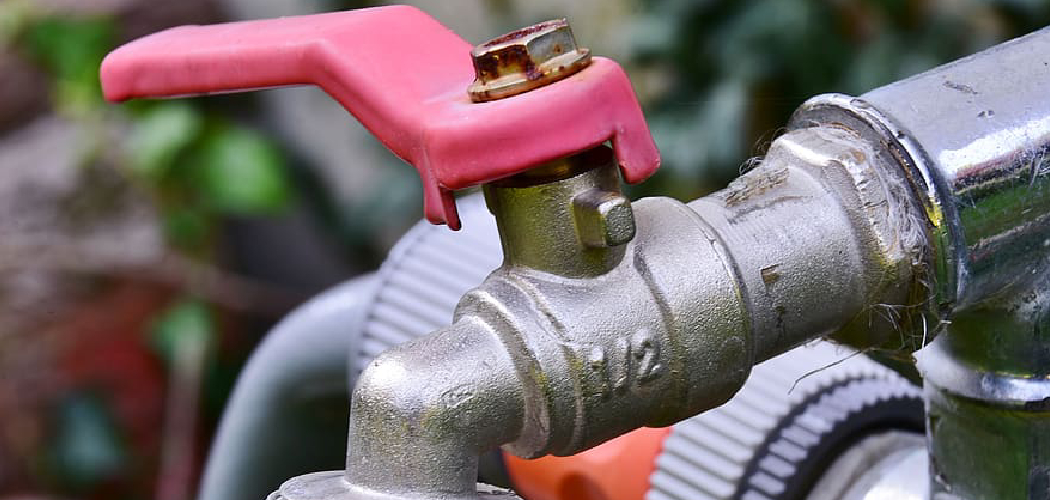
Locking an outside water faucet is an effective way to prevent unauthorized use, reduce water waste, and protect your property from potential tampering. Whether you’re securing your home during colder months or safeguarding your water supply, this simple process can save you time and money.
By following a few straightforward steps on how to lock an outside water faucet, you can ensure your faucet remains secure and functional.
Understanding the Need for Locking
Locking an outside water faucet serves multiple important purposes. One of the primary reasons is to prevent water theft, which can lead to increased utility bills and unnecessary expenses. Additionally, securing the faucet helps to deter vandalism or tampering, which could result in leaks, damage, or even flooding.
During colder months, locking the faucet can also help in preventing accidental usage that might lead to frozen pipes, reducing the risk of costly repairs. Overall, understanding the need for locking your outside water faucet emphasizes the importance of safeguarding your home and conserving resources effectively.
Tools and Materials Needed
Essential Tools:
- Adjustable Wrench
- Pliers
Materials:
- Locking Device
- Waterproof Tape
- Lubricant Spray
8 Step-by-Step Guides on How to Lock an Outside Water Faucet
Step 1: Turn Off the Water Supply
Before beginning the process, locate your home’s main water shut-off valve and turn it off. This ensures that no water flows to the outdoor faucet while you are working on it.
Turning off the water supply prevents accidental leaks or drips during the installation process, saving water and maintaining your safety as you proceed. Ensure the valve is completely shut off before continuing to the next step.
Step 2: Drain Any Remaining Water
To prevent any water from freezing and damaging the pipes, you need to remove all water from the outdoor faucet.
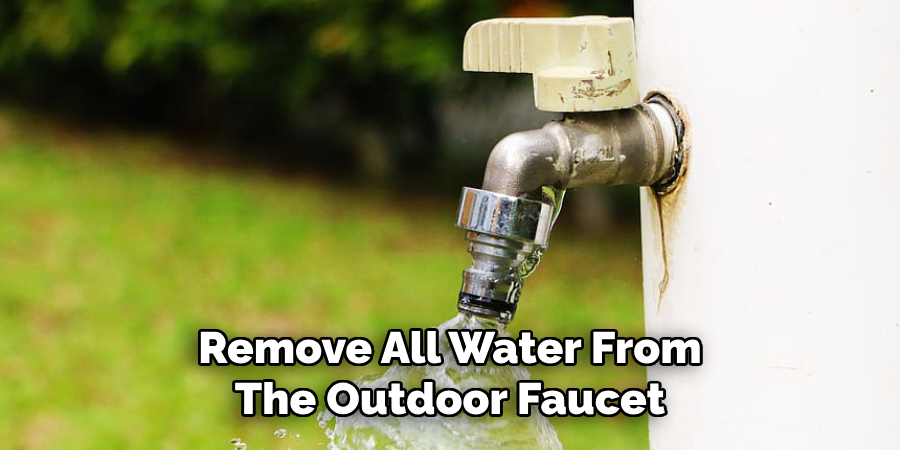
Begin by opening the faucet completely to let any remaining water flow out. You can also use a drain valve or open your home’s main water supply again for faster draining.
Step 3: Disconnect the Hose
Remove any attached garden hose from the outdoor faucet. Leaving a hose connected during cold temperatures can trap water inside, increasing the risk of freezing and causing damage to both the hose and the faucet.
After disconnecting the hose, ensure it is thoroughly drained of all water before storing it in a dry place until the next use.
Step 4: Install an Outdoor Faucet Lock
To protect your outdoor faucet from unauthorized use or potential tampering, consider installing an outdoor faucet lock. These locks are simple devices that fit securely over the faucet, preventing it from being turned on without a key. Begin by selecting a compatible lock for your faucet type.
Then, follow the manufacturer’s instructions to attach the lock, ensuring it fits snugly and is properly secured. This step provides added security and helps conserve water by avoiding any unwarranted usage.
Step 5: Insulate the Pipes
To further protect your outdoor faucet and connected pipes, consider insulating them to prevent freezing during colder months. Use foam pipe insulation or heat tape to wrap the pipes securely, especially if they are exposed to the elements.
Ensure the insulation covers all vulnerable areas and is properly sealed to block out moisture and cold air. This simple precaution helps maintain the longevity of your plumbing system and reduces the risk of costly repairs.
Step 6: Check for Other Outdoor Water Sources
Inspect your property for any additional outdoor water sources, such as garden hose connections, sprinkler systems, or decorative water features. These systems are also susceptible to freezing and may require attention before cold weather sets in.
Drain any remaining water from hoses and irrigation lines, and consider shutting off the water supply to these systems if possible. For added protection, cover them with insulated materials or secure them with specialized covers designed for outdoor water fixtures. Taking these steps ensures your entire outdoor water system remains safe and functional throughout the colder months.
Step 7: Keep Your Home Warm
Maintaining a warm and comfortable home during colder months is crucial for both safety and well-being. Start by inspecting your heating system to ensure it is functioning efficiently. Replace furnace filters regularly and schedule professional maintenance if needed. Seal any gaps around doors and windows to prevent drafts and conserve heat.
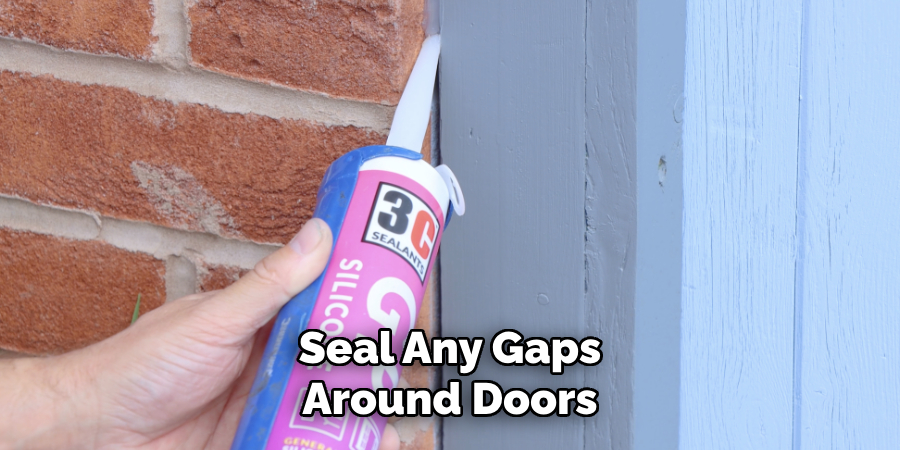
Adding weather stripping or caulking can make a significant difference in energy efficiency. Additionally, consider using heavy curtains or thermal blinds for added insulation. If you have a fireplace, make sure it is clean and safe to use. By taking these precautions, you can retain heat effectively and keep your home warm and cozy all winter long.
Step 8: Monitor Your Pipes During Cold Spells
Even with proper preparation, unexpected cold snaps can still happen. It’s important to monitor your pipes during these times, especially when temperatures drop below freezing for extended periods. If you notice any issues such as decreased water pressure or strange noises coming from your pipes, it’s best to call a plumber right away. Ignoring these warning signs can lead to more serious problems, including burst pipes.
Following these steps on how to lock an outside water faucet and protect your pipes during winter can save you from costly repairs and inconvenience. Remember to always be vigilant, especially during extreme weather conditions. Regularly checking on your pipes and taking preventive measures can go a long way in keeping them safe and functional all year round.
Common Challenges and Solutions
When it comes to protecting your pipes and water fixtures during winter, a few common challenges may arise. One of the primary issues is failing to notice small leaks or drips in outdoor faucets, which may seem minor but can freeze and expand, causing significant damage. To address this, inspect your faucets regularly and fix any leaks as soon as they are identified.
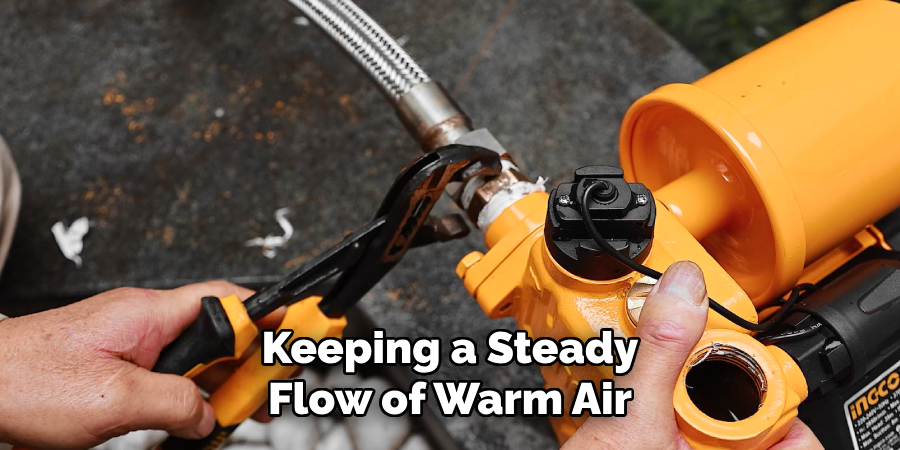
Another frequent challenge is improper insulation of exposed pipes. Without adequate insulation, pipes can freeze quickly in harsh temperatures. The solution is to wrap exposed pipes with foam insulation or heat tape to protect them from the cold. Additionally, unheated garages or basements containing pipes are susceptible to freezing. Keeping a steady flow of warm air in these areas by sealing drafts or using portable heaters can mitigate the risk.
Finally, homeowners often overlook the importance of draining outdoor hoses and shutting off water to outdoor faucets before winter arrives. Always ensure hoses are detached and stored indoors, and drain water from the faucet to prevent freezing. By addressing these common challenges proactively, you can safeguard your plumbing system and avoid winter-related disasters.
Frequently Asked Questions
Q1: How Do I Know if My Outside Water Faucet is Properly Locked?
A: To check if your outside water faucet is properly locked, try turning on the tap. If no water comes out, then it means your faucet is securely locked. It is also a good idea to visually inspect the faucet and ensure that the handle is turned fully off.
Q2: Can I Use a Lock on My Inside Shut-off Valve Instead of Draining the Pipe?
A: It is not recommended to use a lock on your inside shut-off valve as it can cause damage to the valve or pipes. It is best to follow the steps outlined above in draining and insulating the pipes for proper winterization.
Q3: Are There Any Other Methods for Locking an Outside Water Faucet Besides Using a Lock Box?
A: Yes, you can also use a faucet cover or a frost-free hose bib to protect your outside water faucet from freezing temperatures. These options are less secure than a lock box, but they can still provide some level of protection for your faucet. It is important to regularly check and maintain these methods to ensure they are working effectively.
Q4: How Can I Check If My Outside Water Faucet is Frost-Free?
A: To check if your outside water faucet is frost-free, first make sure it has a visible slope and drainage system to prevent water from pooling inside. Then, locate the shutoff valve for the faucet and turn it off. Disconnect any attachments or hoses from the faucet and open the tap to drain any remaining water.
If there is still some water coming out of the faucet after draining, then it may not be frost-free and you should take extra precautions in winterizing it. Consult a professional plumber if you are unsure about whether your faucet is frost-free or not.

Conclusion
In conclusion, taking the necessary steps to winterize your outdoor faucets is essential to prevent damage and costly repairs caused by freezing temperatures.
By identifying whether your faucet is frost-free, properly draining any remaining water, and seeking professional advice if needed, you can ensure your plumbing system remains safe and functional throughout the colder months.
Proactive measures now can save you substantial time and effort later. Thanks for reading this article on how to lock an outside water faucet.

